Sync with Okta
This describes how to set up Foxpass to sync your directory with Okta.
1. Create a new Okta user
It's under "Admin", then "Directory > People > Add Person.

Click Add Person
Add your user details and click Save.
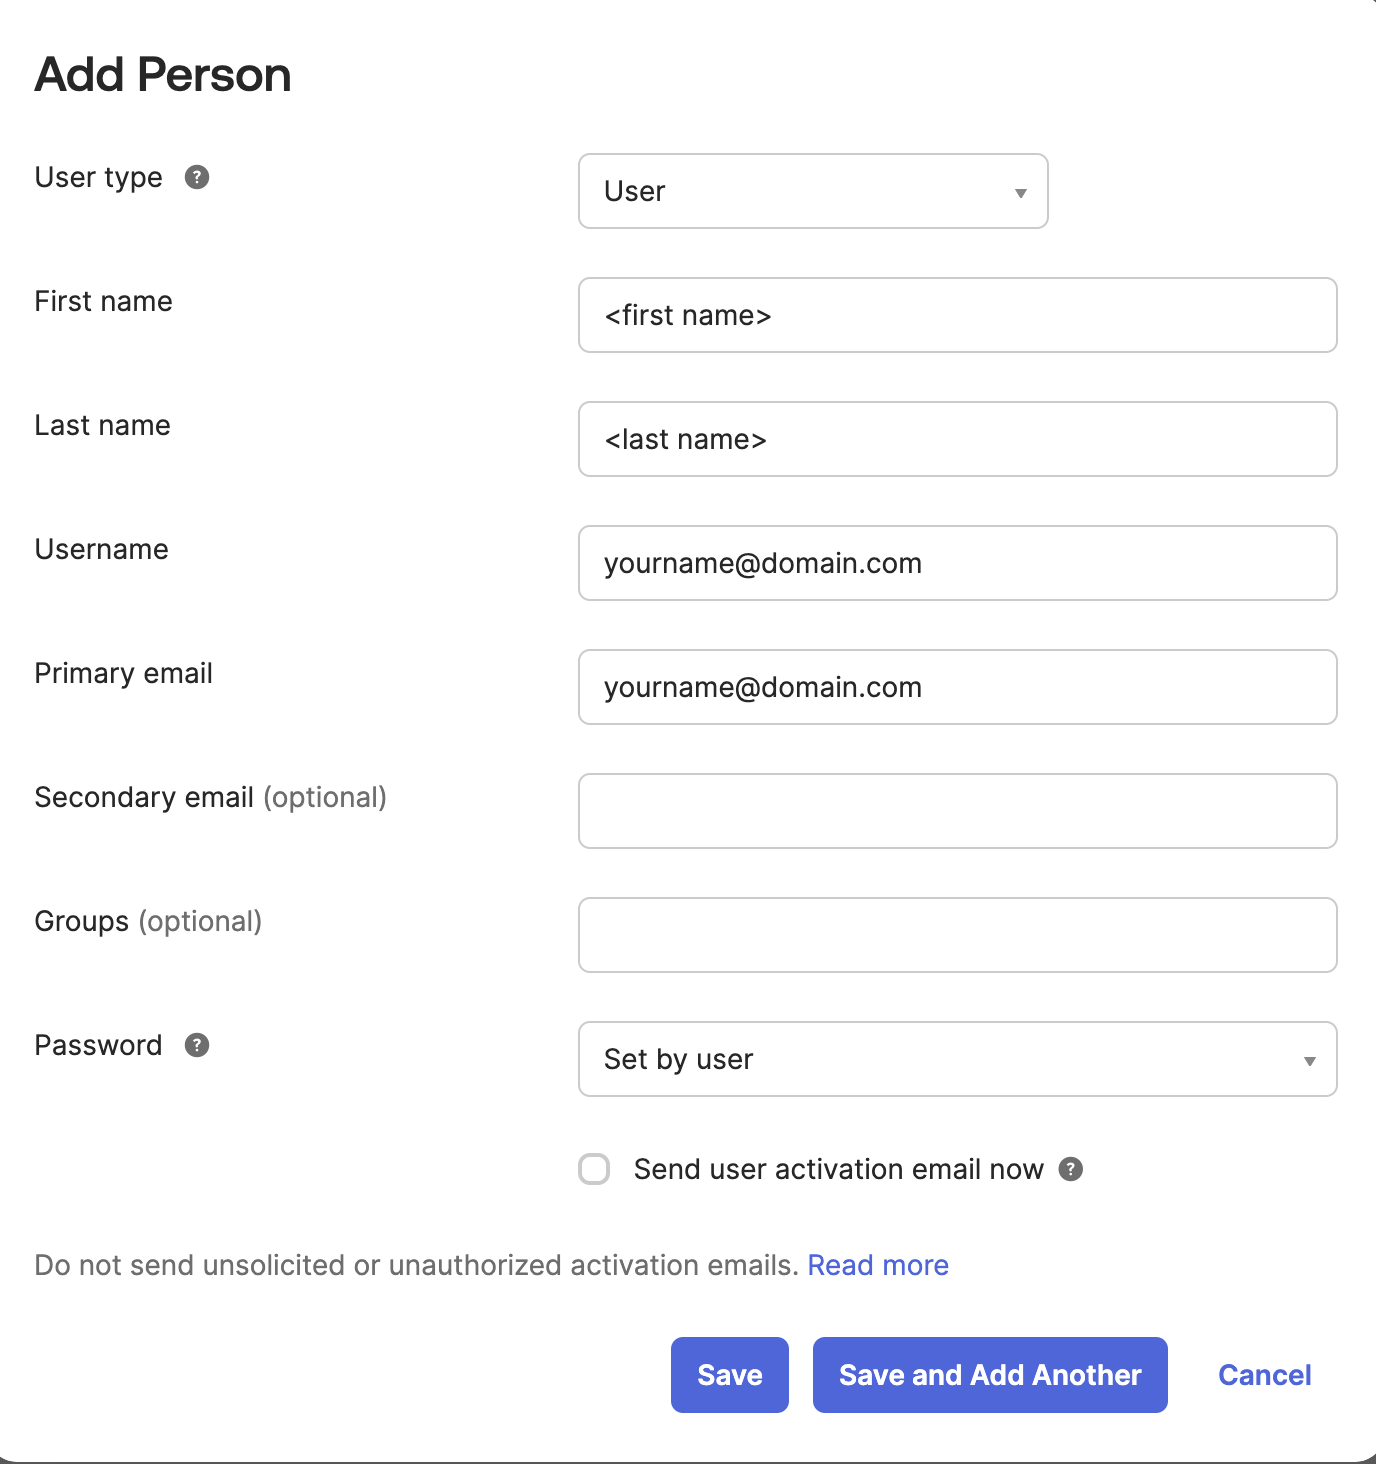
Add Person
2. Make that user a read-only admin
Go to "Admin", then "Security", then "Administrators". Give your user Read-Only admin rights.
3. Get that user's API key
Log into Okta as the Foxpass user we created in step 1. Then, generate an API key by going to Security > API > Create Token. Refer to the instructions from Okta.
4. Sync Users
Go to the Foxpass 'Sync' page. Click on the dropdown next to 'Select synchronization provider' and choose 'Okta'. For 'User sync' Choose 'Yes' from the dropdown menu, then enter your Okta site's URL and the API key you just generated and click "Save."
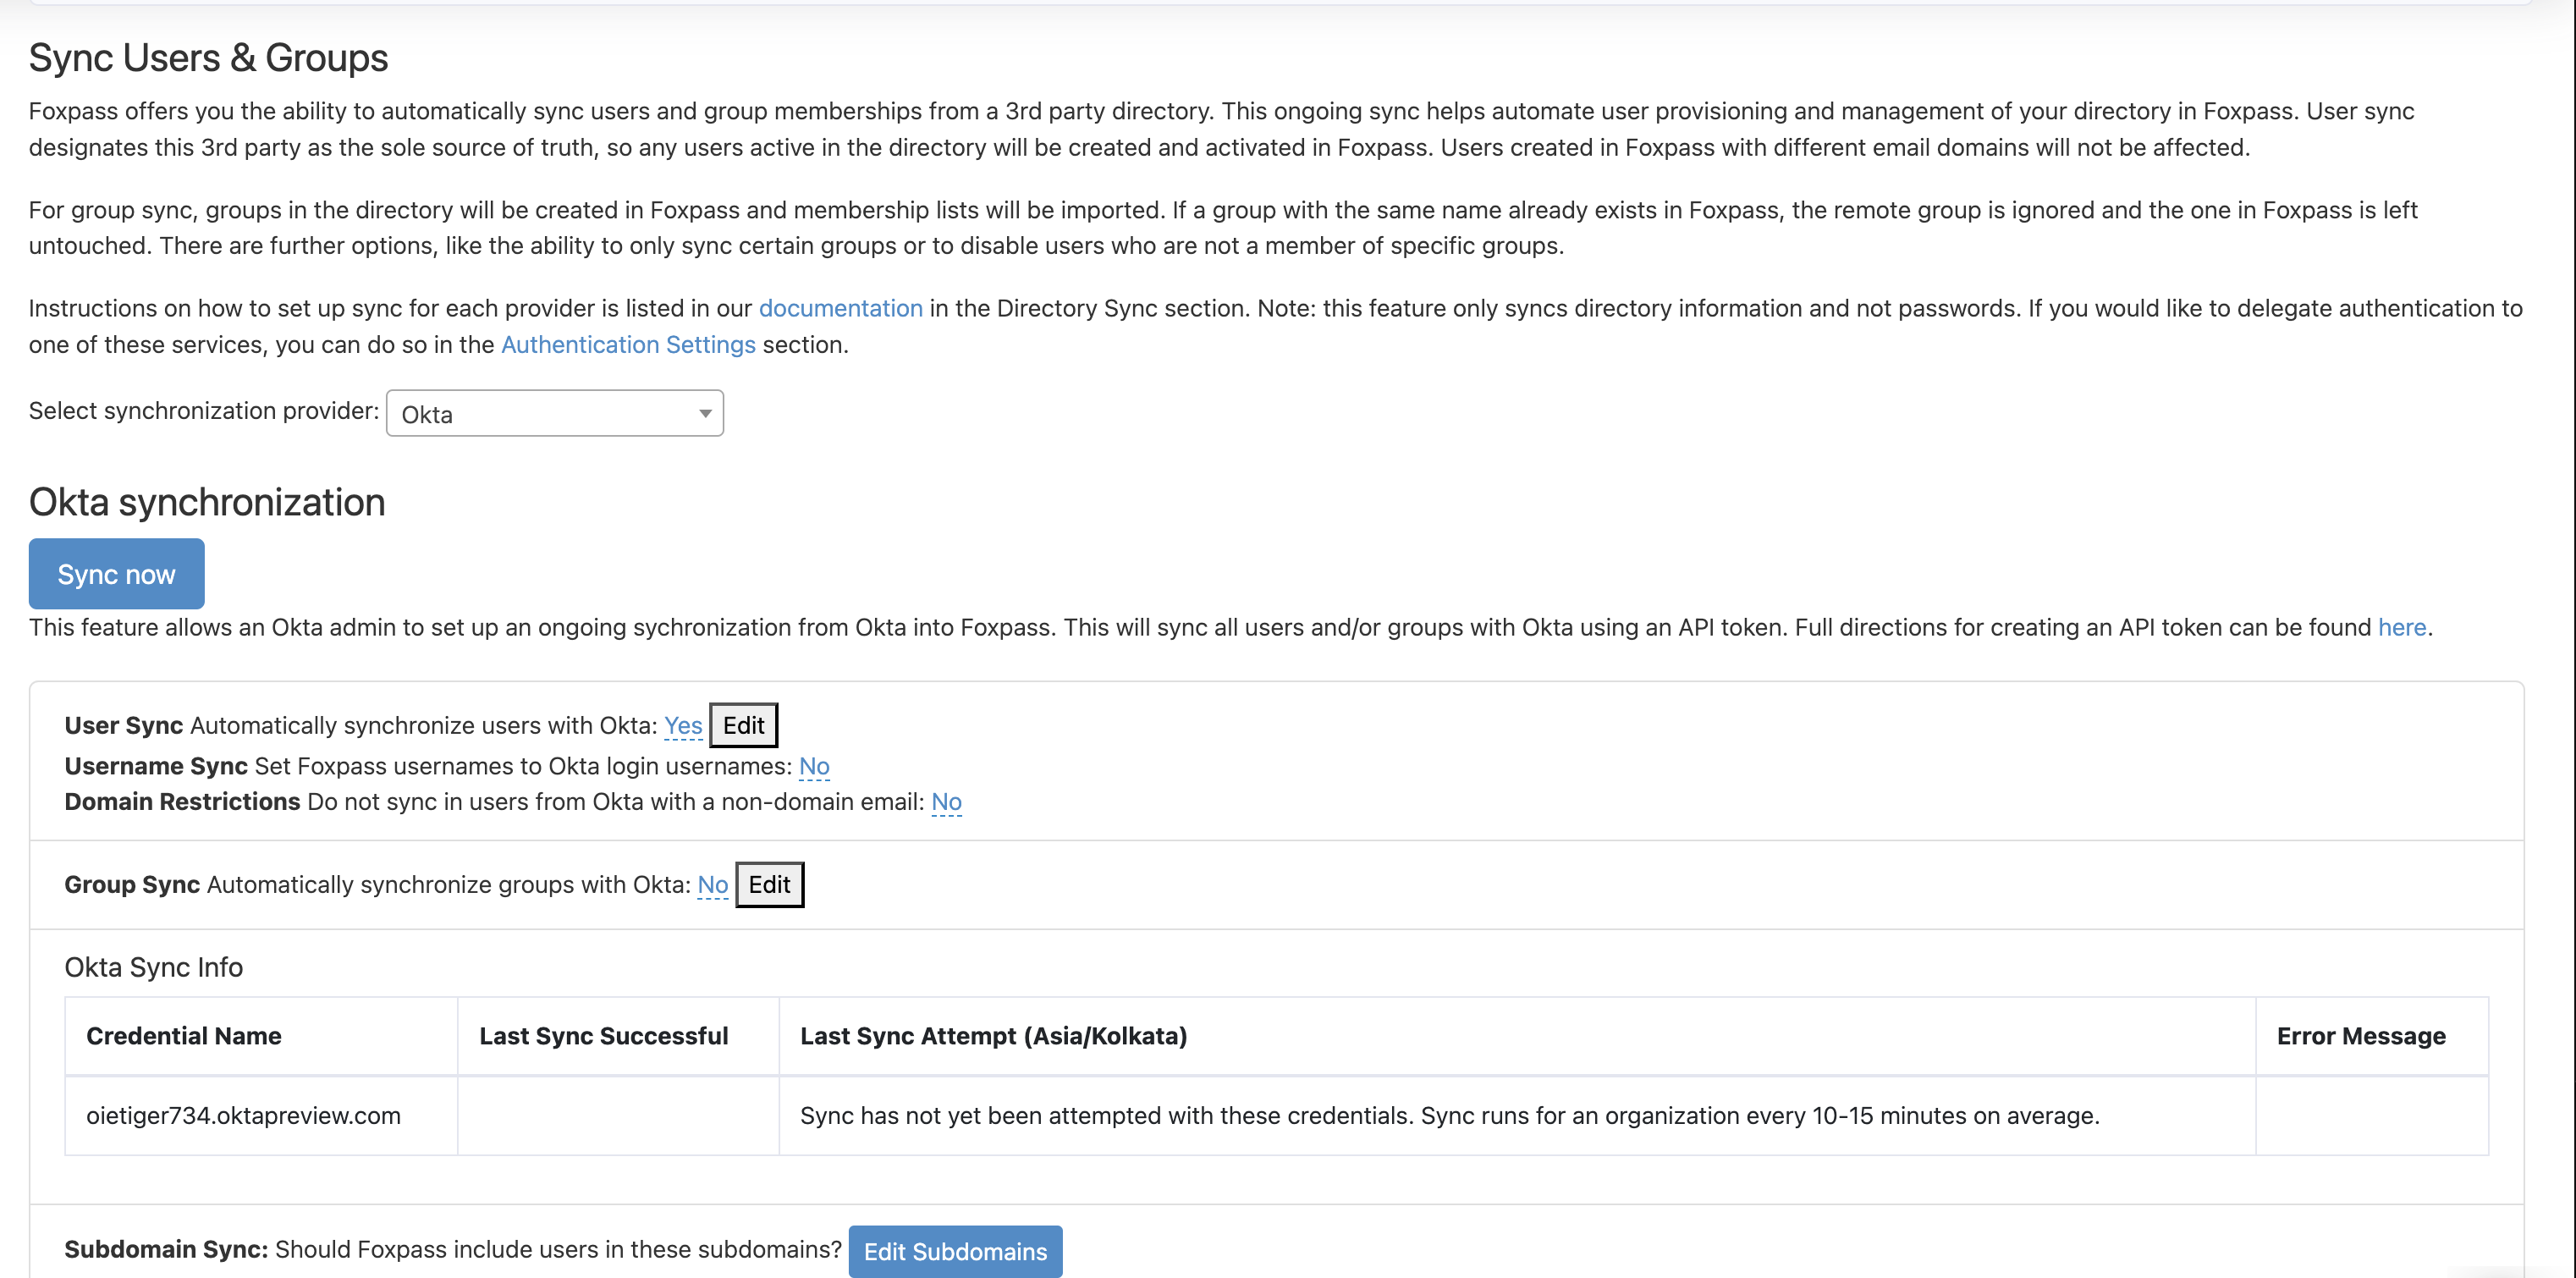
Okta sync configured
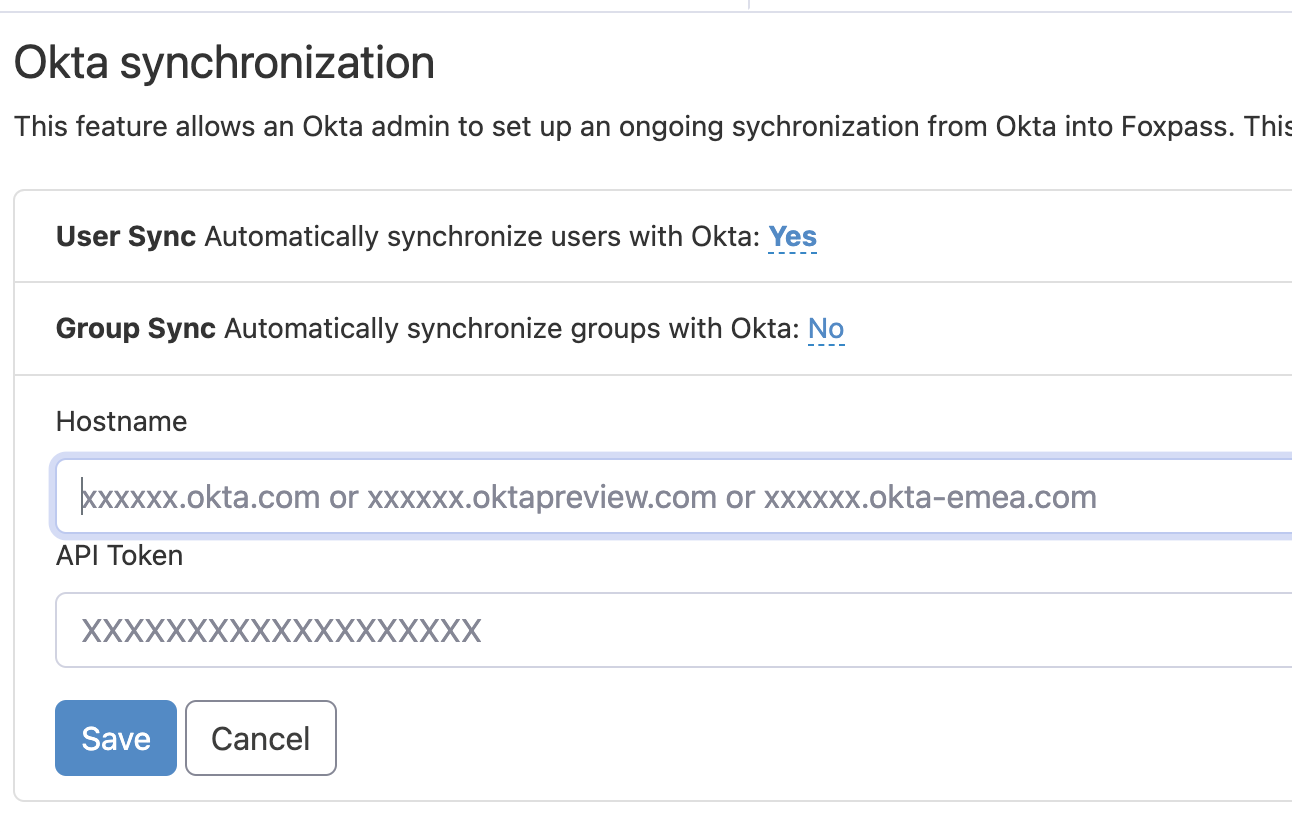
Enter Okta credentials
Click on 'Sync now' button. You will see a success message 'Sync initiated successfully'.

Click 'Ok' and you can check sync status in the box as shown in the picture below:
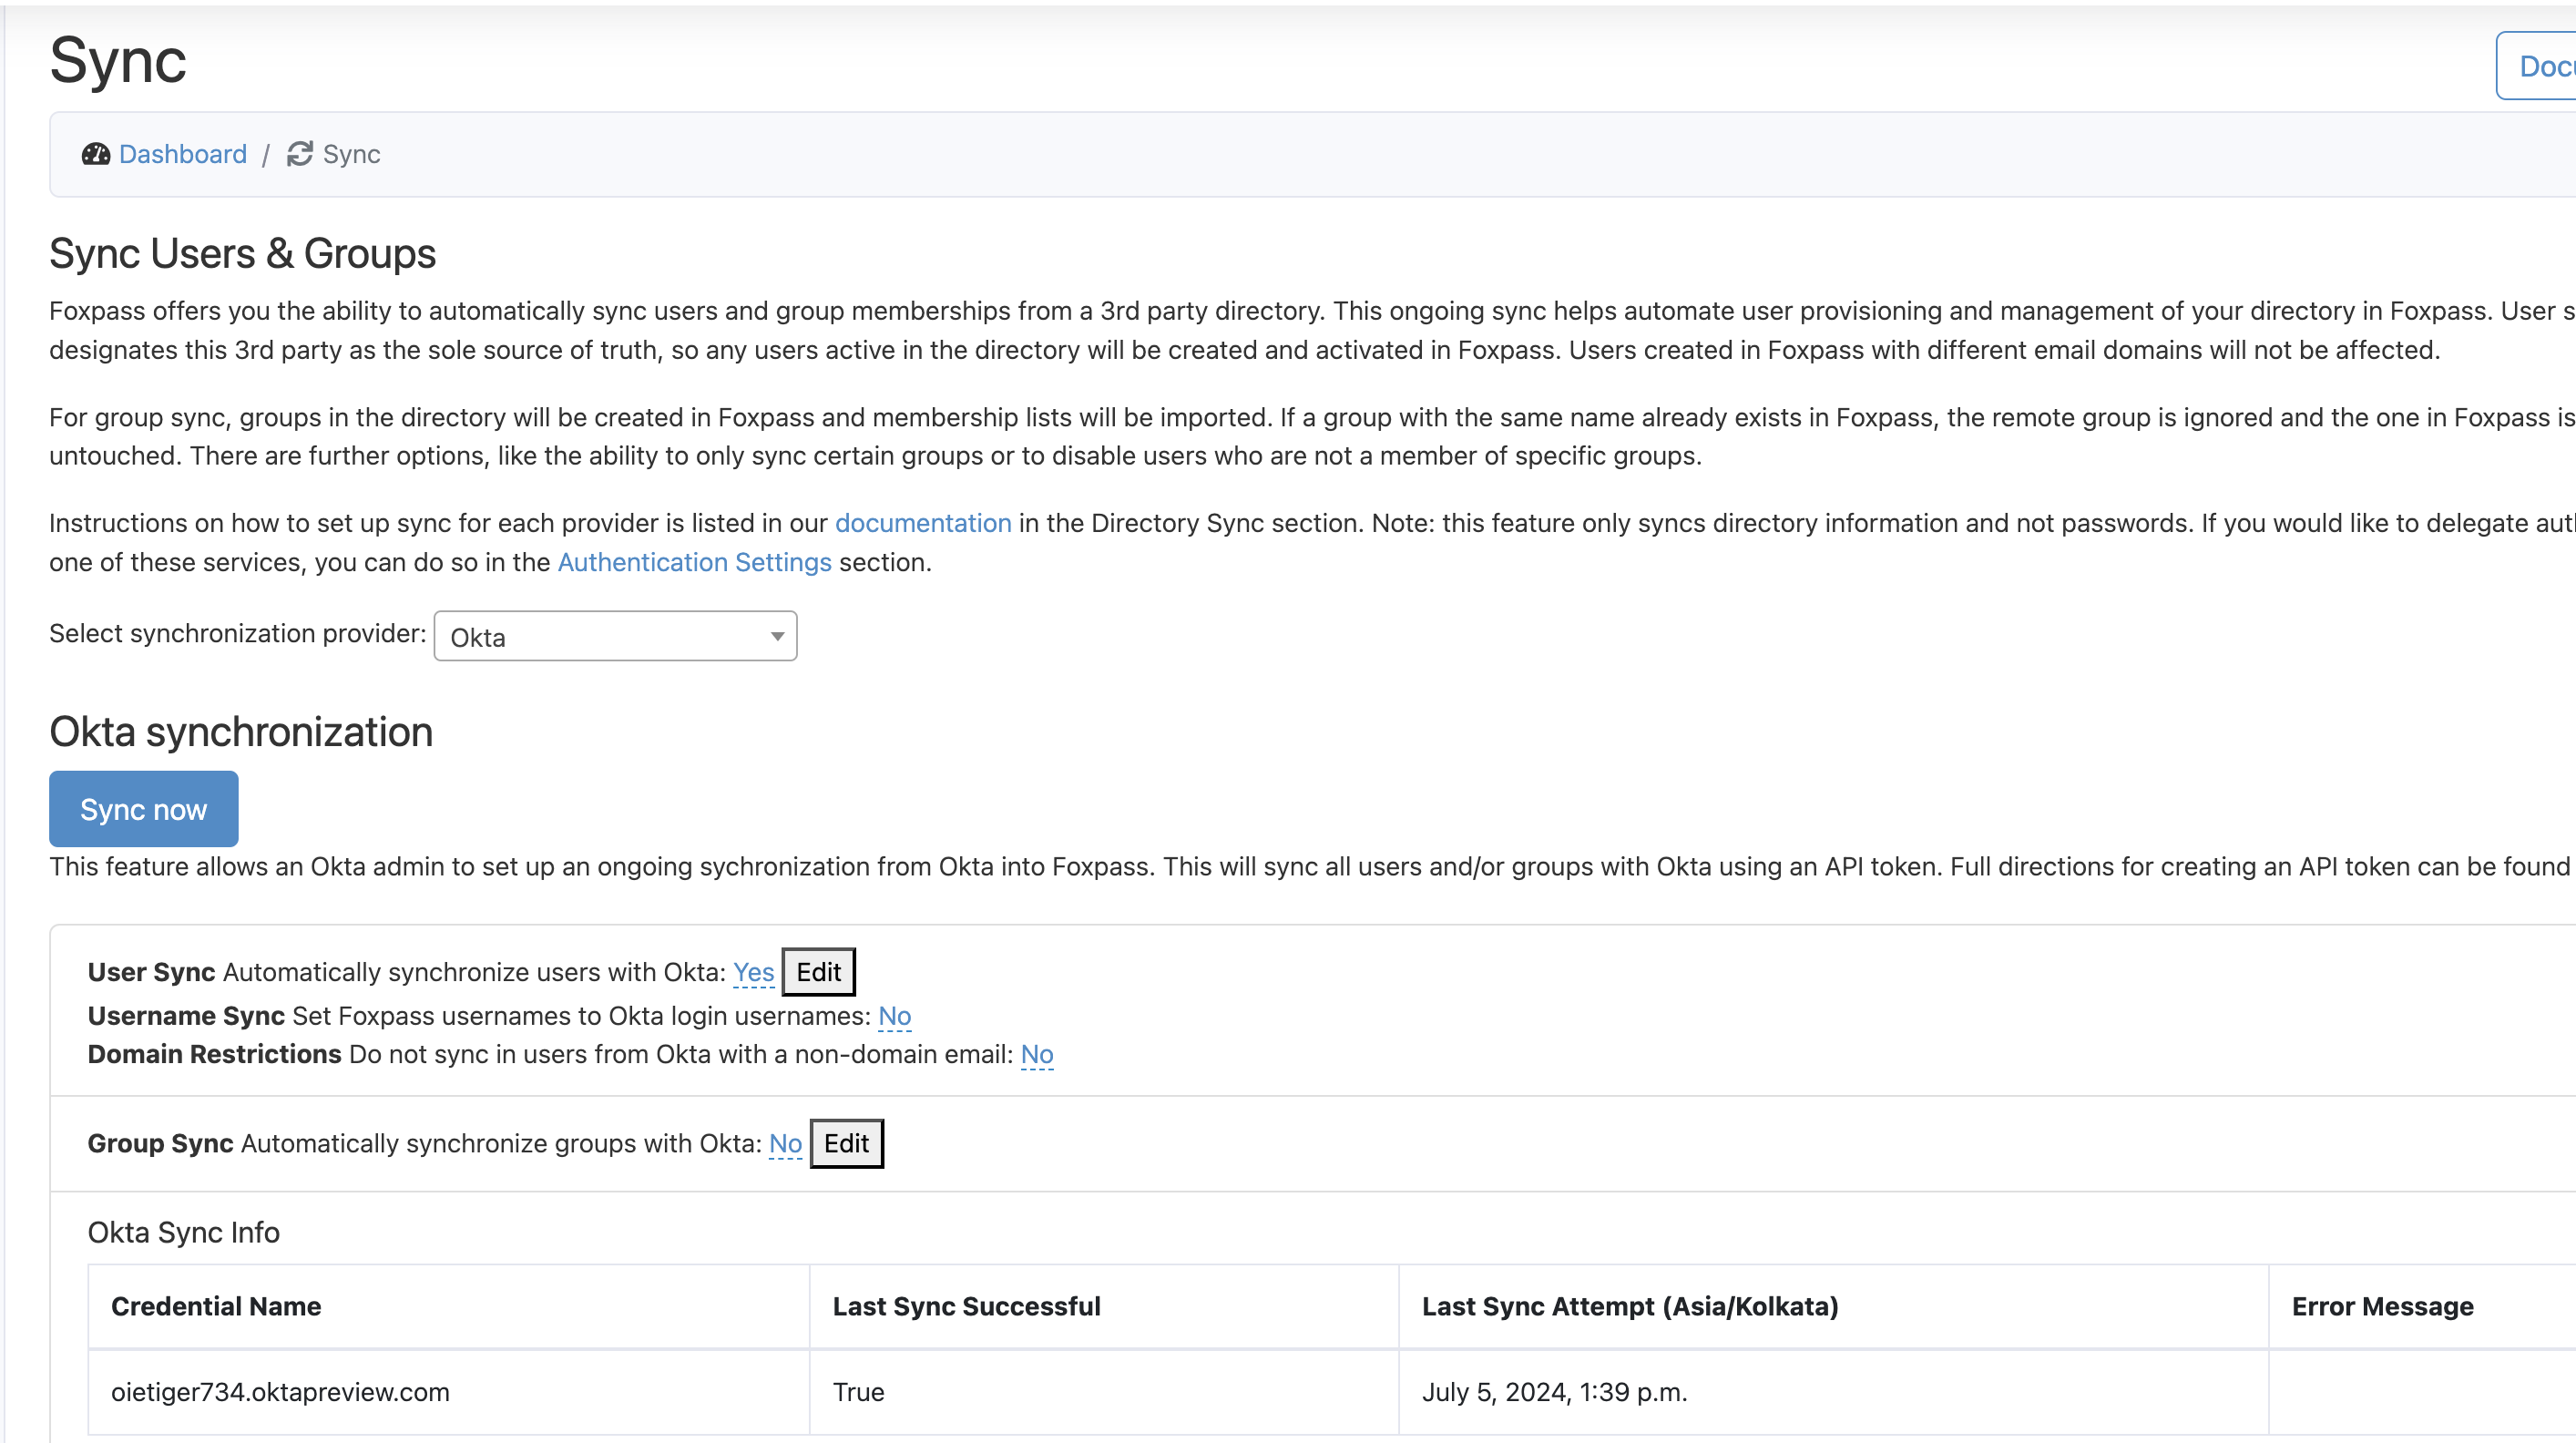
Sync successful
Now, you can see synced users on the Users page.
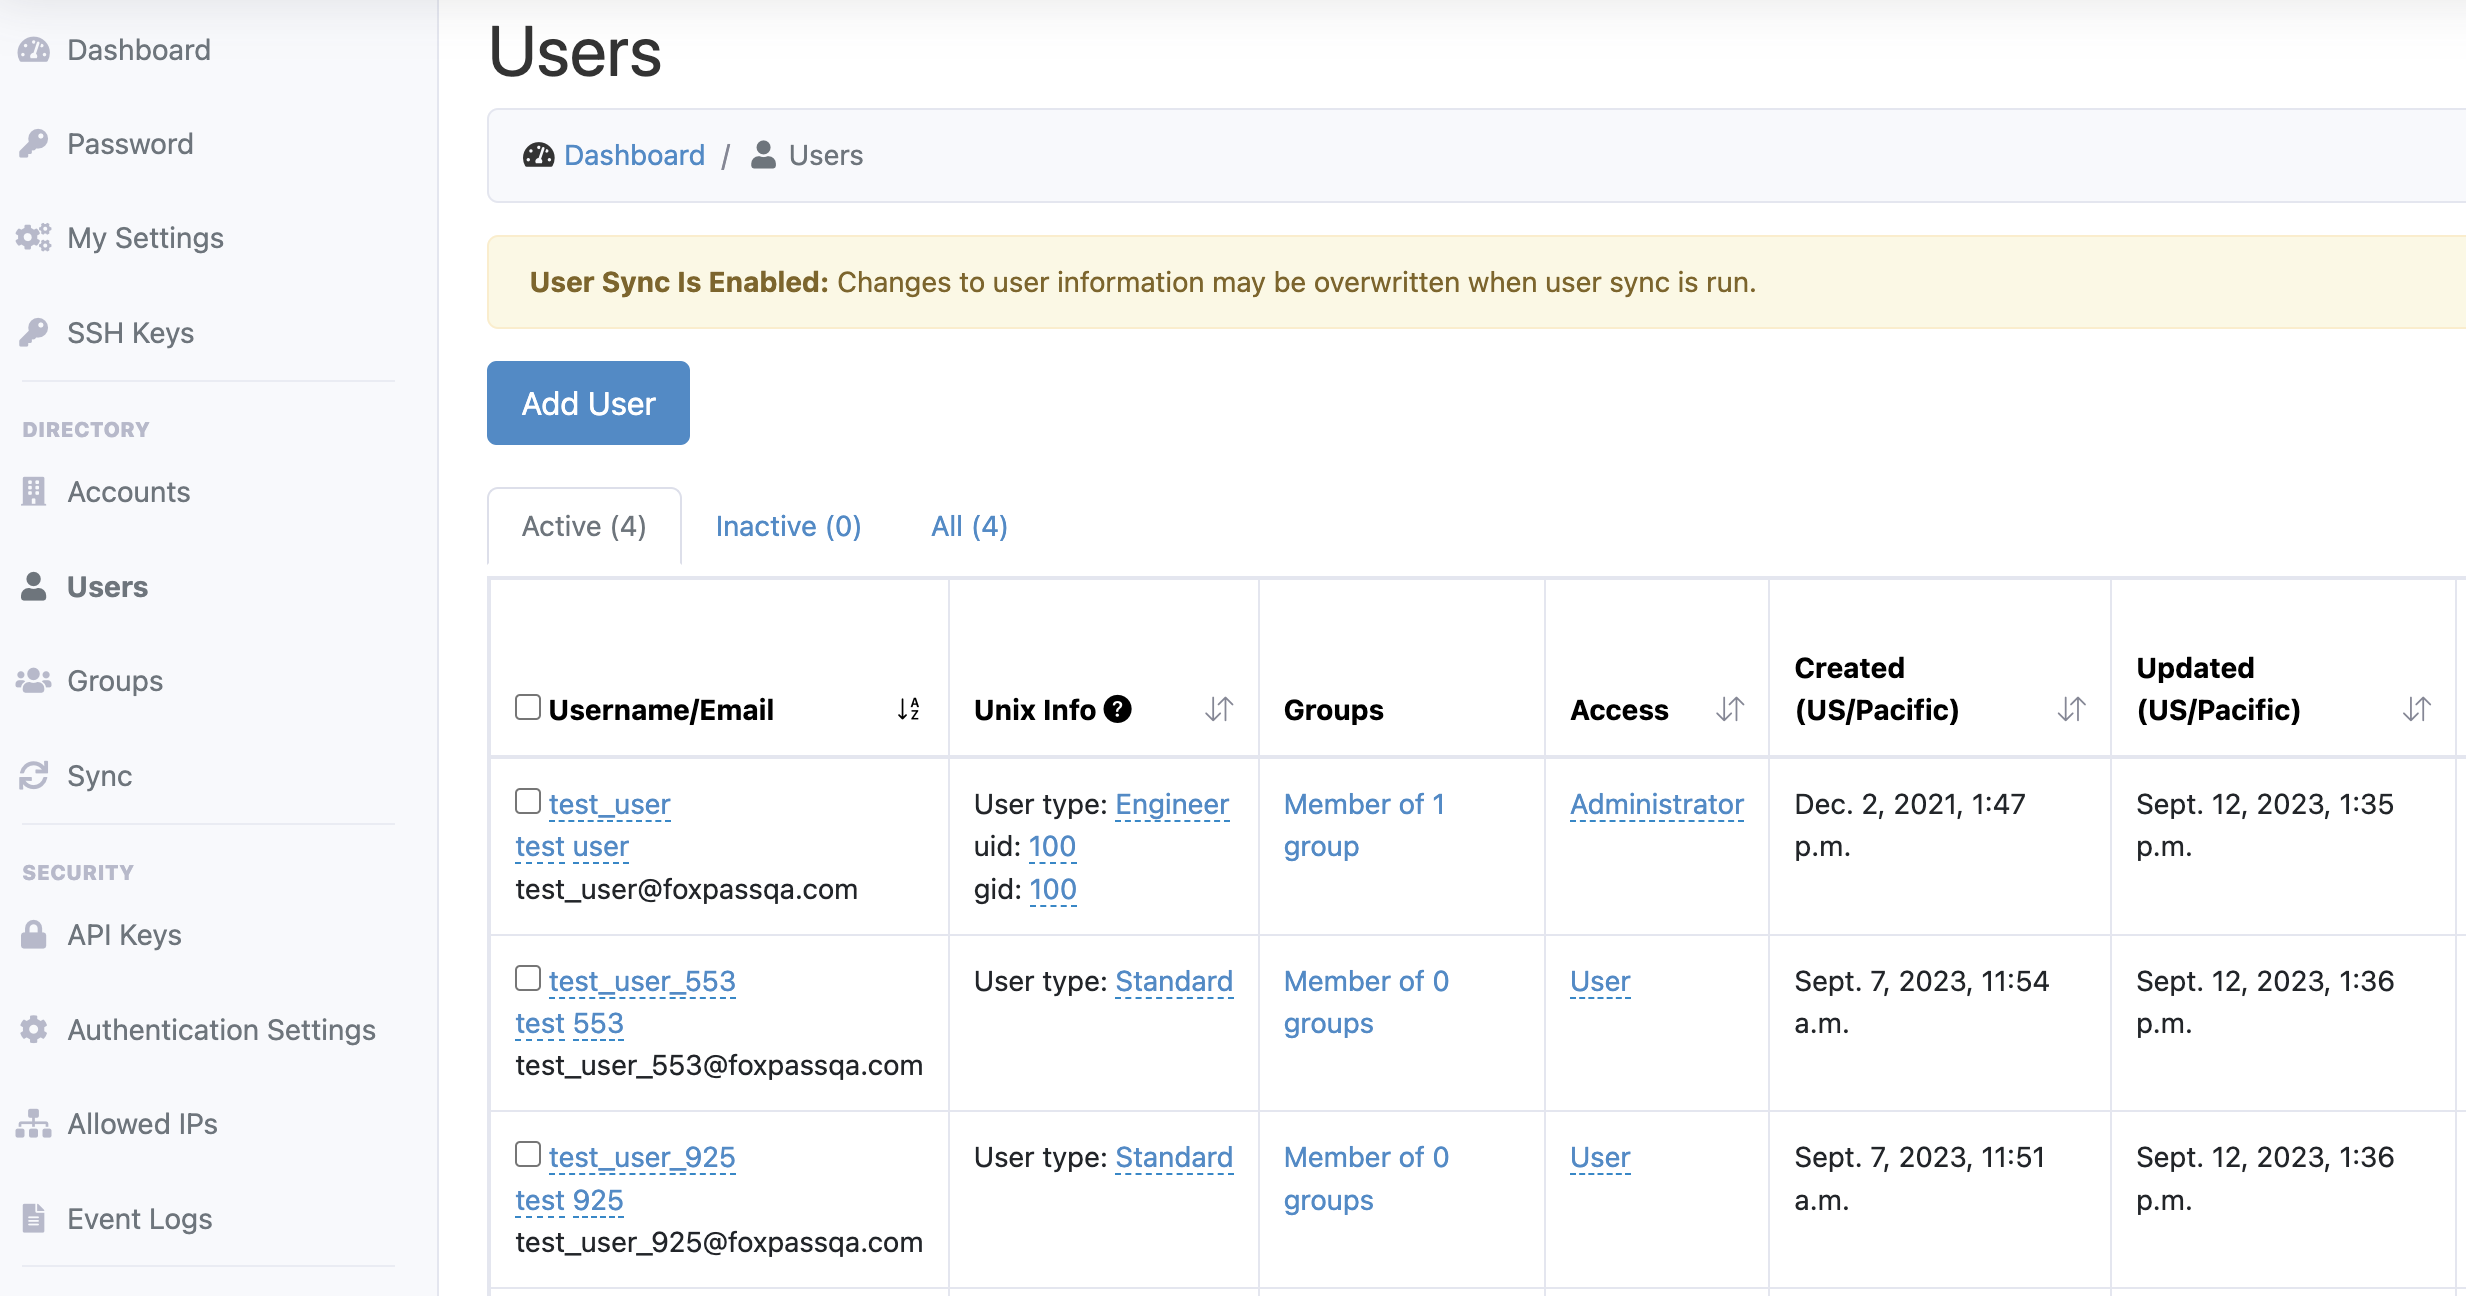
Sample Users page with synced users from Okta
5. Sync Groups
Select 'Yes' from the dropdown for 'Group Sync' option and click 'Sync Now' button. The Okta groups will be synced to Foxpass and can be seen on the Groups page.
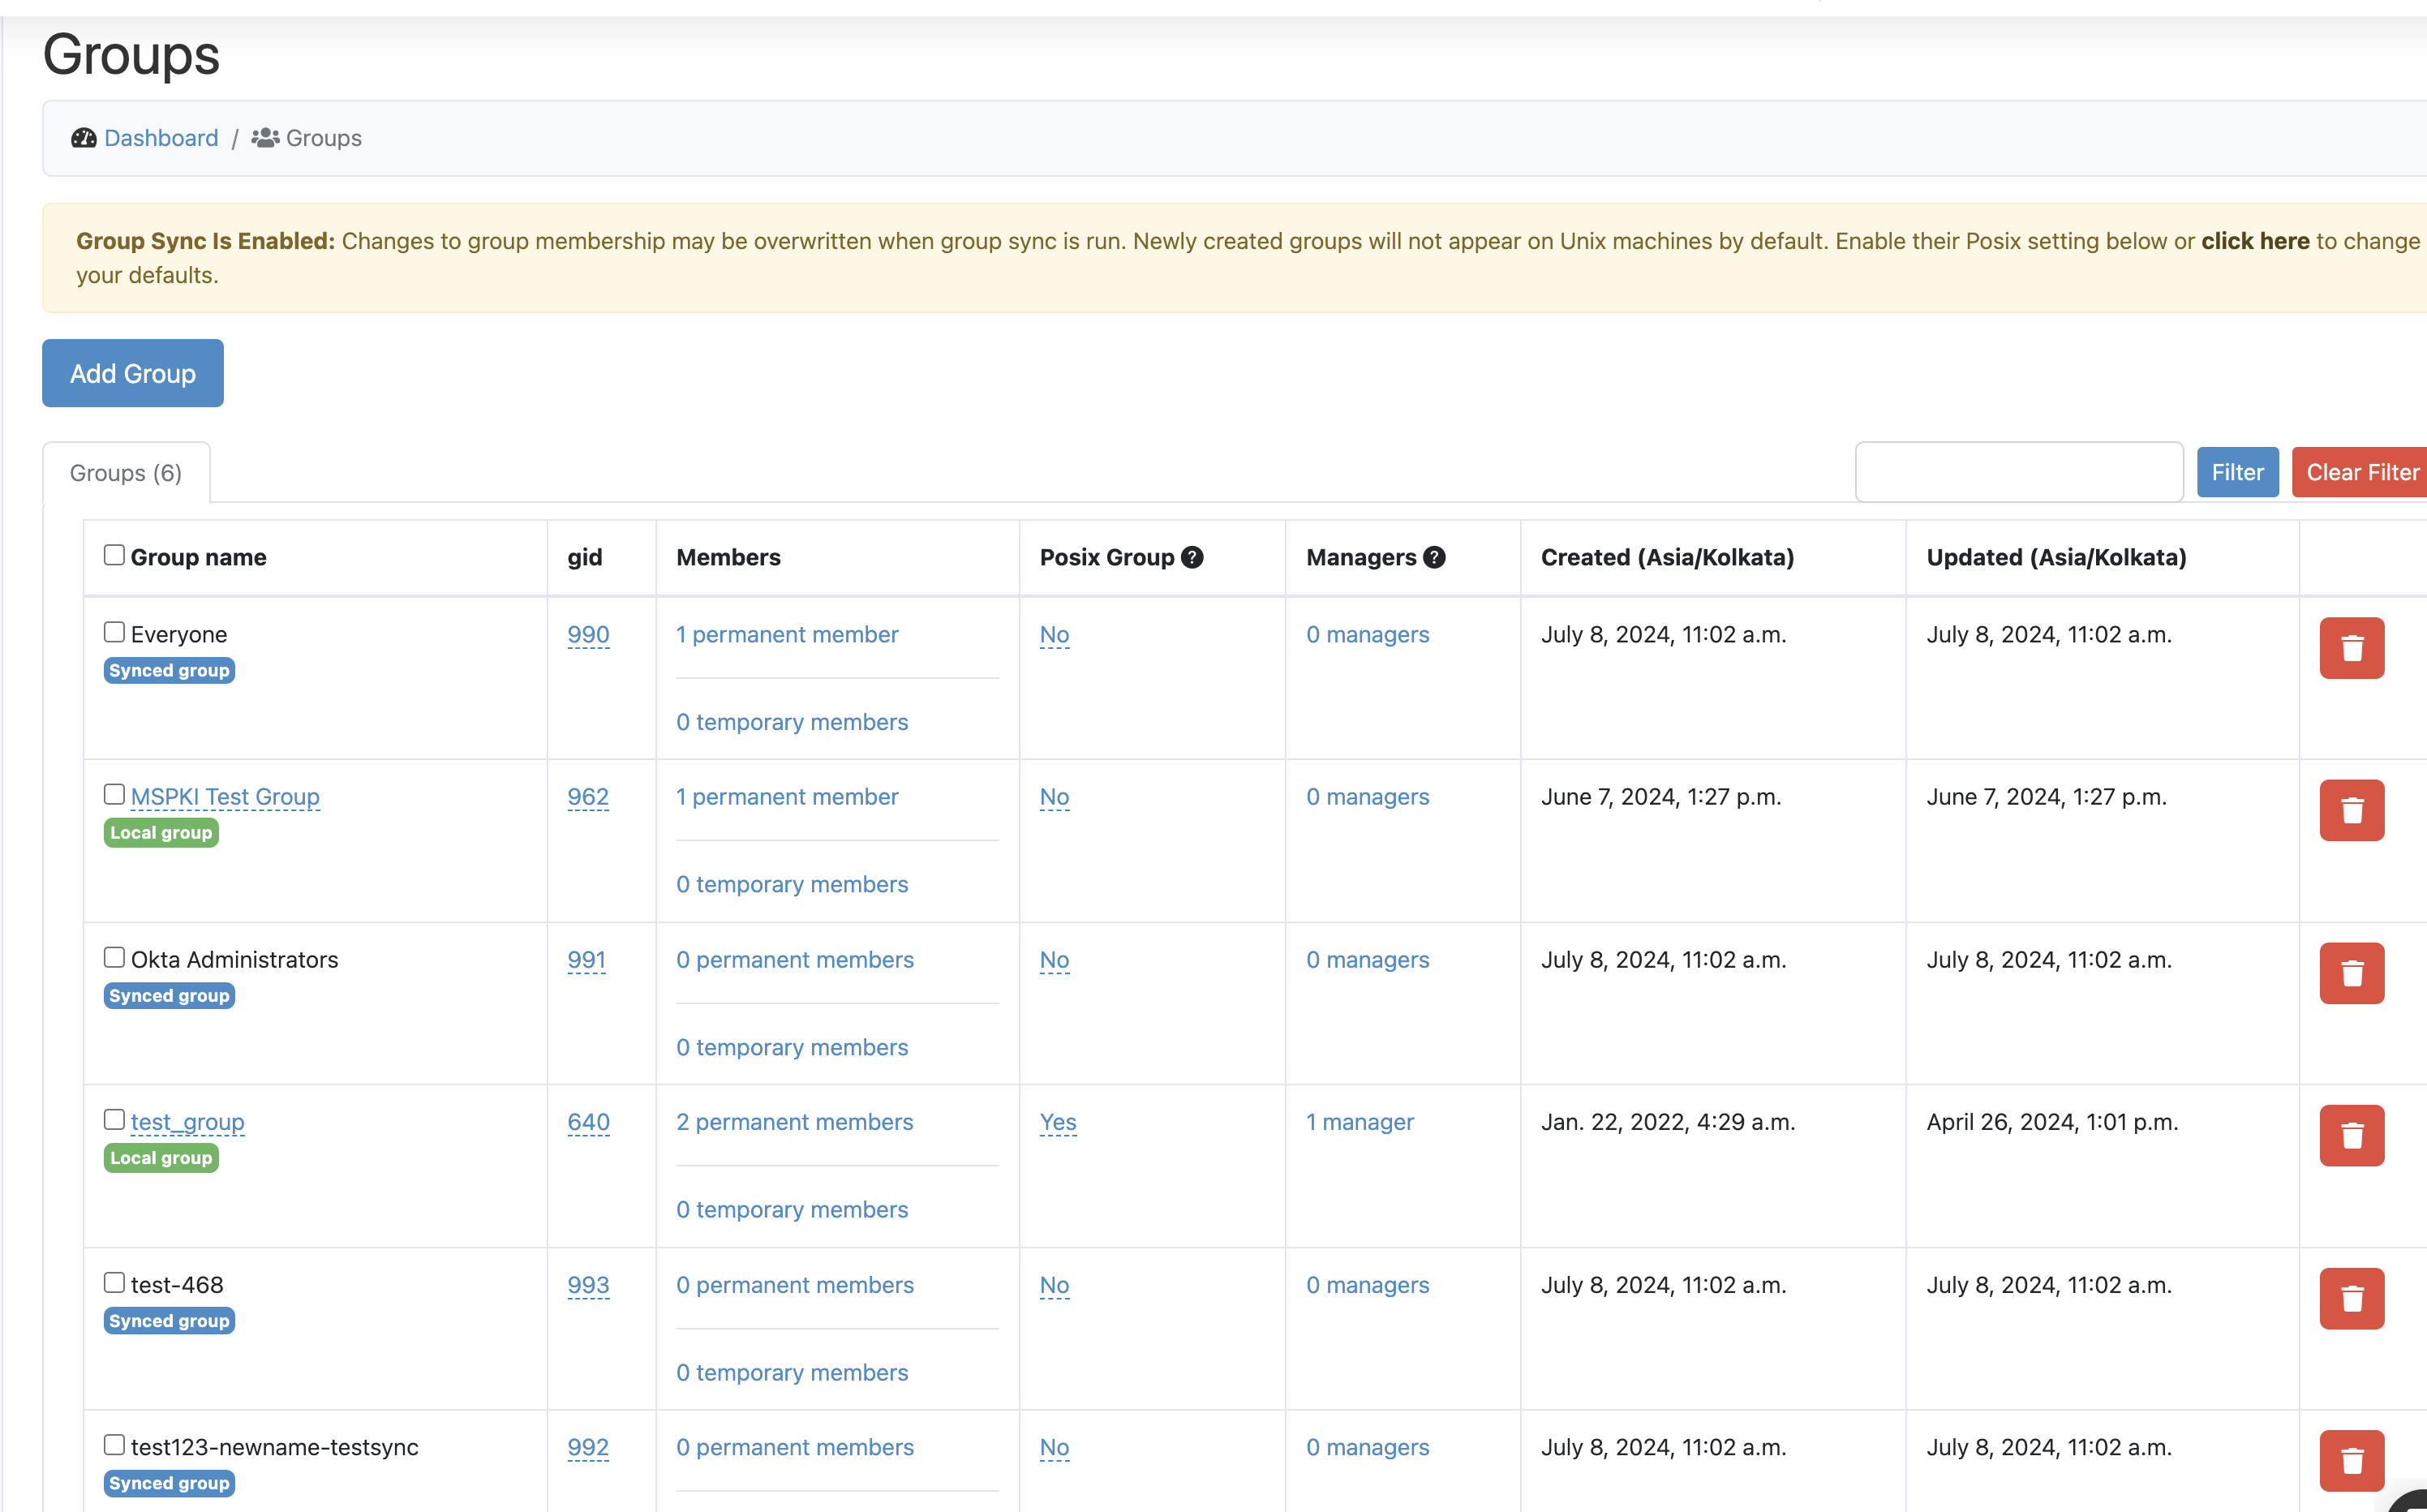
Sync Groups from Okta
Optional: Enable Group Sync Allowed list
If you have group sync enabled, you can allowed groups that get imported during sync. This is useful for organizations that only want to import a subset of their groups used in Foxpass. Once group sync is enabled, you'll see a field to add any group prefixes allowed to be synced. During the group sync process, any groups that do not begin with that prefix are not synced with Foxpass.
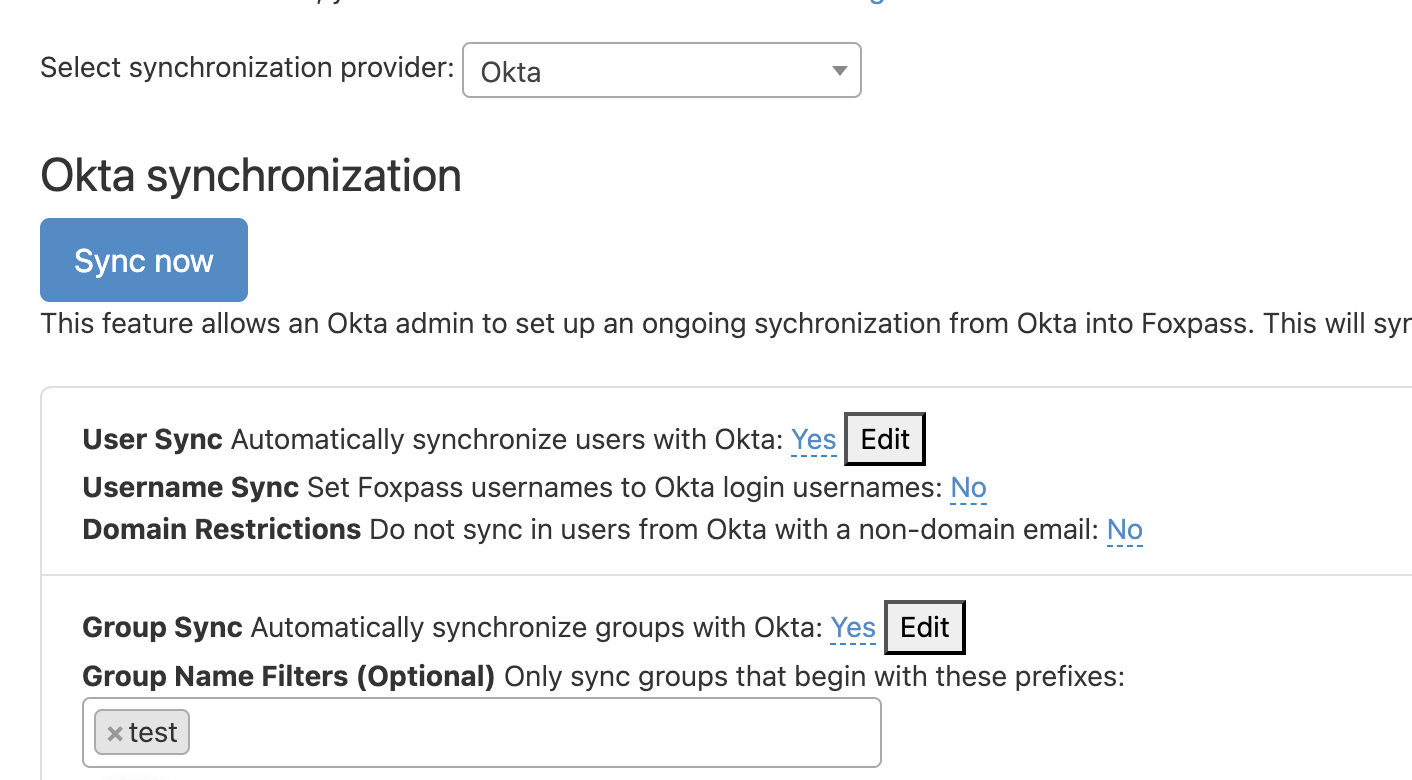
Group Name Filters
Optional: Enable Allowed Users list via Group Membership
If you have group sync enabled, you can add an allowed users list from specific groups. This is useful for organizations that only want a subset of their directory to have access to Foxpass. Once group sync is enabled, you'll see a field to mark any groups allowed to be synced. During the group sync process, any users that are not a member of one of those groups are automatically marked as "inactive."

Enable Allowed Users list
Optional: Enable Non Allowed Users list via Group Membership
If you have group sync enabled, you can have a list of non-allowed users that belong to specific groups. This is useful for organizations that have a large number of machine or role accounts that don't need access to Foxpass. Once group sync is enabled, you'll see a field to mark any groups to be ignored from syncing. During the group sync process, any users that are a member of one of those groups are automatically marked as "inactive."

Enable Non Allowed Users
Optional: Synchronizing Foxpass usernames with Okta login usernames
This process ensures that usernames in Foxpass match the login usernames in Okta, providing a seamless authentication experience. By mapping the Okta login attribute to the corresponding Foxpass username attribute (e.g., sAMAccountName or userPrincipalName), users can use the same credentials across both platforms.

Sync Foxpass username to Okta login usernames
Optional: Restrict users by domain
If your organization's Okta directory includes a lot of users from another part of your organization or freelancers that you don't want in Foxpass, you can enable the Domain Restrictions feature for Okta sync. This will prevent any new non-domain users from syncing into Foxpass from Okta.
For instance, if your company's domain is @example.com and you were just bought by @bigcorp.com and your Okta directories were merged, enabling this setting will mean that only your @example.com users will sync with Foxpass. This will also apply to any outside users with a different email domain.

Restrict users by domain
Optional: Configure subdomains
Foxpass allows you to sync usernames with Okta and includes an option to edit subdomains. Click on 'Edit Subdomains' button and specify subdomains or use wildcard subdomains (e.g., *.domain.com). Foxpass will include users from these subdomains, ensuring comprehensive user synchronization across your organization.
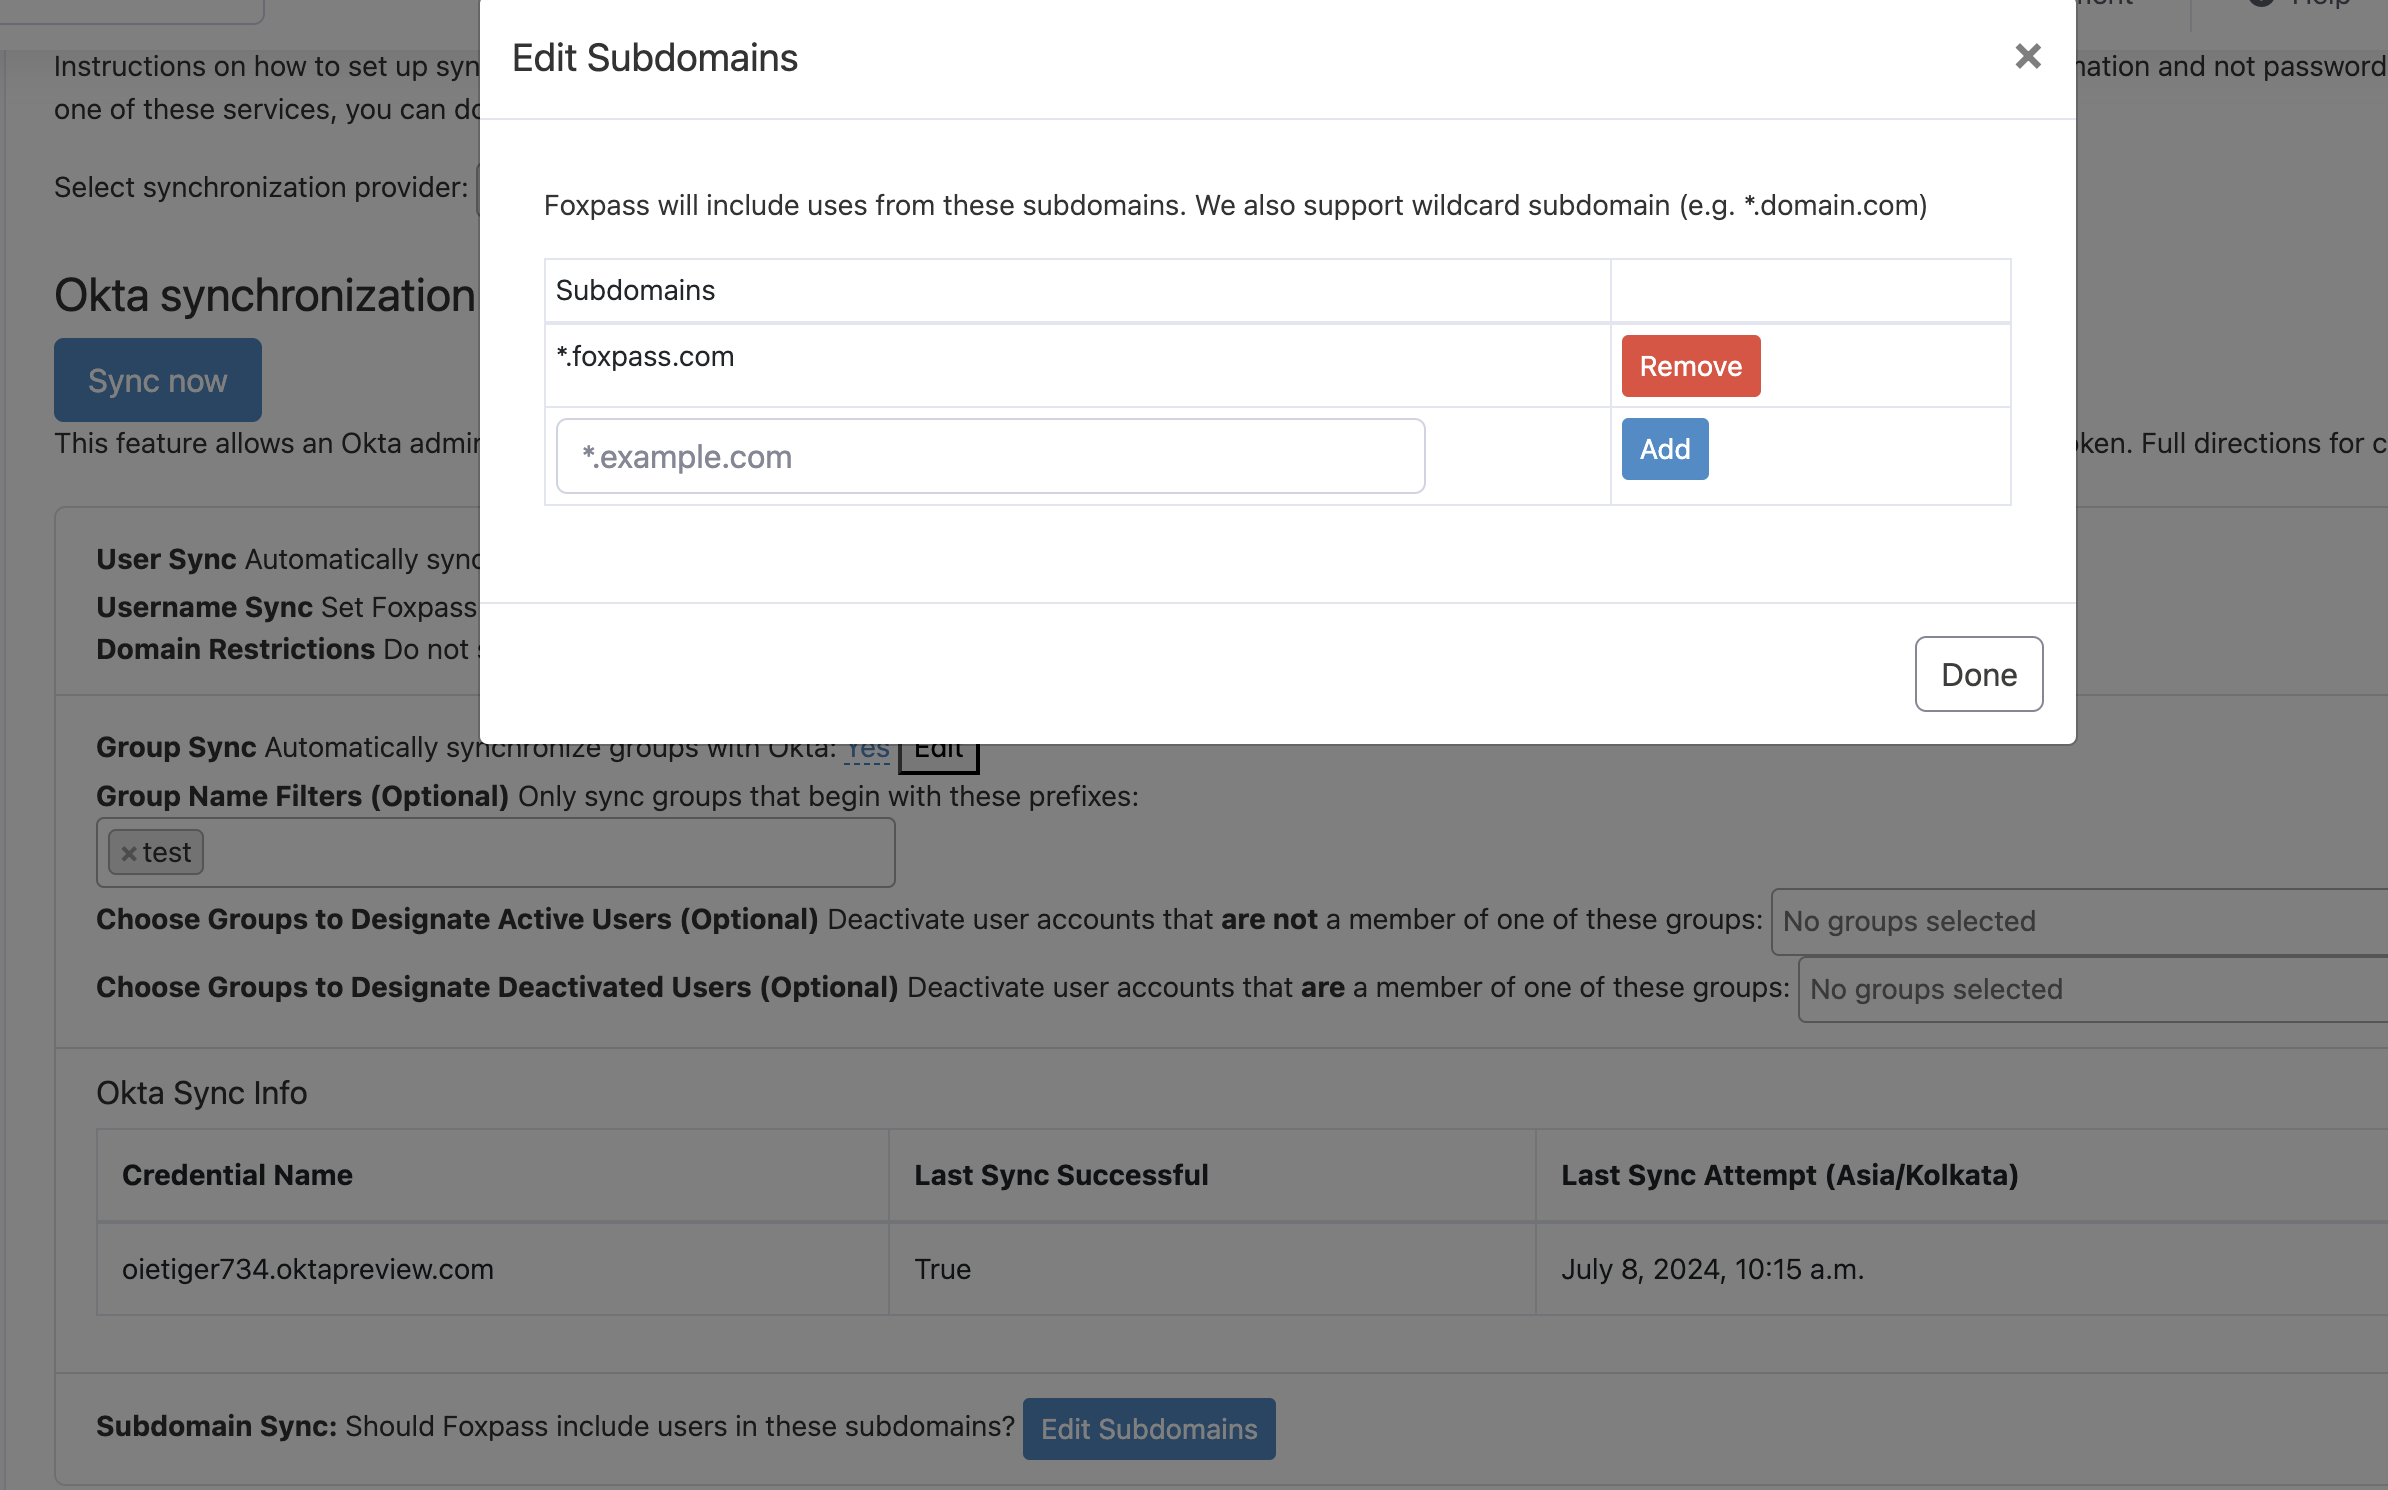
Configure subdomains
Updated 3 months ago
