
JAMF SCHOOL SCEP Configuration
This document guides you through the configuration of Jamf School to use SCEP with Foxpass.
Configure EAP-TLS on Foxpass
Please follow the EAP-TLS initial setup guide to create client CA, server CA and SCEP endpoint if not configured already.
SCEP endpoint
Verify if the SCEP endpoint is configured correctly in Foxpass. Note the SCEP URL and challenge password for SCEP endpoint from the SCEP page and proceed to Configure Profile section of this documentation.
- Copy the URL and the challenge password from the SCEP page.

Note the URL and challenge password
- Note the thumbprint of the Client CA used in the SCEP endpoint from the EAP-TLS page.

Note the thumbprint
Configure Profile in JAMF School
- Go to 'Profiles' and click 'Create Profile' button.
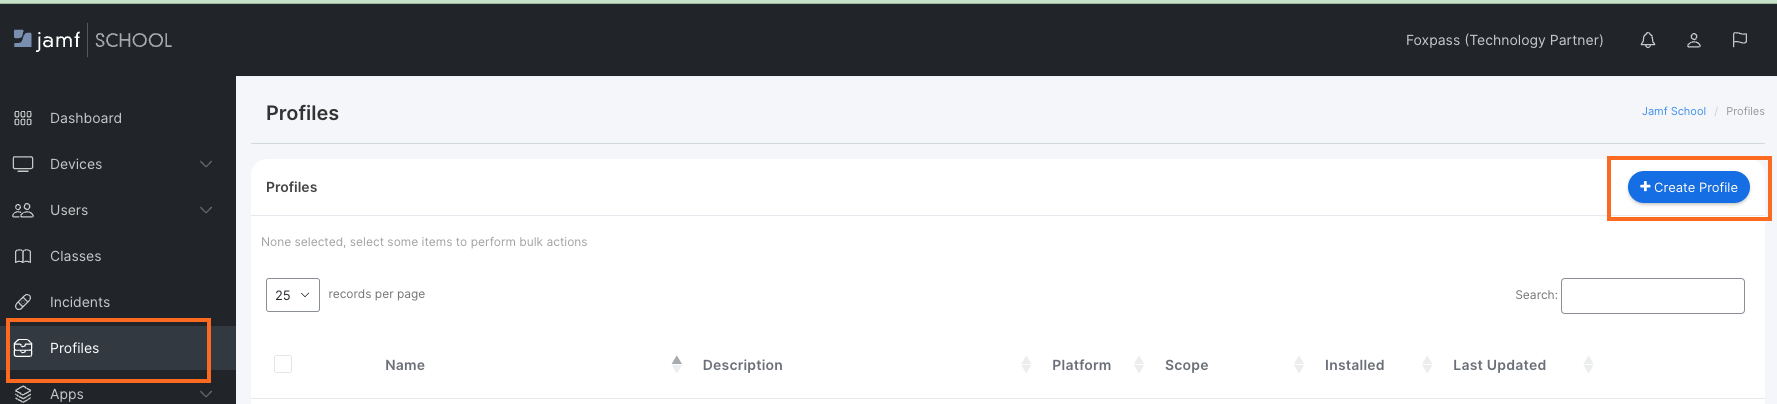
Create Profile
- Select 'macOS '.
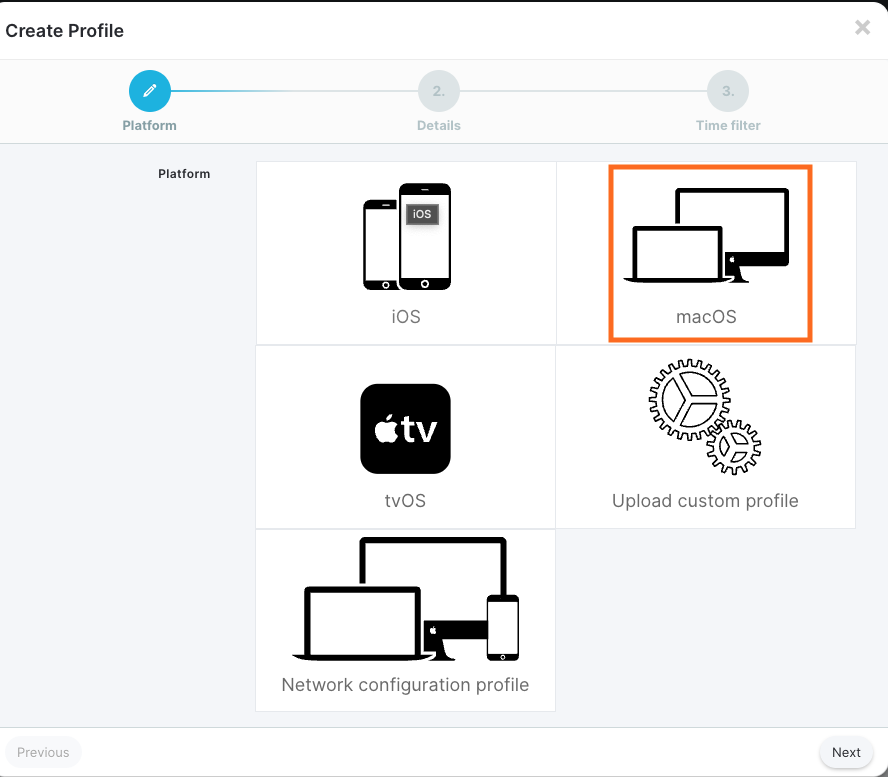
Select macOS
- Select 'Device Enrollment'.
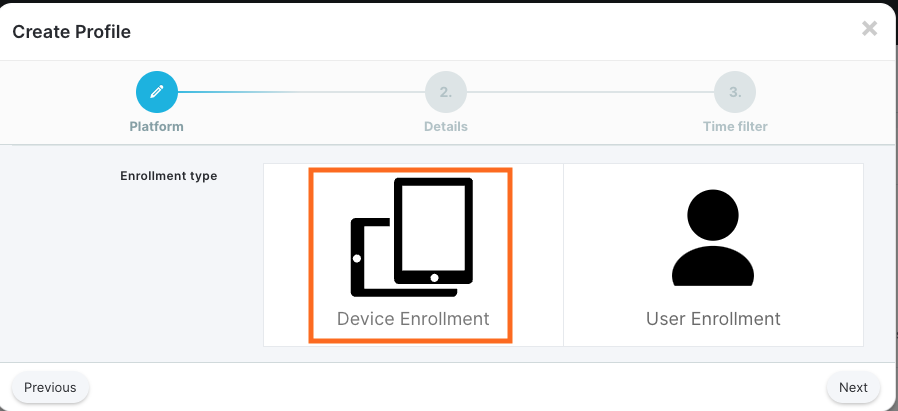
Select Device Enrollment
OR
- Give a name to profile and click 'Next'.
- Use and configure time filter as per your use case.
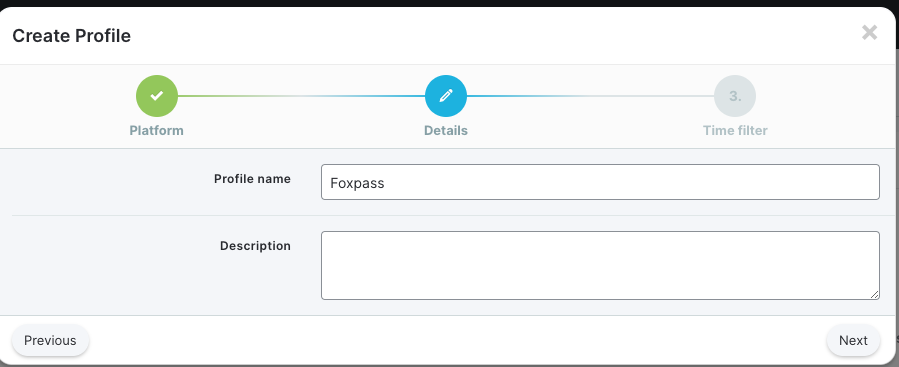
Name your Profile
Configure SCEP
Click on 'SCEP' under 'General Payload' and then click 'Configure'.
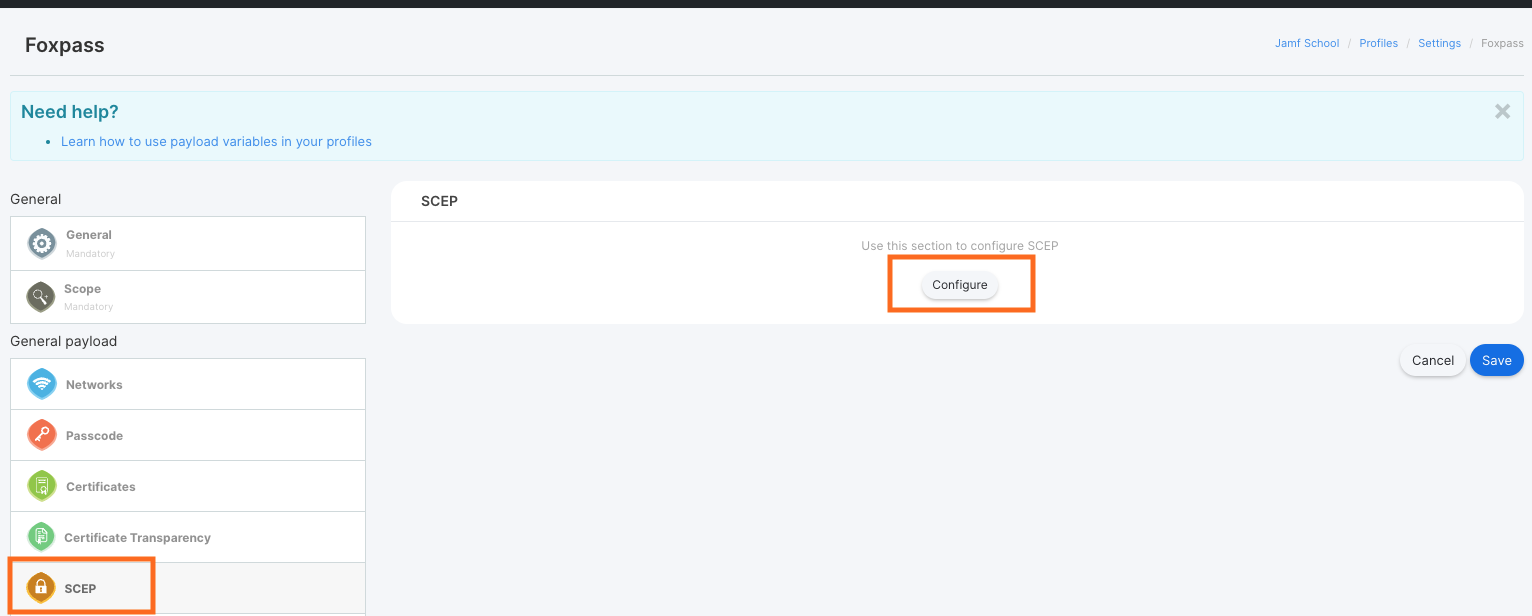
Configure SCEP payload
- URL: SCEP URL noted earlier.
- Name : Your choice. For example: Foxpass SCEP
To configure the Device certificate type, you have two options: either Sync devices from JAMF on the Devices page, or select 'None' for the verification type when creating an SCEP endpoint on the SCEP page.
- Subject: CN=%udid% for device certificate or CN=%Email% for a user certificate
- Subject Alternative Name Type: RFC 822 Name
- Subject Alternative Name Value: Leave it blank.
- Challenge: Paste the challenge password noted earlier.
- Key Size : 2048
- Fingerprint: Paste the thumbprint noted earlier.
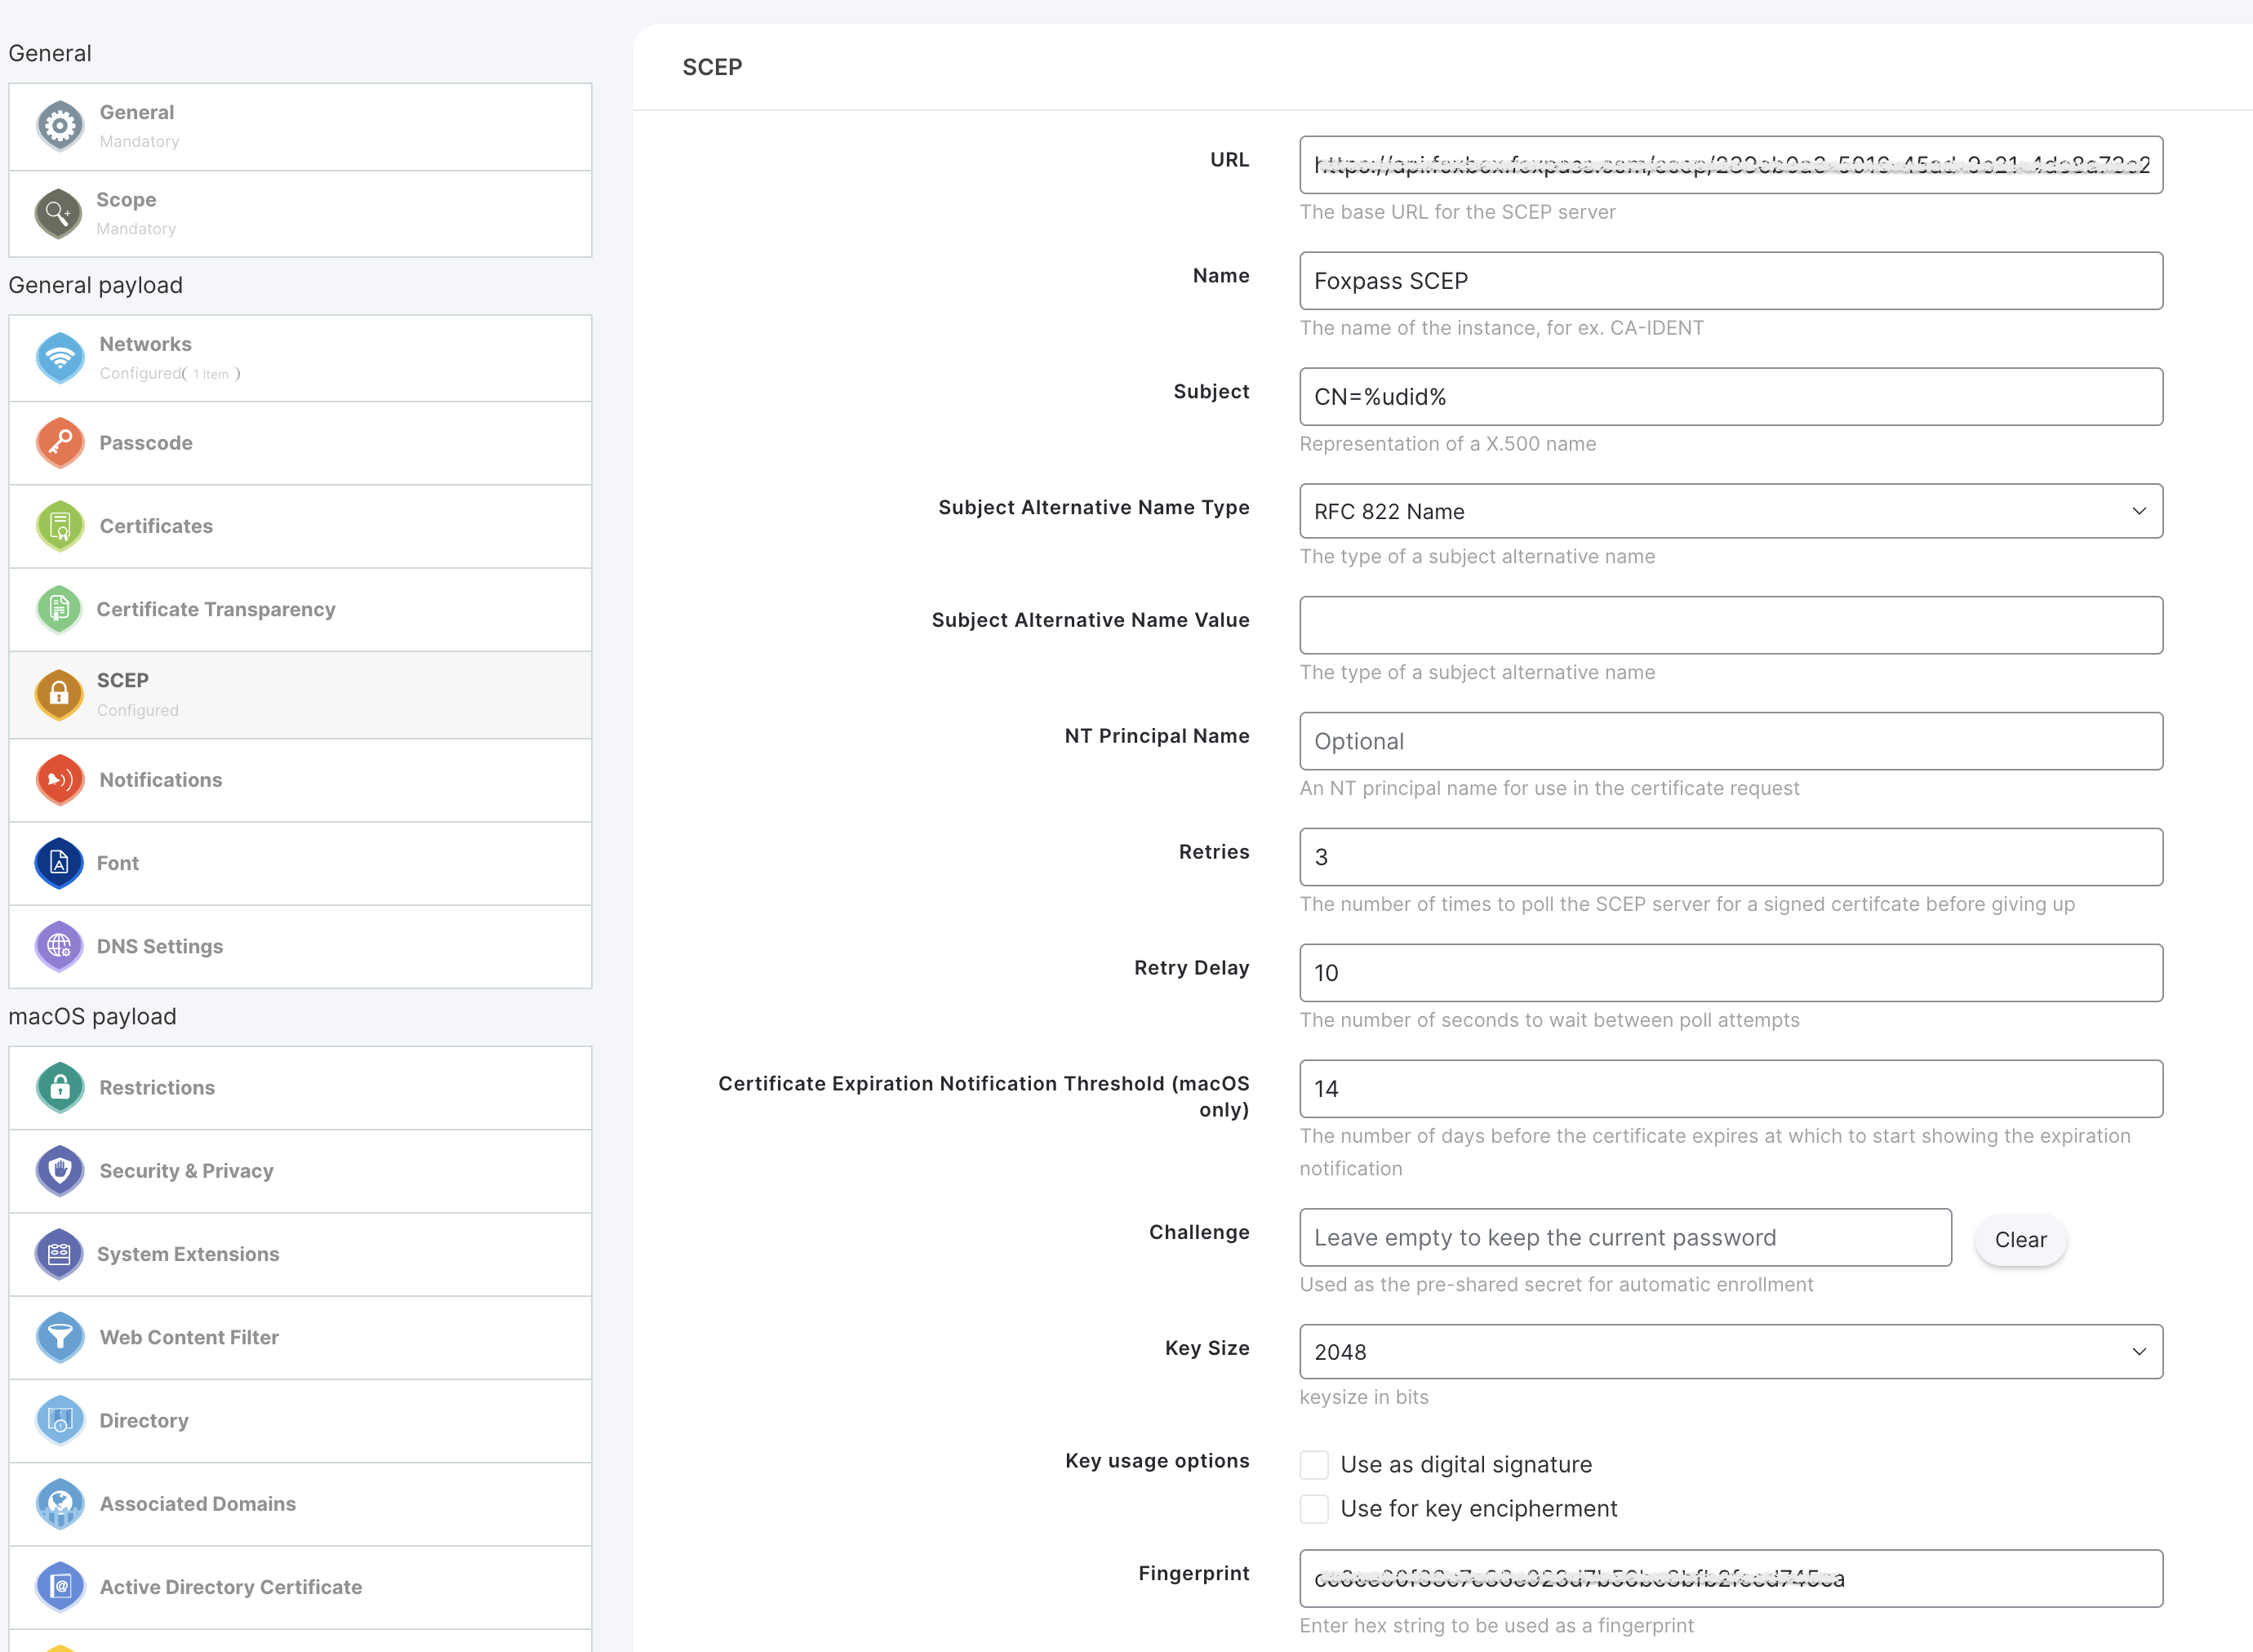
SCEP payload settings for a device certificate
OR
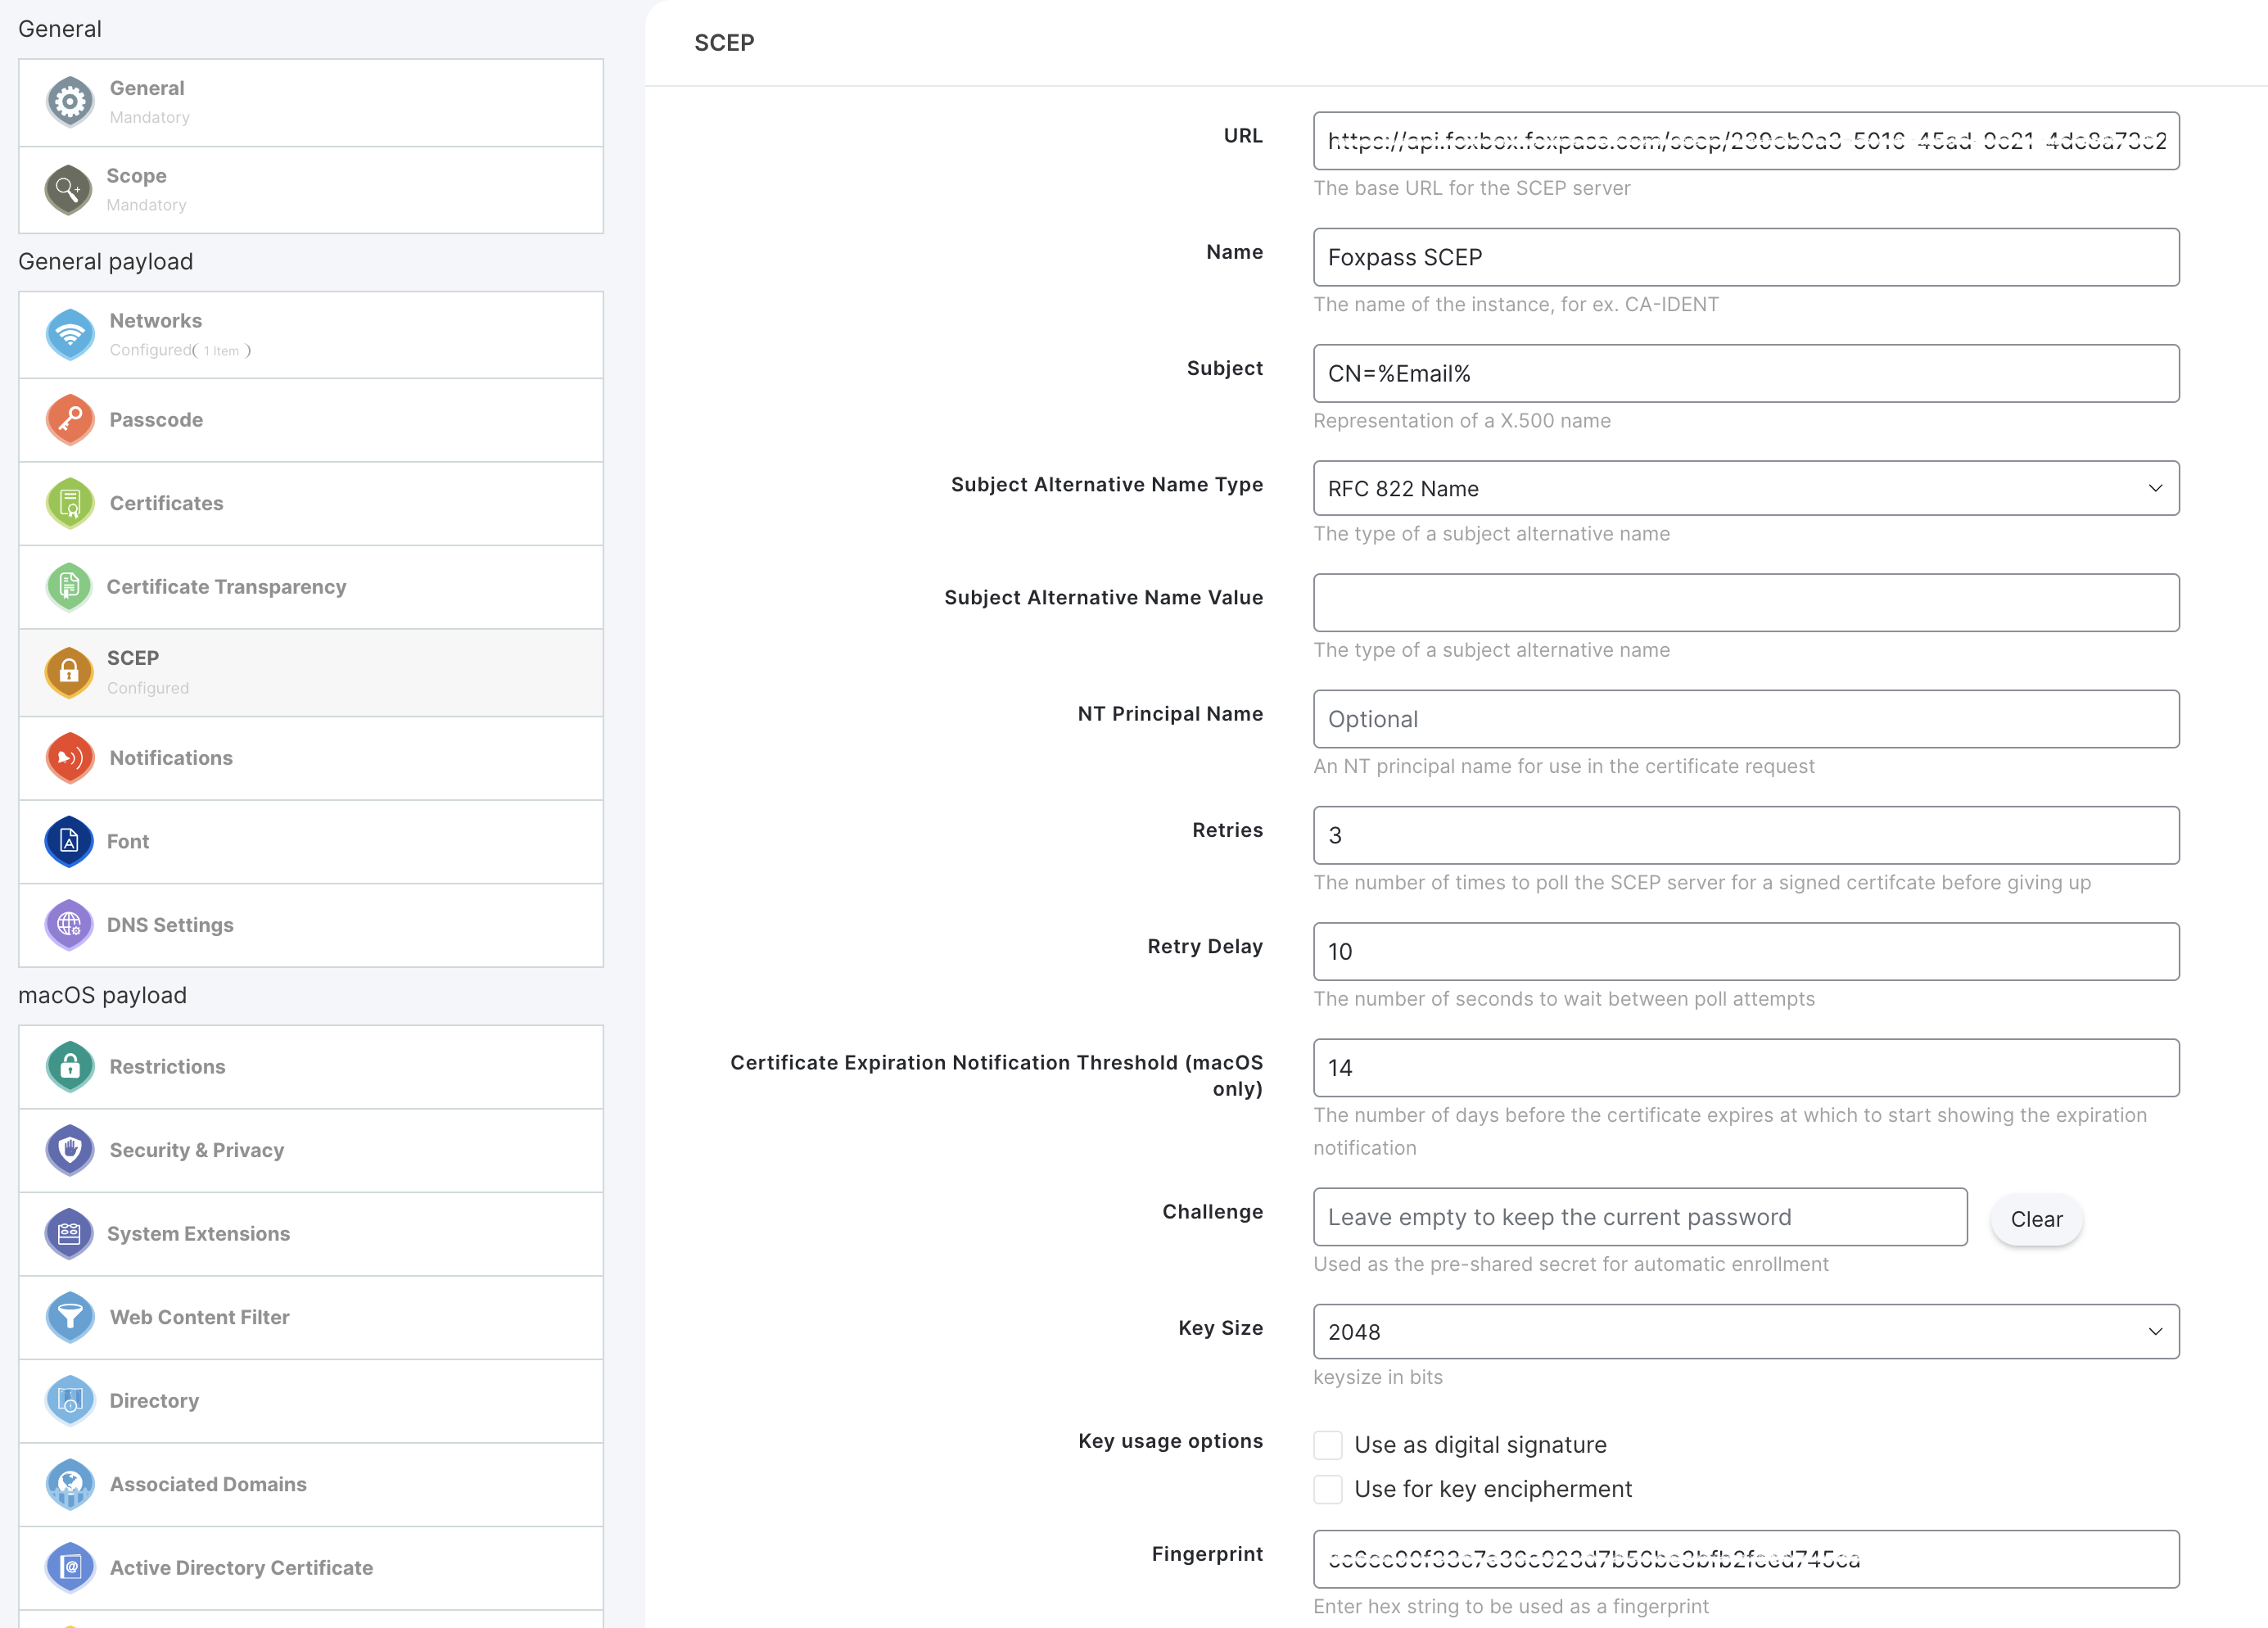
SCEP Payload settings for a user certificate
Configure Certificates
- Click on 'Certificates' under 'General Payload'.
- Click Choose File > Select the previously downloaded active server CA from Foxpass.
- Click 'Upload certificate'.
- Click Save.
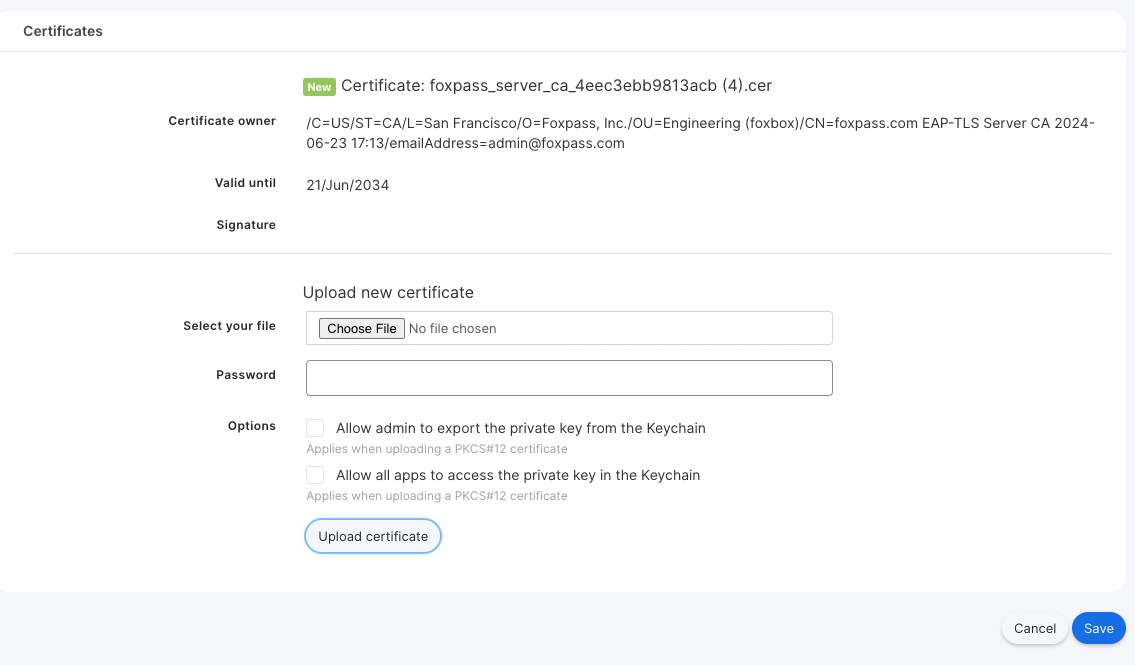
Upload Foxpass's active server CA
Configure Networks
- Click on 'Networks' under 'General Payload'.
- Click 'Configure'.
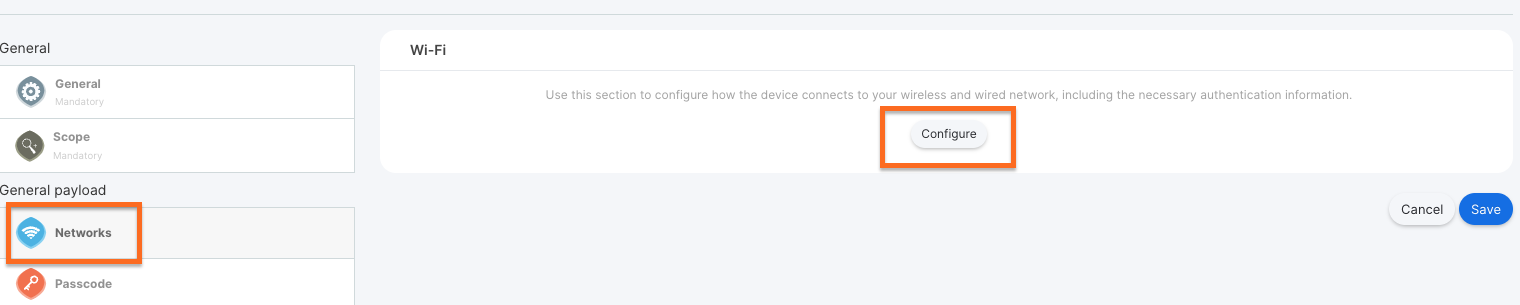
Configure Networks
- Network Interface: Wi-Fi
- SSID: Your network's SSID Note: this must match EXACTLY, including capital letters.
- Security: WPA2 Enterprise
- For Protocols, Supported Types: TLS
- Username: Your username
- Identity certificate: Select SCEP(configured earlier) from the dropdown.
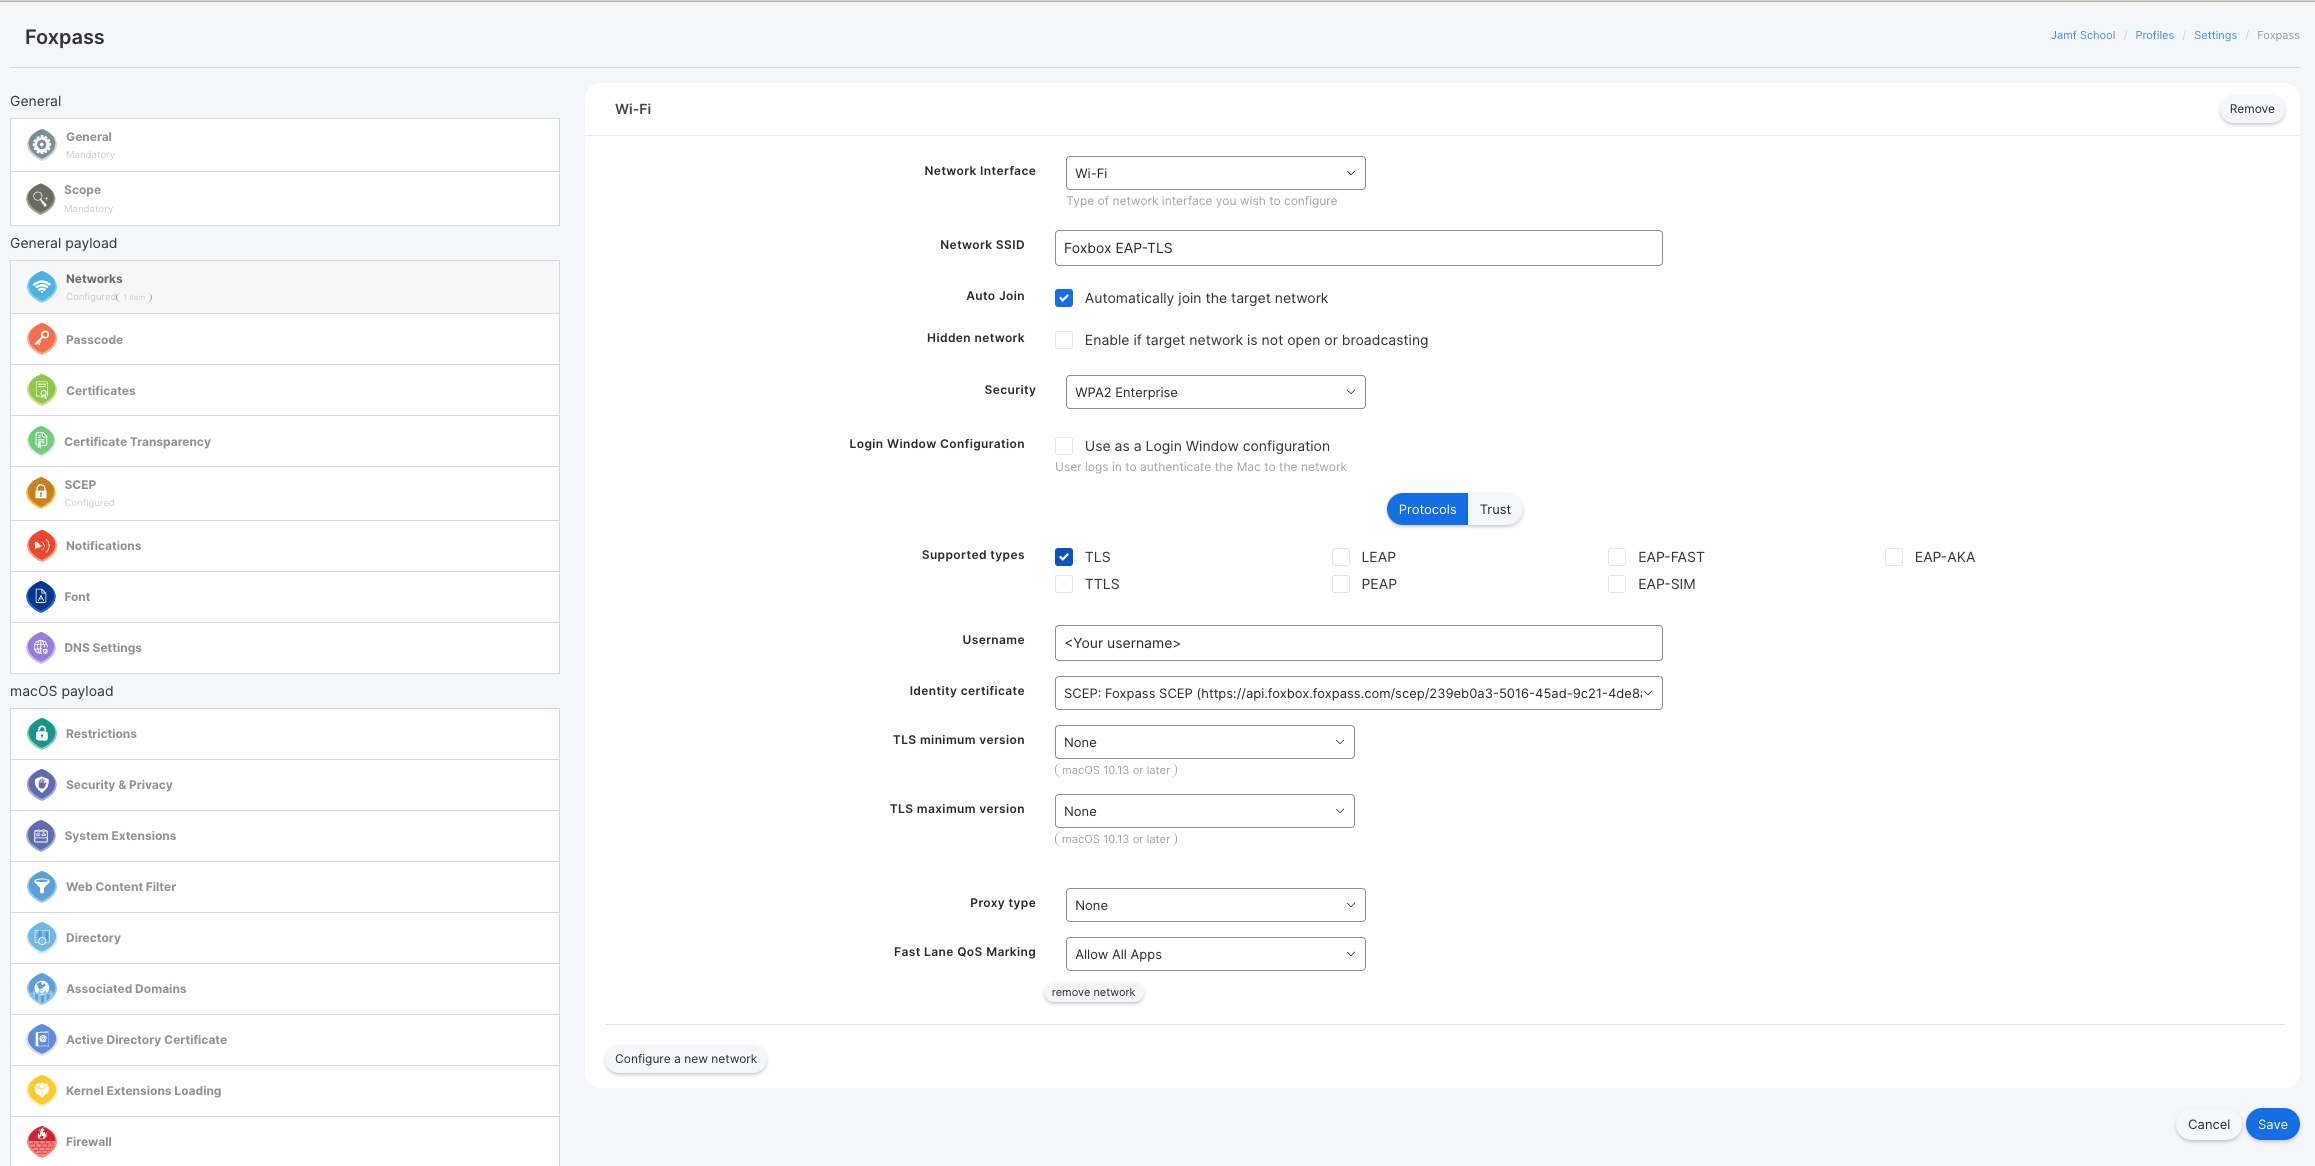
Configure Network
- Select 'Trust' and then check Foxpass Server CA certificate.
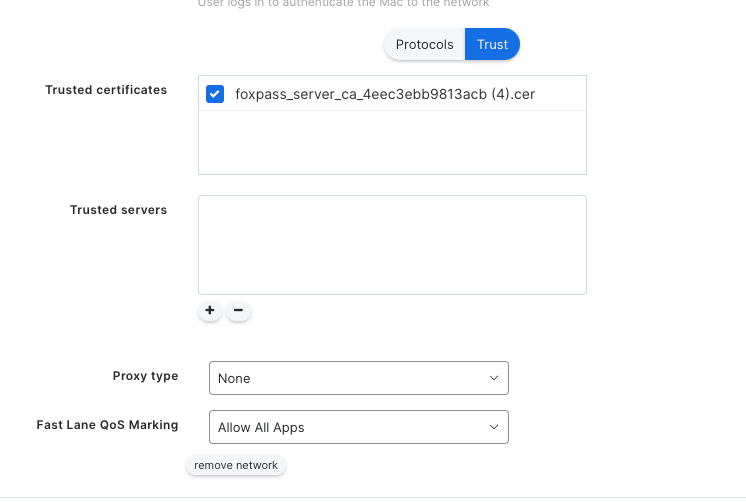
Trust Foxpass Server CA
Enroll your device.
- On your macOS device, open a browser and go to your device enrollment URL. The enrollment URL is the full URL of your Jamf School server followed by /enroll. You can enroll your device as per your use case. This documentation highlights 'On-device' enrollment instructions.
- Locate Network ID in your JAMF School account by going to Devices > Enroll Device(s) > On-device enrollment (iOS & macOS).
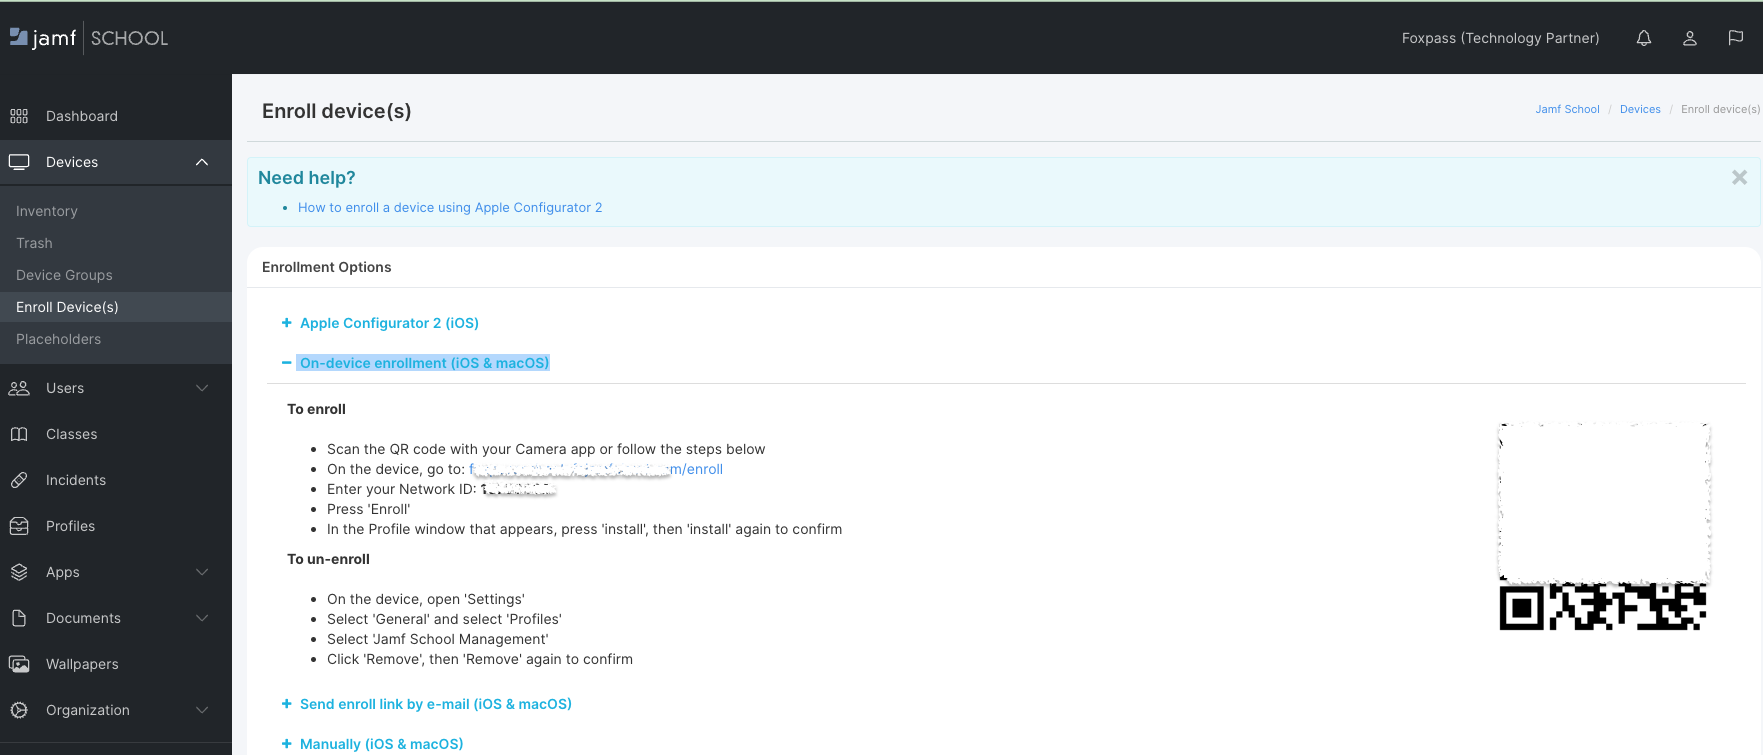
Locate Network ID
- Enter your Network ID and click Enroll.
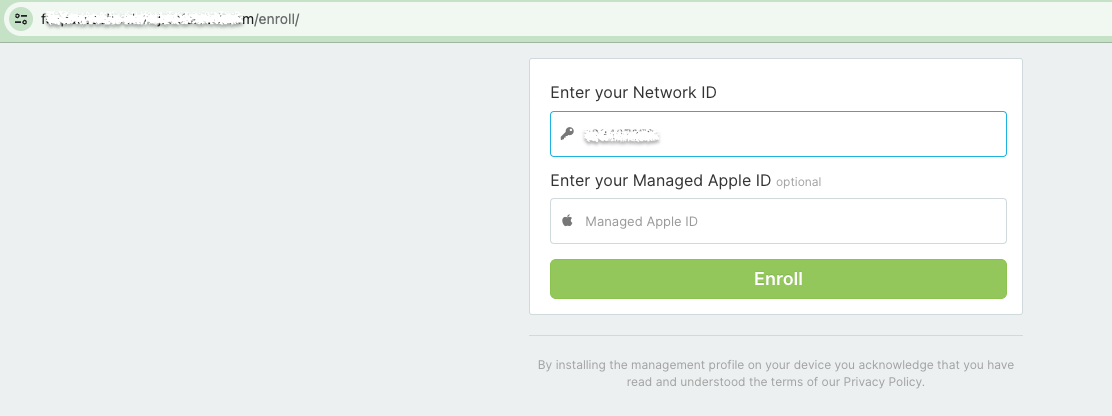
Enter Network ID and click Enroll
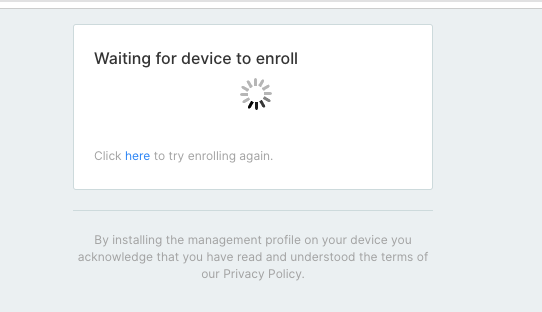
Wait for mobileconfig to be downloaded
- The mobileconfig will be downloaded on your device. Click on the profile downloaded.
- Go to System Preferences > Profiles on your macOS device.
- Click on 'Install' to install the profile.
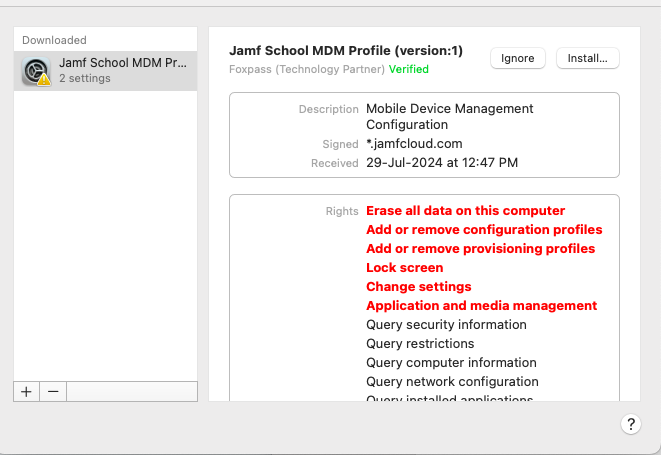
Install the profile
- Follow the on-screen instructions and install the profile.
- In JAMF School account, go to 'Devices' > 'Inventory'. Your device will appear here.
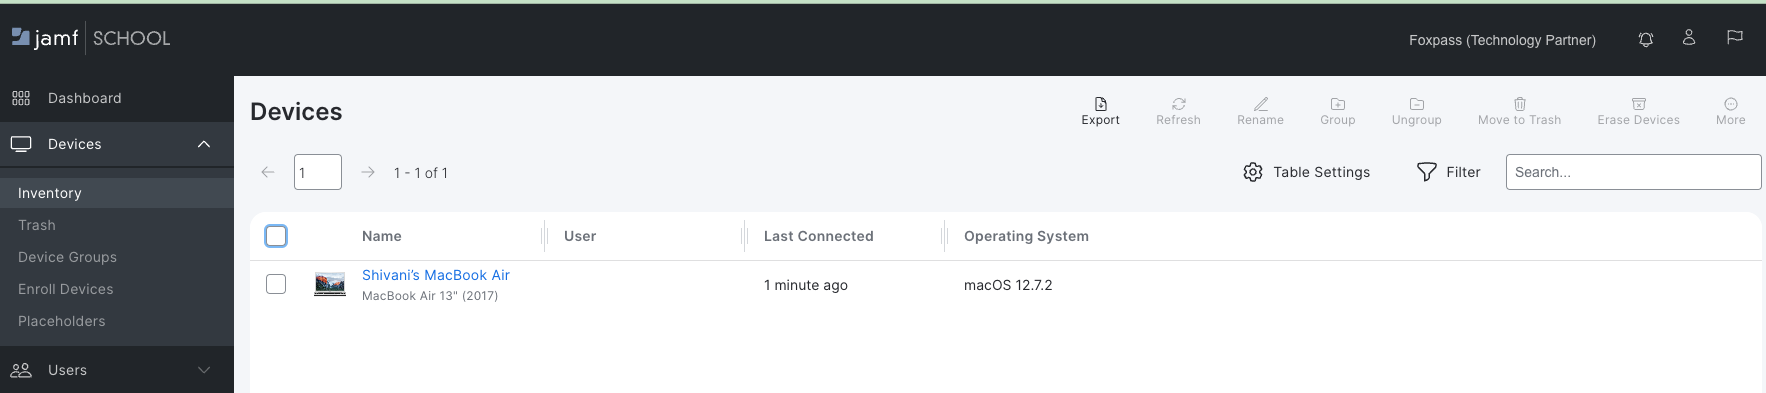
Device Enrolled
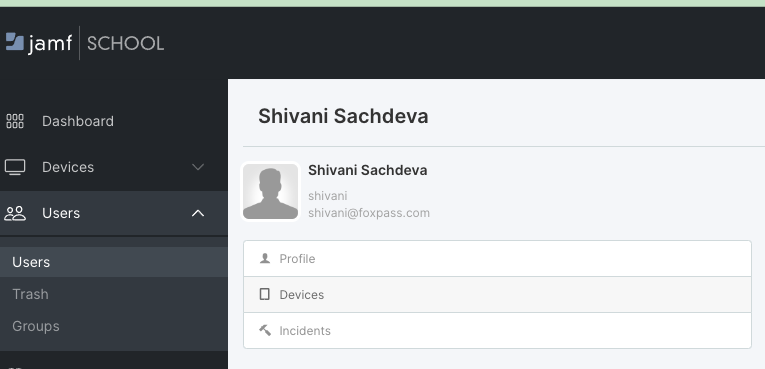
- Now, go to Users in JAMF School account.
- Click on Users > <your user's name > Devices.
- Click 'Assign device' button.
- Select your device and assign it.
- Your device will be assigned to the user.
Assign device to the user

Assigned device
- Click on the Device name.
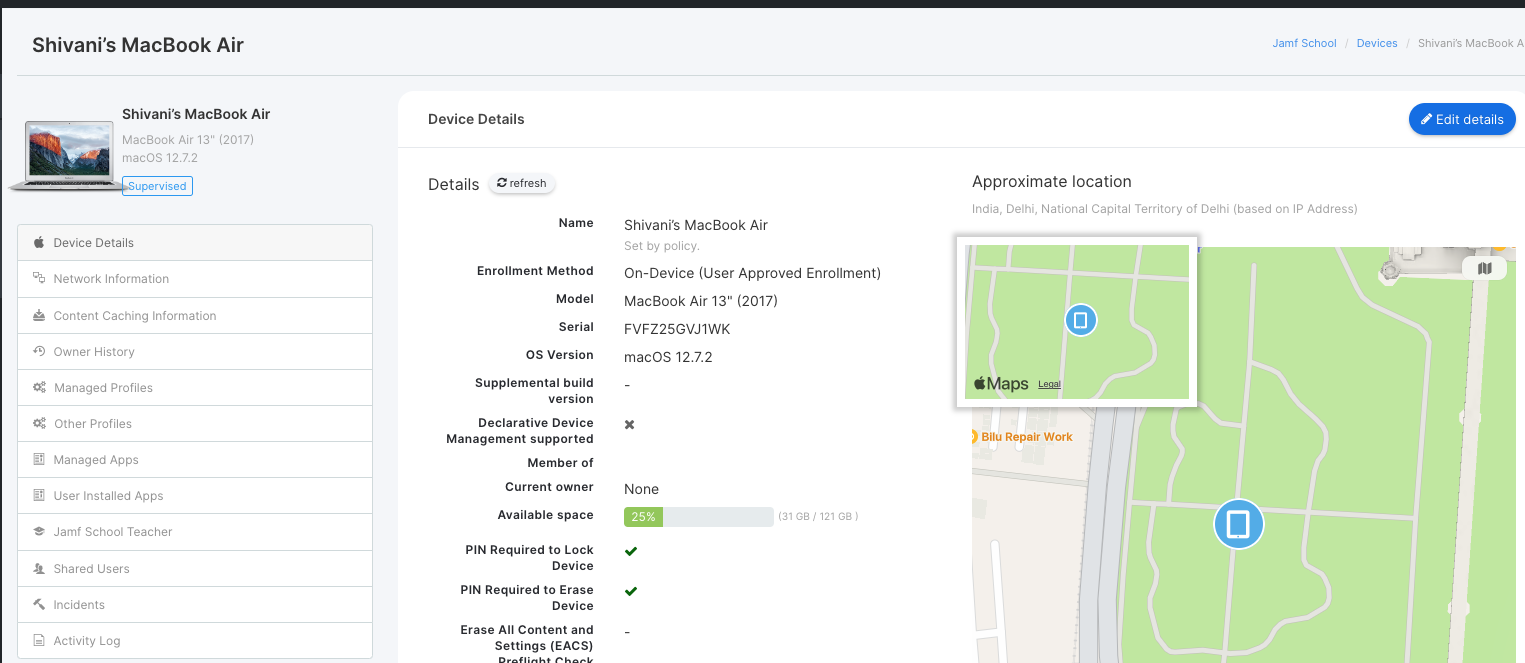
Device Details
- Click on 'Managed Profiles' and then click 'Add Profiles'.
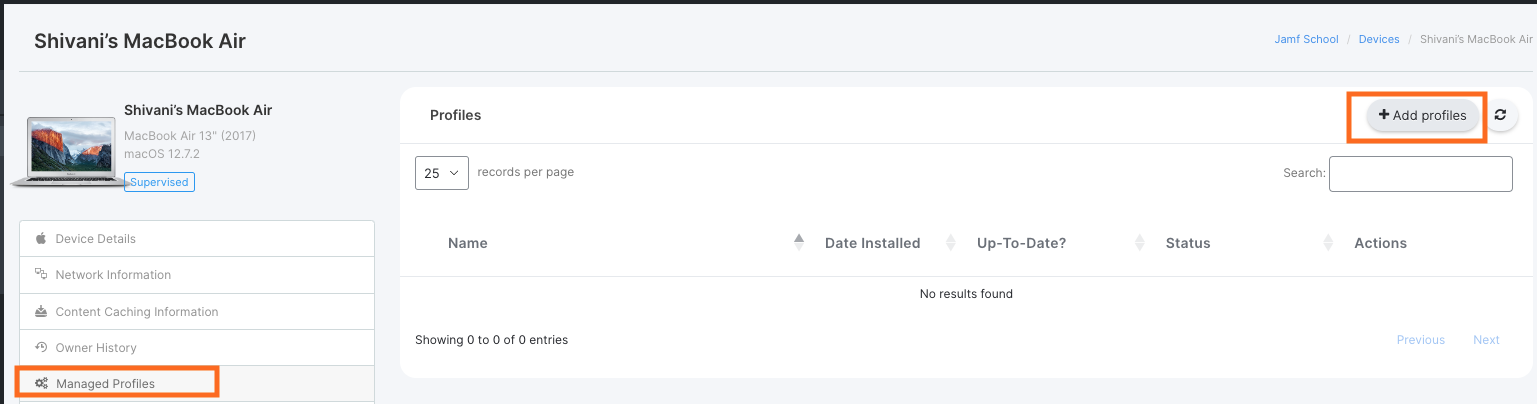
Add profiles
- Select the 'Foxpass' profile created earlier and click 'Add'.

Add Foxpass Profile
- The Foxpass profile will get installed on your device.
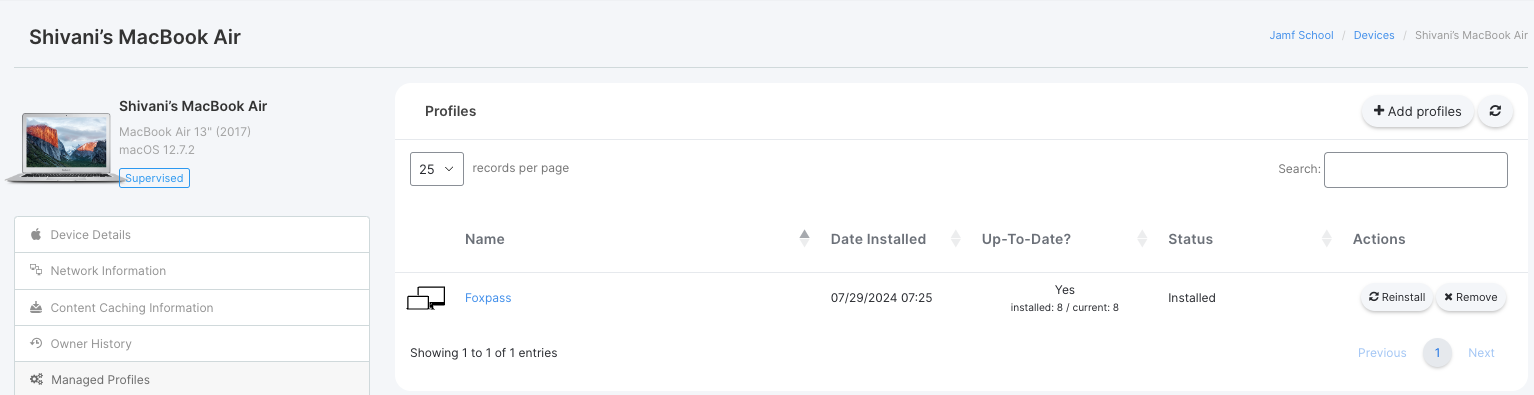
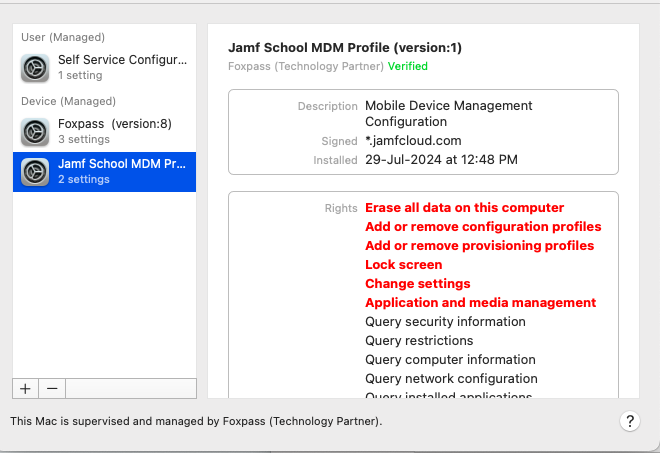
Foxpass Profile installed
- You can check 'Activity log' for details/errors.
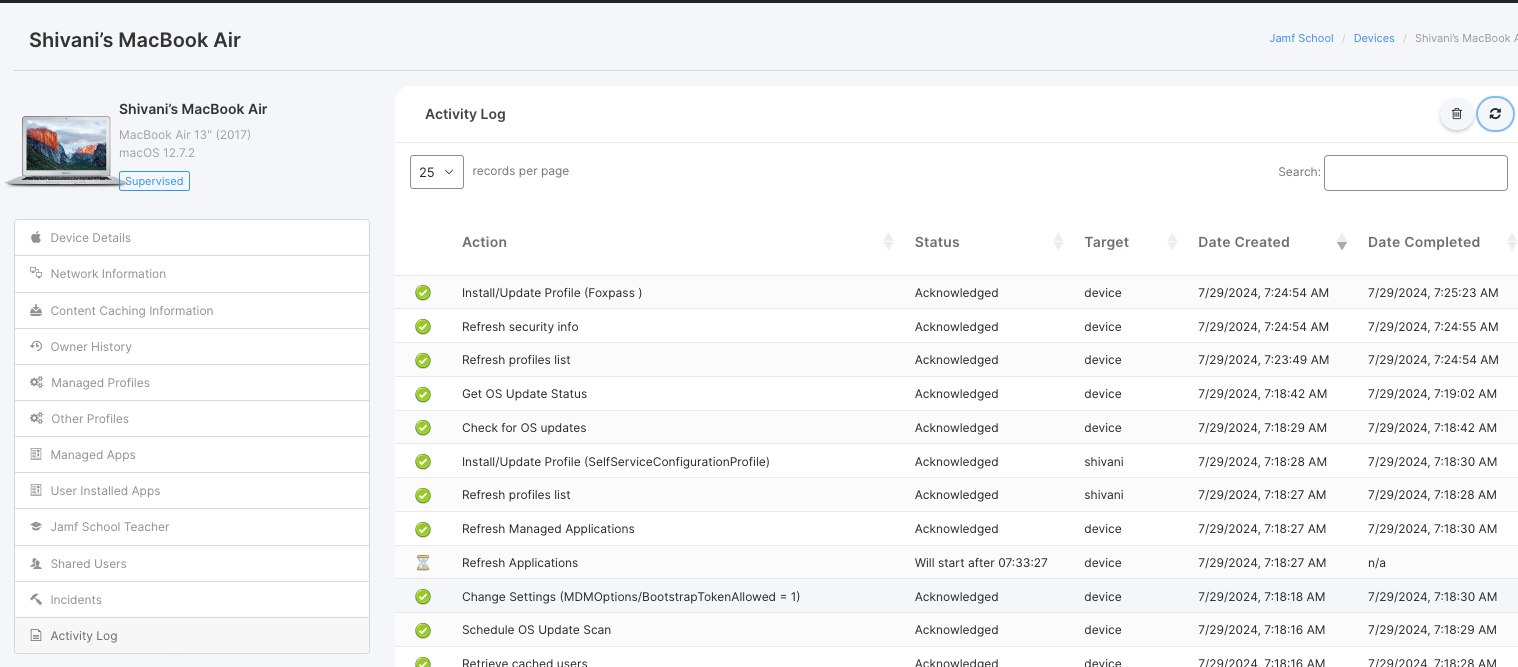
Activity log
- A client certificate will be issued and you can locate it on the Foxpass EAP-TLS page.

Client certificate
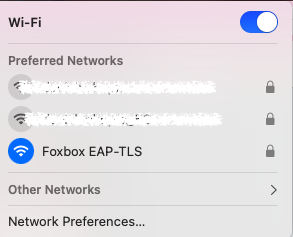
- If everything is configured correctly in your JAMF school account and your access point, your device will get connected to the SSID configured.
- For logging, you can check logs on the RADIUS logs page of Foxpass.
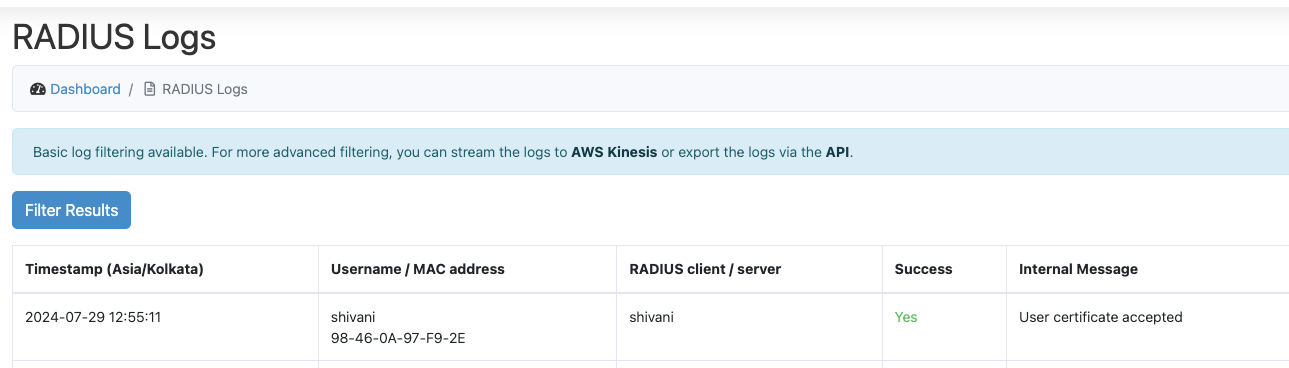
RADIUS logs
Troubleshooting Steps
- Profile Not Installing: Verify the SCEP URL, challenge password, and certificate details in Jamf School.
- Certificate Issues: Ensure the device’s date and time are correct. Re-upload the Foxpass CA certificate if necessary.
- Network Connection Problems: Confirm the SSID, security type, and EAP type settings are accurate.
- SCEP Enrollment Failures: Check the SCEP server and Foxpass settings, including the challenge and fingerprint.
- Device enrolled showing inactive in JAMF - Refer this article to troubleshoot.
Updated 9 months ago