
Setup instructions for Chromebook manual enrollment
This article provides the general steps to onboard BYOD Chromebooks
- Please refer to the BYOD Installers document to create the profile, generate the installer and visit the download page.
- After clicking the visit download page button, NetID portal will open up in a new window.
- It will detect OS as the ChromeOS. Click 'Install' to proceed.
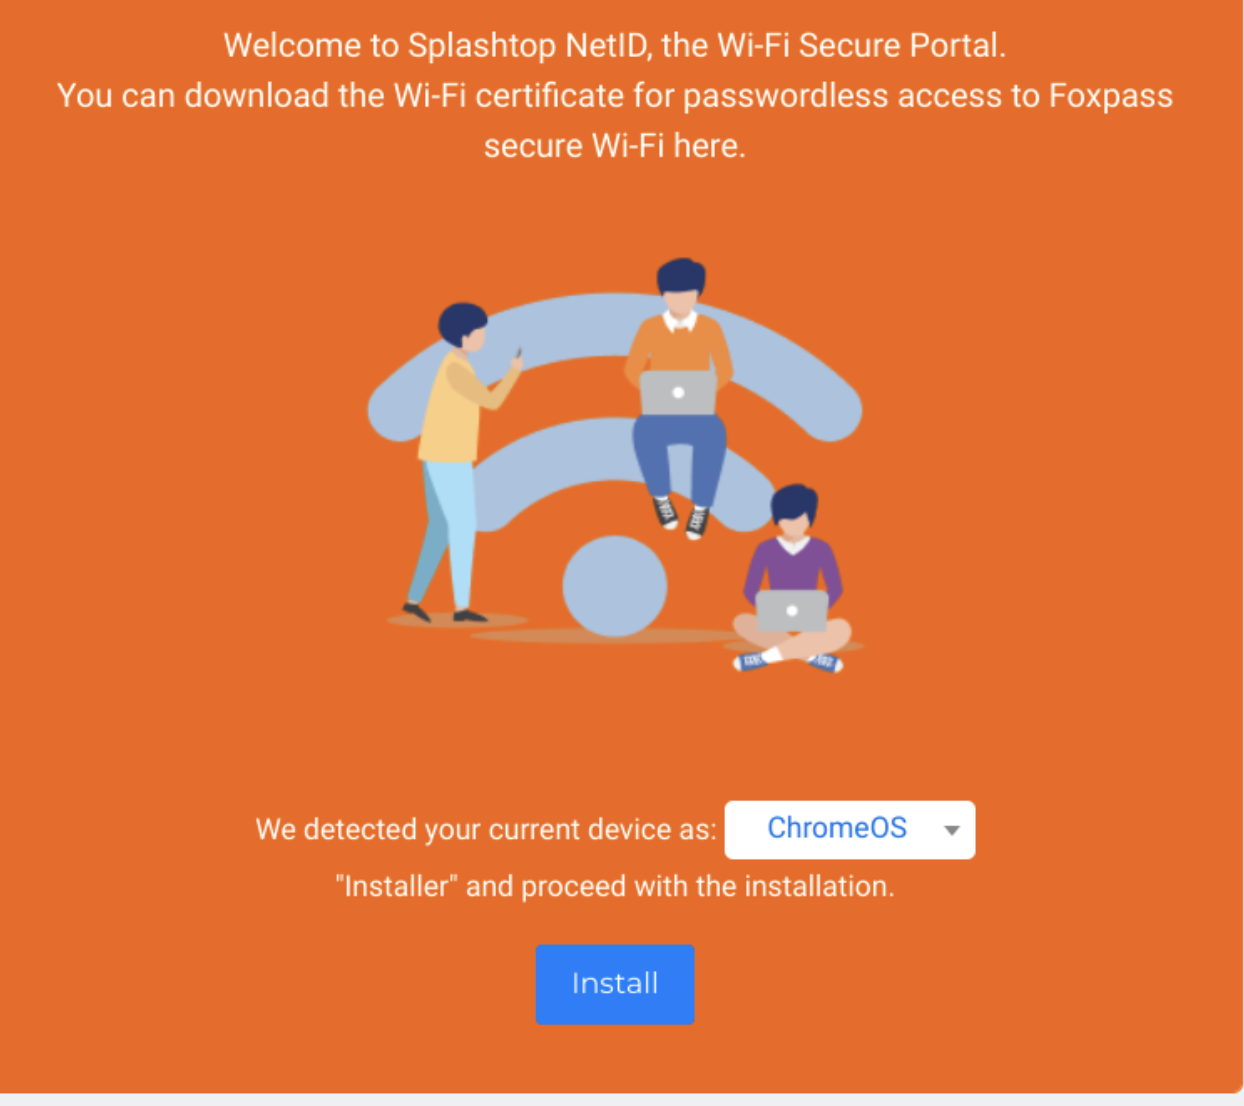
Click Install
- It will open the Chrome web store in a separate tab to guide the user to install the extension, click 'Add to Chrome' to proceed.
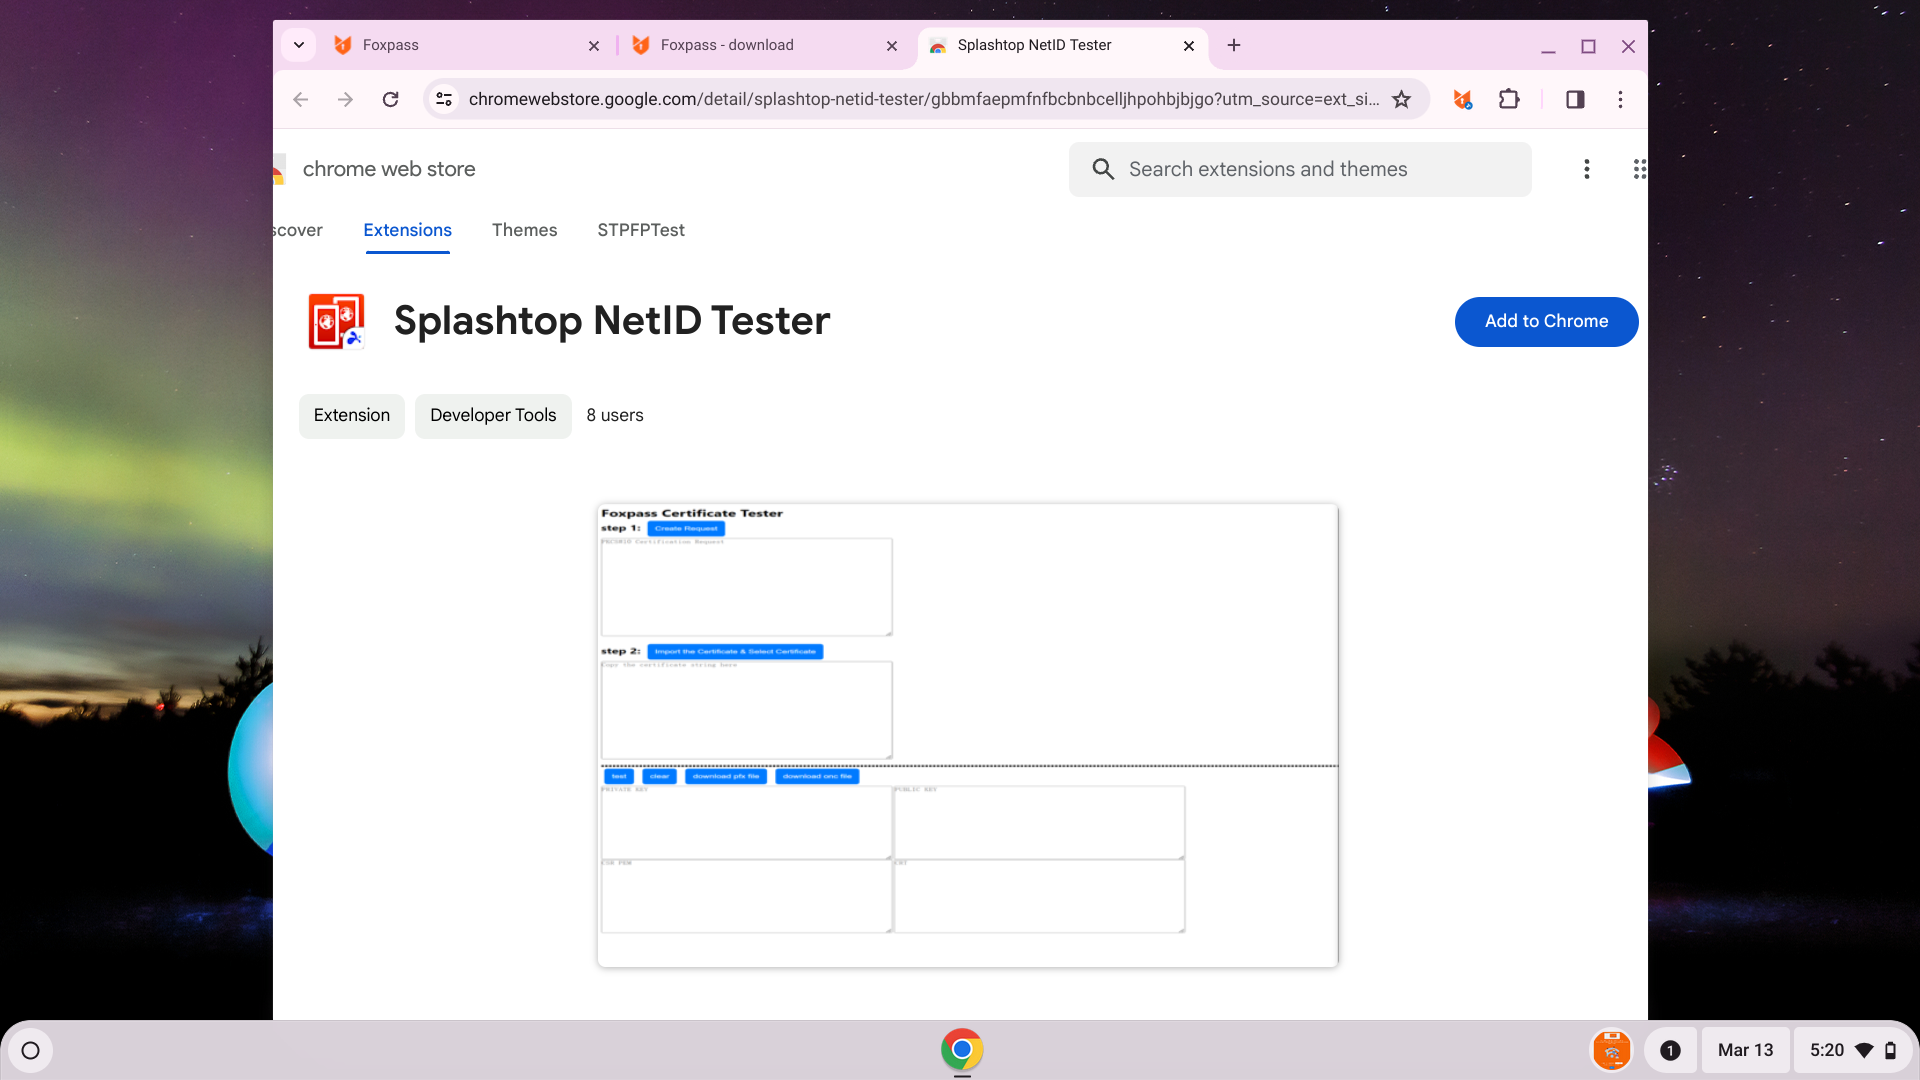
Click Add to Chrome button
- It will show a box and ask if you want to add extension. Click Add extension.
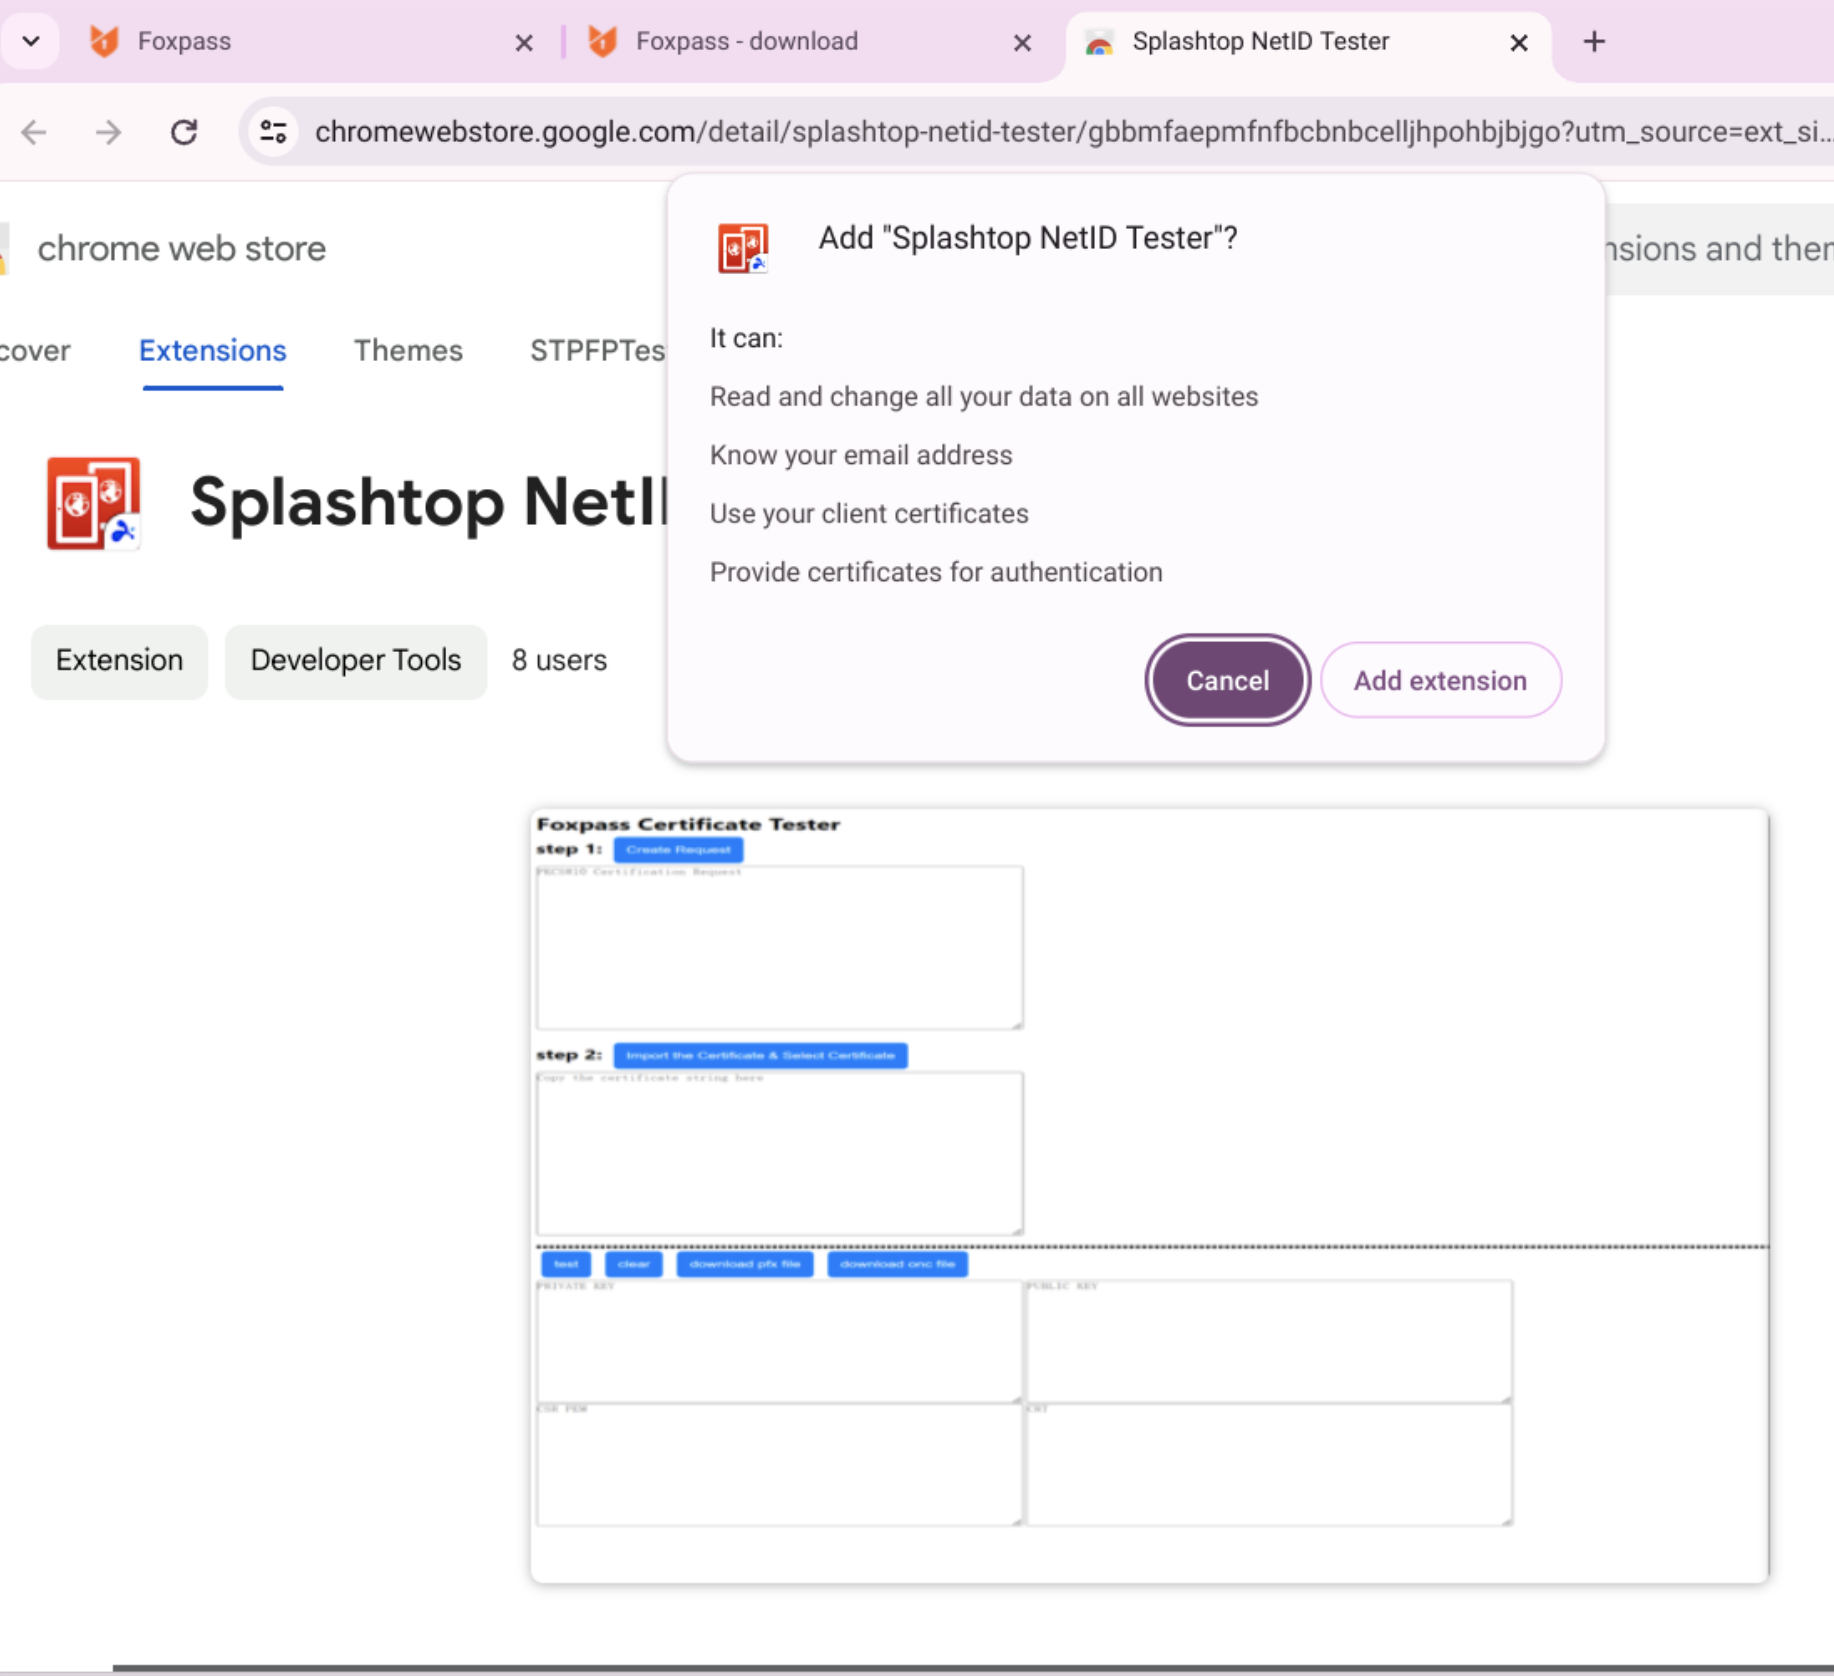
Add extension
- Go back to the Foxpass. The page will detect that installation of NetID is finished and Click 'Launch' button to proceed.
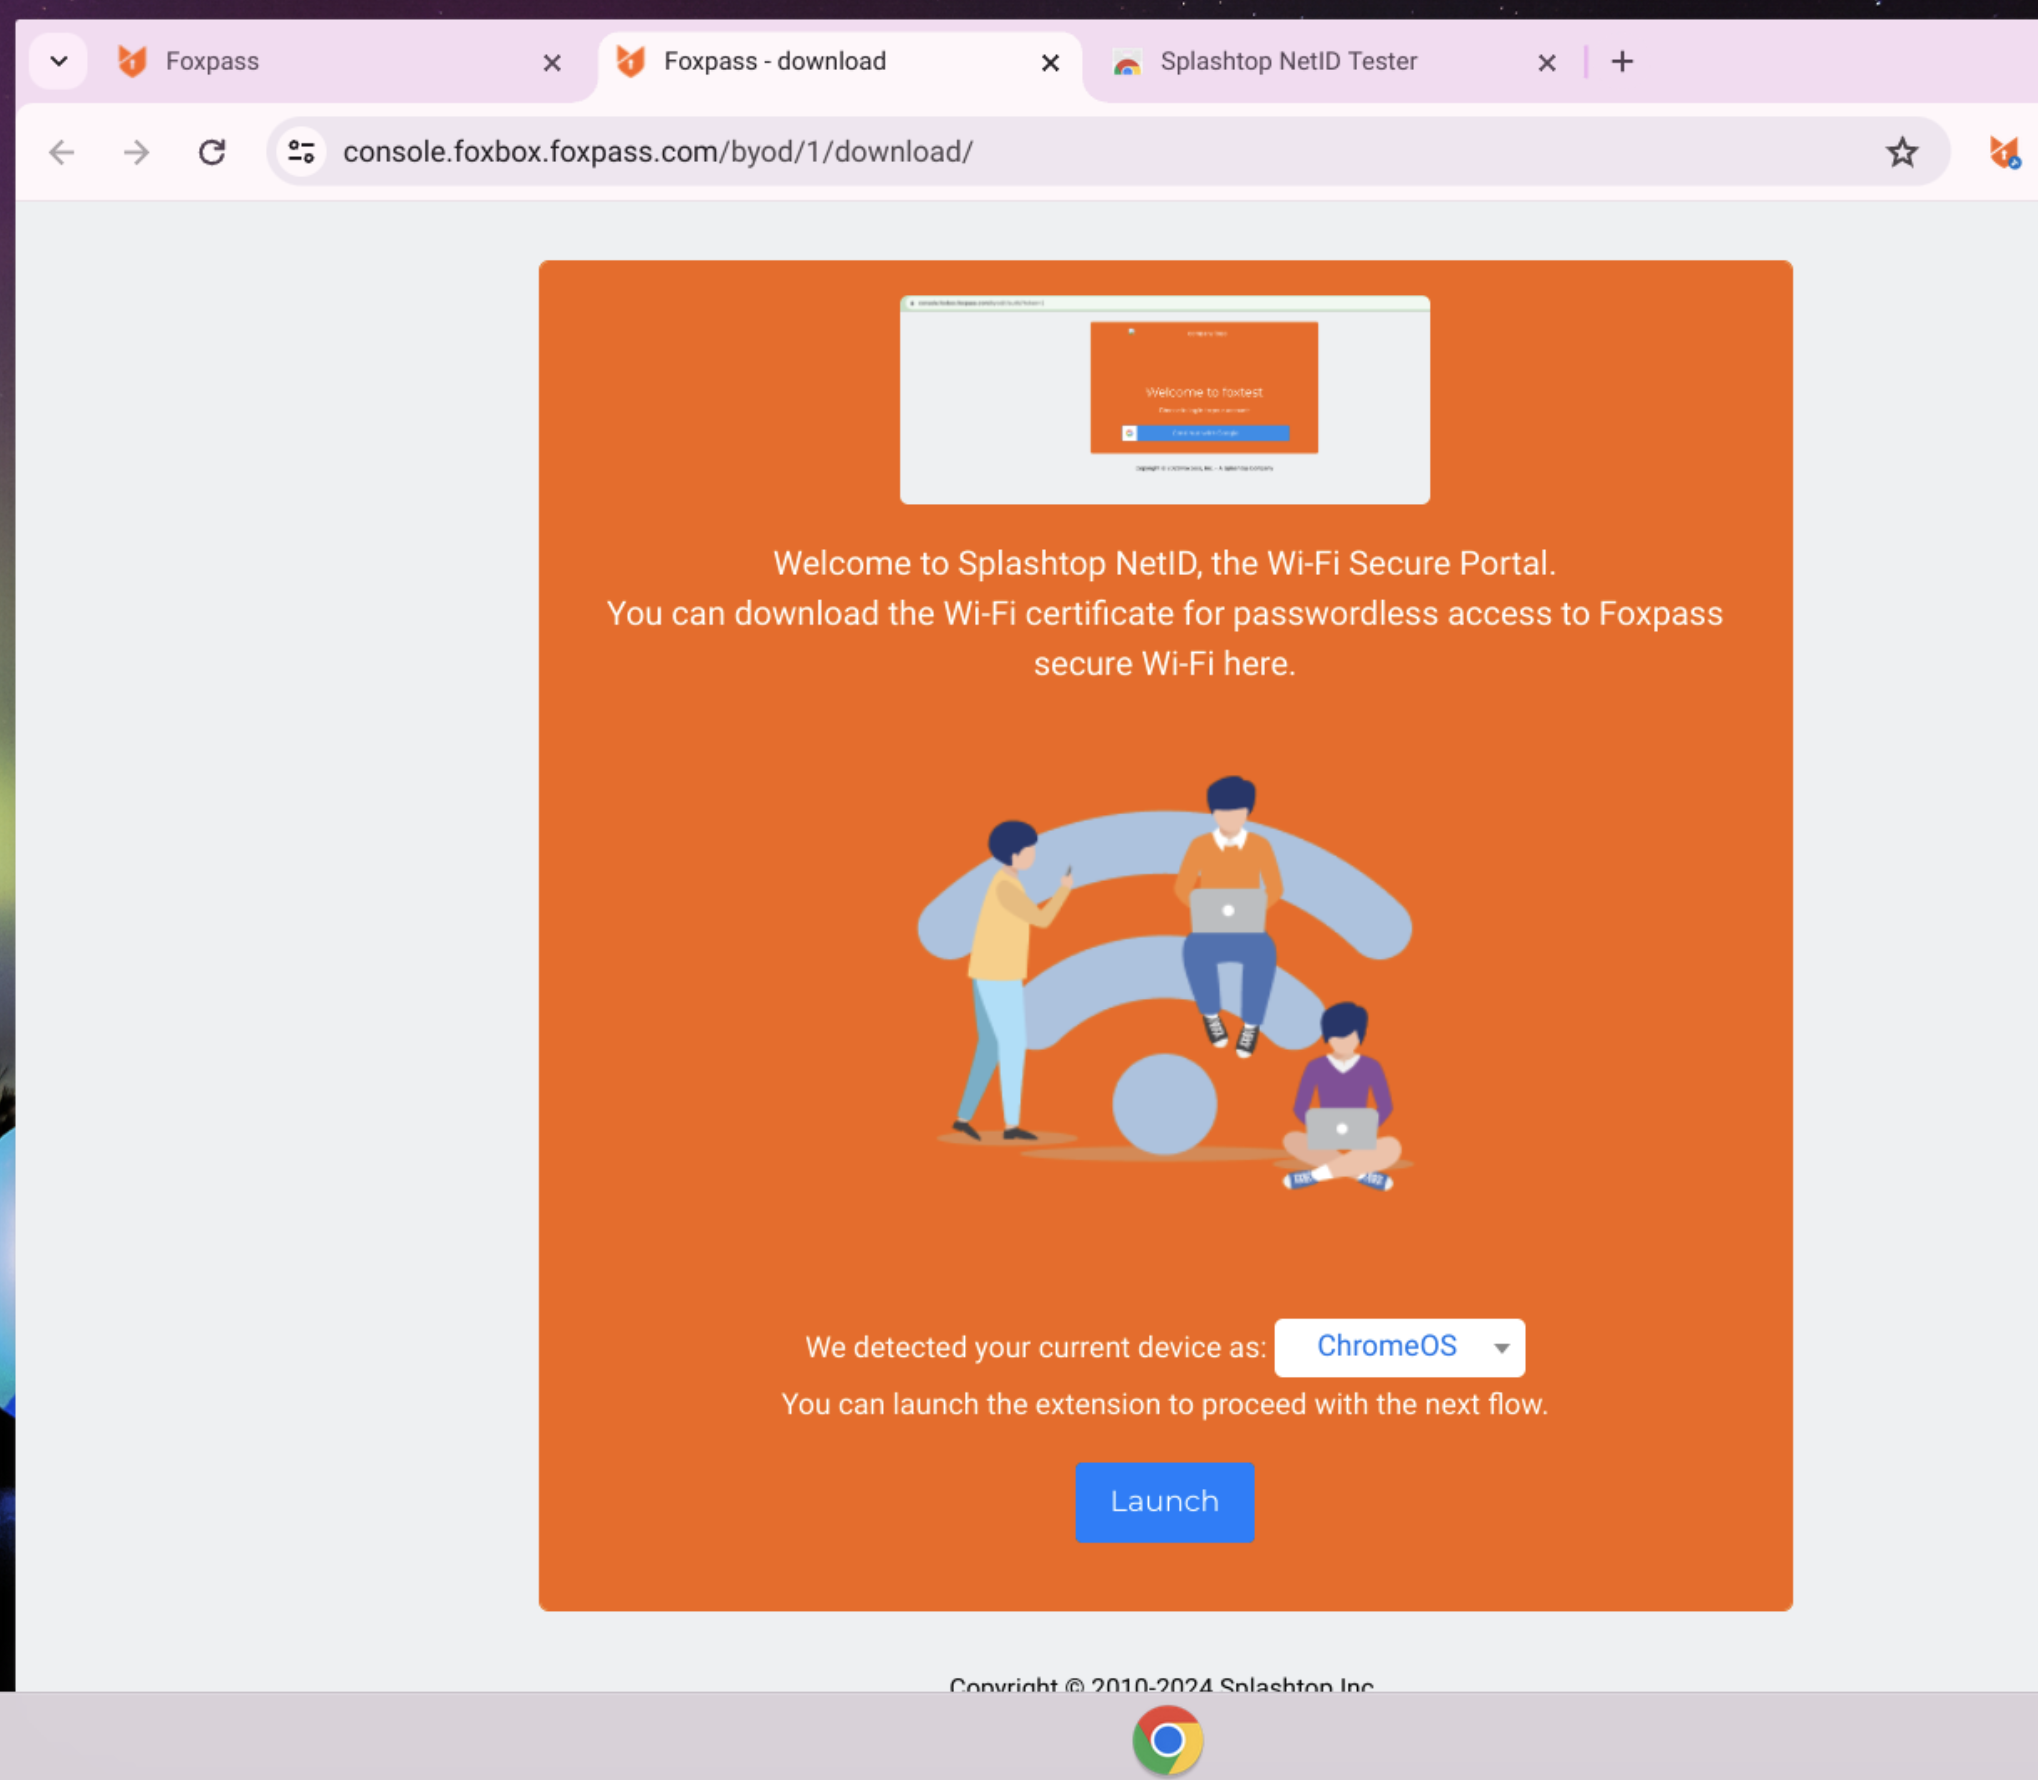
Click Launch
- In the extension page, click 'Sign in'.
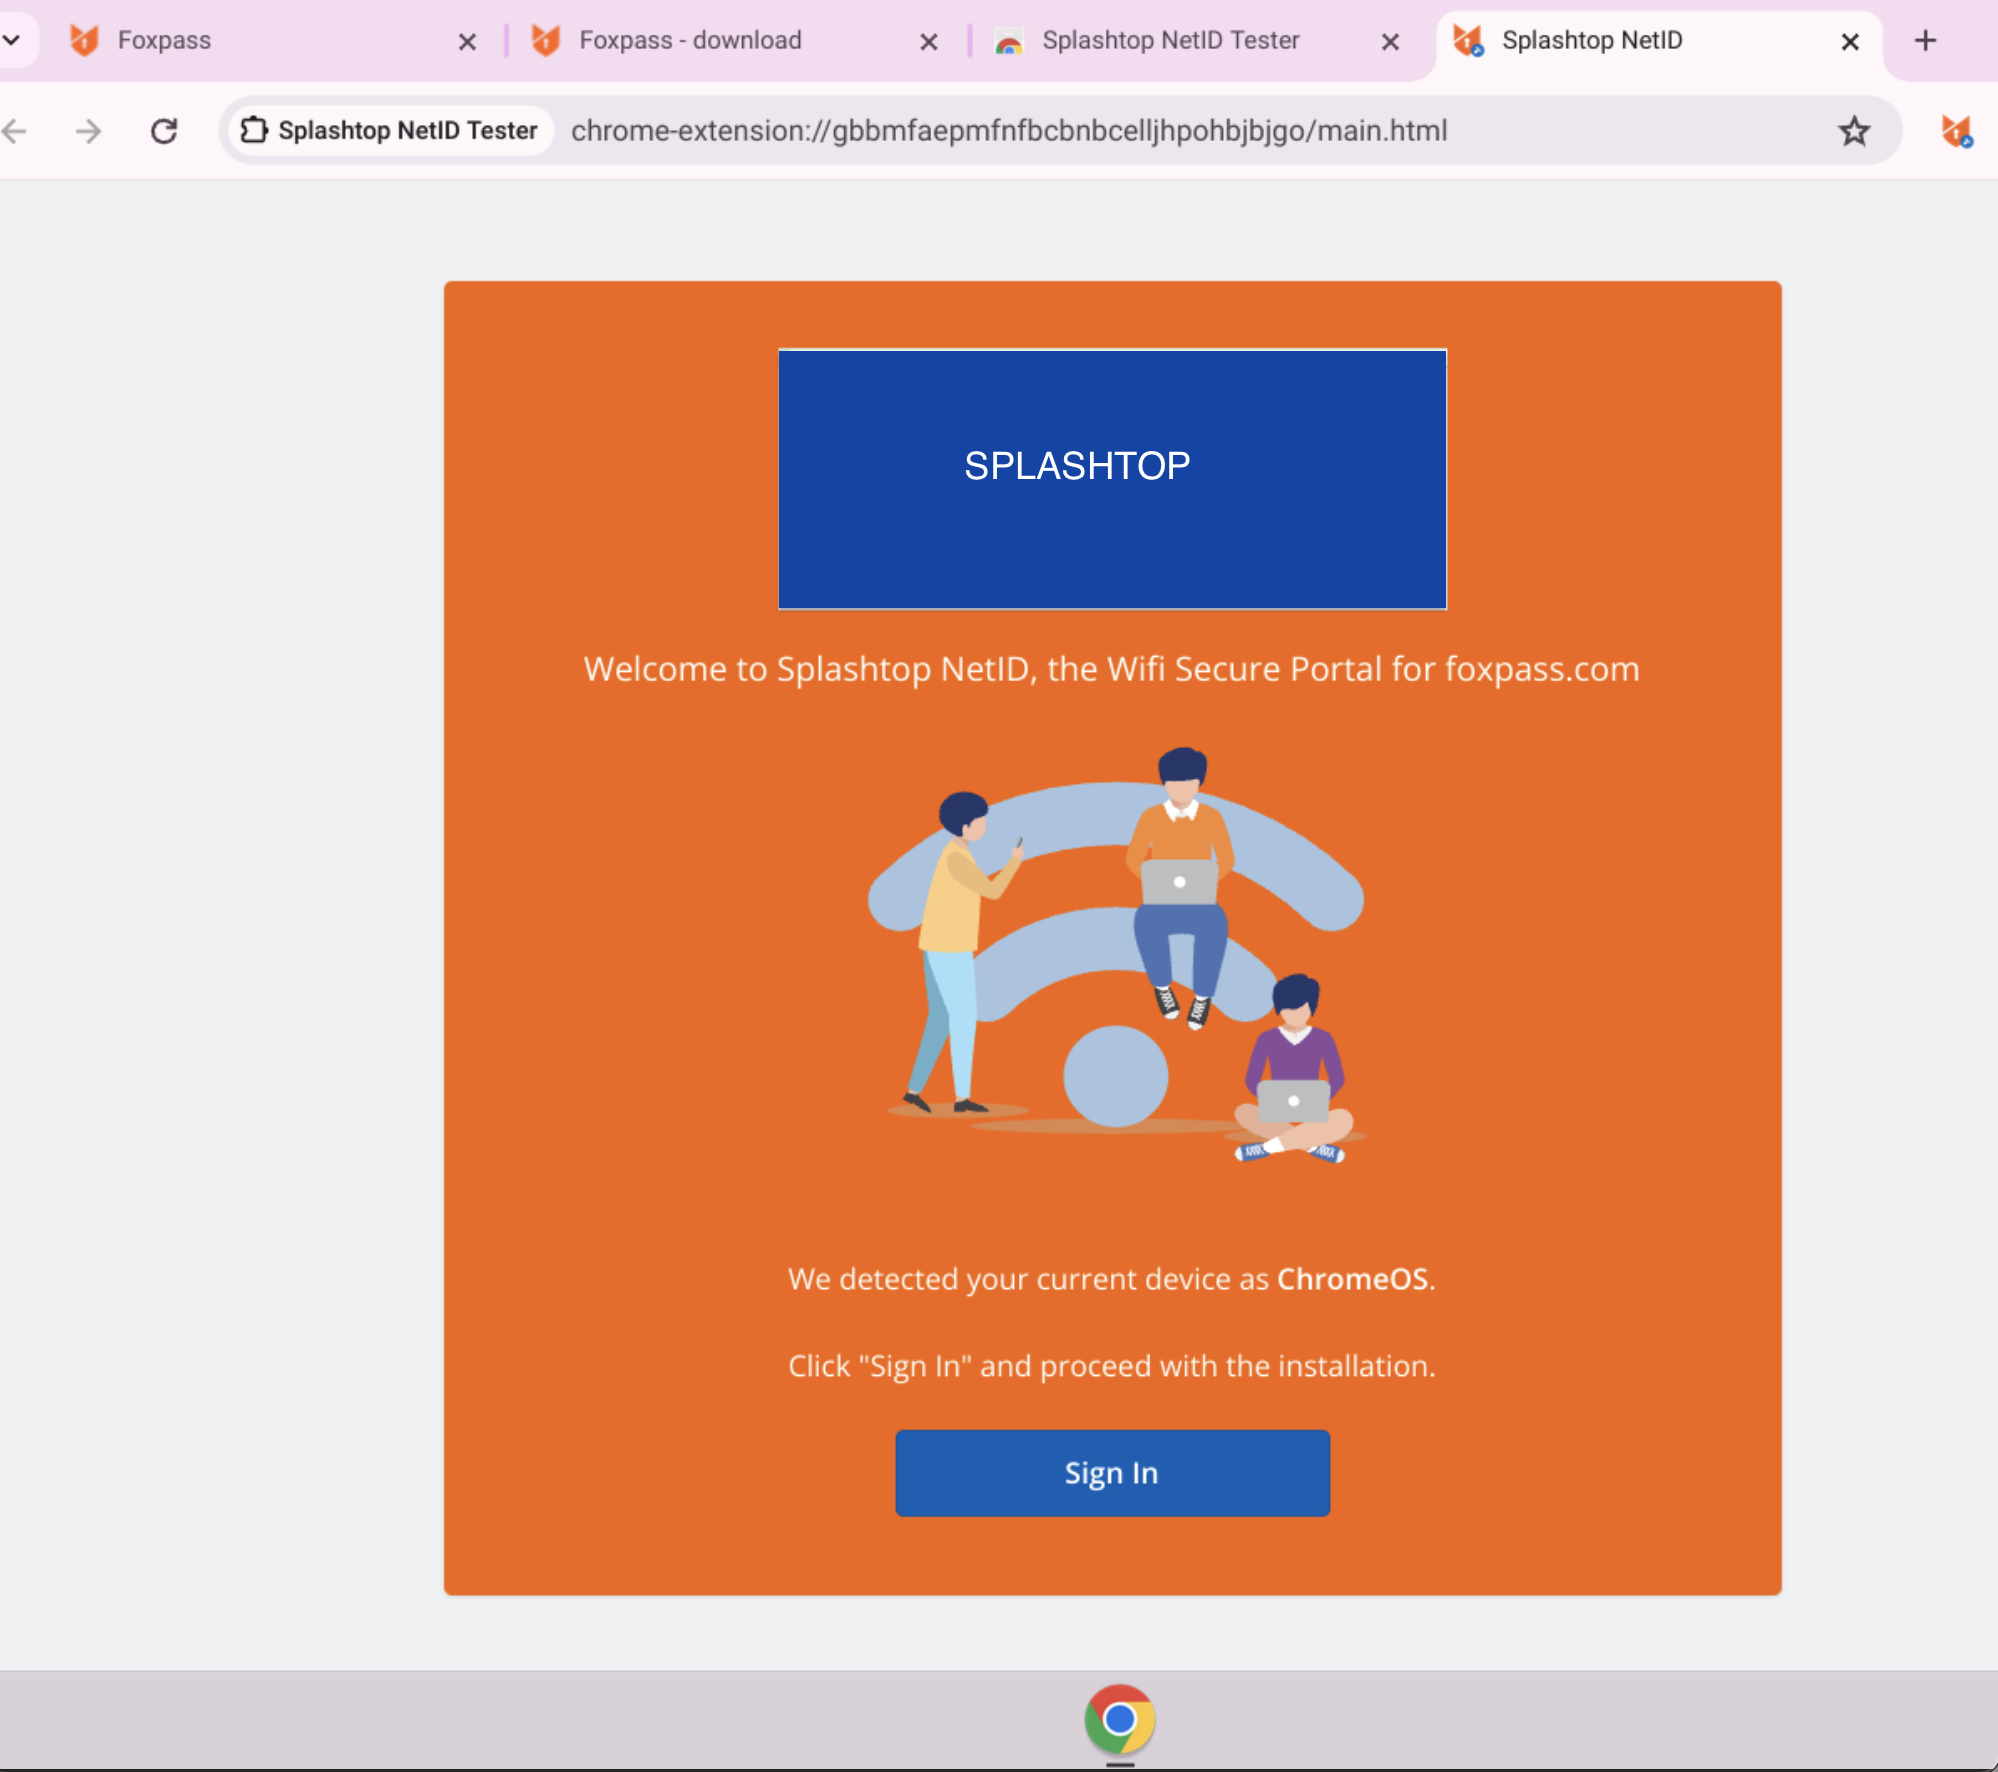
Click Sign in
- The authentication page will close automatically.
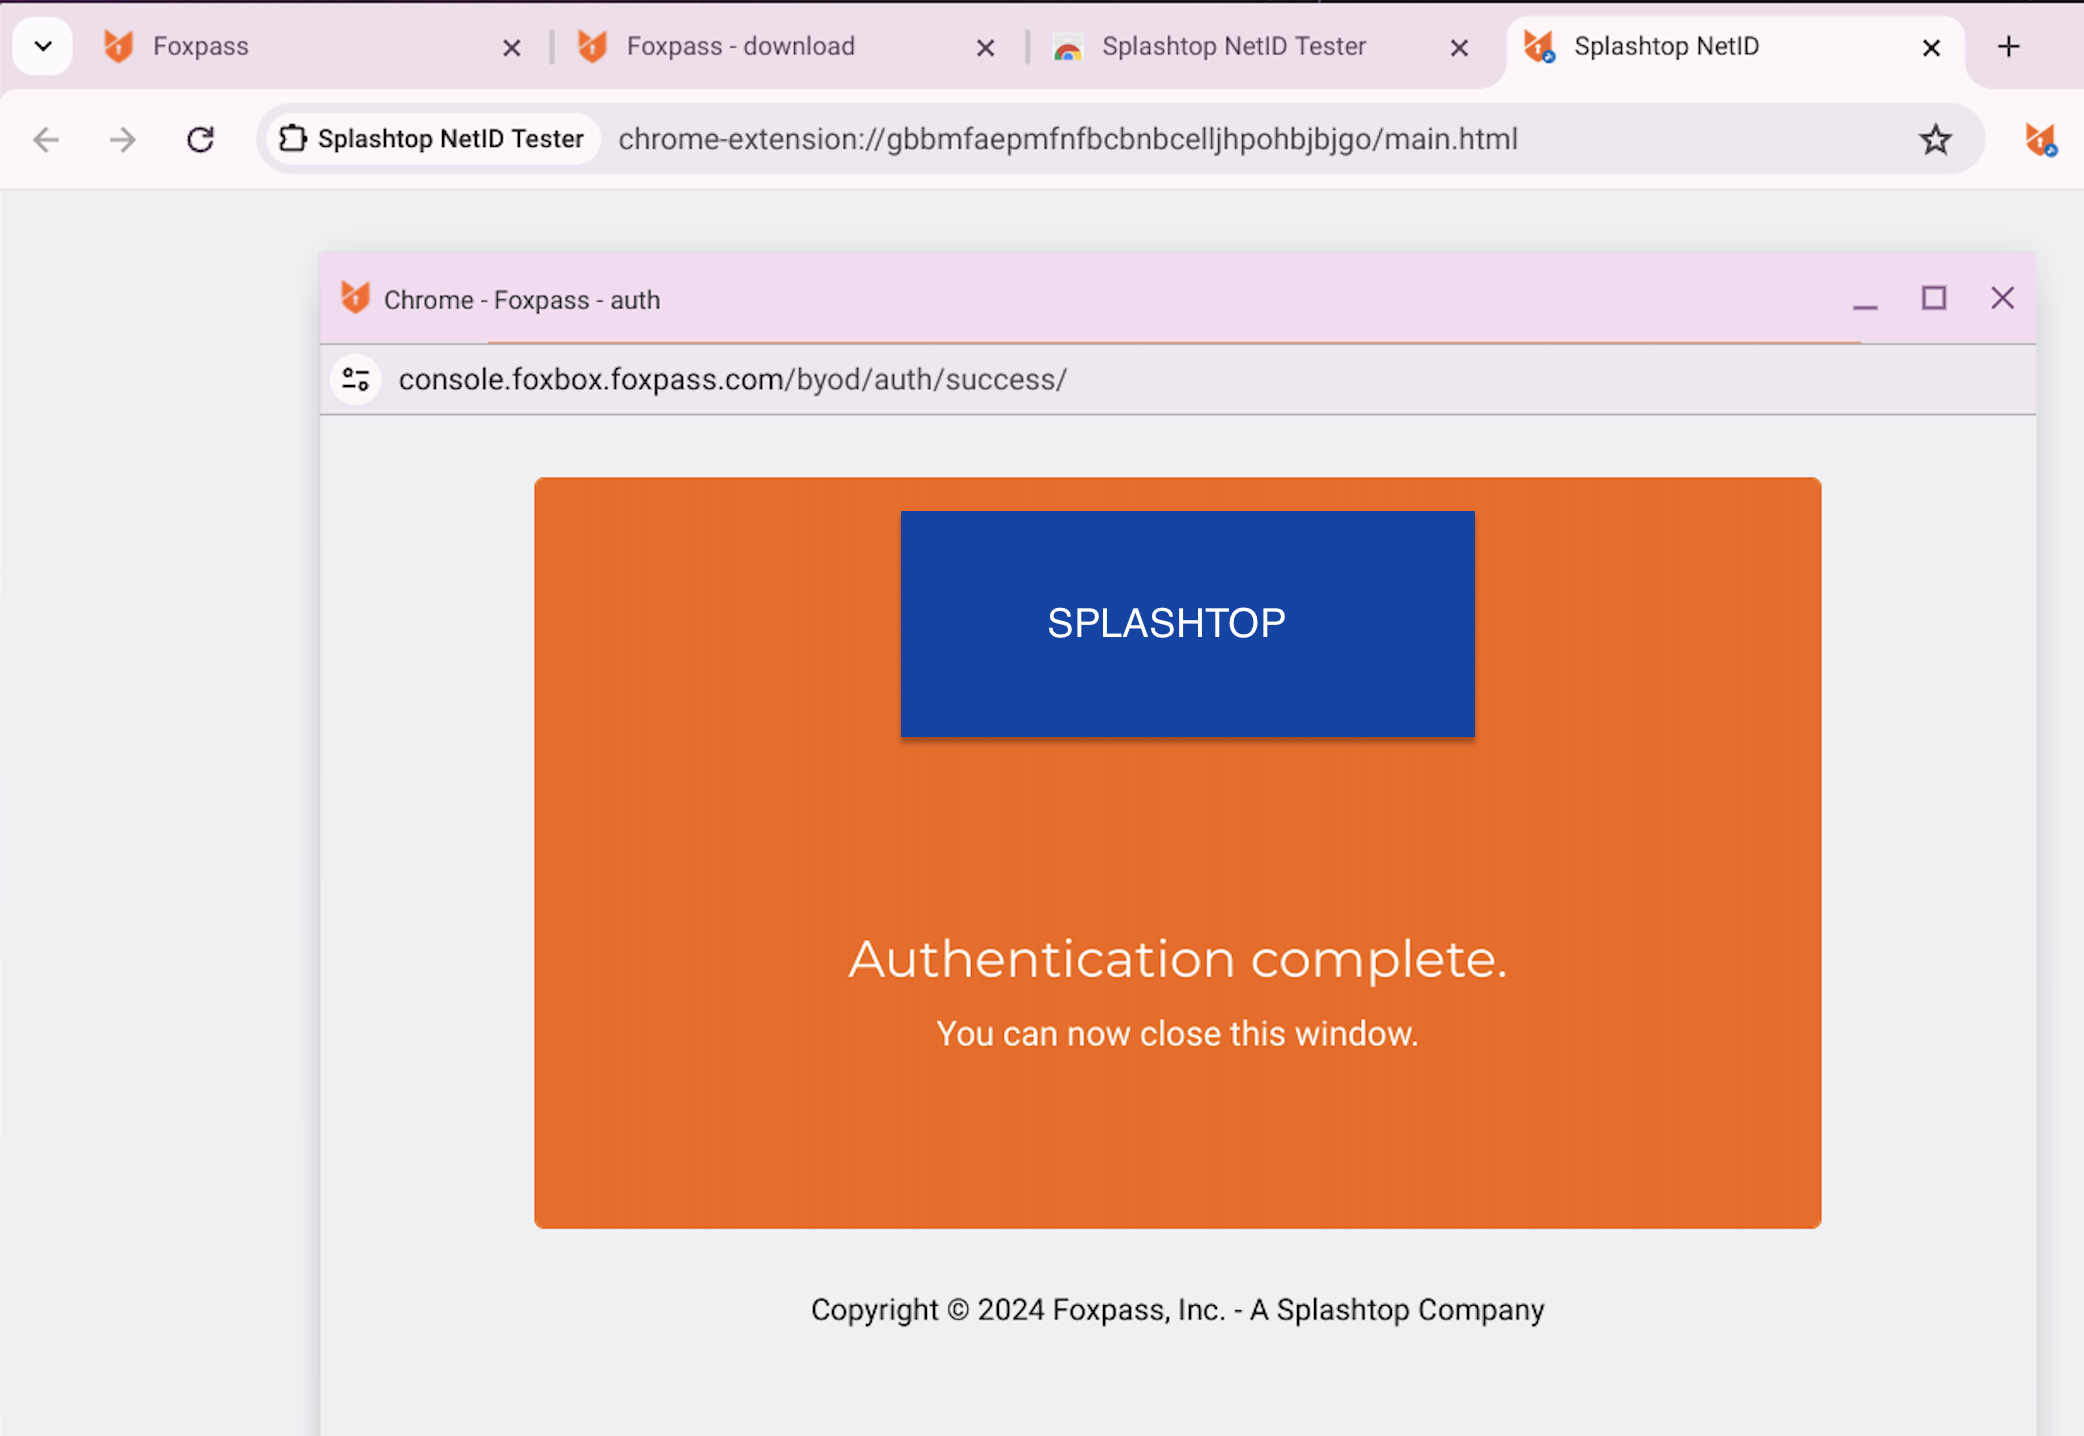
Authentication complete
- Download .ONC(Open Network Configuration)
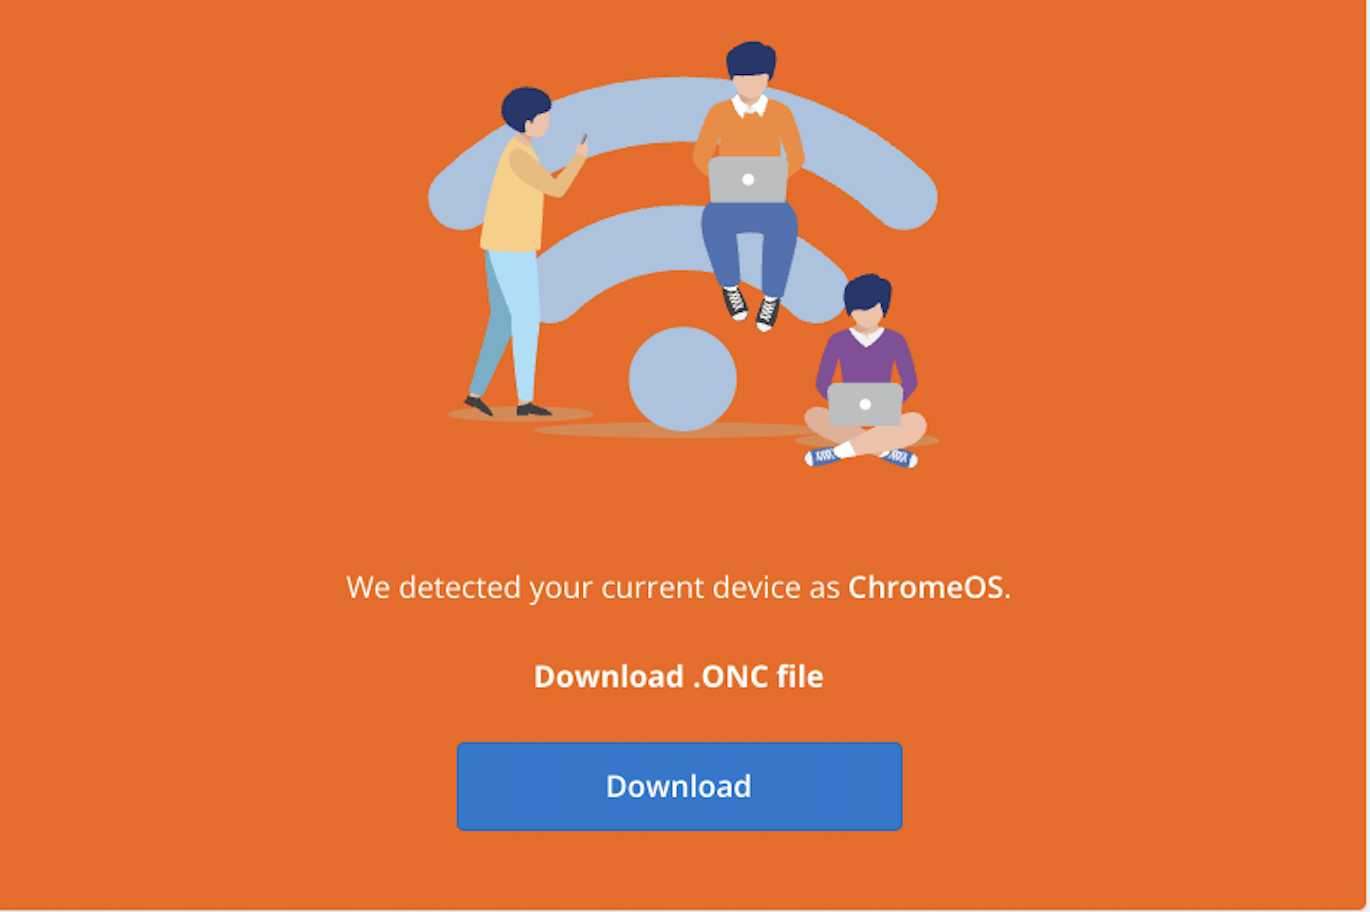
Download .ONC file
- Go to chrome://network. Under Import ONC file > Click Choose File > Upload the downloaded file in previous step.
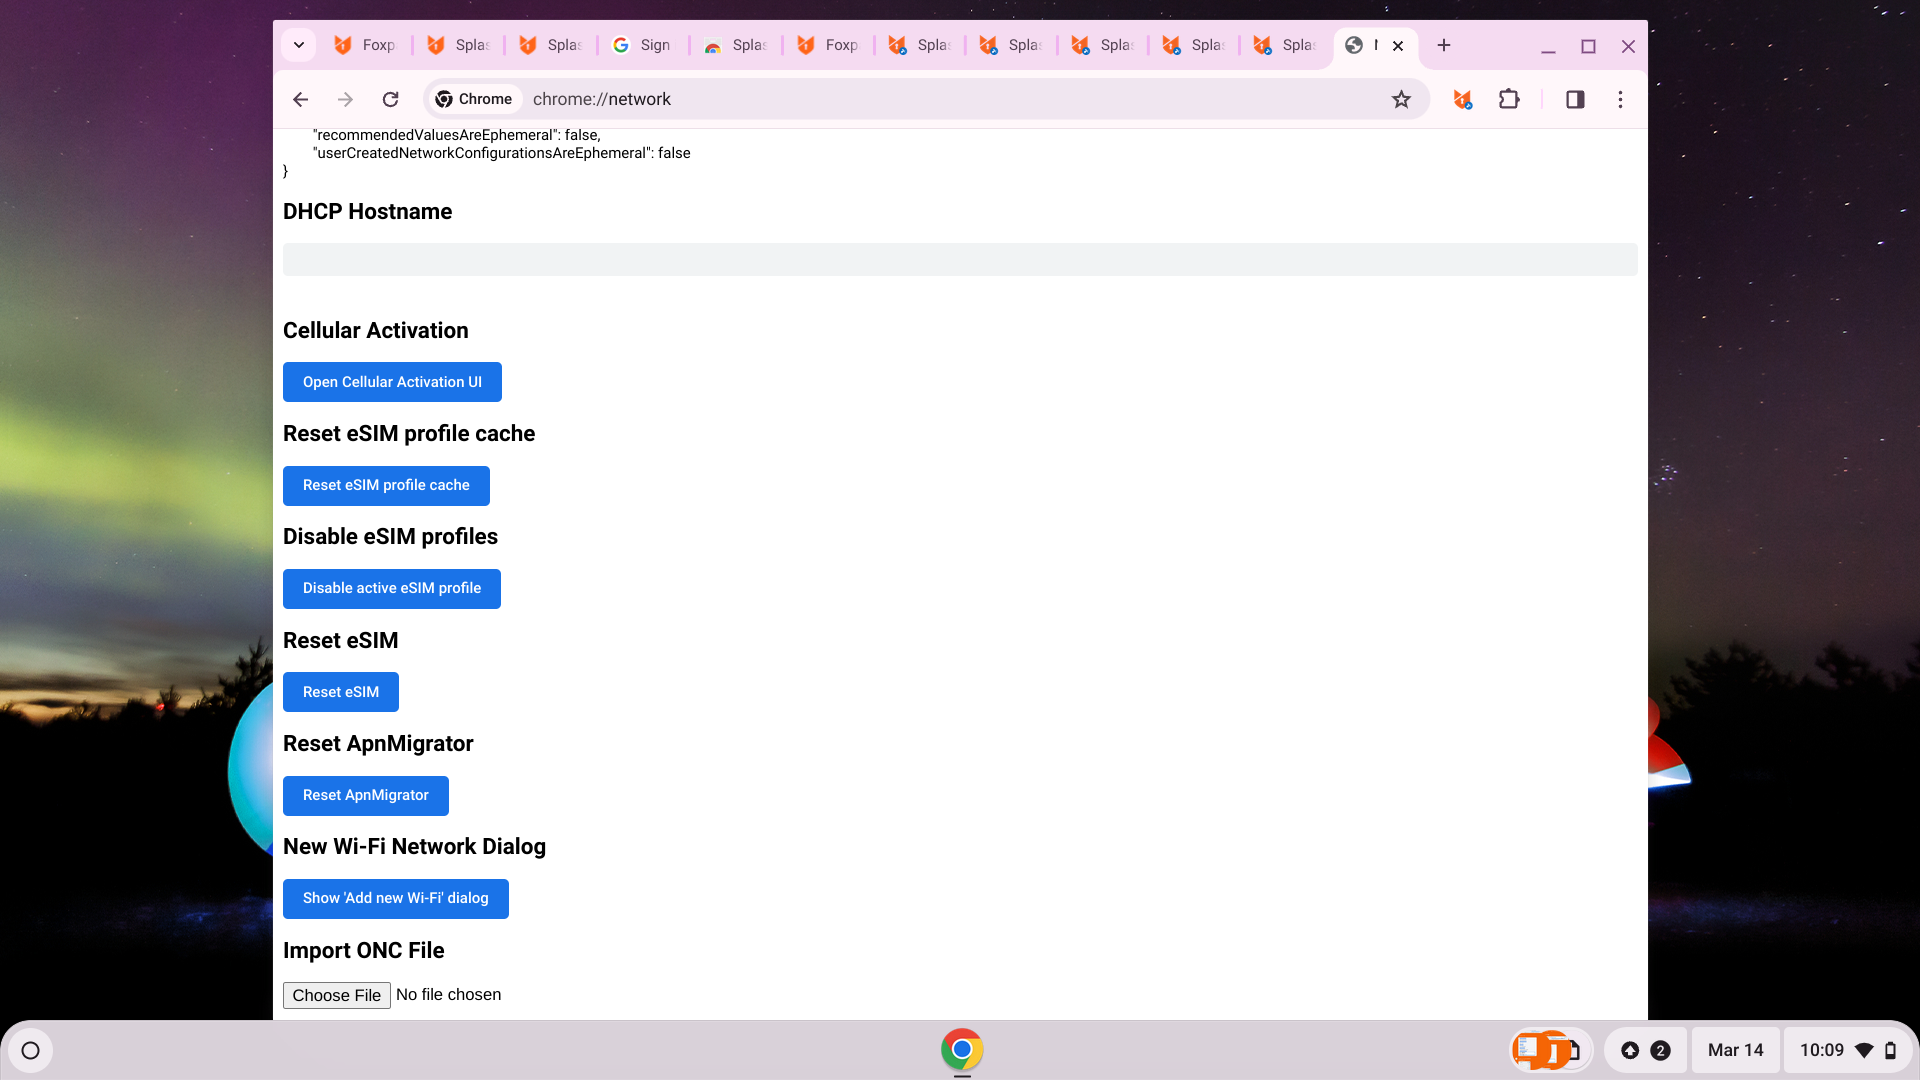
Import .ONC file
- If everything is configured correctly, you can connect successfully to your SSID.
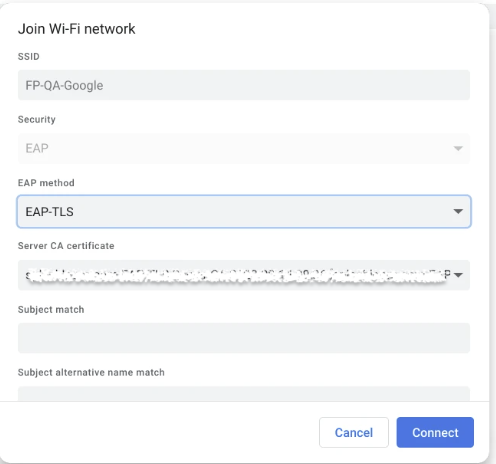
Connect to your SSID
Some Tips
- Ensure that you have a radius client configured on the RADIUS settings page.
- Ensure that EAP-TLS enabled RADIUS Server is configured correctly in your Access Point.
- Ensure that your SSID is configured correctly on the Wi-Fi networks page.
Updated 8 months ago