
SSO IDP - Okta
Allow Okta to be an Identity Provider and log in to Foxpass using your Okta credentials
SSO IDP Configuration
To configure Okta as an Identity Provider for Foxpass, follow the steps below:
⚠️ Important: The official Foxpass application listed in the Okta Integration Network is currently configured only for the Global stack (https://console.foxpass.com). If your organization is using a non-Global stack (such as the EU stack at https://console.foxpass.eu), you will need to configure SSO using a custom SAML app in Okta instead of the default Foxpass app. When creating a Custom SAML App, make sure to use the appropriate stack-specific URLs for both: Single sign-on URL and Audience URI (SP Entity ID)
Format:
https://<your-stack-domain>/login_idp/<your-foxpass-domain>/
(e.g. https://console.foxpass.edu/login_idp/example.com/)
Configure Okta
-
Go to Okta's Admin interface.
-
From the left side, choose Applications -> Applications
-
Click "Browse App Catalog"
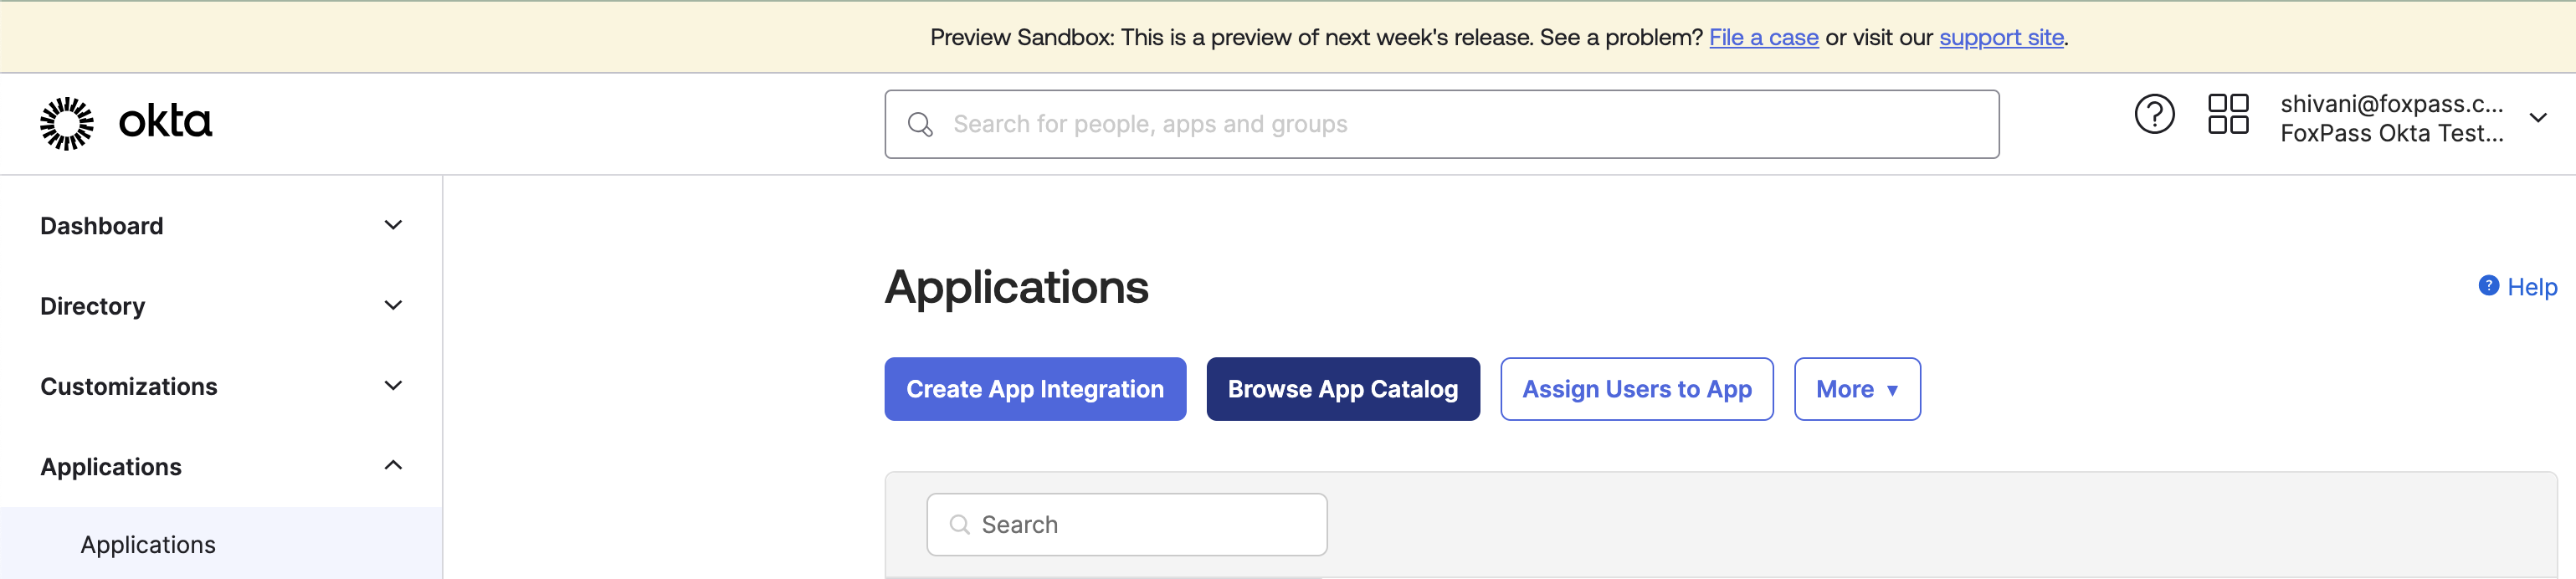
Browse App Catalog
-
Search for Foxpass

Search for Foxpass
-
Click "Add"
-
Click "Next"
-
Choose SAML2.0
-
Choose Application username format: Email
-
Choose Save
-
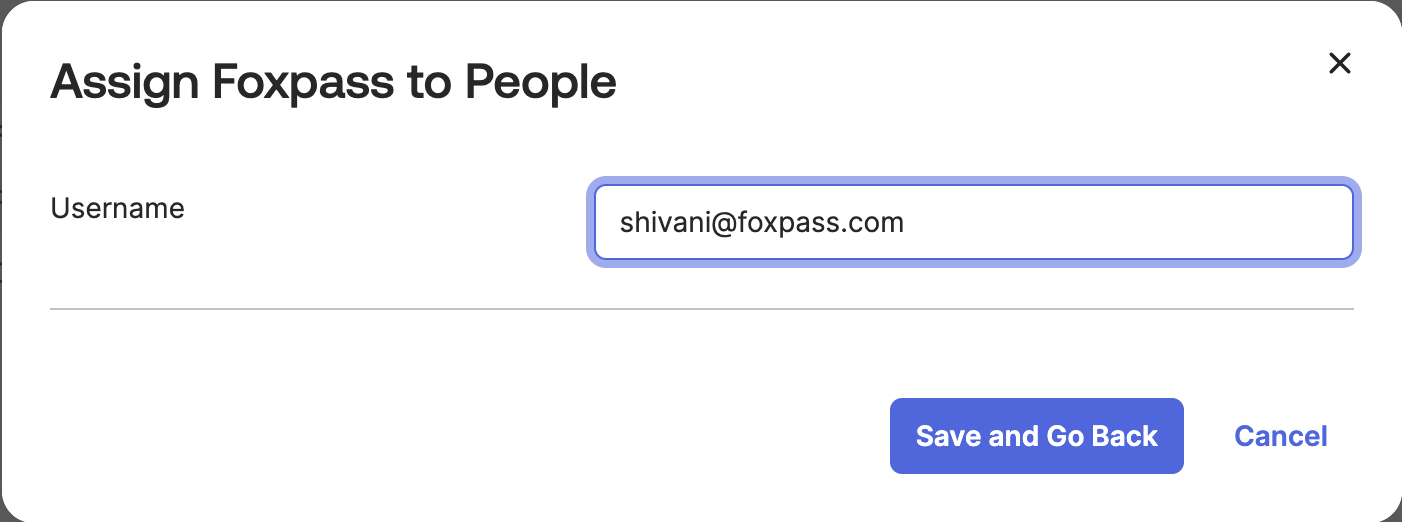
Choose "Assignments" Tab and assign the app to some users or groups.

Assign app to a user
-
Choose "Sign On" tab
-
Click "View SAML setup instructions", scroll down.
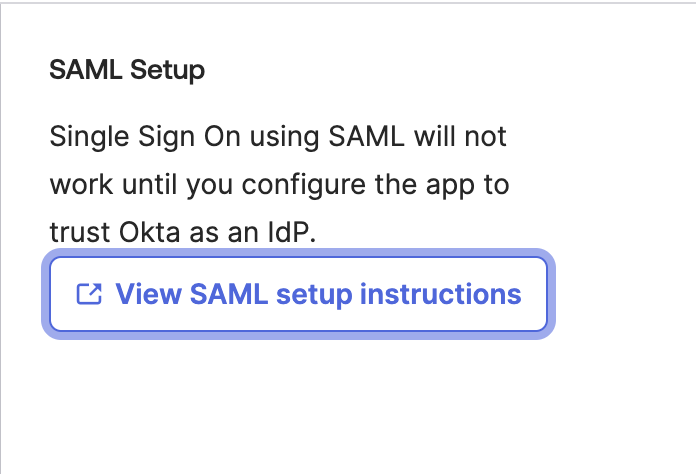
Click View SAML setup instructions
-
Note the Entity ID, something like: http://www.okta.com/xxxxxxxxxxxxxxxx
-
Note the Identity Provider Single Sign-On URL

Note Entity ID
-
Note the IDP Certificate
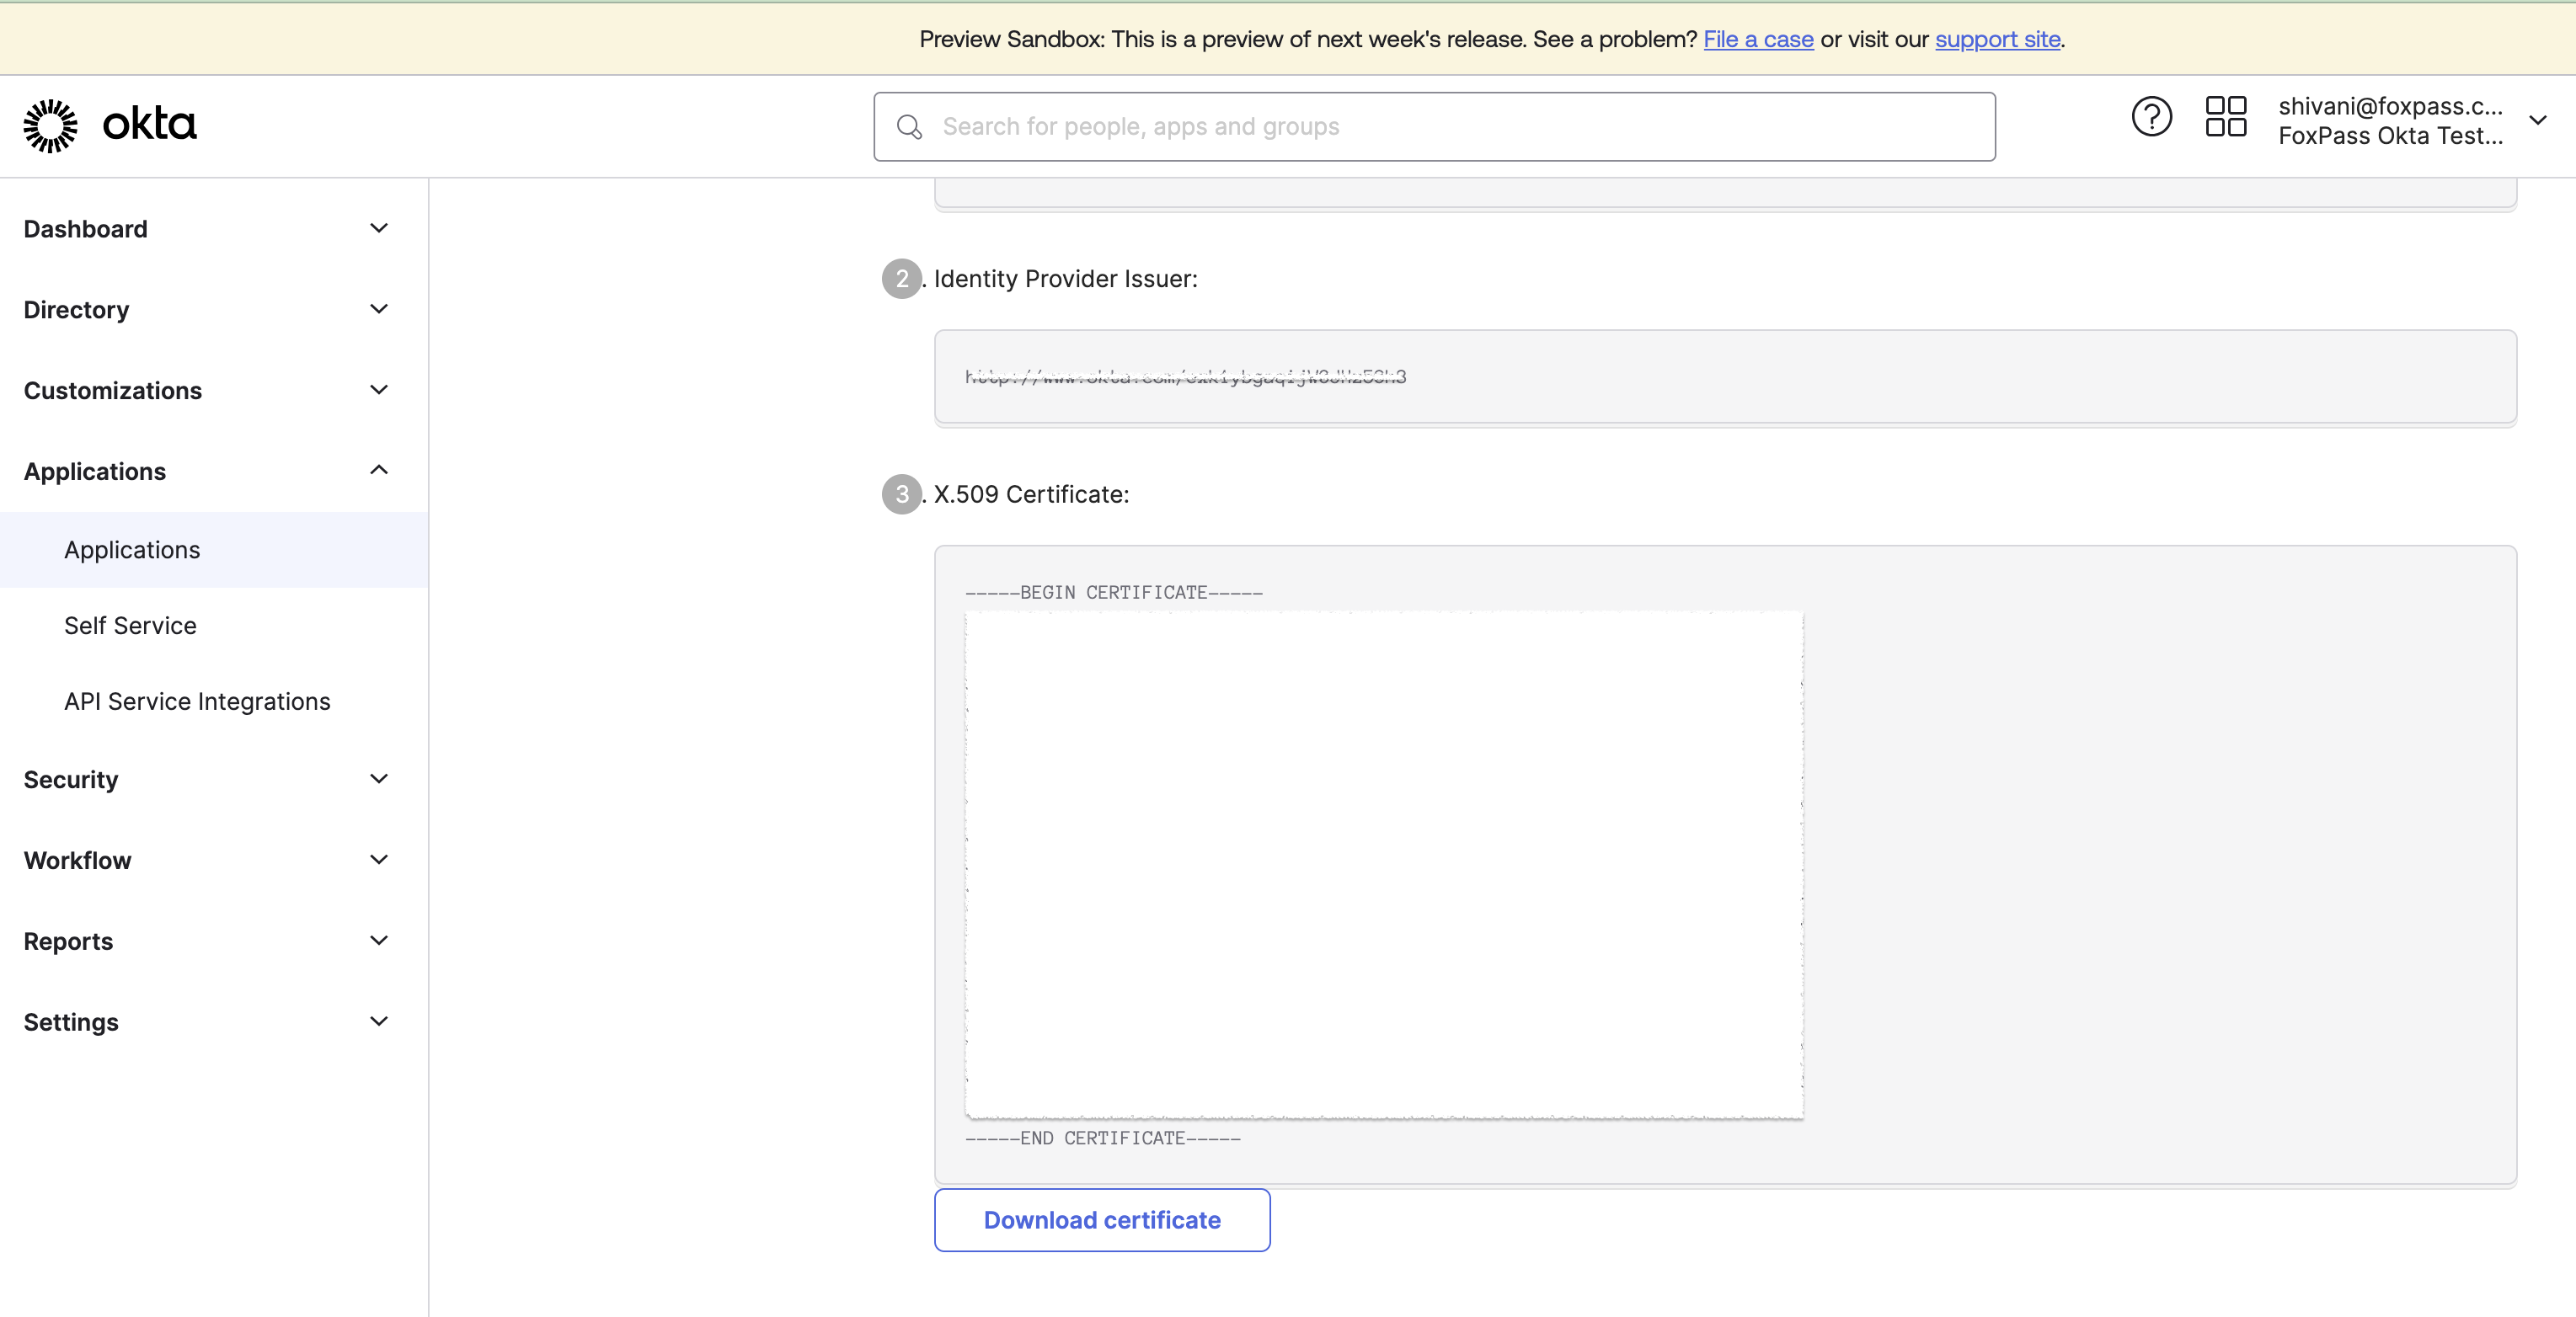
Note IDP Certificate
Configure Foxpass
-
Go to the Identity Provider settings page in the Foxpass Console.
-
Click on the "Add IDP" button, enter Okta and click Ok.
-
Enter Entity ID noted in Step 13.
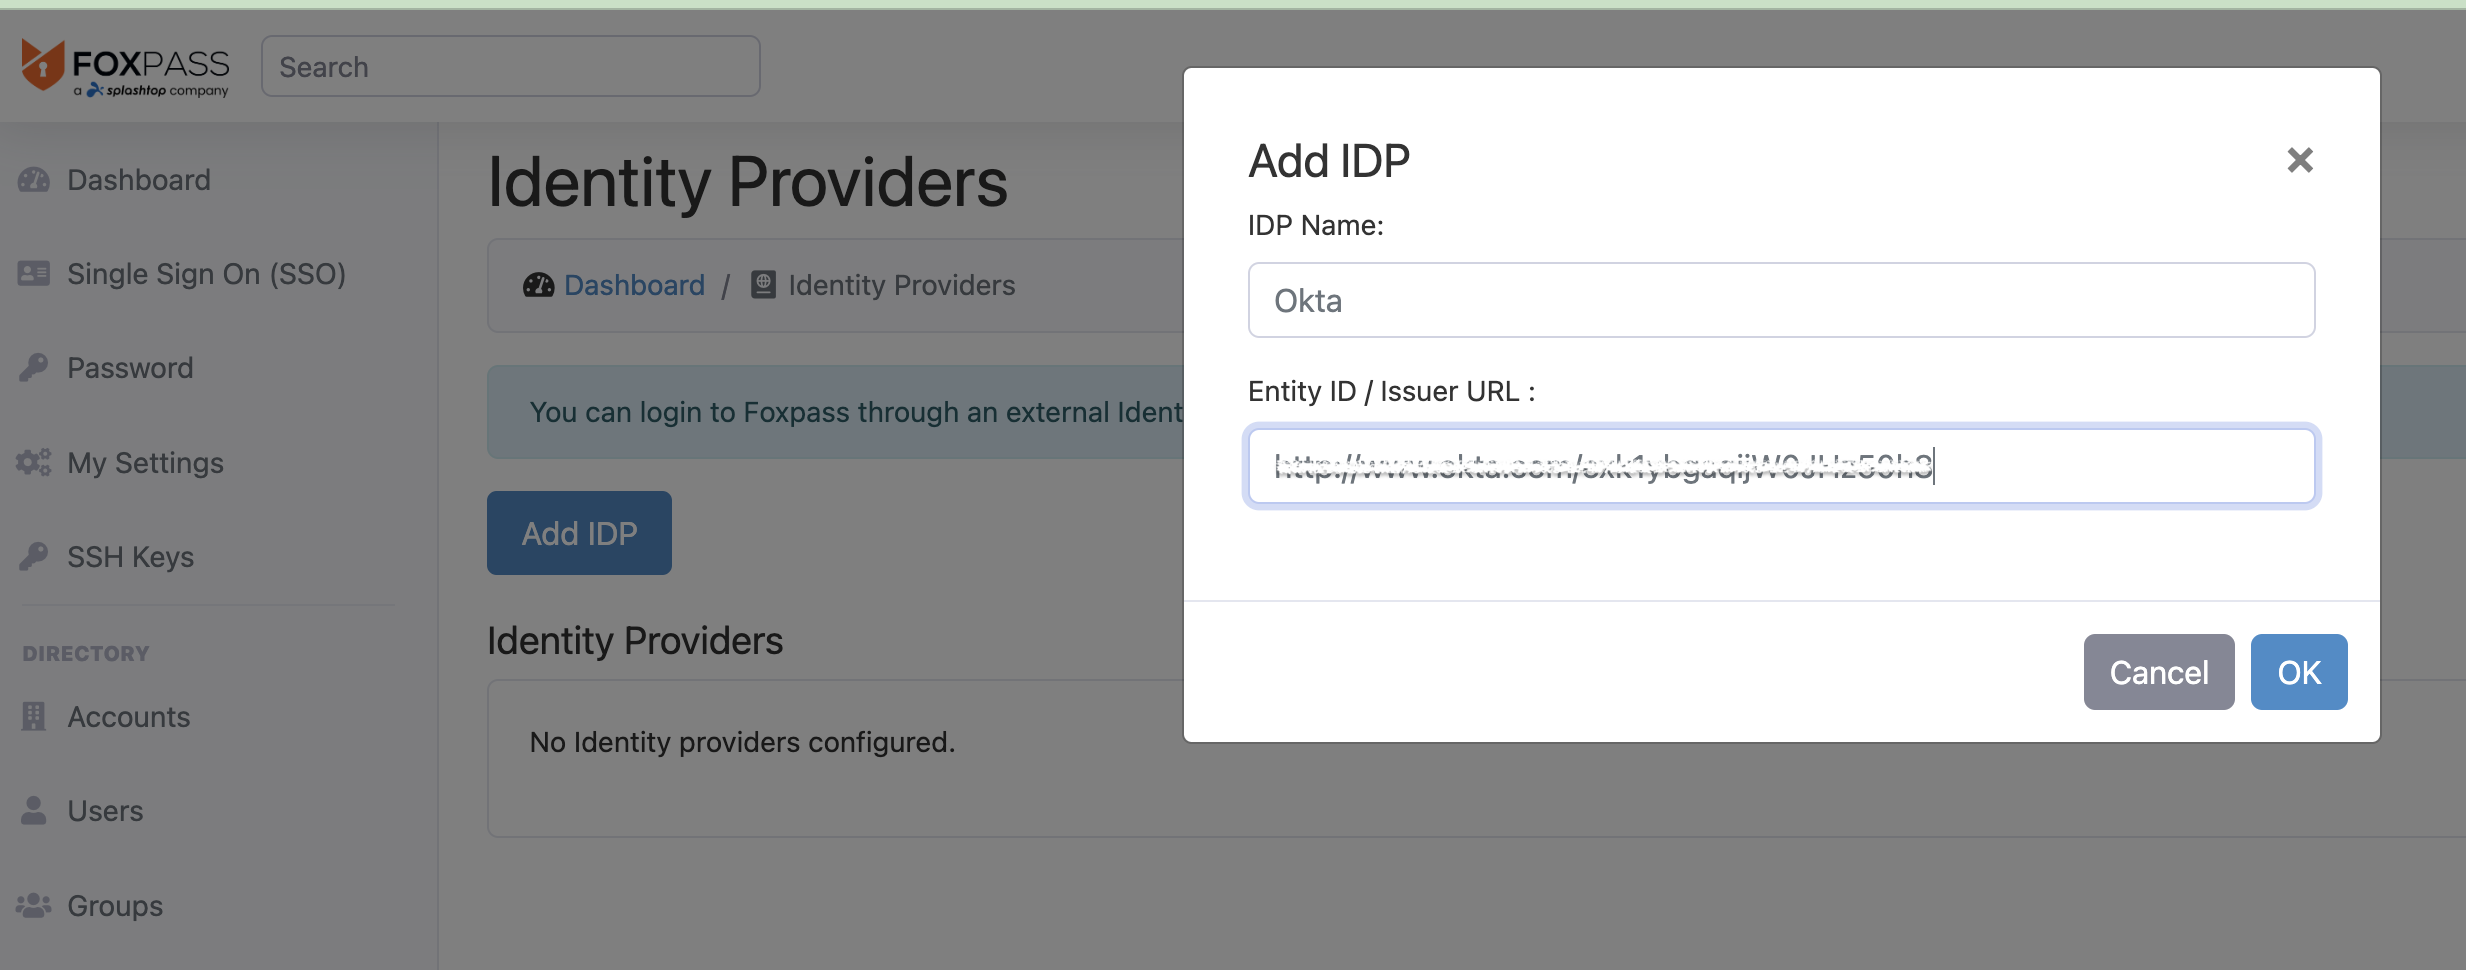
Add Okta IDP
-
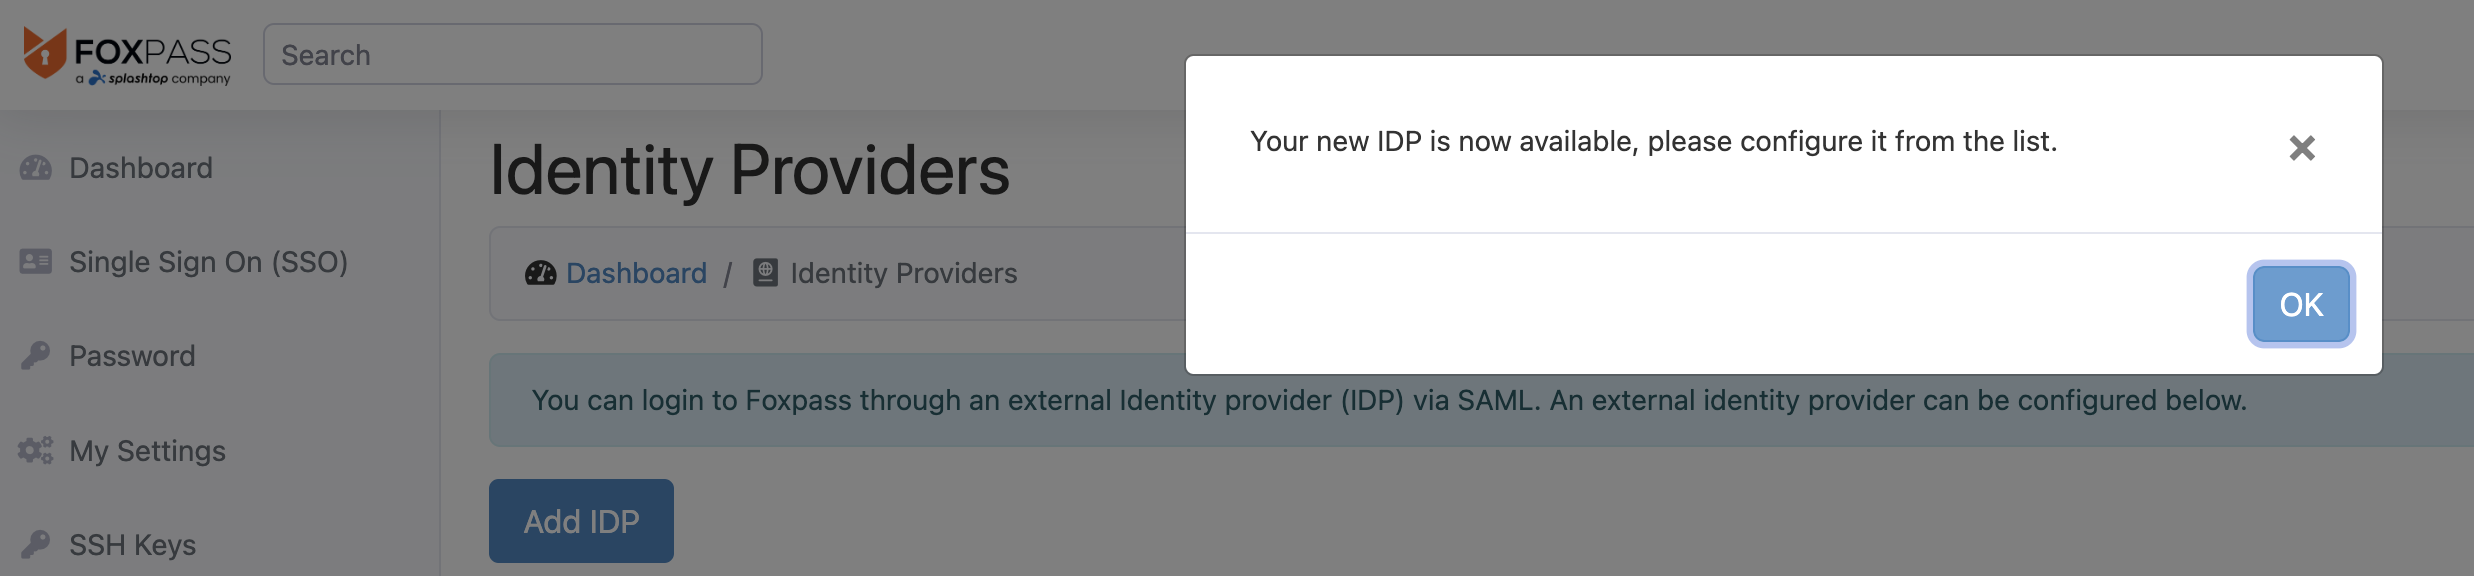
Click 'Ok' and then click 'Configure'
-
Paste in the Certificate noted in Step 15.
-
Paste the Login URL from Step 14.
-
Logout URL is optional.
-
Click "Test Login" button to make sure configuration is correct.
-
Click “Make default” next to the Identity Provider to enable SP-initiated login.
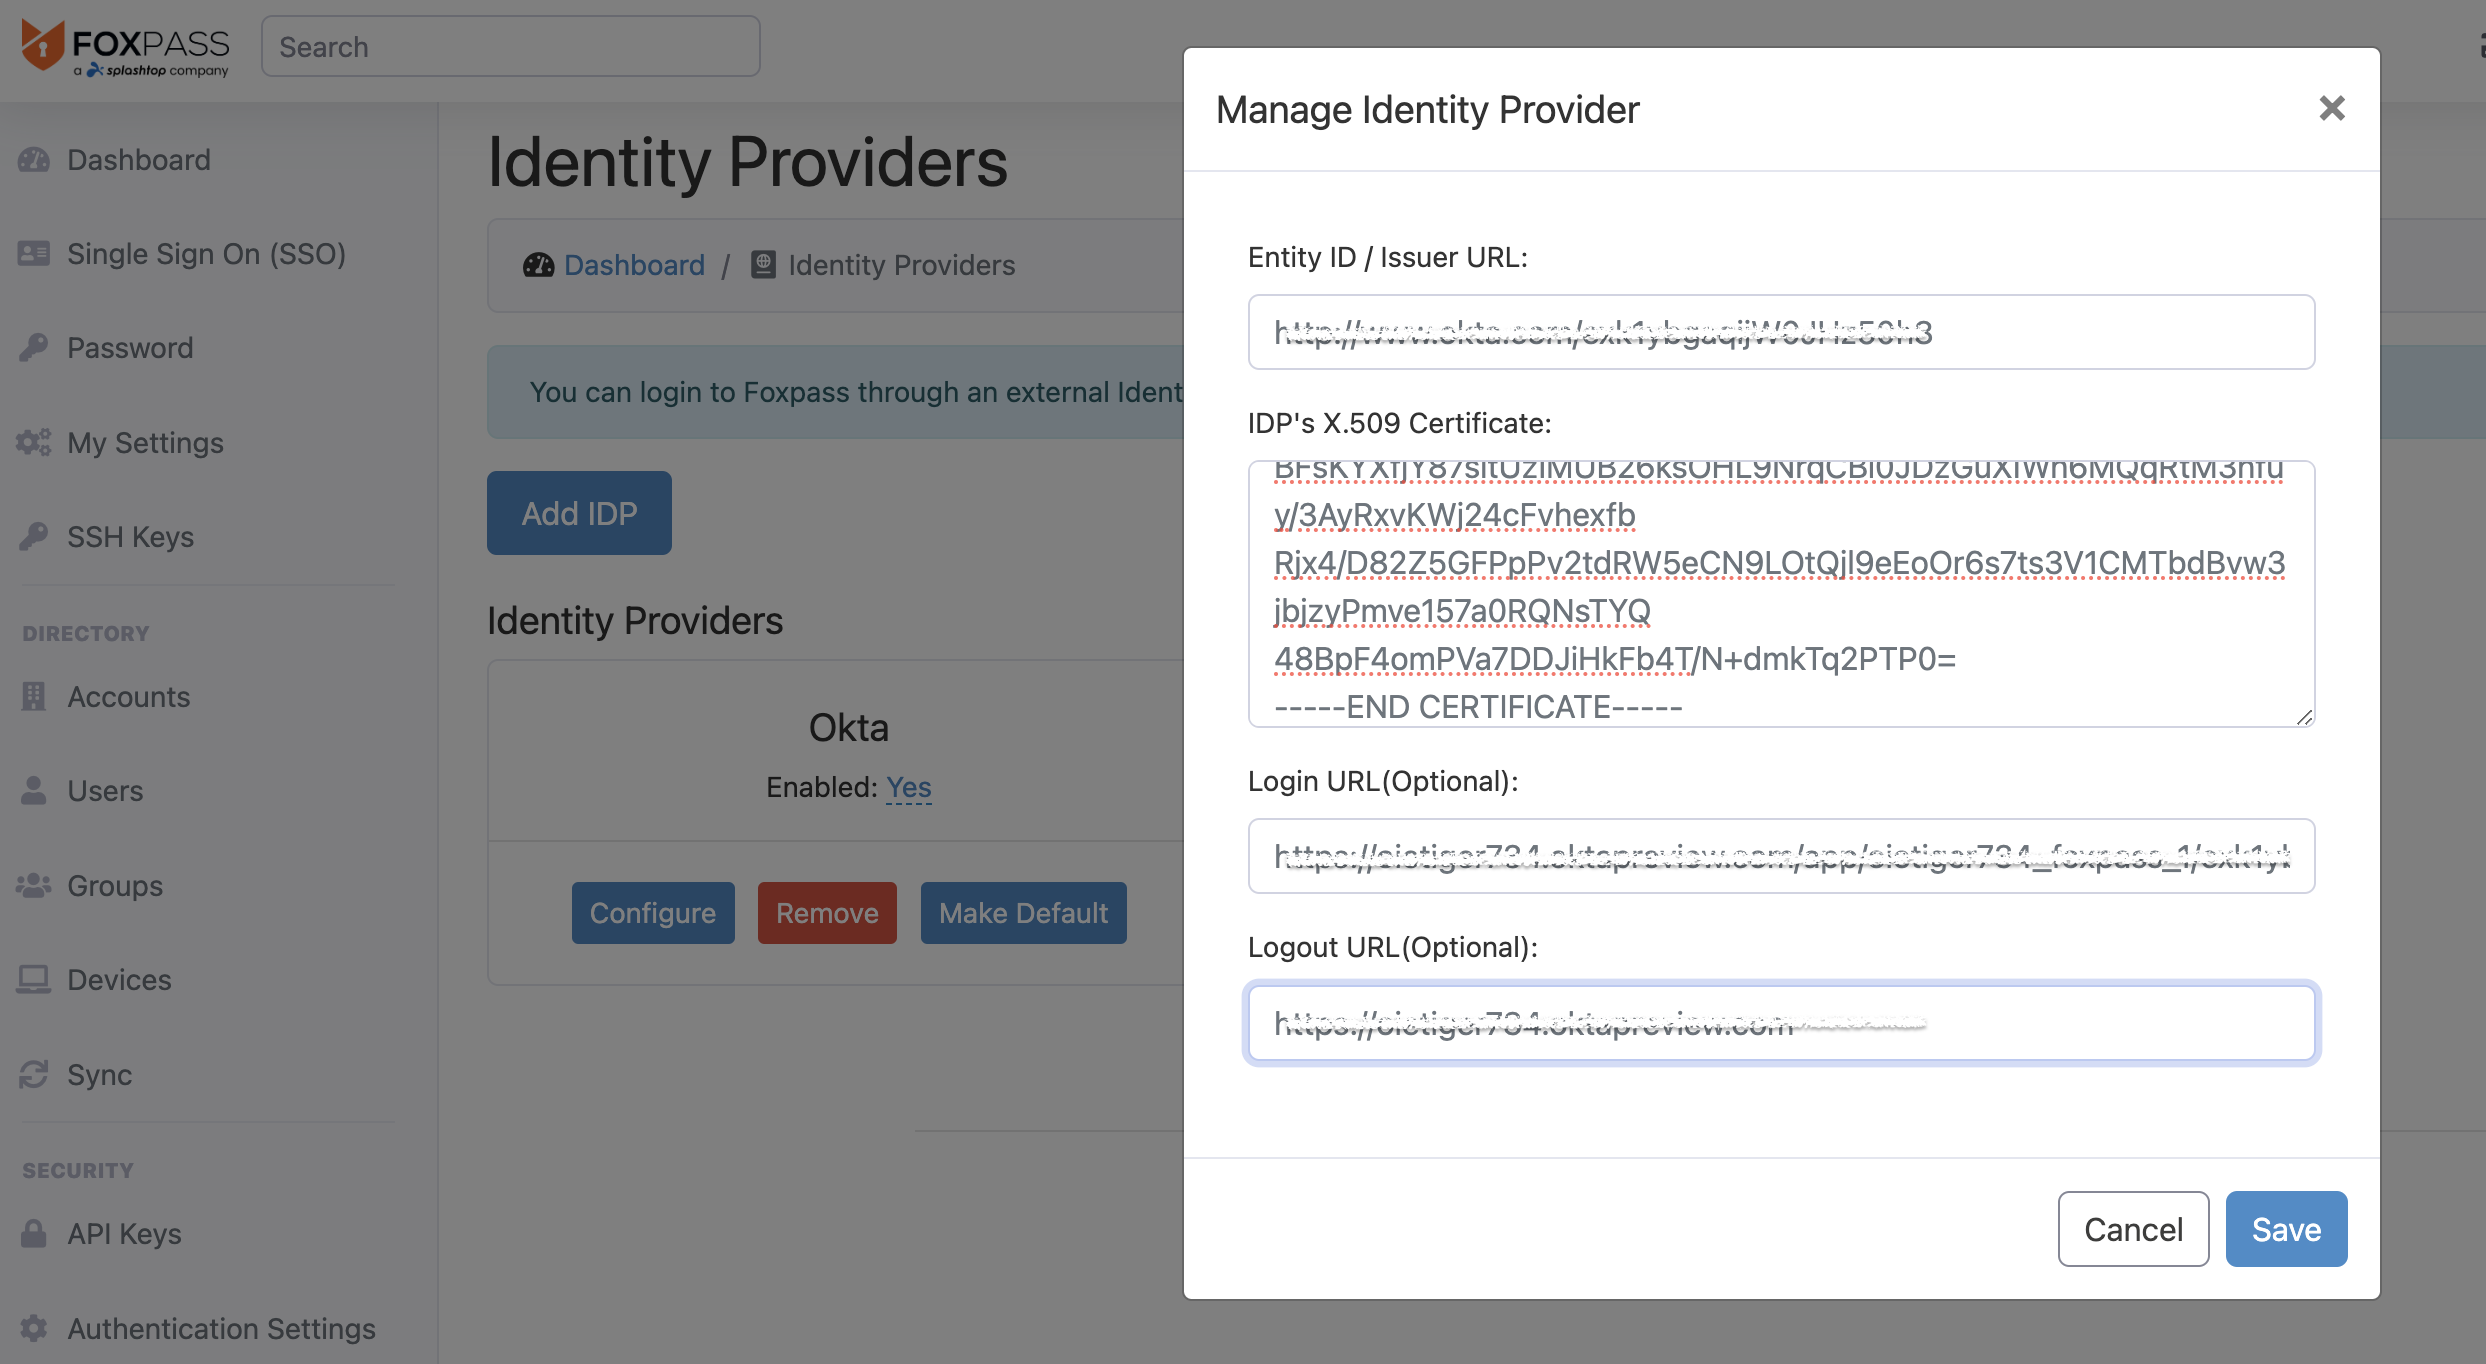
Configure IDP
Test it out
Now, you can go to your Okta dashboard and log in to the Foxpass Console. Note that your Okta email should match your Foxpass email.
Please reach out to us if you have any questions or feedback.