
Intune - iOS/iPadOS
Configure EAP-TLS on Foxpass
Please follow the EAP-TLS initial setup guide to create client CA, server CA and SCEP endpoint if not configured already.
Configure Intune for Initial Setup
If you are configuring SCEP certificates for Windows, macOS or iOS you only need to follow the initial setup documentation once.
Please refer the Intune for Initial Setup documentation to configure the Intune initially.
Upload Apple MDM Push Certificate
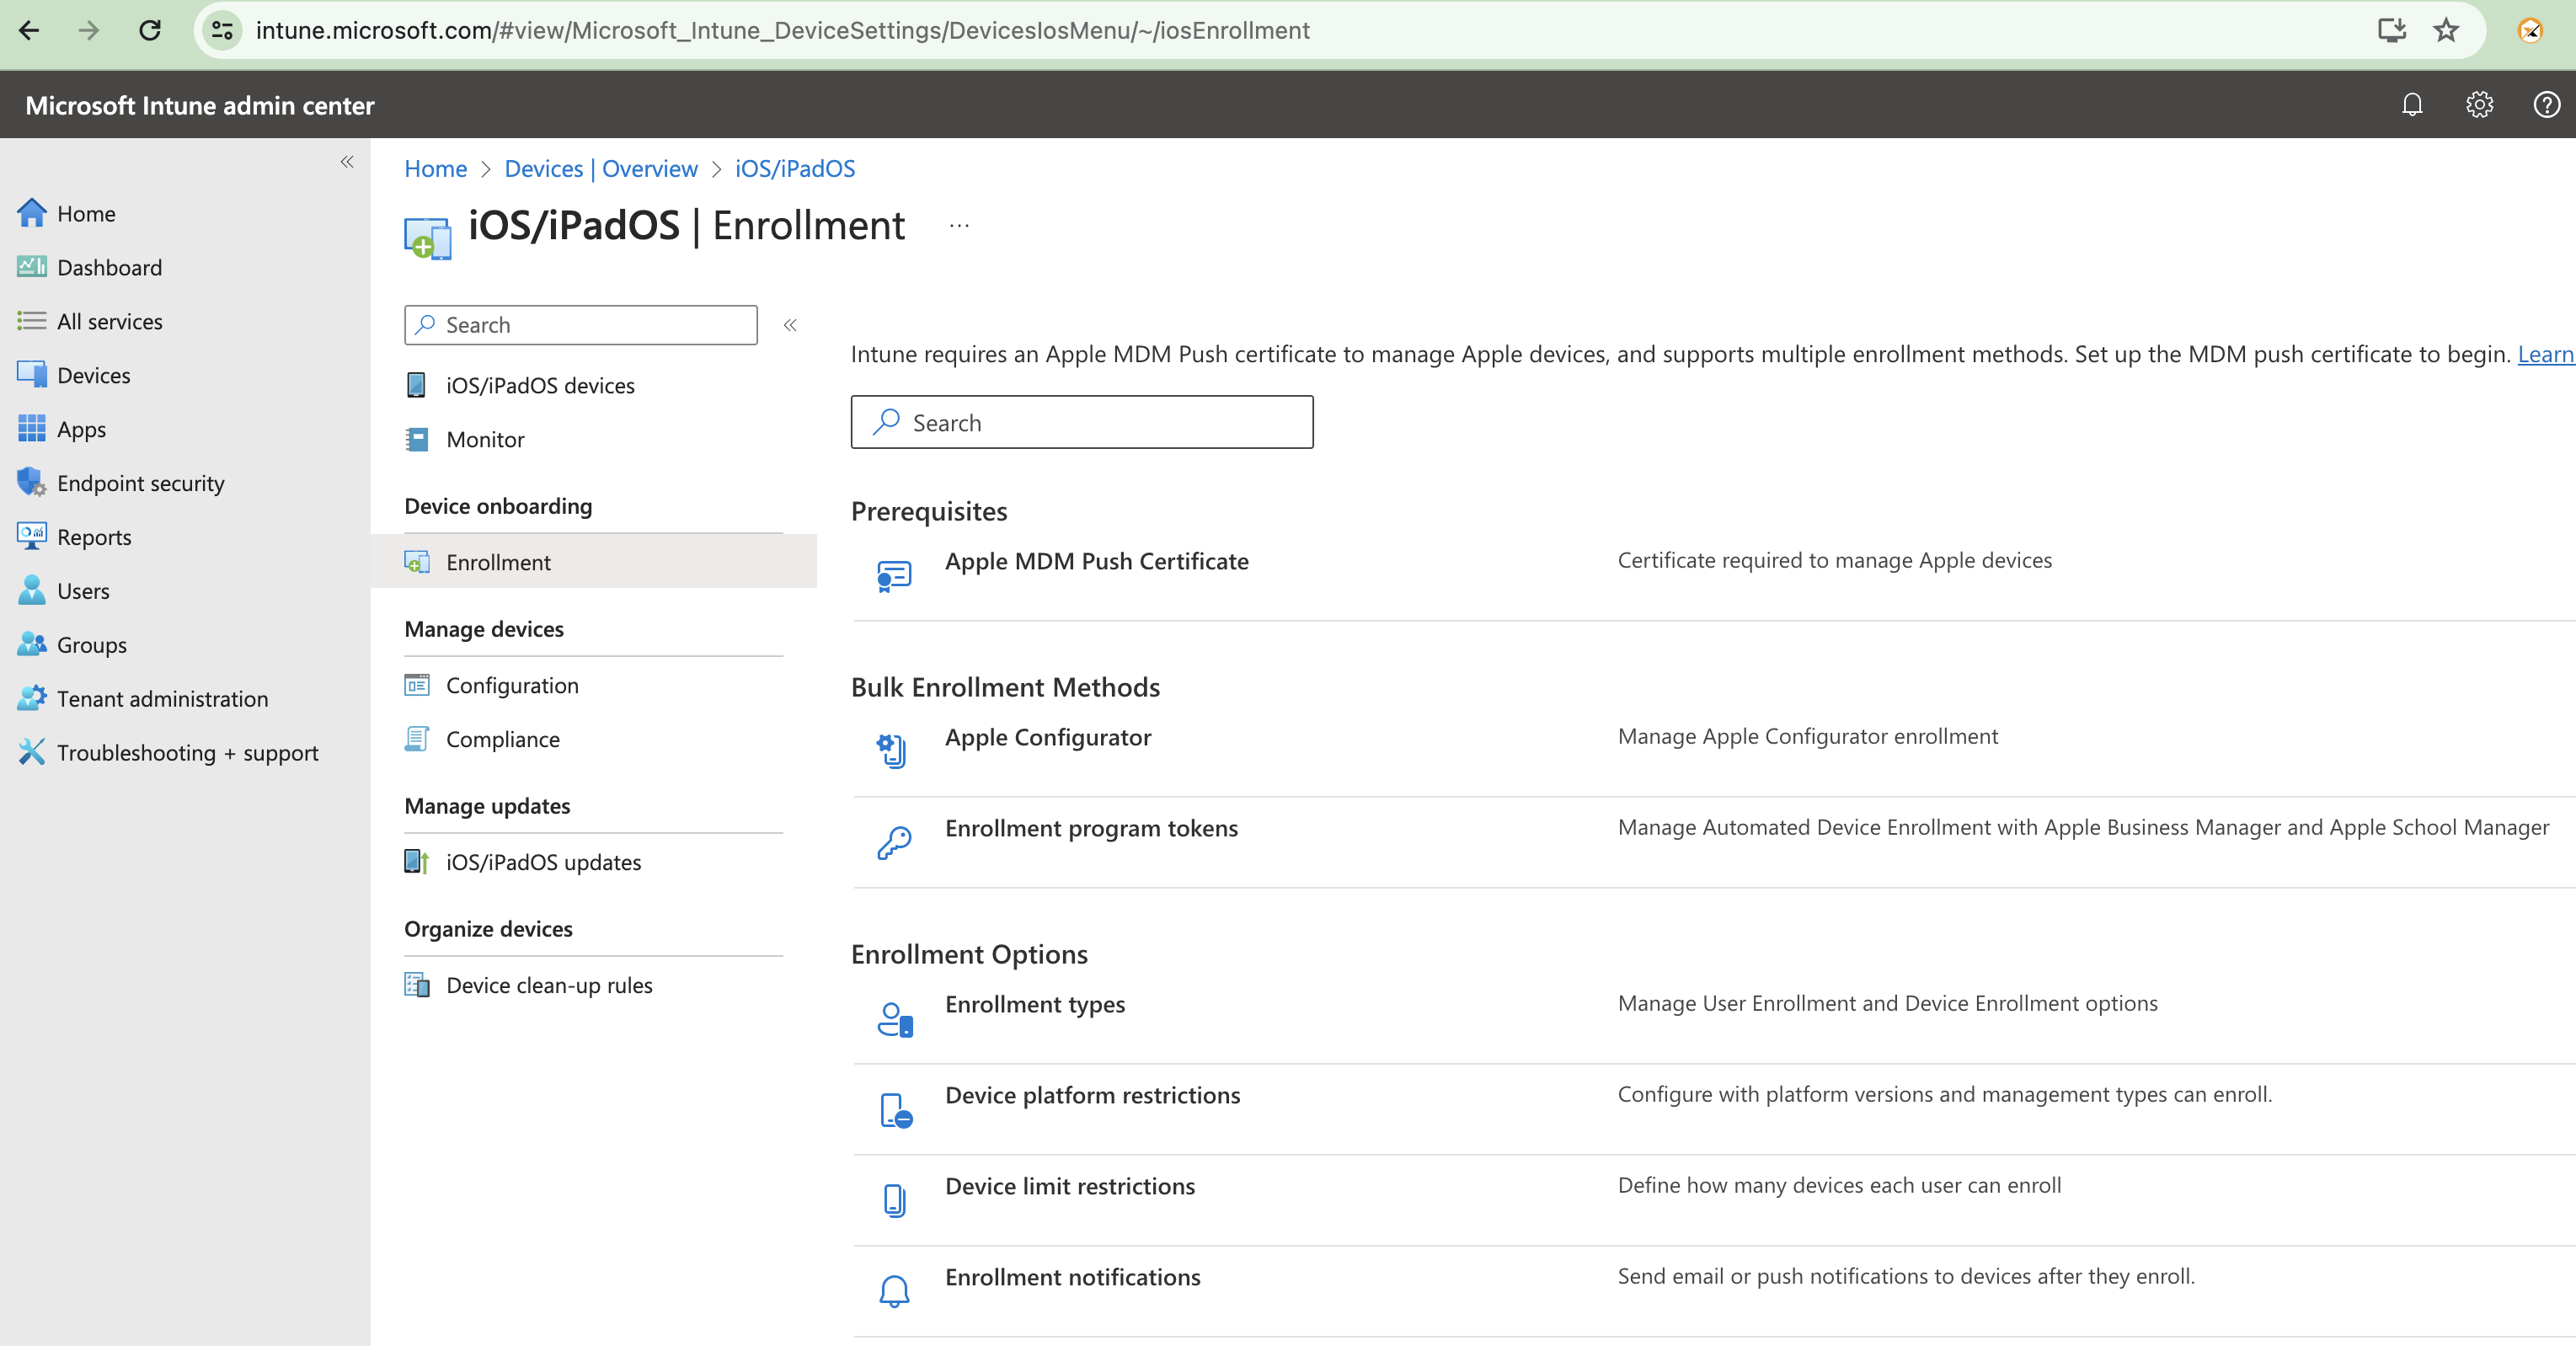
- In the Endpoint manager, now go to devices → iosEnrollment.
-
Click on Apple MDM Push Certificate.
-
A dialog box will open at the right side to configure MDM Push certificate.
Note: If you have configured MDM push certificate for macOS already, it will automatically show after clicking Apple MDM Push Certificate and you don't need to configure it again.

Click Apple MDM Push Certificate
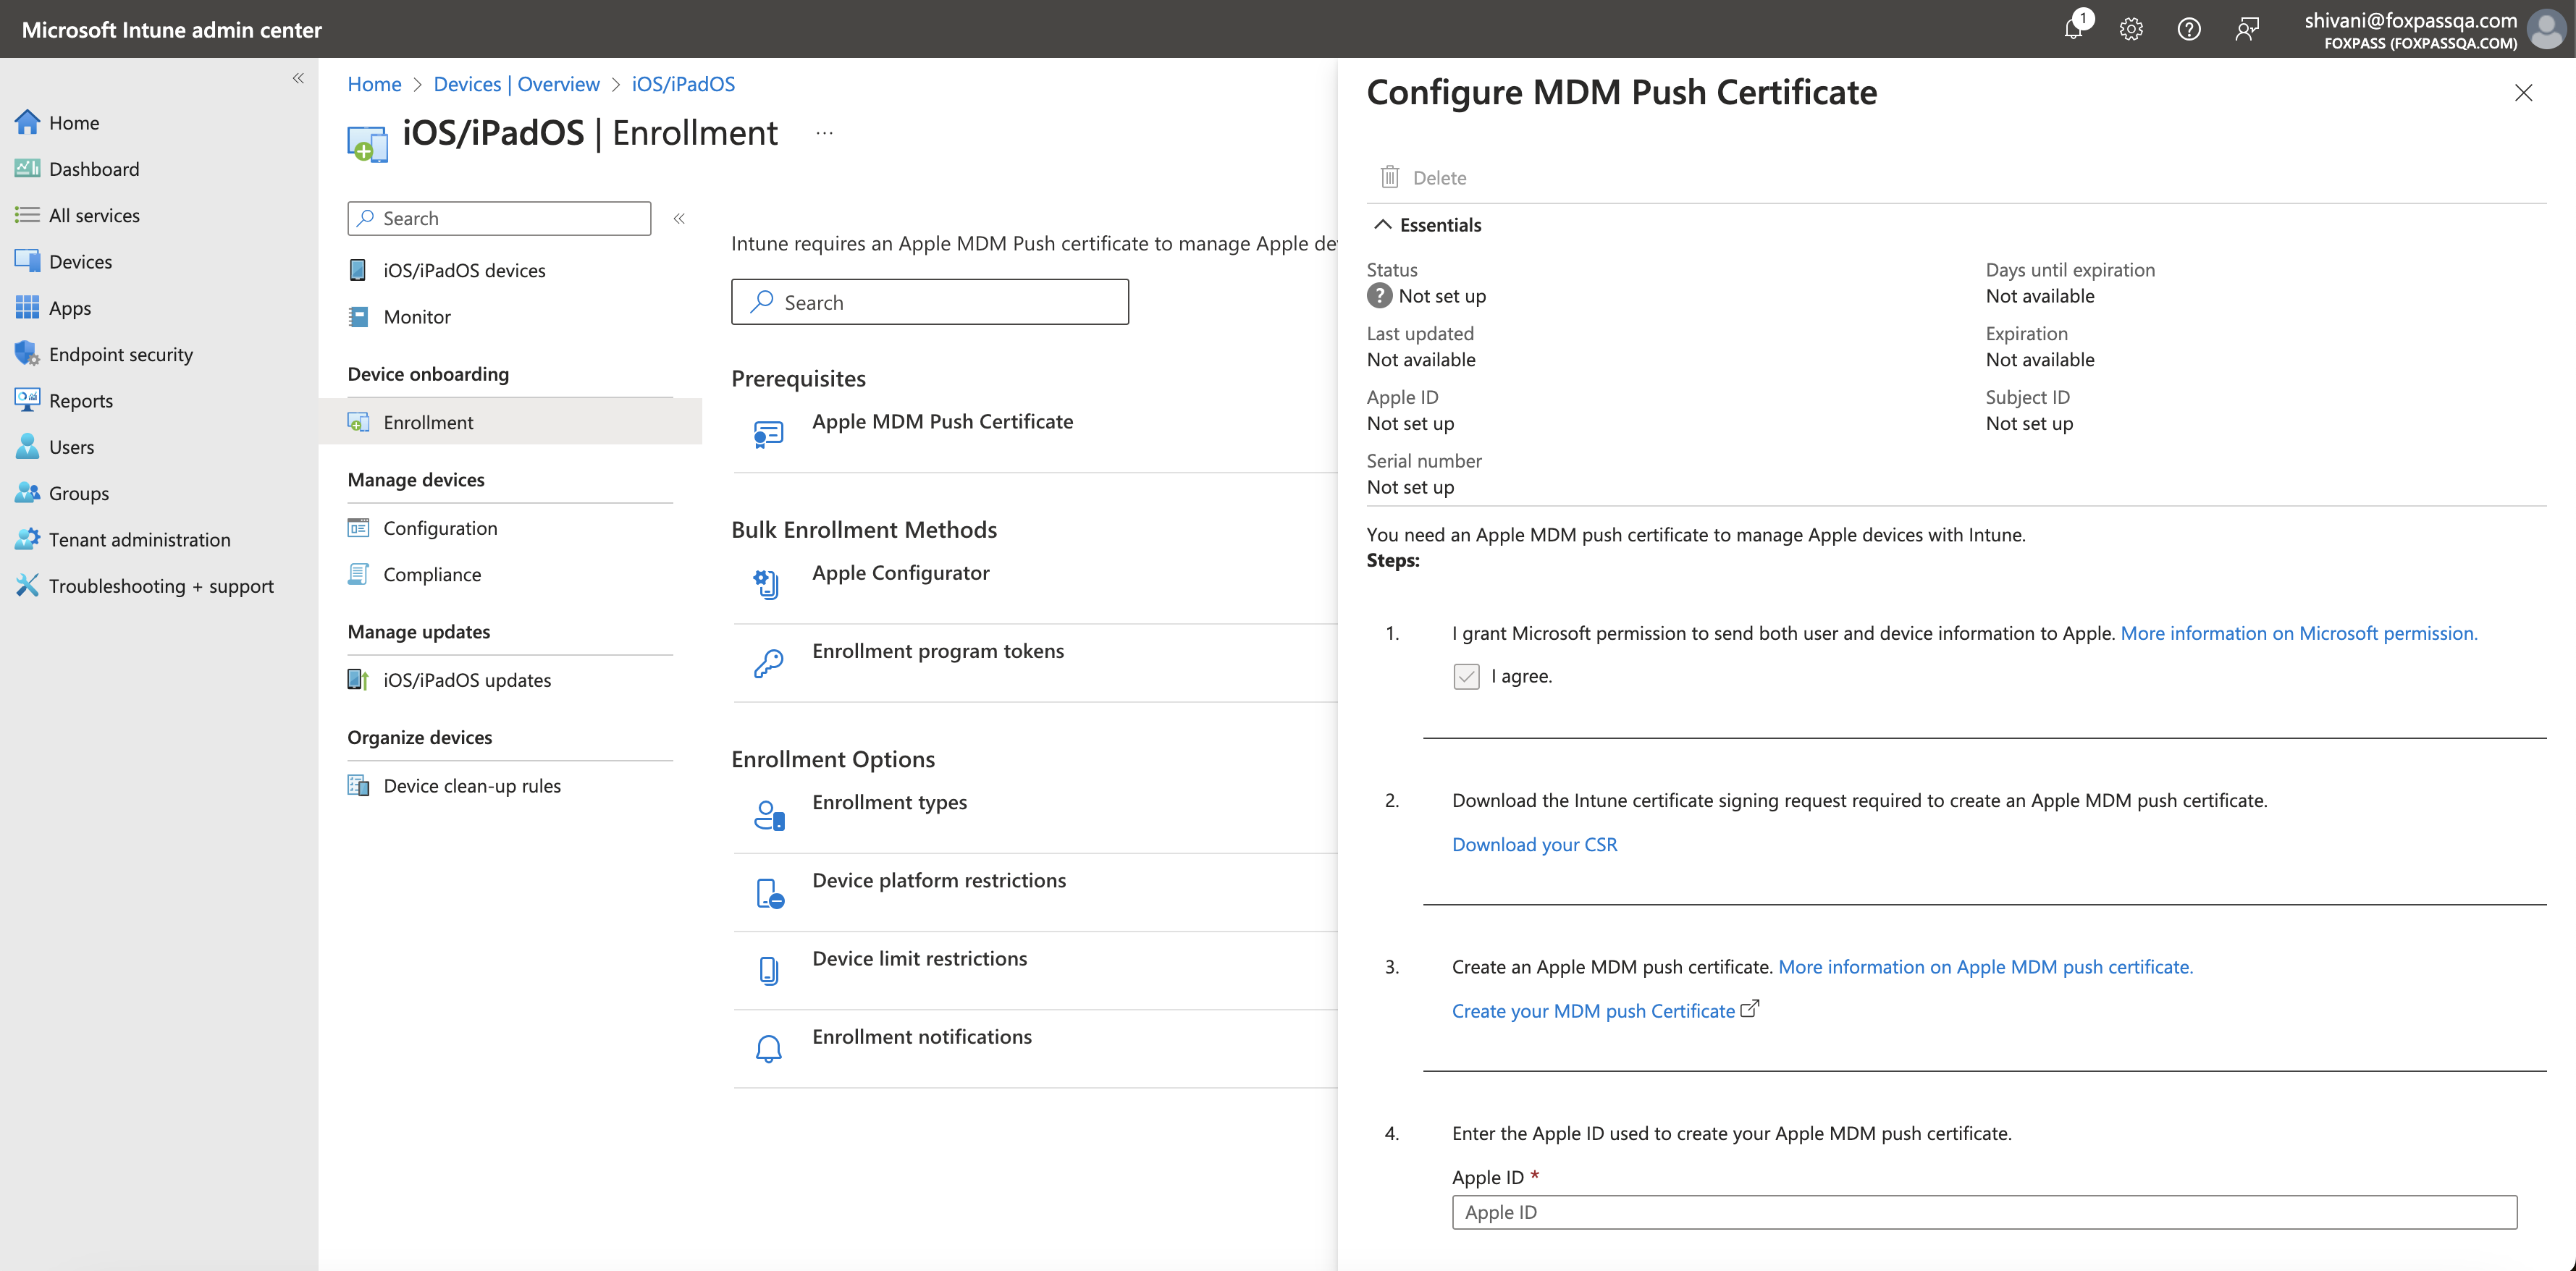
- Click on the Download your CSR link.

Download your CSR
- Click on Create your MDM push certificate.
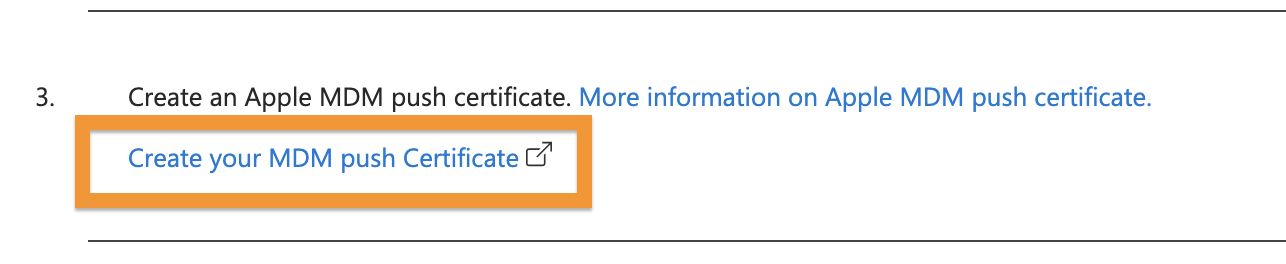
Create MDM push certificate
- Sign in to your Apple account and click Create a certificate button.
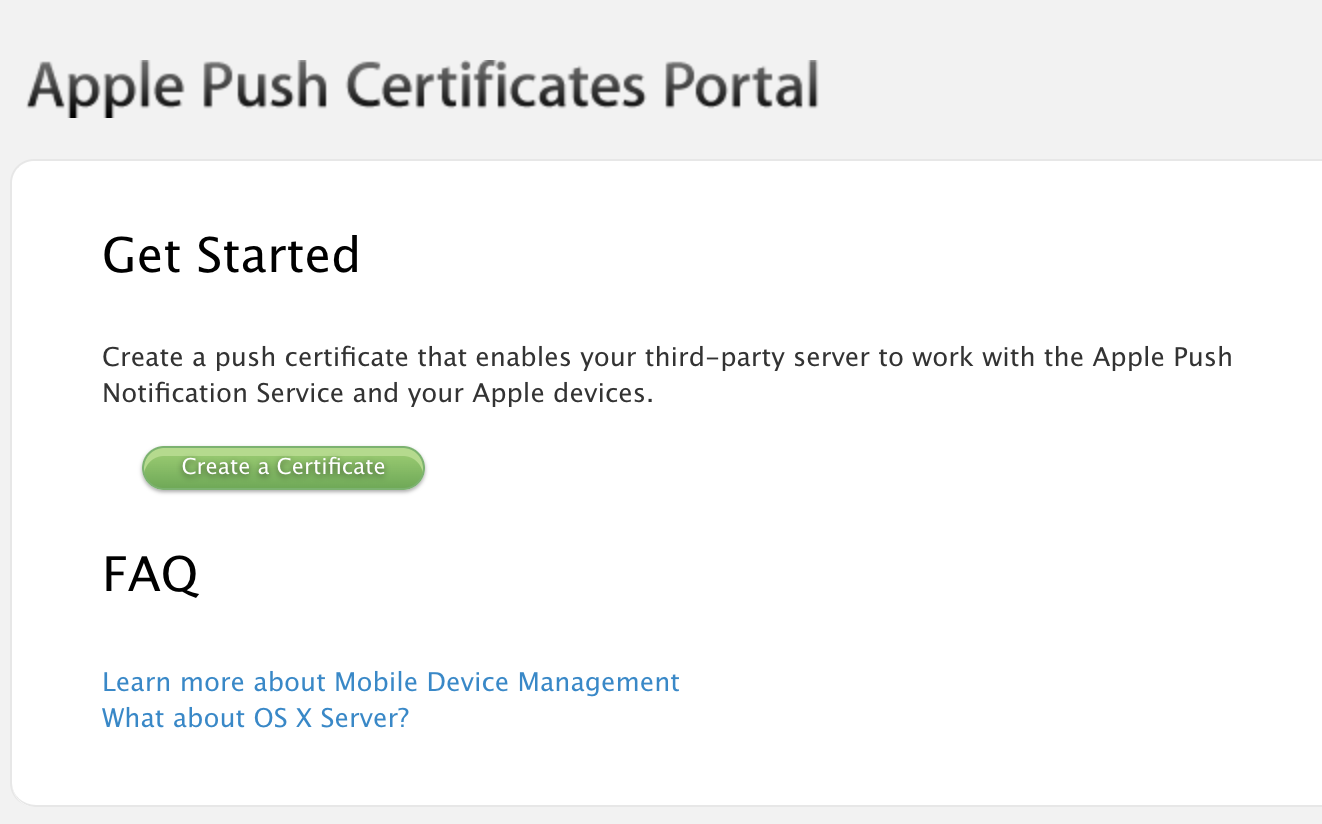
Create a certificate
- Upload previously downloaded CSR.
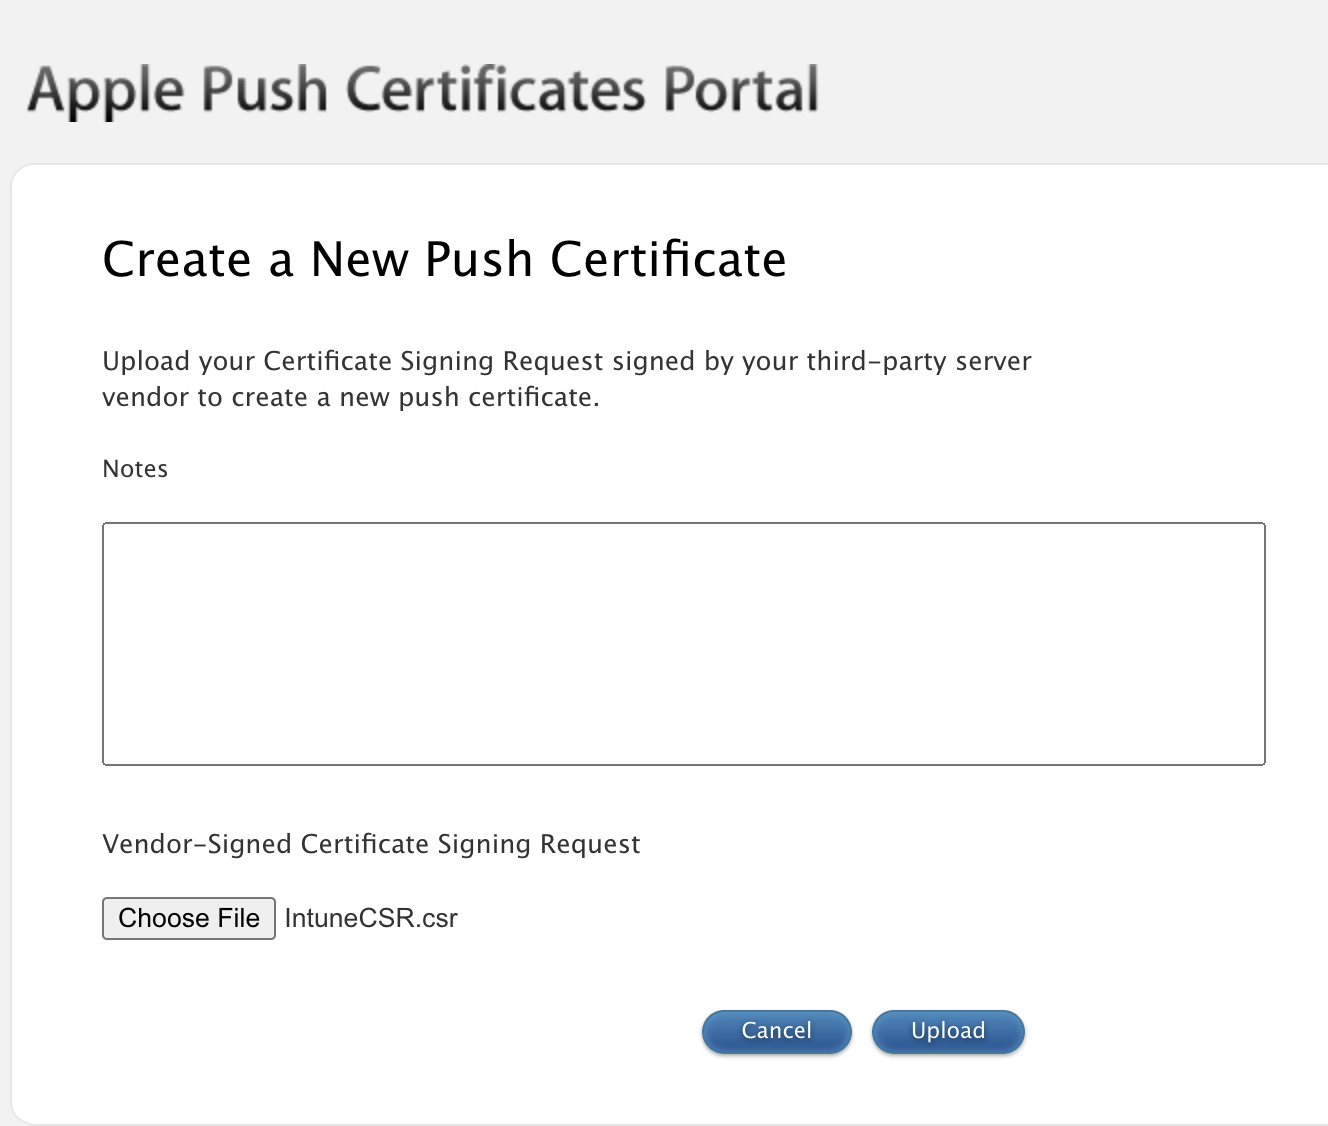
Upload CSR
-
You will see a confirmation message of certificate created. Click on 'Download' button.
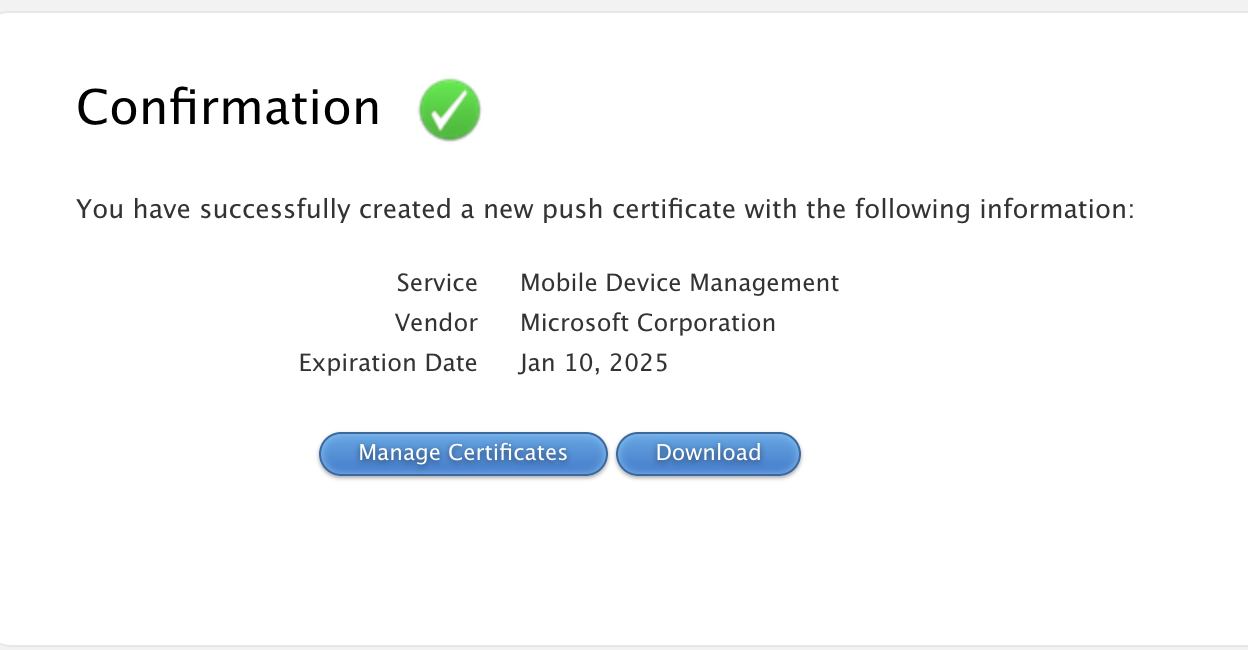
Download certificate
-
Upload the downloaded certificate in Intune.
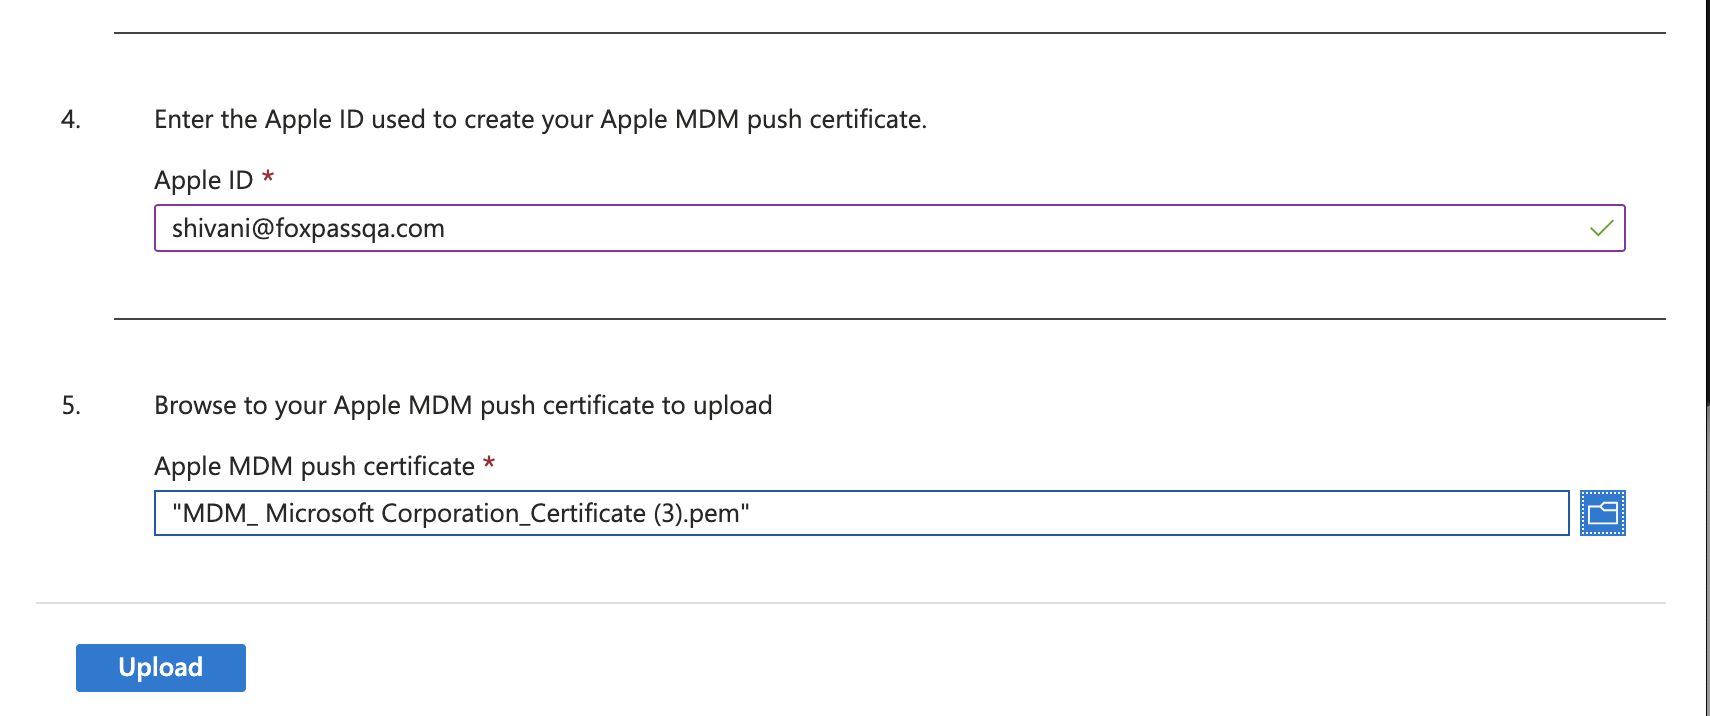
Upload push certificate
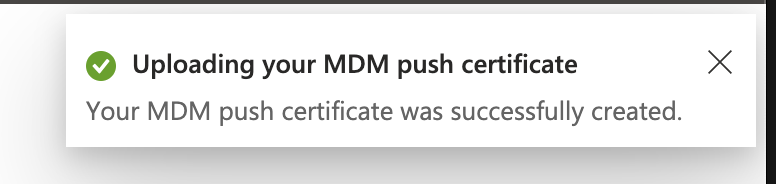
- You will see a confirmation that push certificate was successfully created.
3. Create Configuration Profiles
Create a Client CA Profile
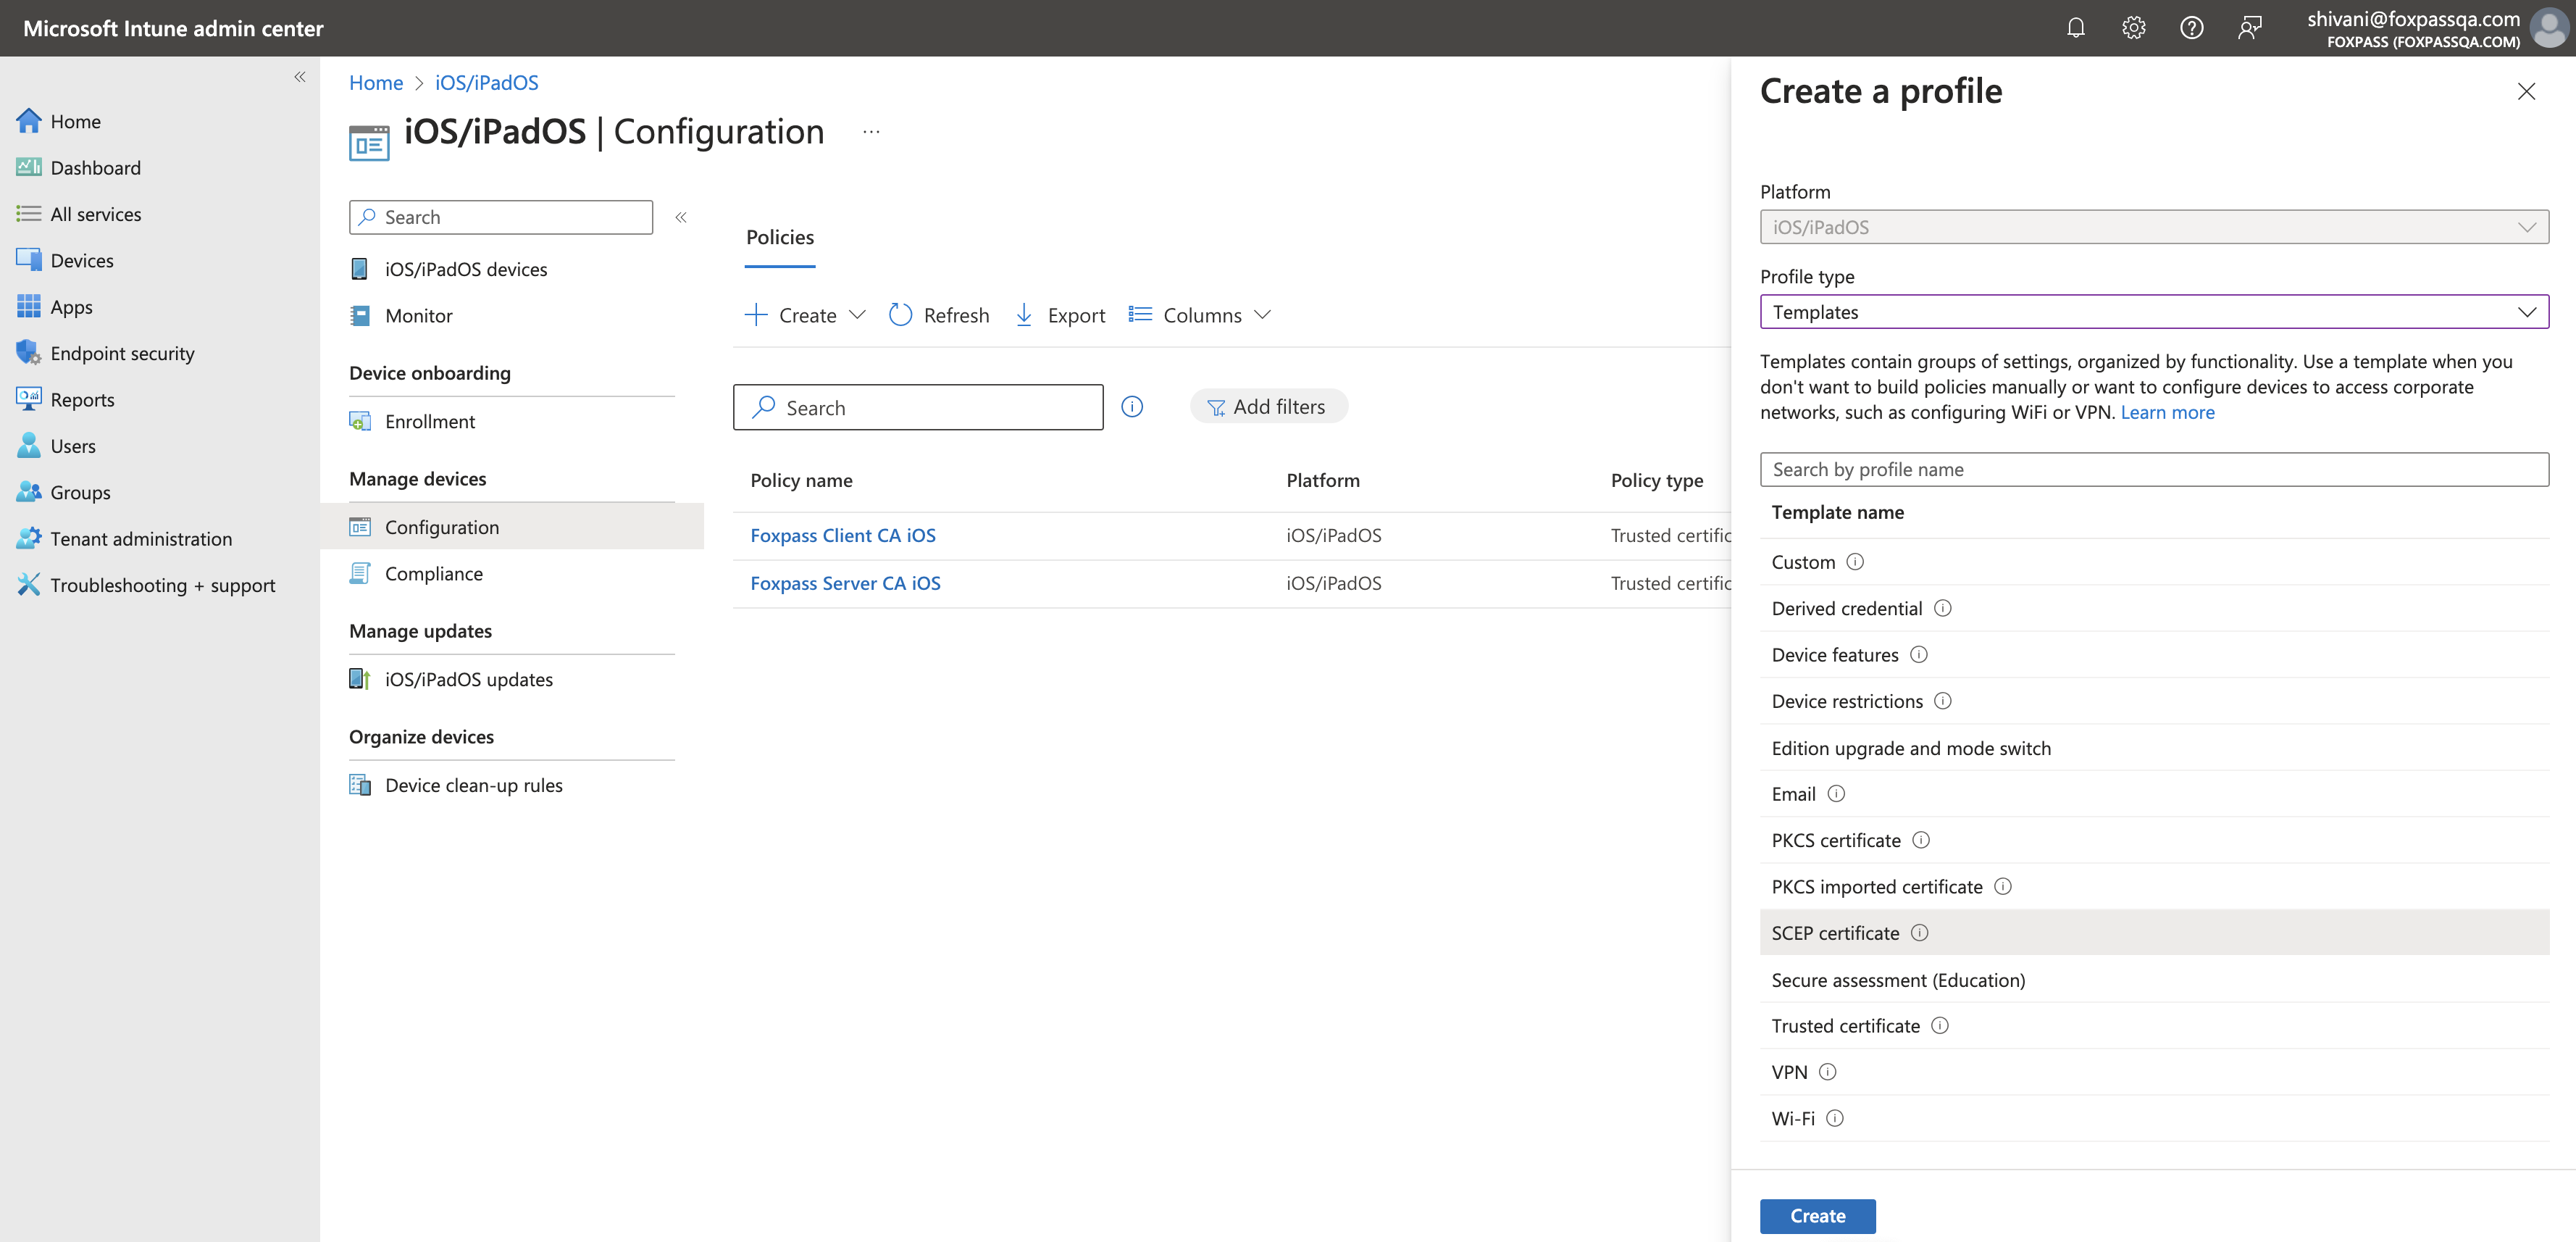
- Go to the configuration profiles of iOS/iPadOS.
- Click on Create > New Policy.
- Profile Type: Templates
- Select Trusted certificate.
- Click 'Create' button.
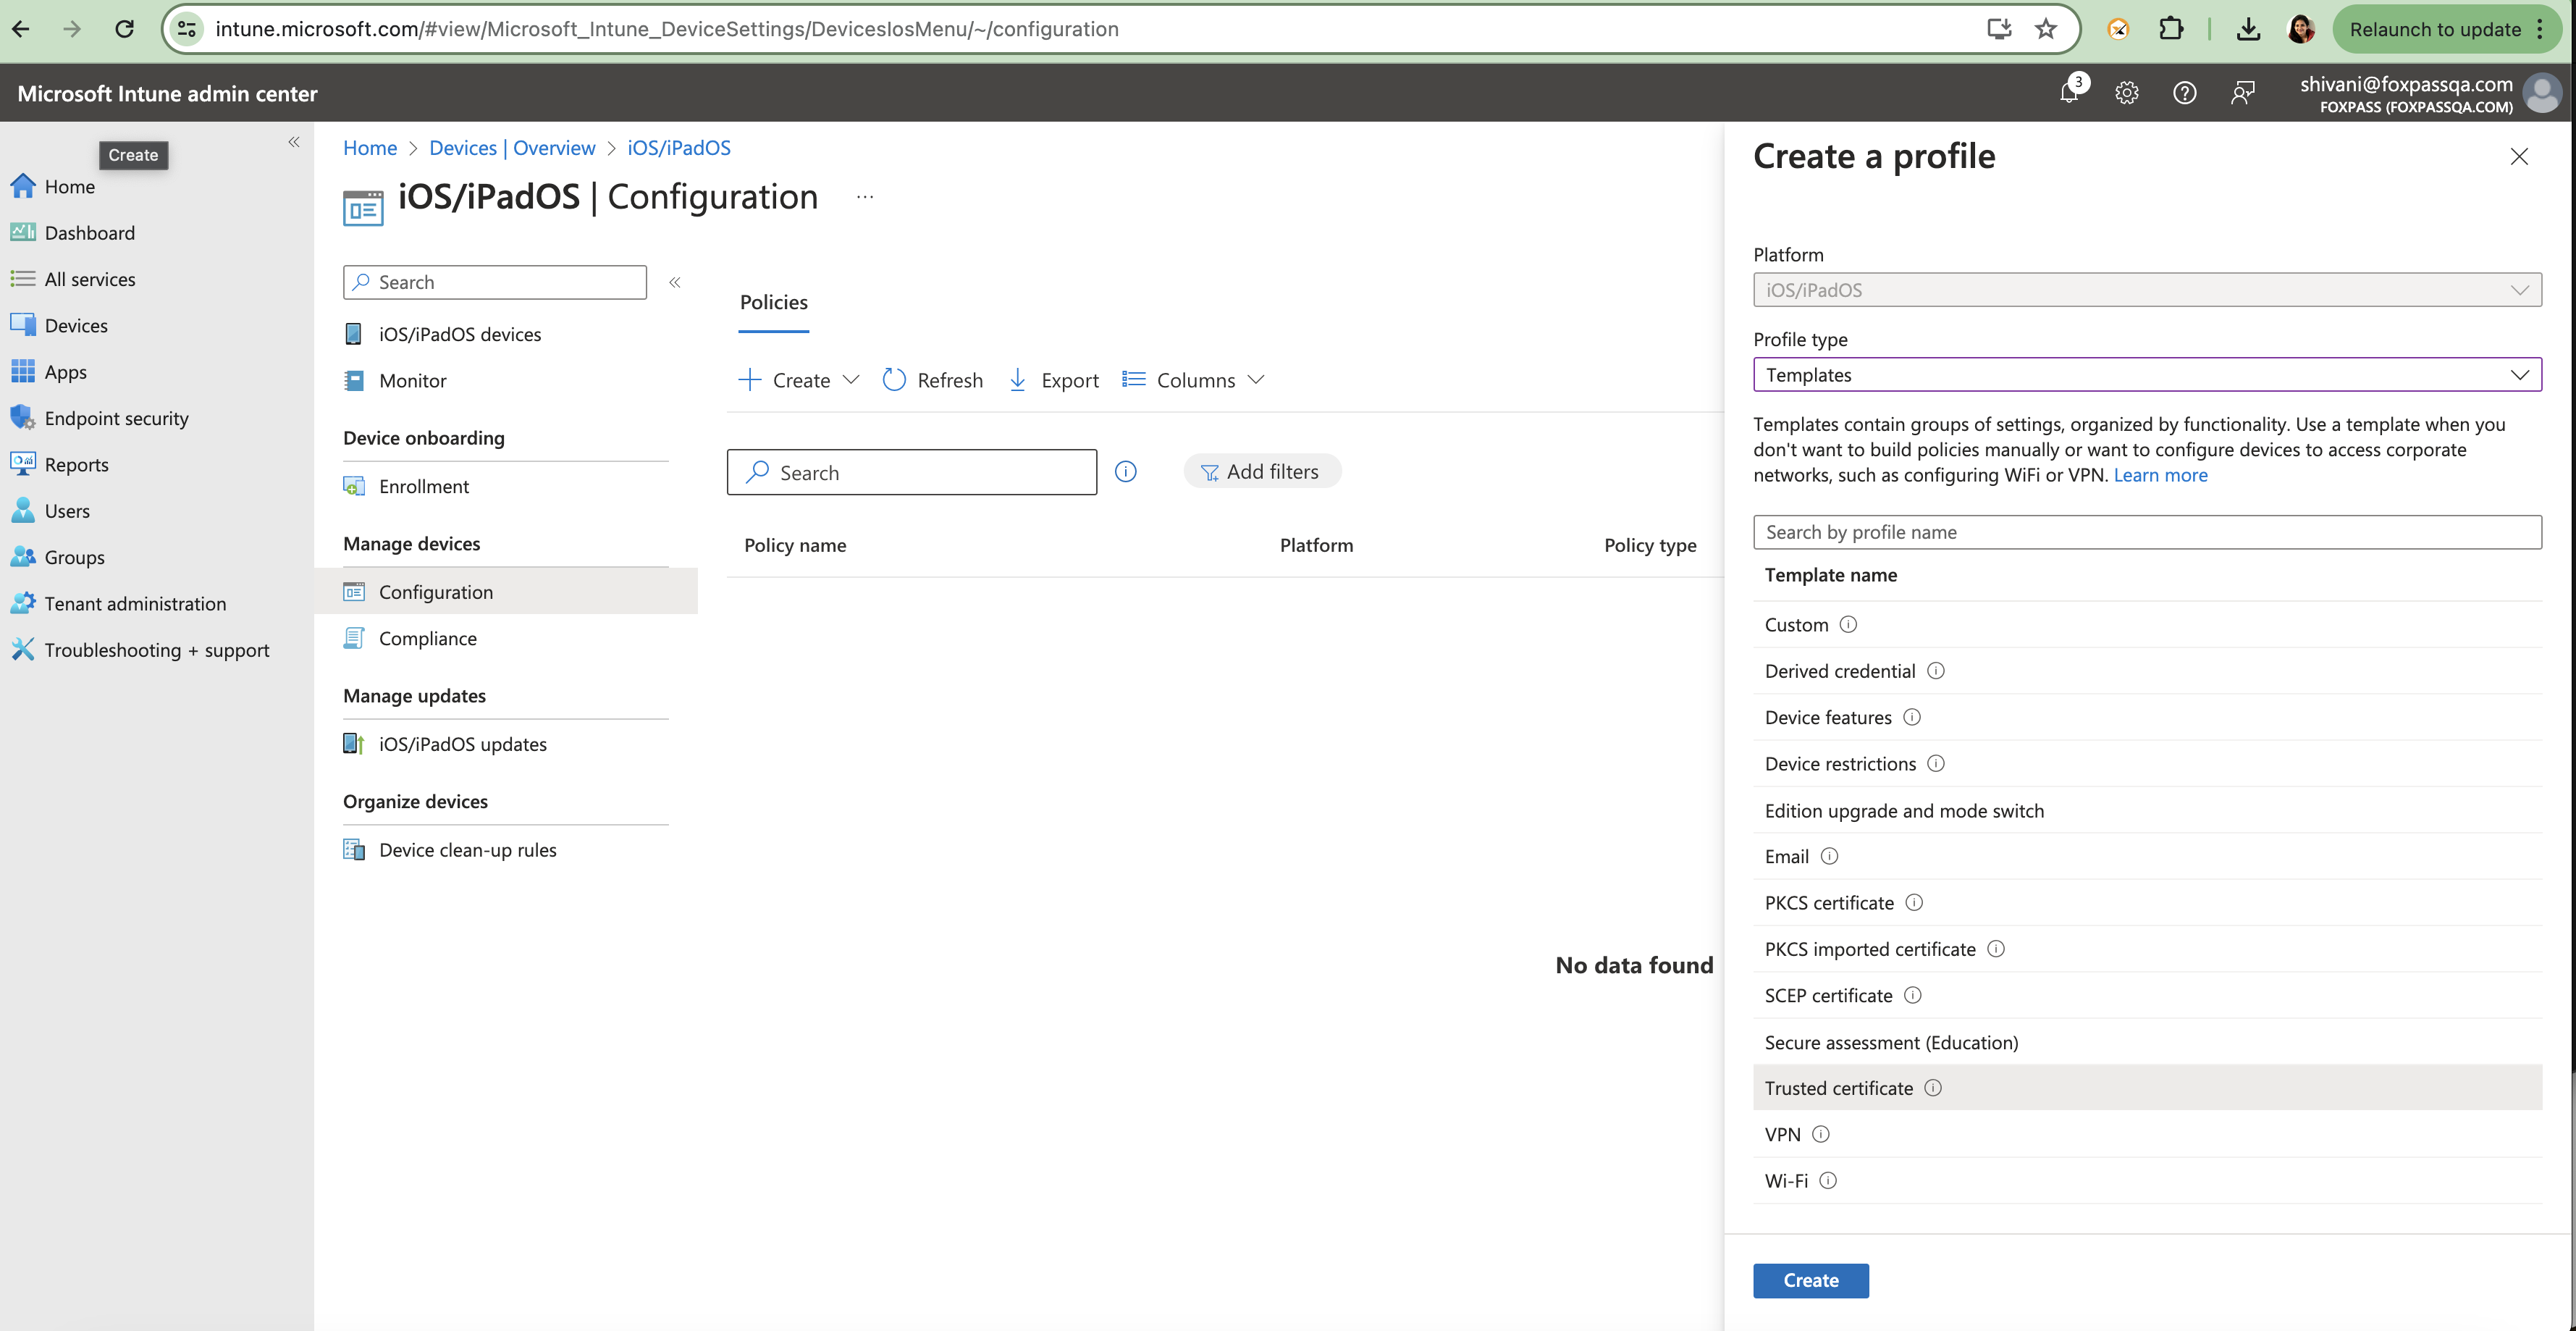
Create a profile
- Upload the Client CA downloaded earlier.
- Click 'Next'.
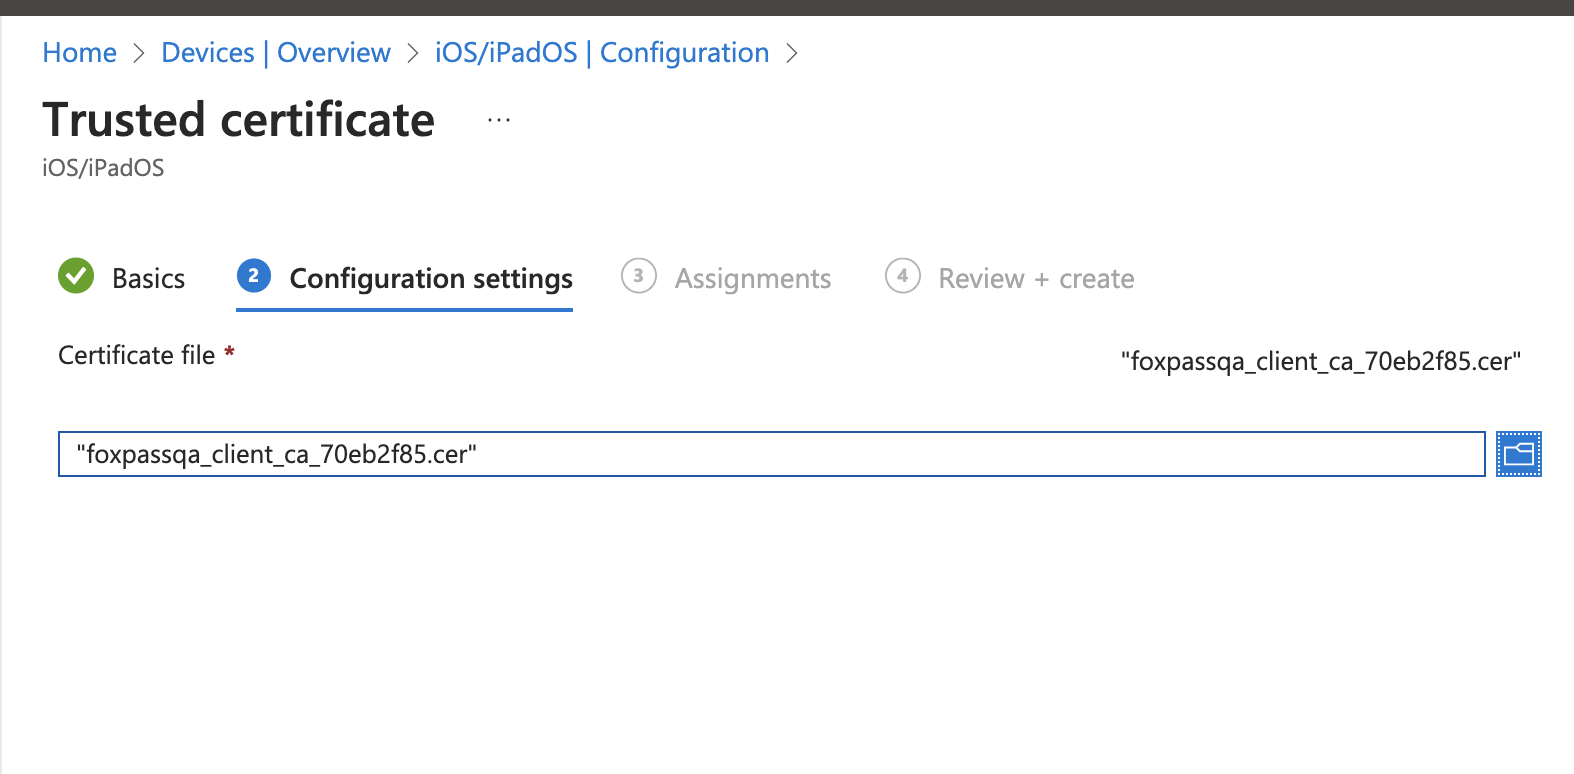
Upload Client CA
- Assign the profile to the groups/devices as per your needs.
- Click 'Next'.
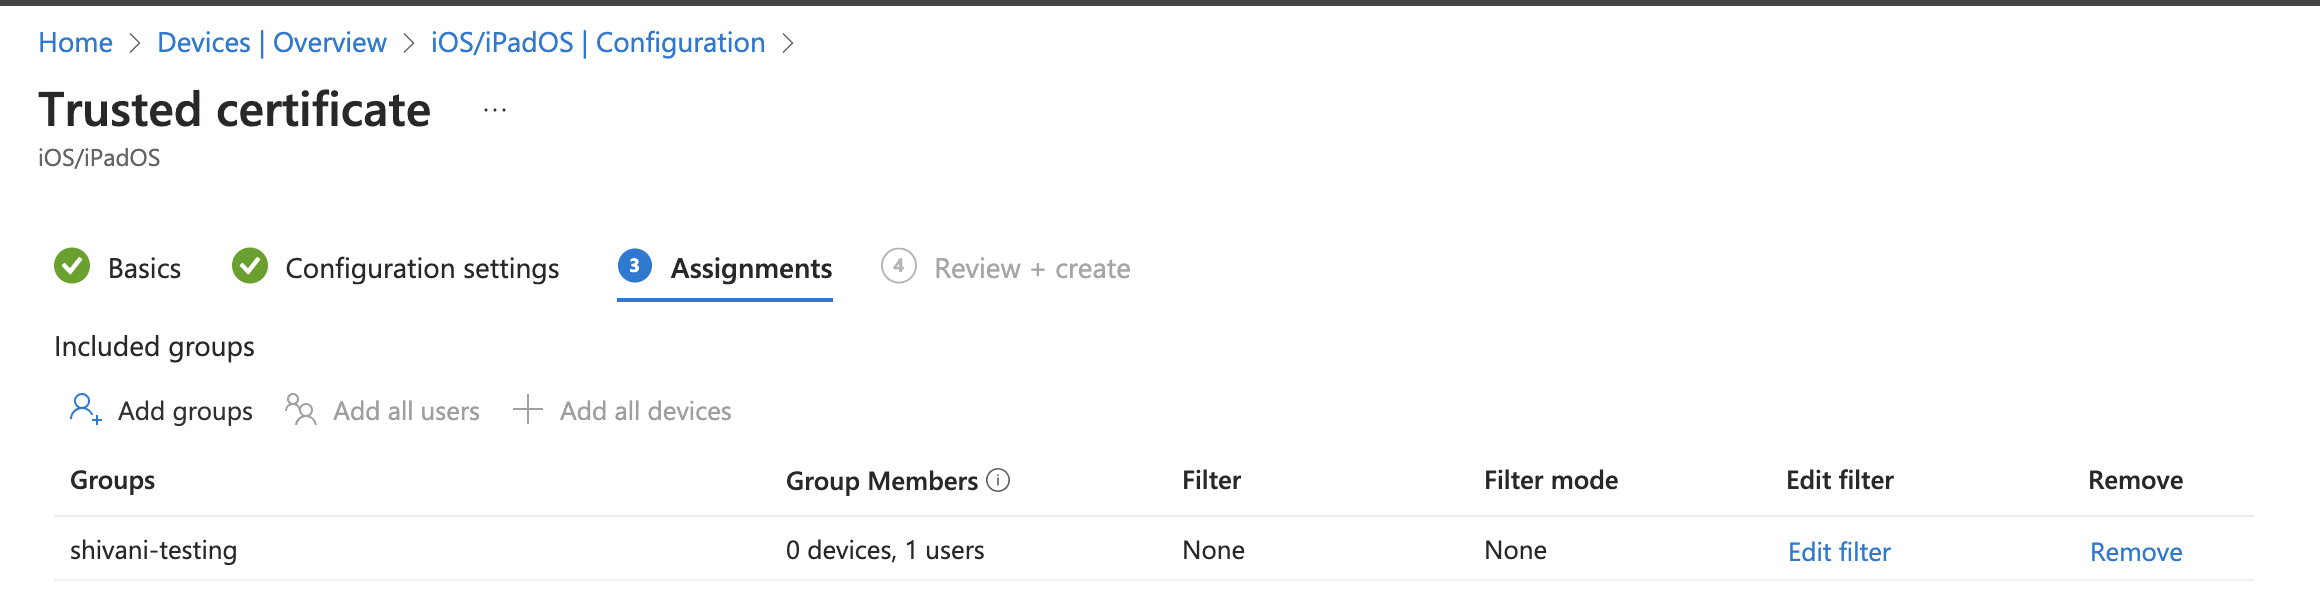
Sample assignment
- Review your profile and click 'Create'
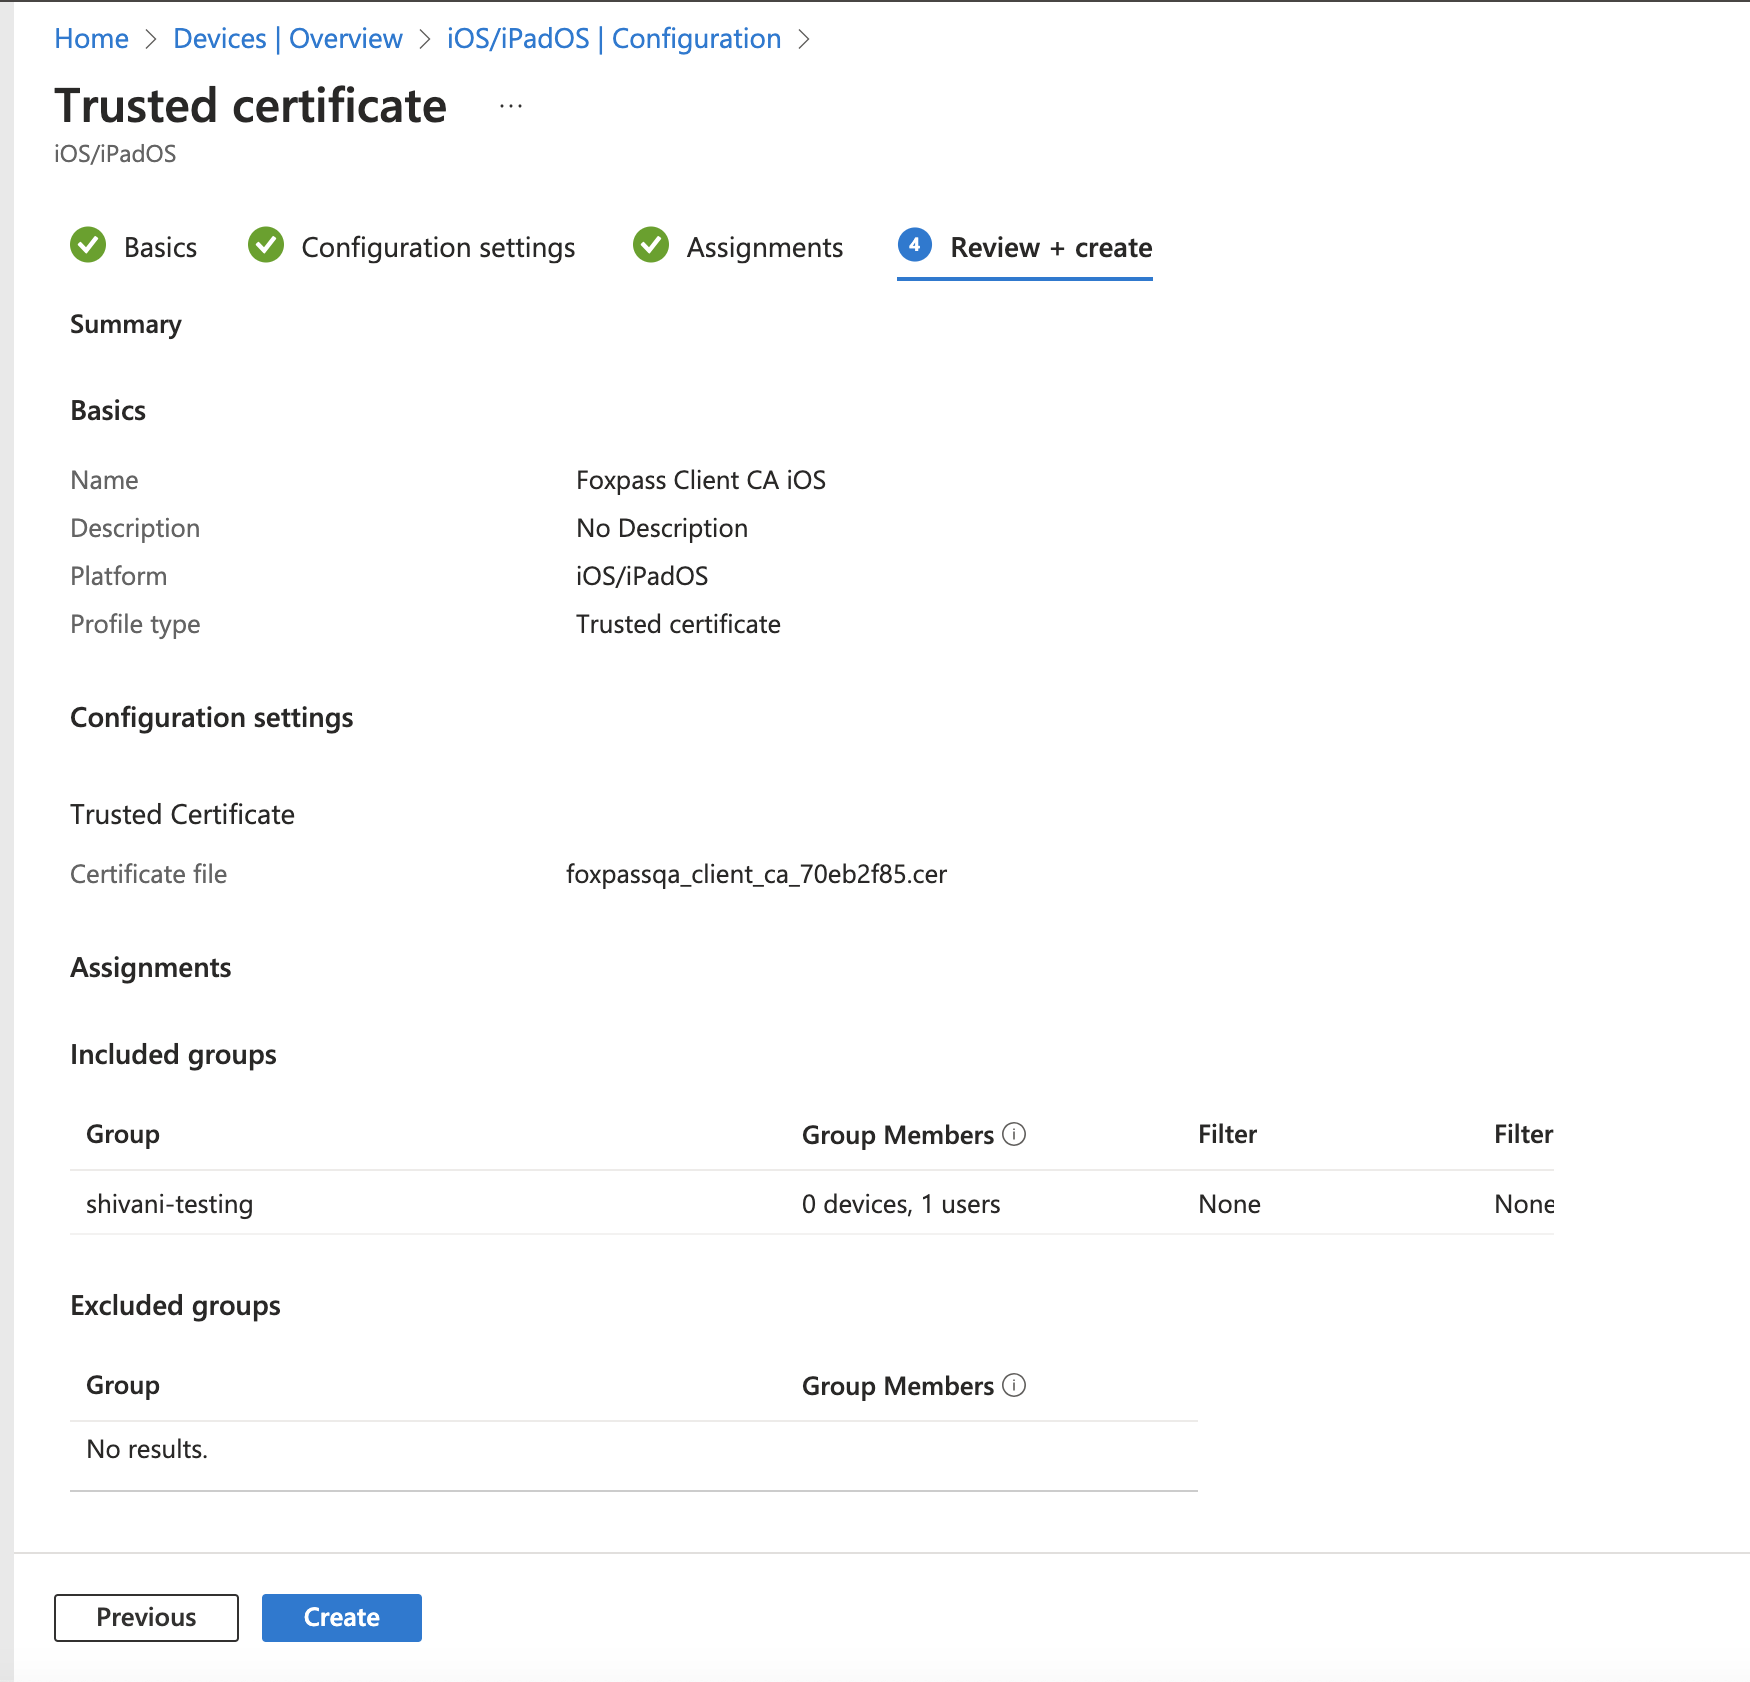
Review profile
Create a Server CA profile
- Go to the configuration profiles of iOS/iPadOS.
- Click on Create > New Policy.
- Profile Type: Templates
- Select Trusted certificate.
- Click 'Create' button.
- Upload the Server CA downloaded earlier.
- Click 'Next'.
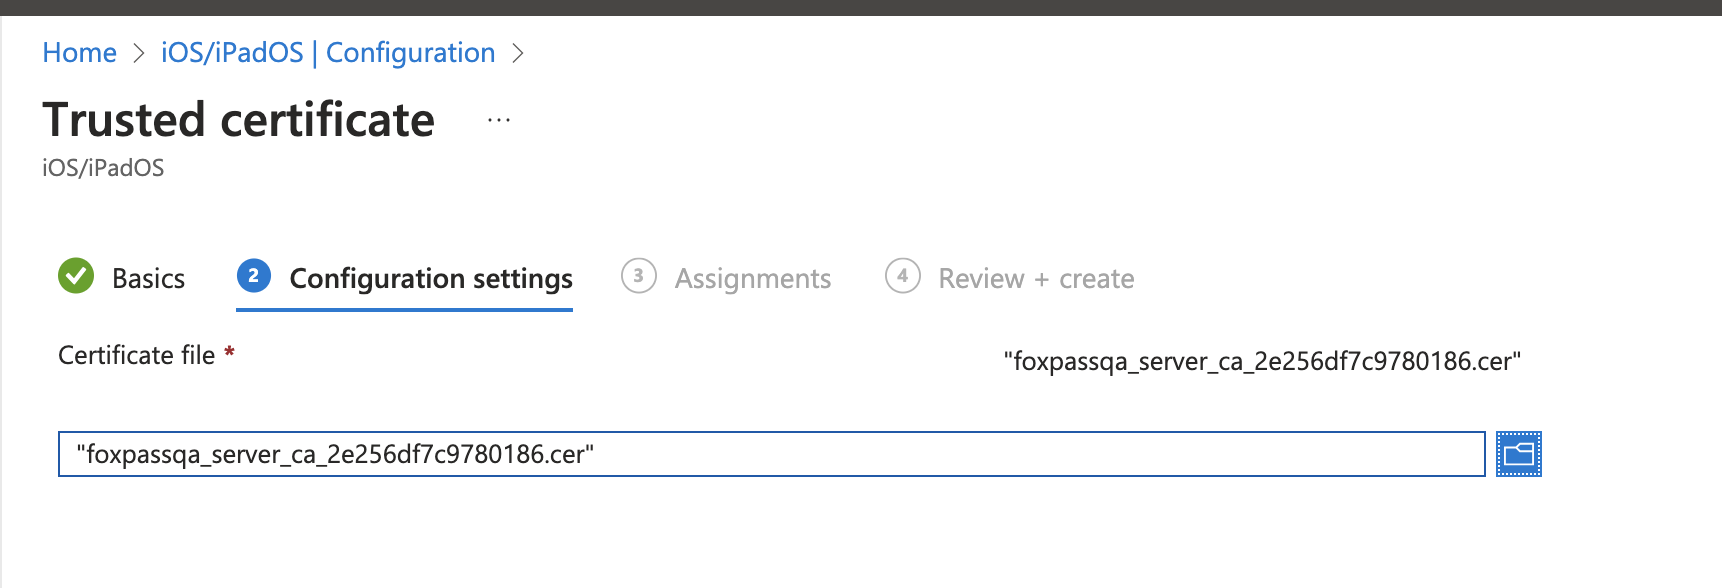
Upload Server CA
- Assign the profile to the groups/devices as per your needs.
- Click 'Next'.
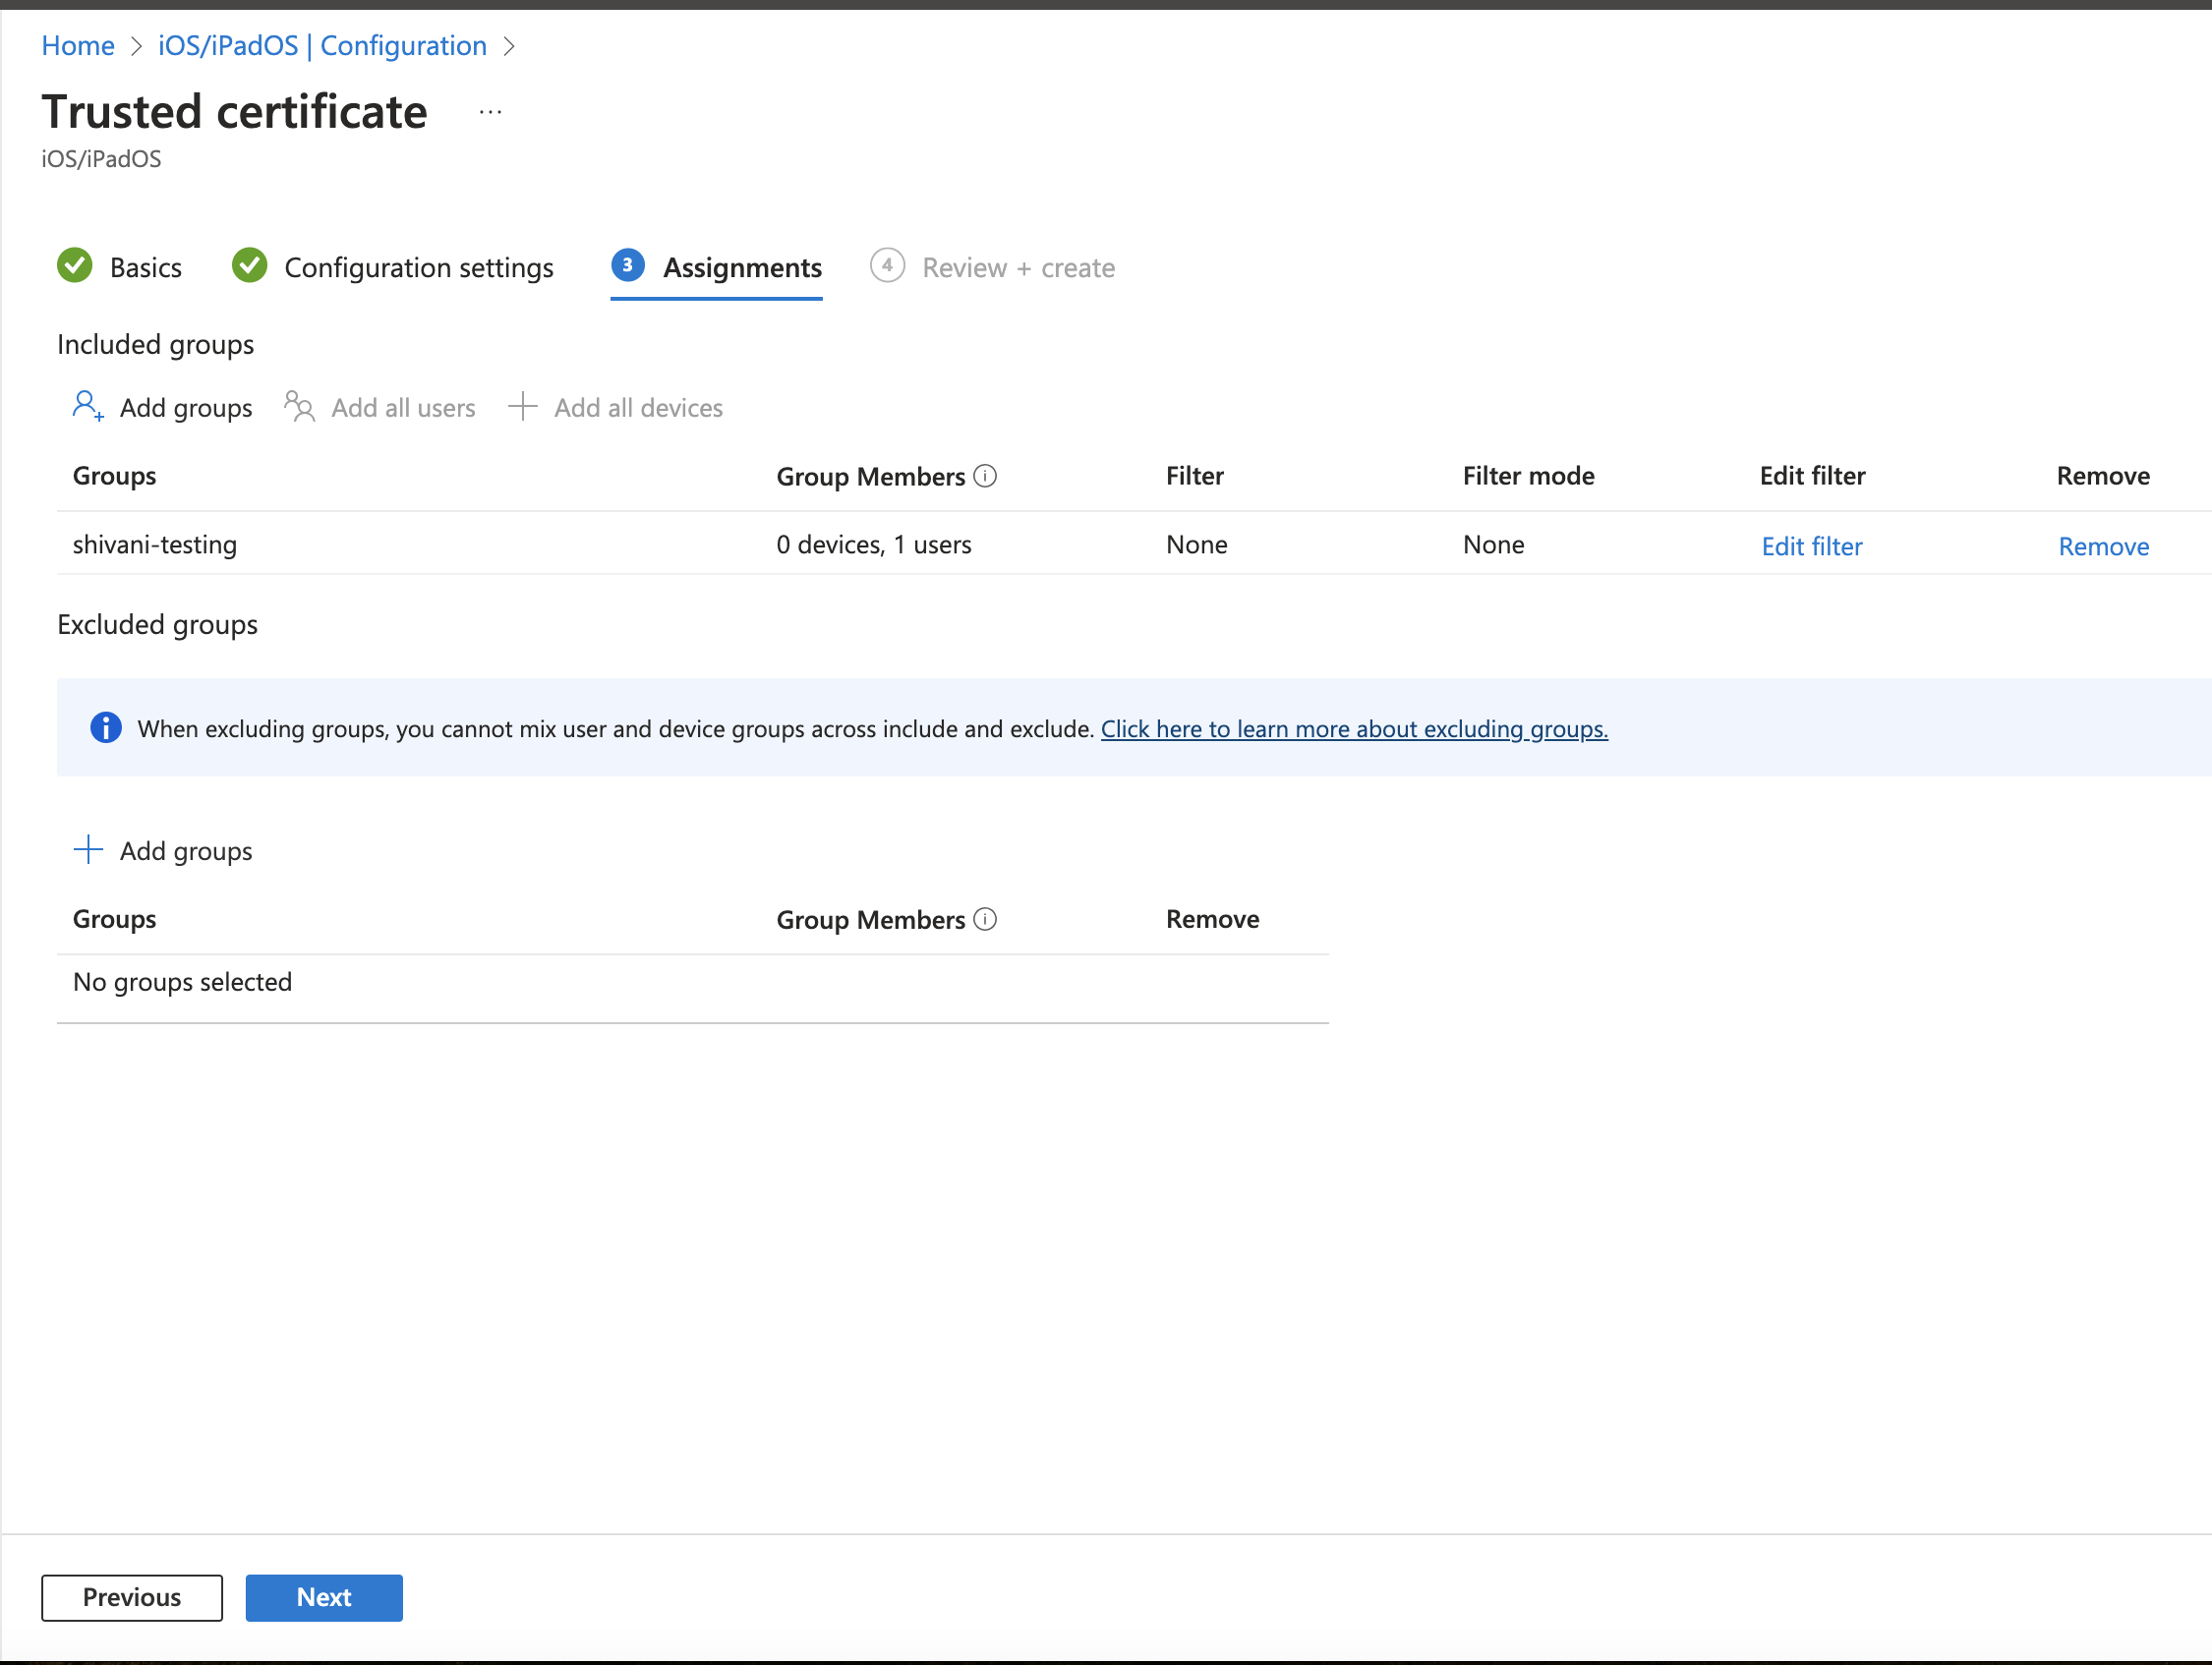
Assign profile
- Review the profile and click 'Create'.
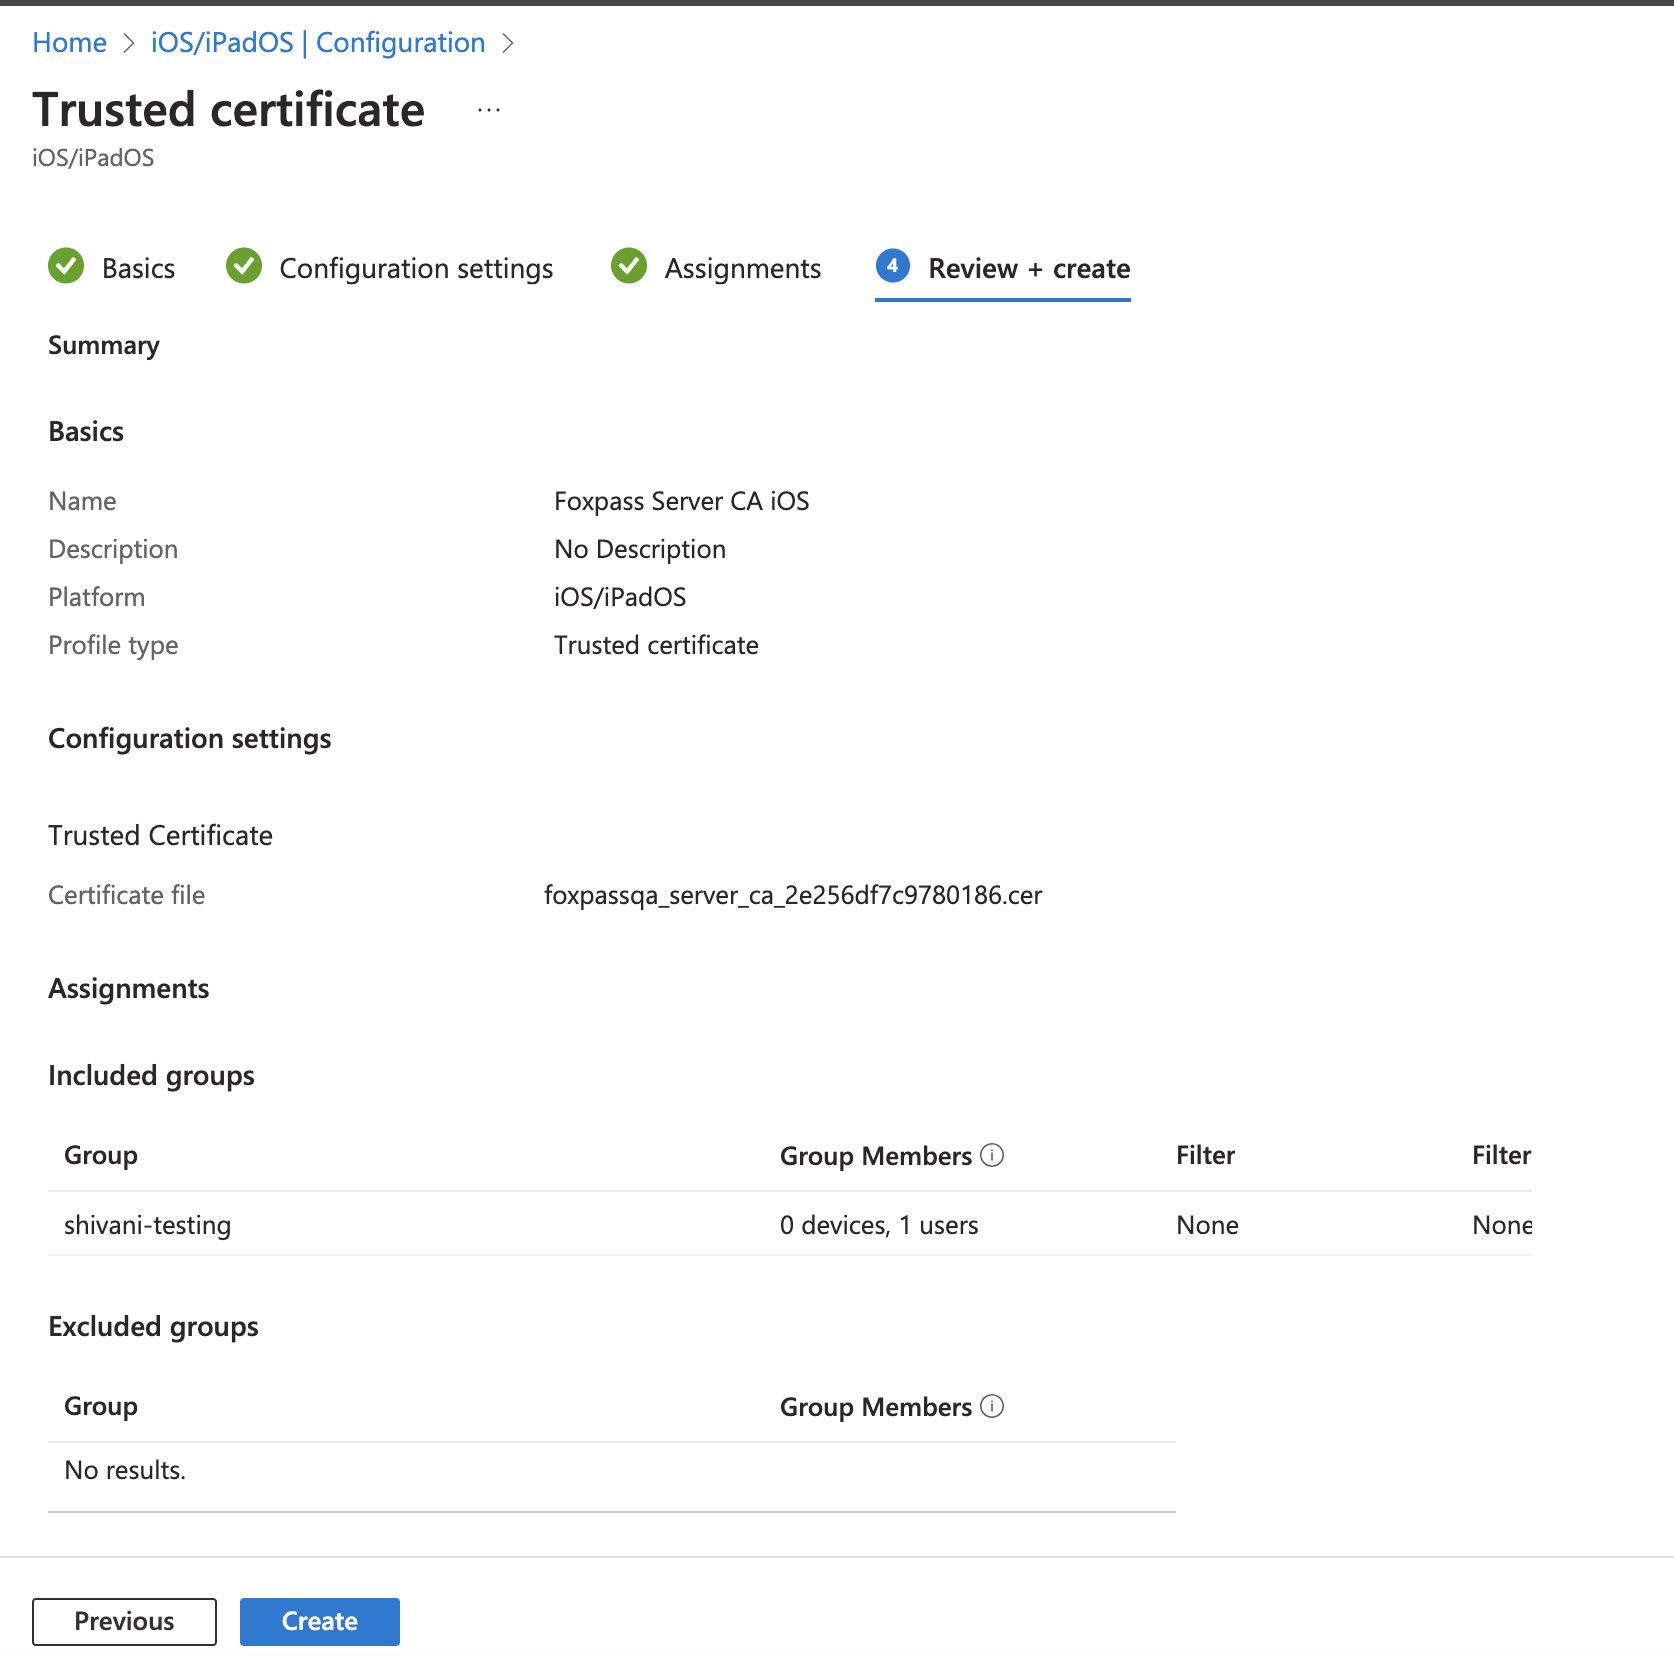
Review profile
Create a SCEP profile
You need to make sure that every user has an EmailAddress set in their Azure User Profile. If not, SCEP the profiles will not install.
- Create another new profile for iOS/iPadOS using the SCEP certificate template with these settings:
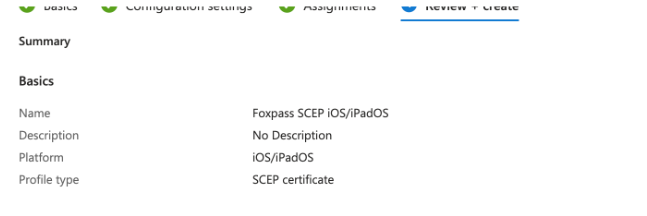
Create SCEP profile
-
Name: Foxpass SCEP iOS/iPadOS
-
Certificate type: User
-
Subject name format: CN={{UserName}},E={{EmailAddress}}
-
Subject alternative name: Add 1 attribute:
- Email address as {{EmailAddress}}
- URI as IntuneDeviceId://{{AAD_Device_ID}} (This is required if you want to check device compliance during EAP-TLS request)
-
Certificate Validity period: Years: 1
-
Key usage: Digital Signature
-
Key size: 4096
-
Hash algorithm: SHA2
-
Root certificate: Select Foxpass Client CA from the list.
-
Extended key usage: Add both
- Any Purpose (2.5.29.37.0)* (optional)
- Client Authentication (1.3.6.1.5.5.7.3.2)*
-
Renewal threshold (%): 10
-
SCEP server URL: Foxpass SCEP endpoint from the SCEP page
-
Review the profile and click 'Create'.
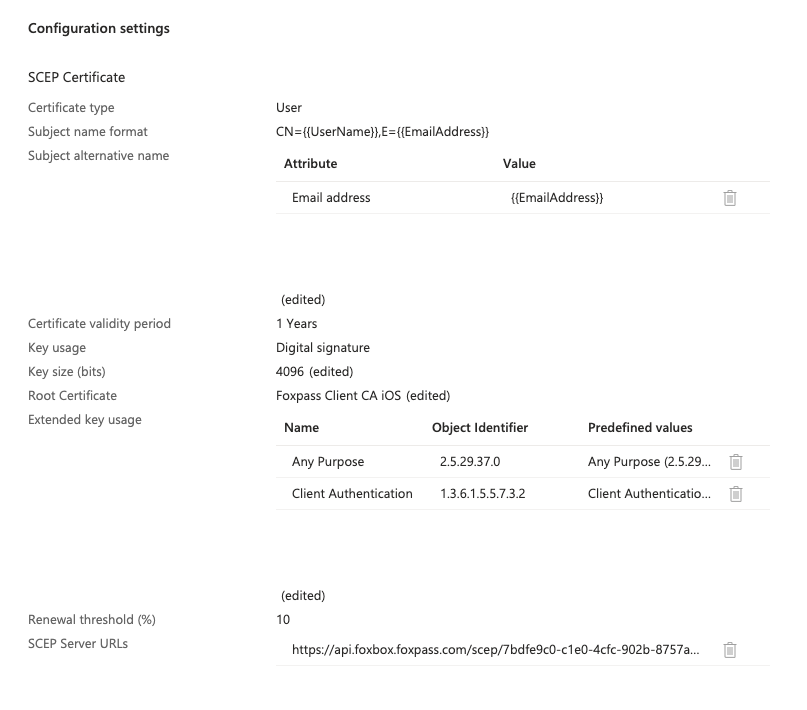
Review the profile
Create a Wi-Fi Profile
- Go to Configuration Profiles of macOS devices > Create New Policy > Profile Type > Templates > Choose WiFi as the template name.
- Name: Foxpass Wi-Fi iOS
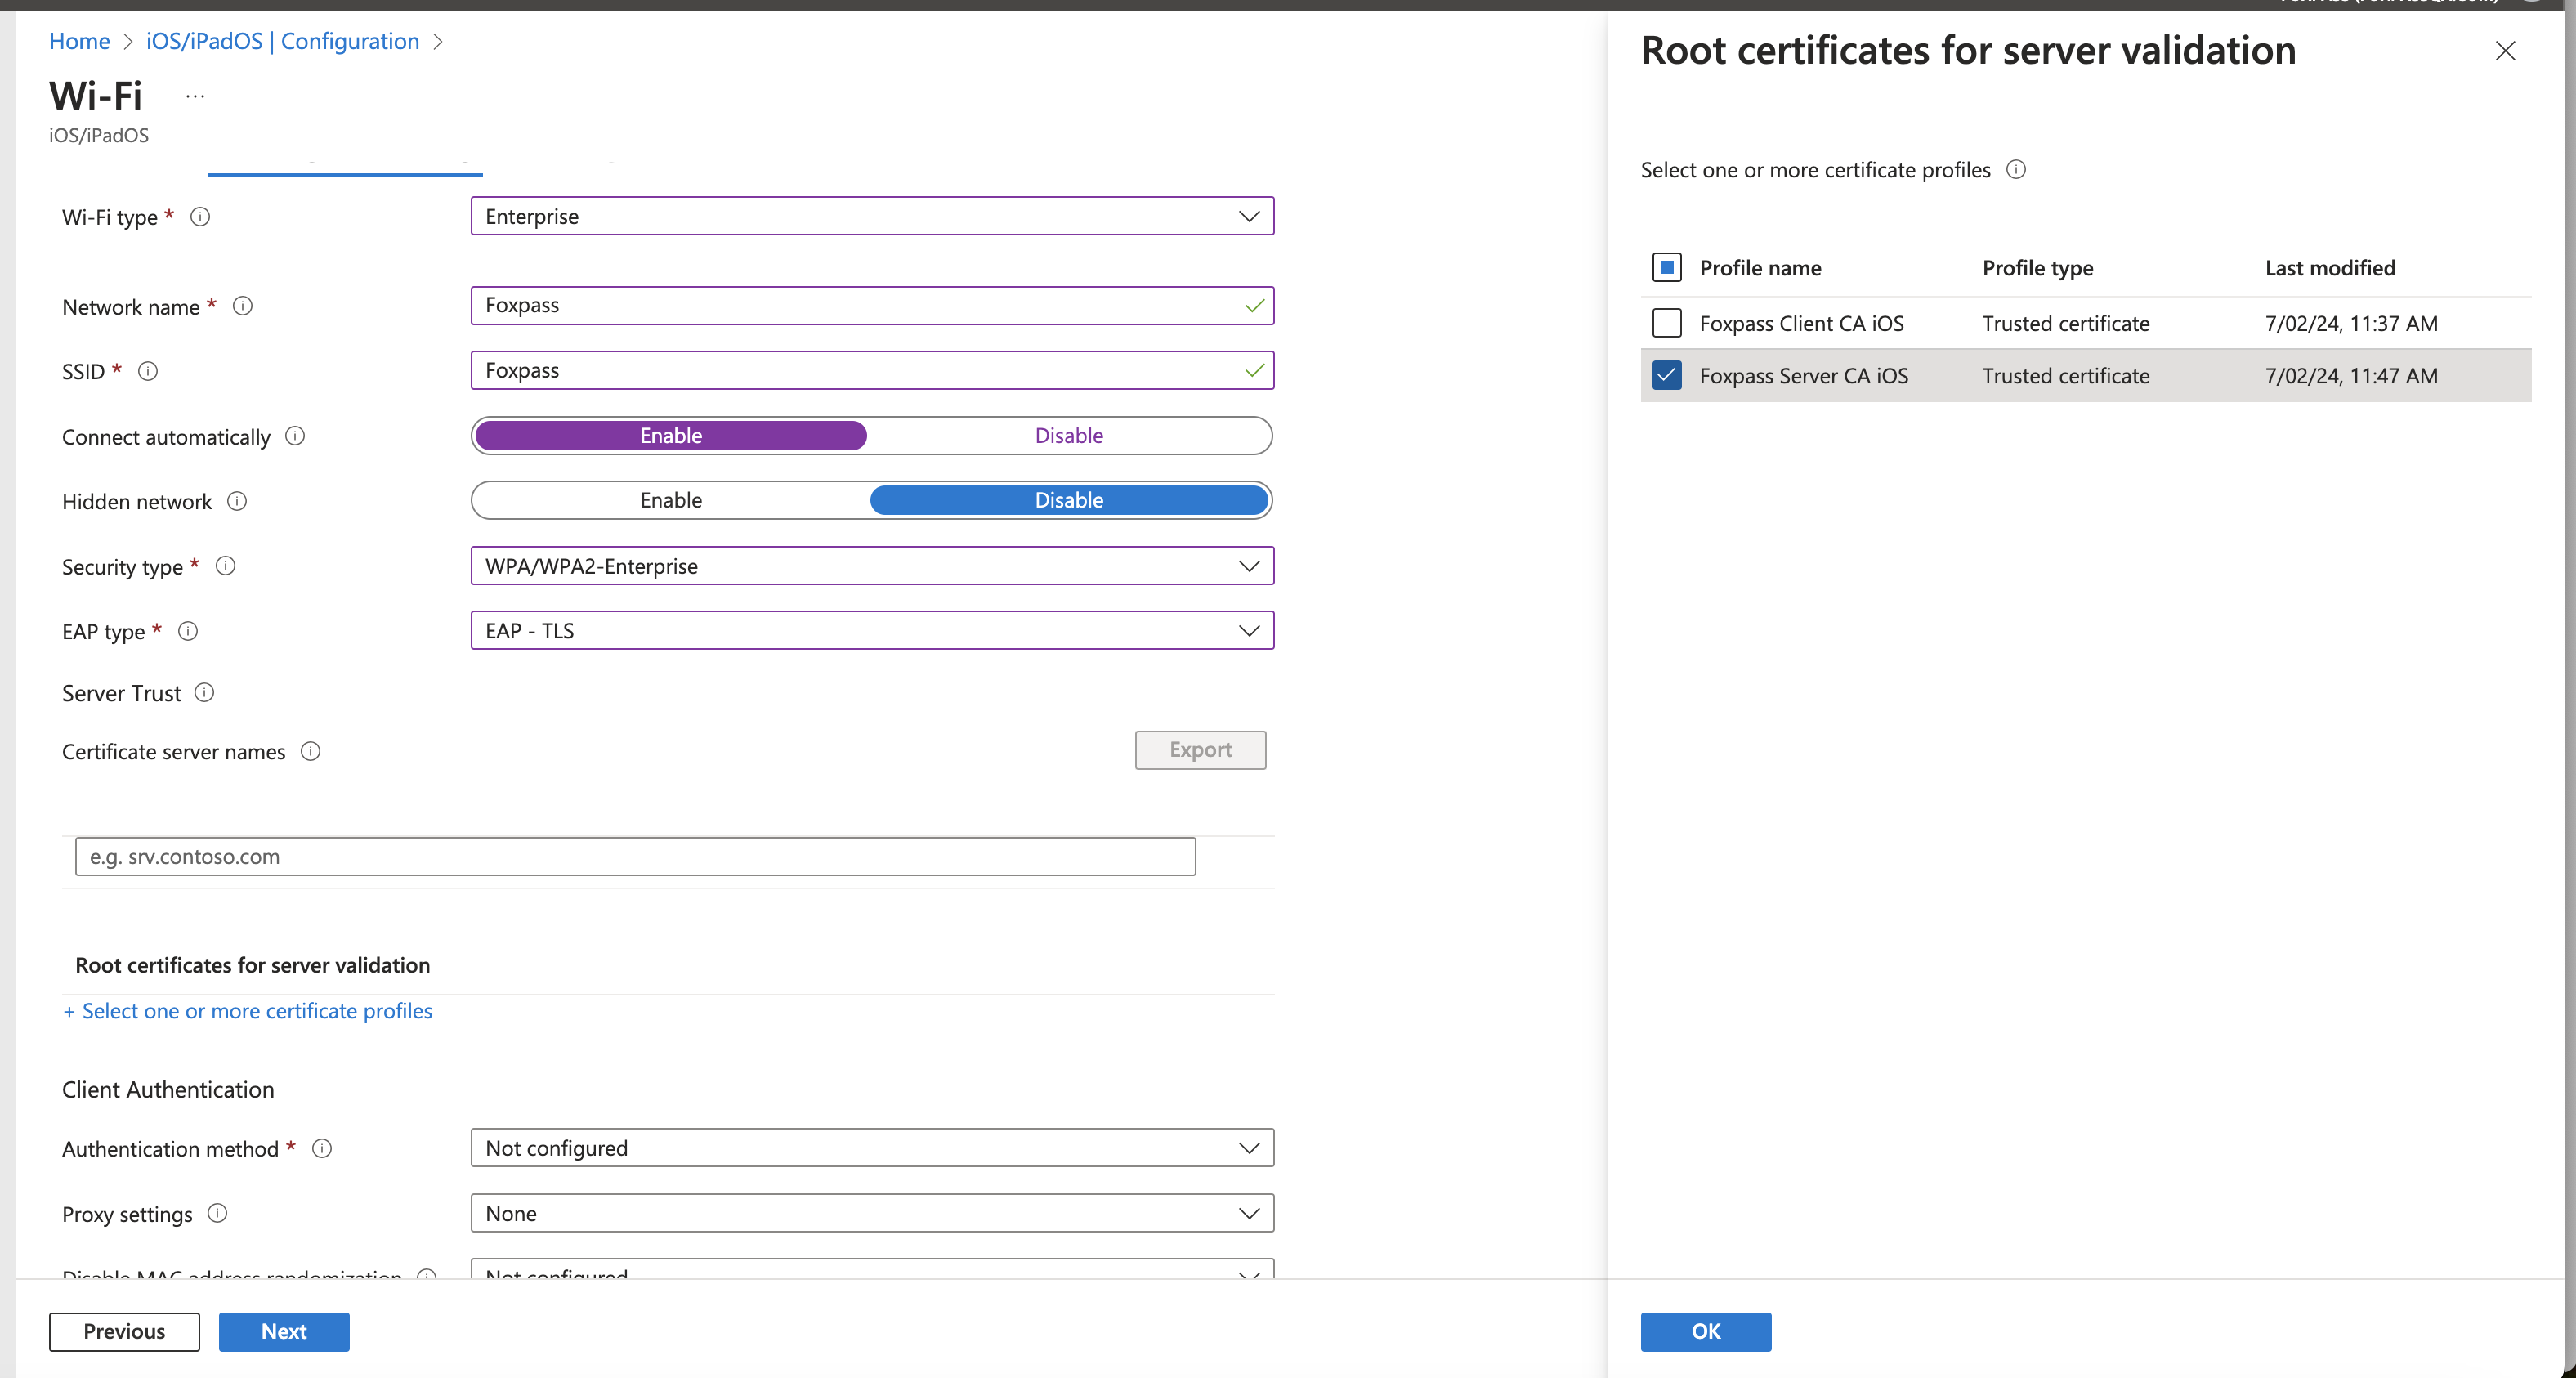
- Wi-Fi Type - Enterprise
- SSID -
<Your SSID> - Connect automatically: (your choice)
- Hidden network: Disable
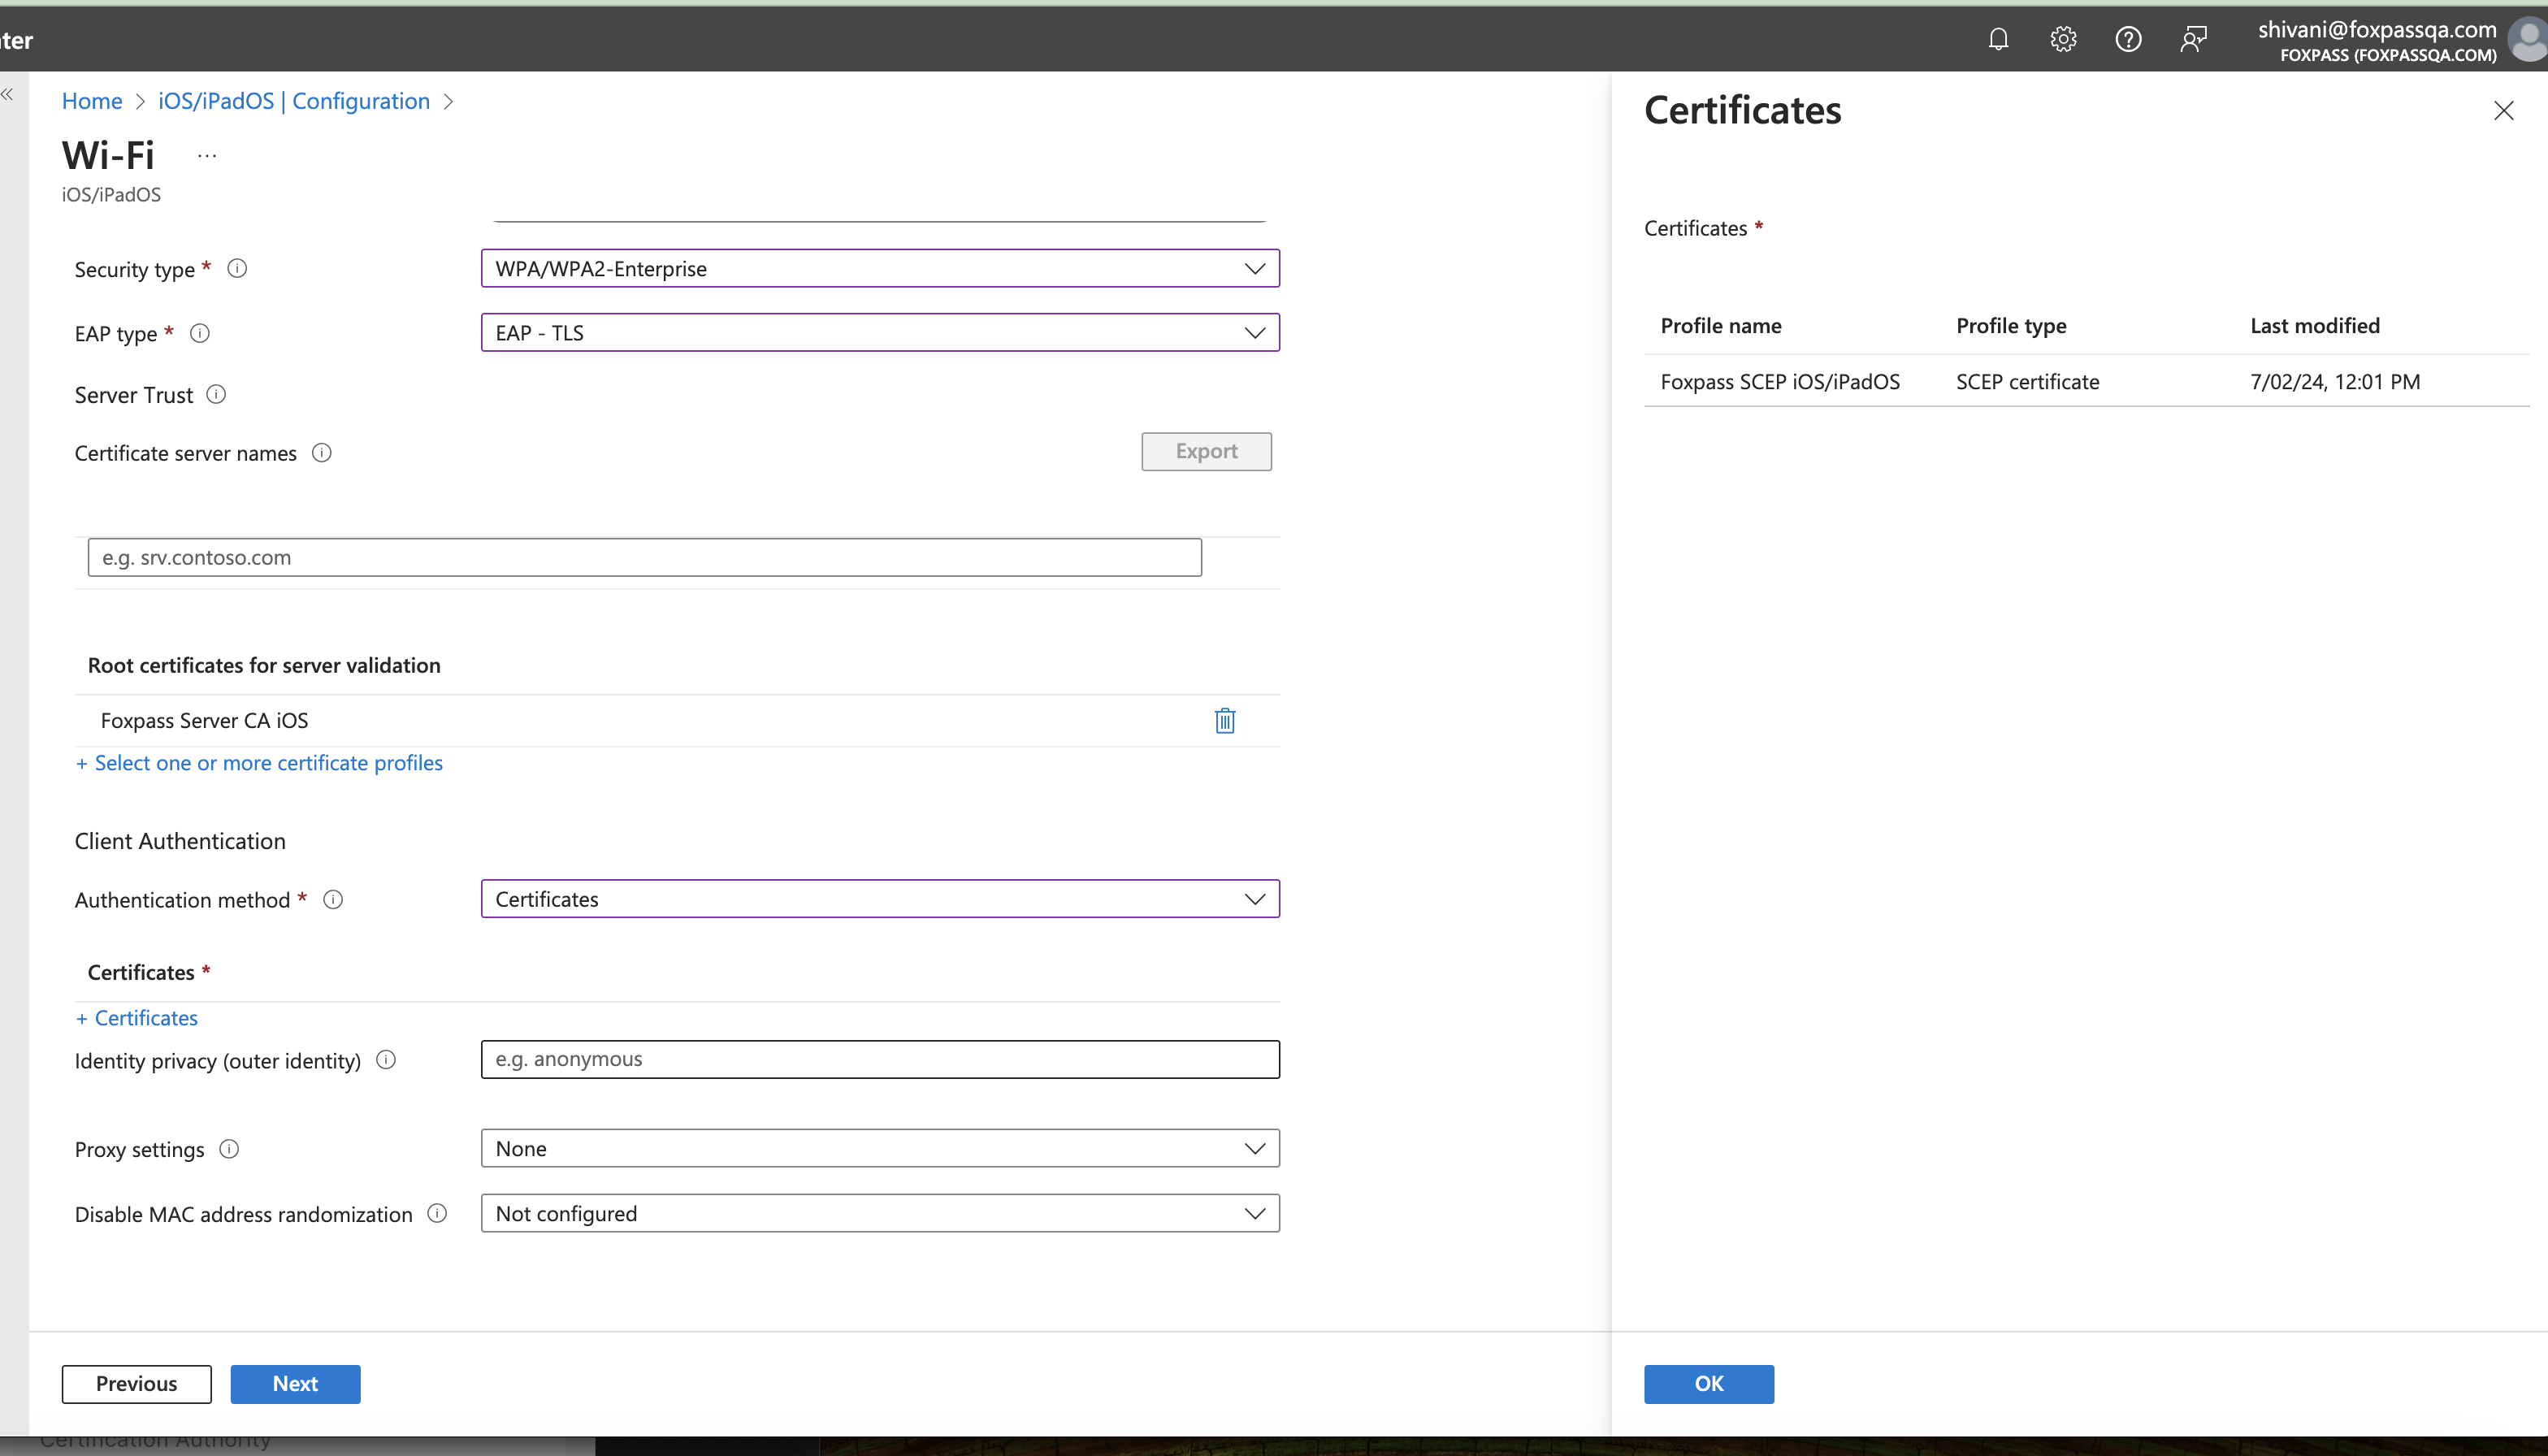
- Security Type: WPA/WPA2 Enterprise
- Proxy settings: None
- EAP-Type: EAP-TLS
- Root certificates for server validation: (Choose Foxpass Server CA uploaded previously in this step)
- Client Authentication - Certificates: Foxpass SCEP

3. Now, setup your iPhone/iPad
- Download and install Intune Company Portal from the App Store.
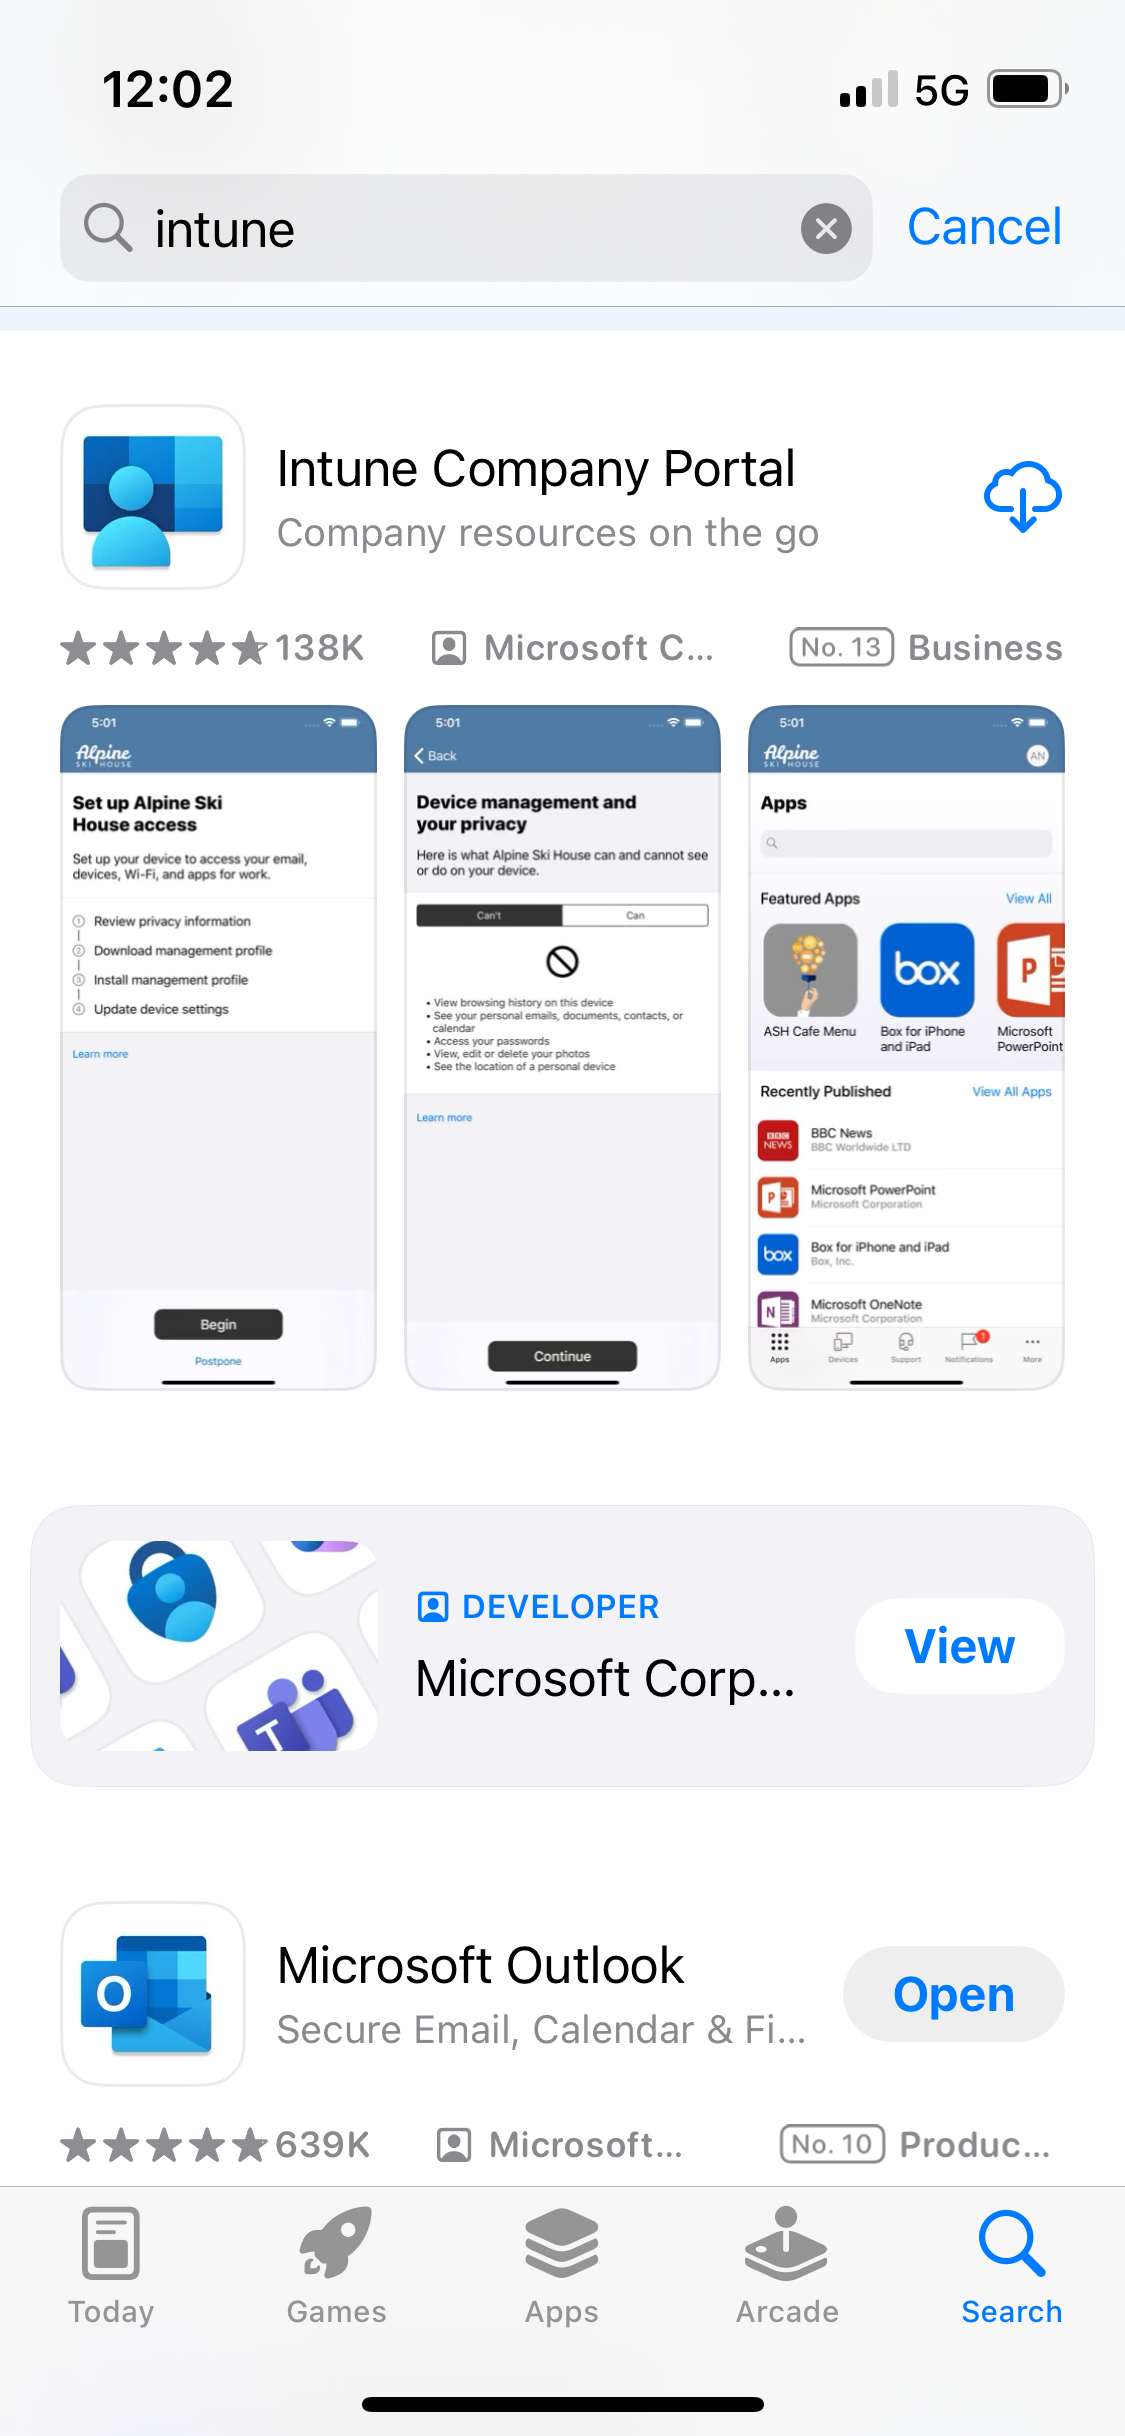
Download Intune app
- Open the app.
- Sign in to your account.
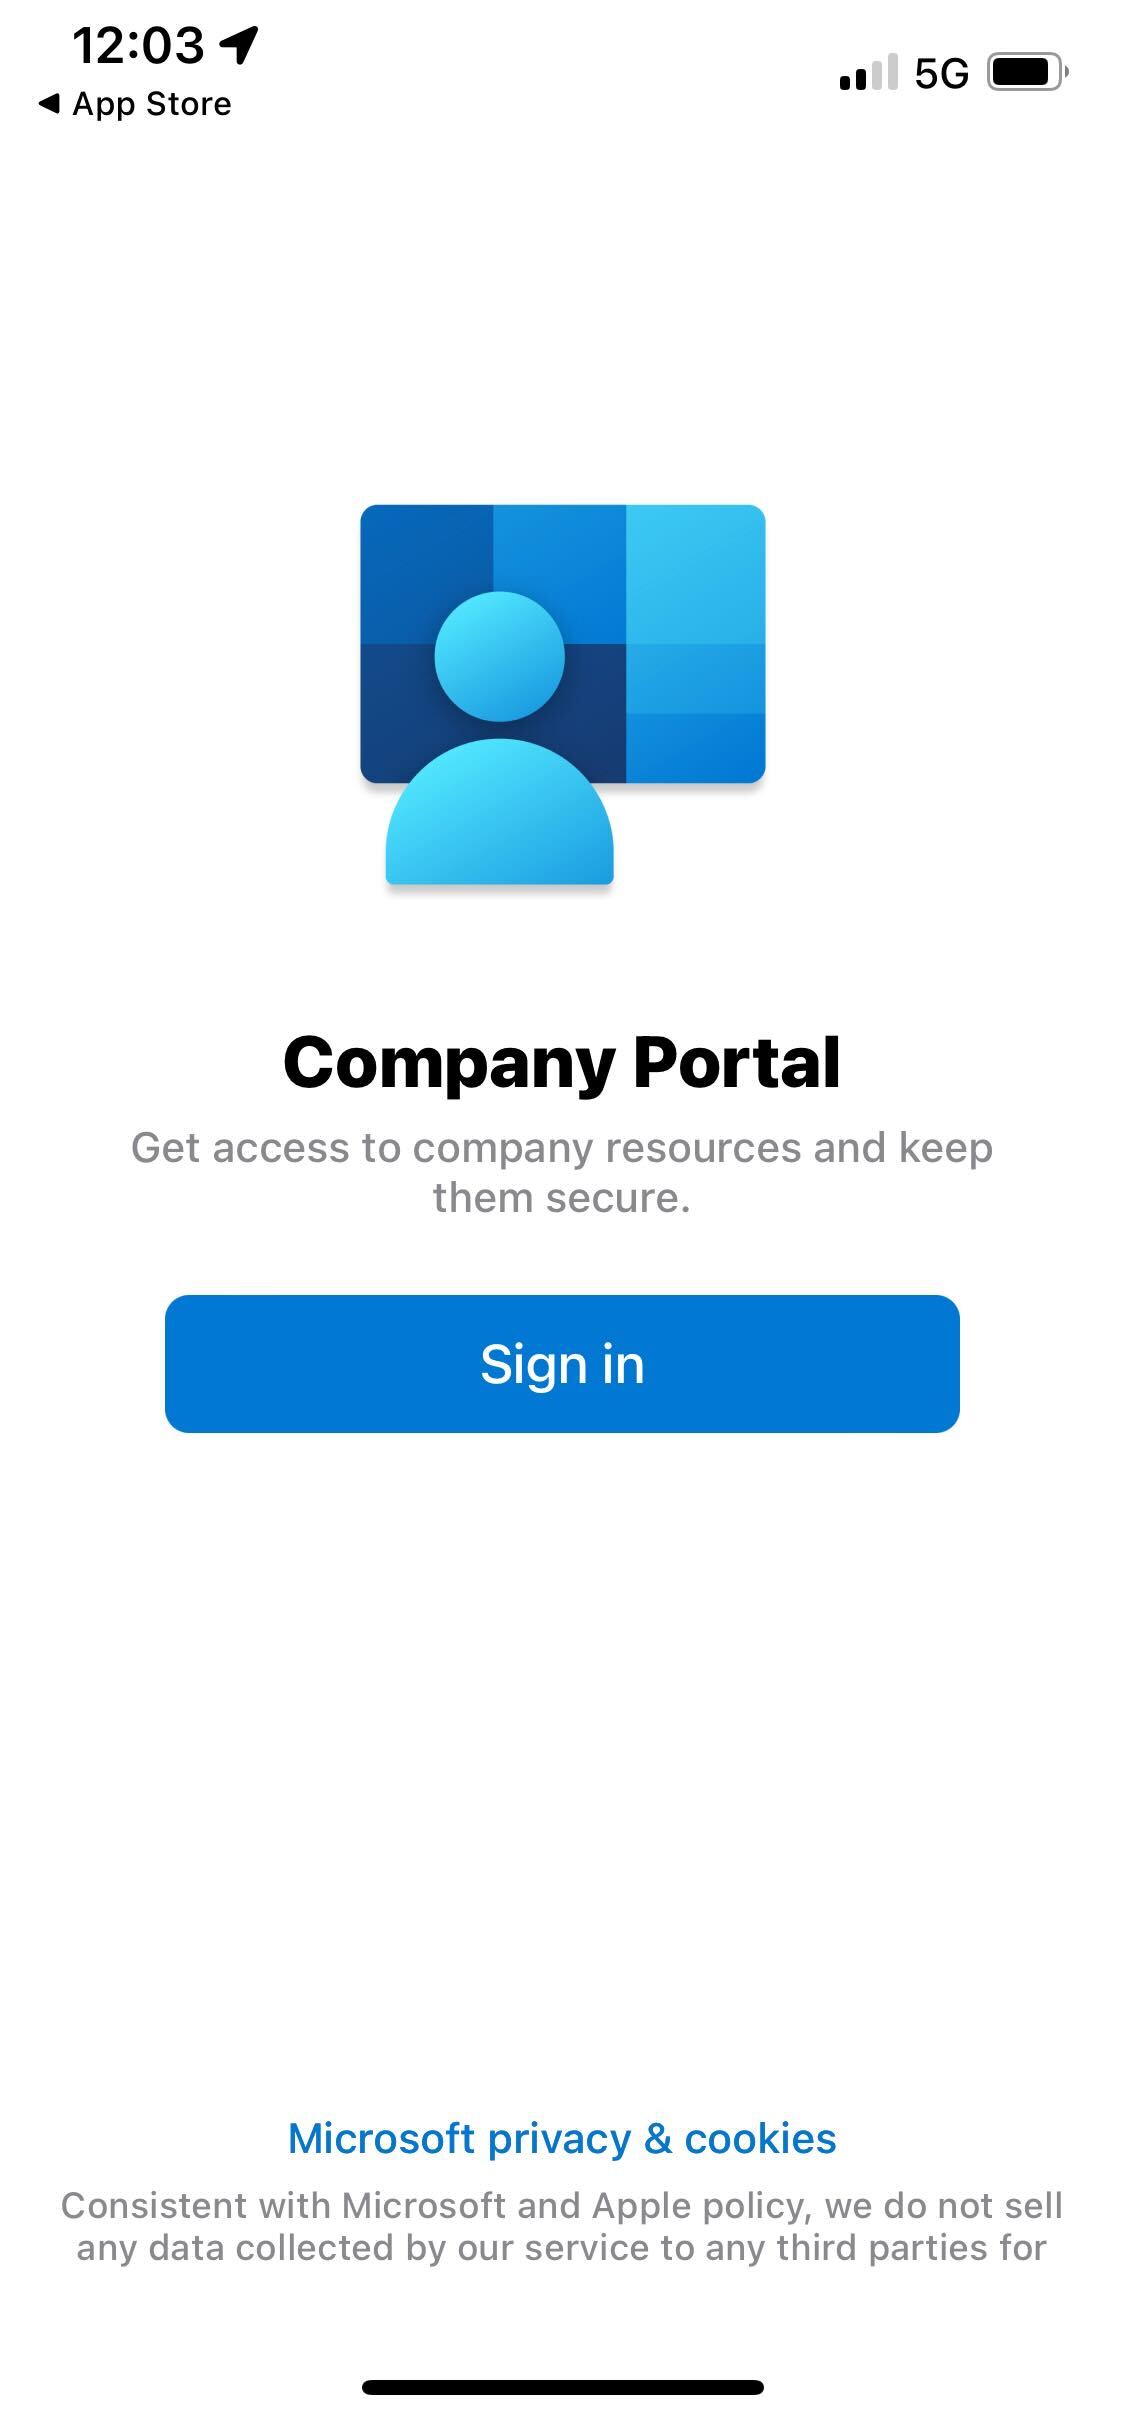
Sign in to your account
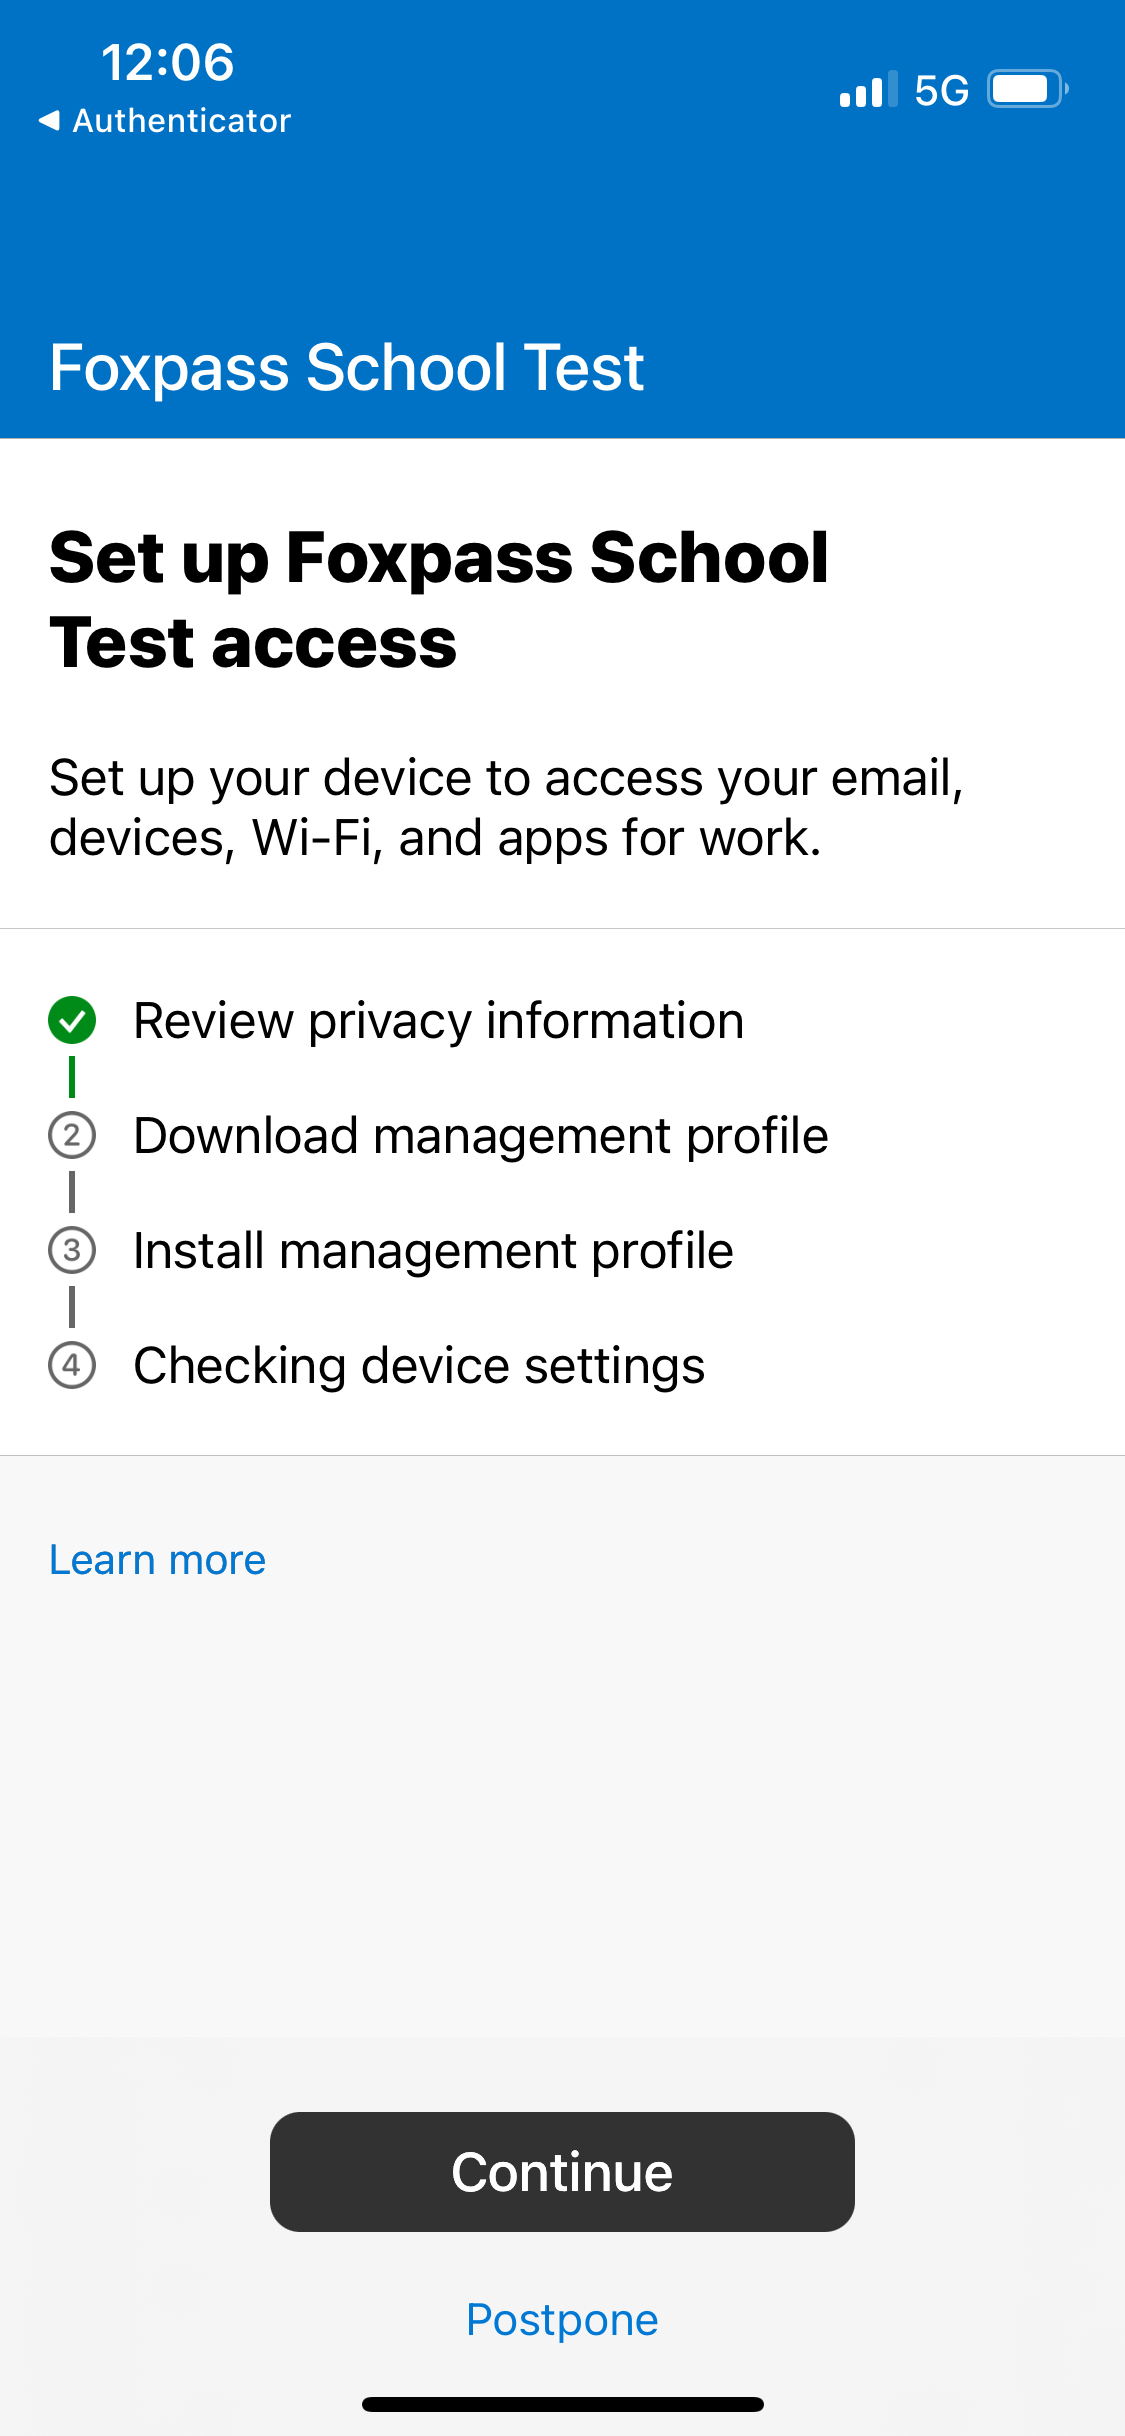
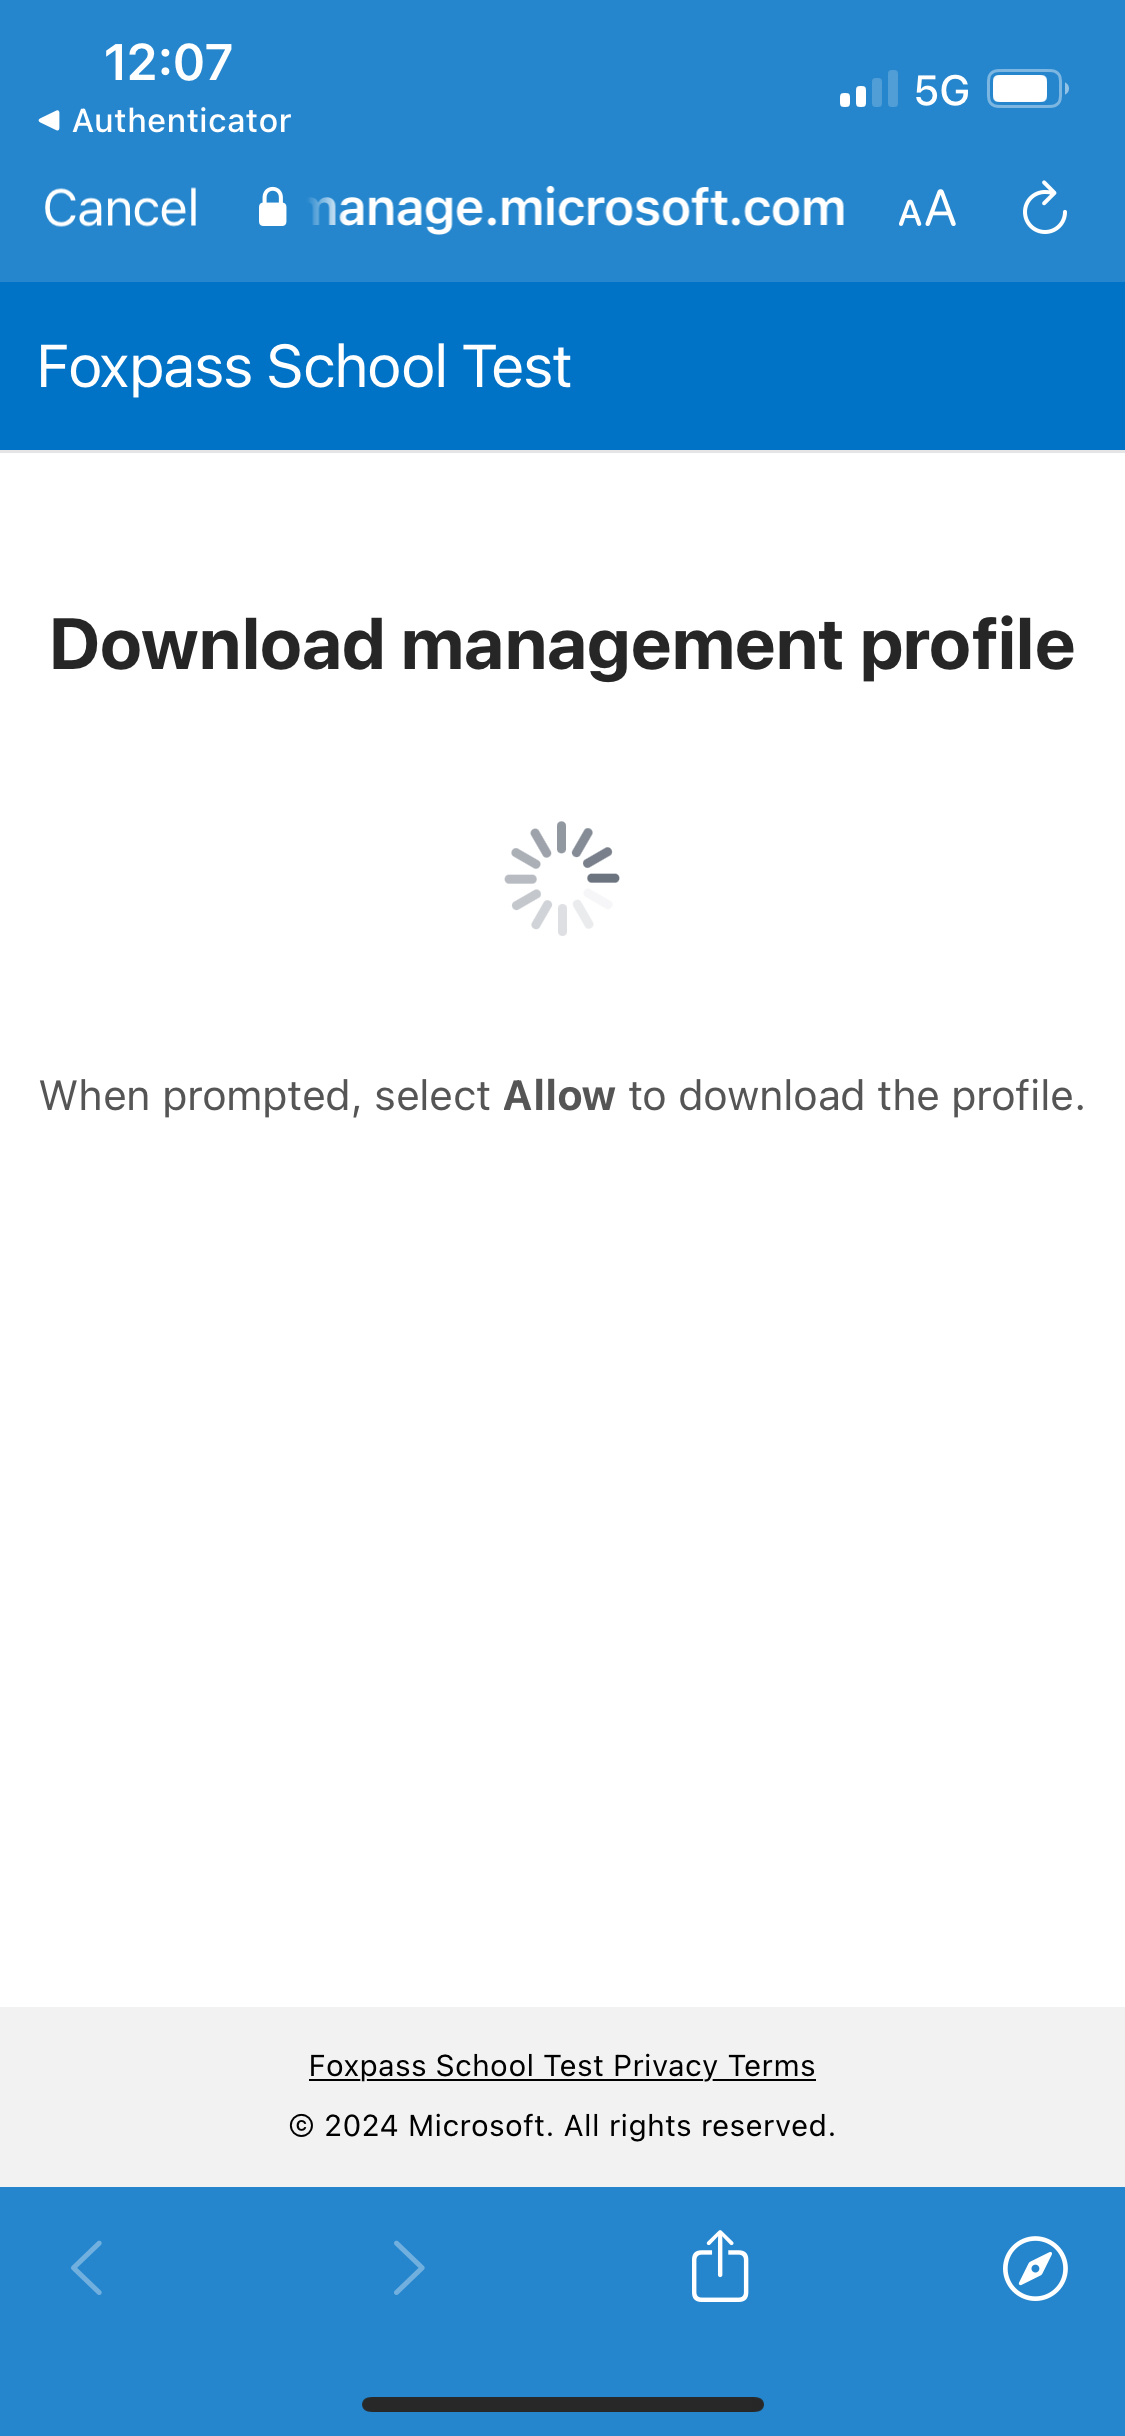
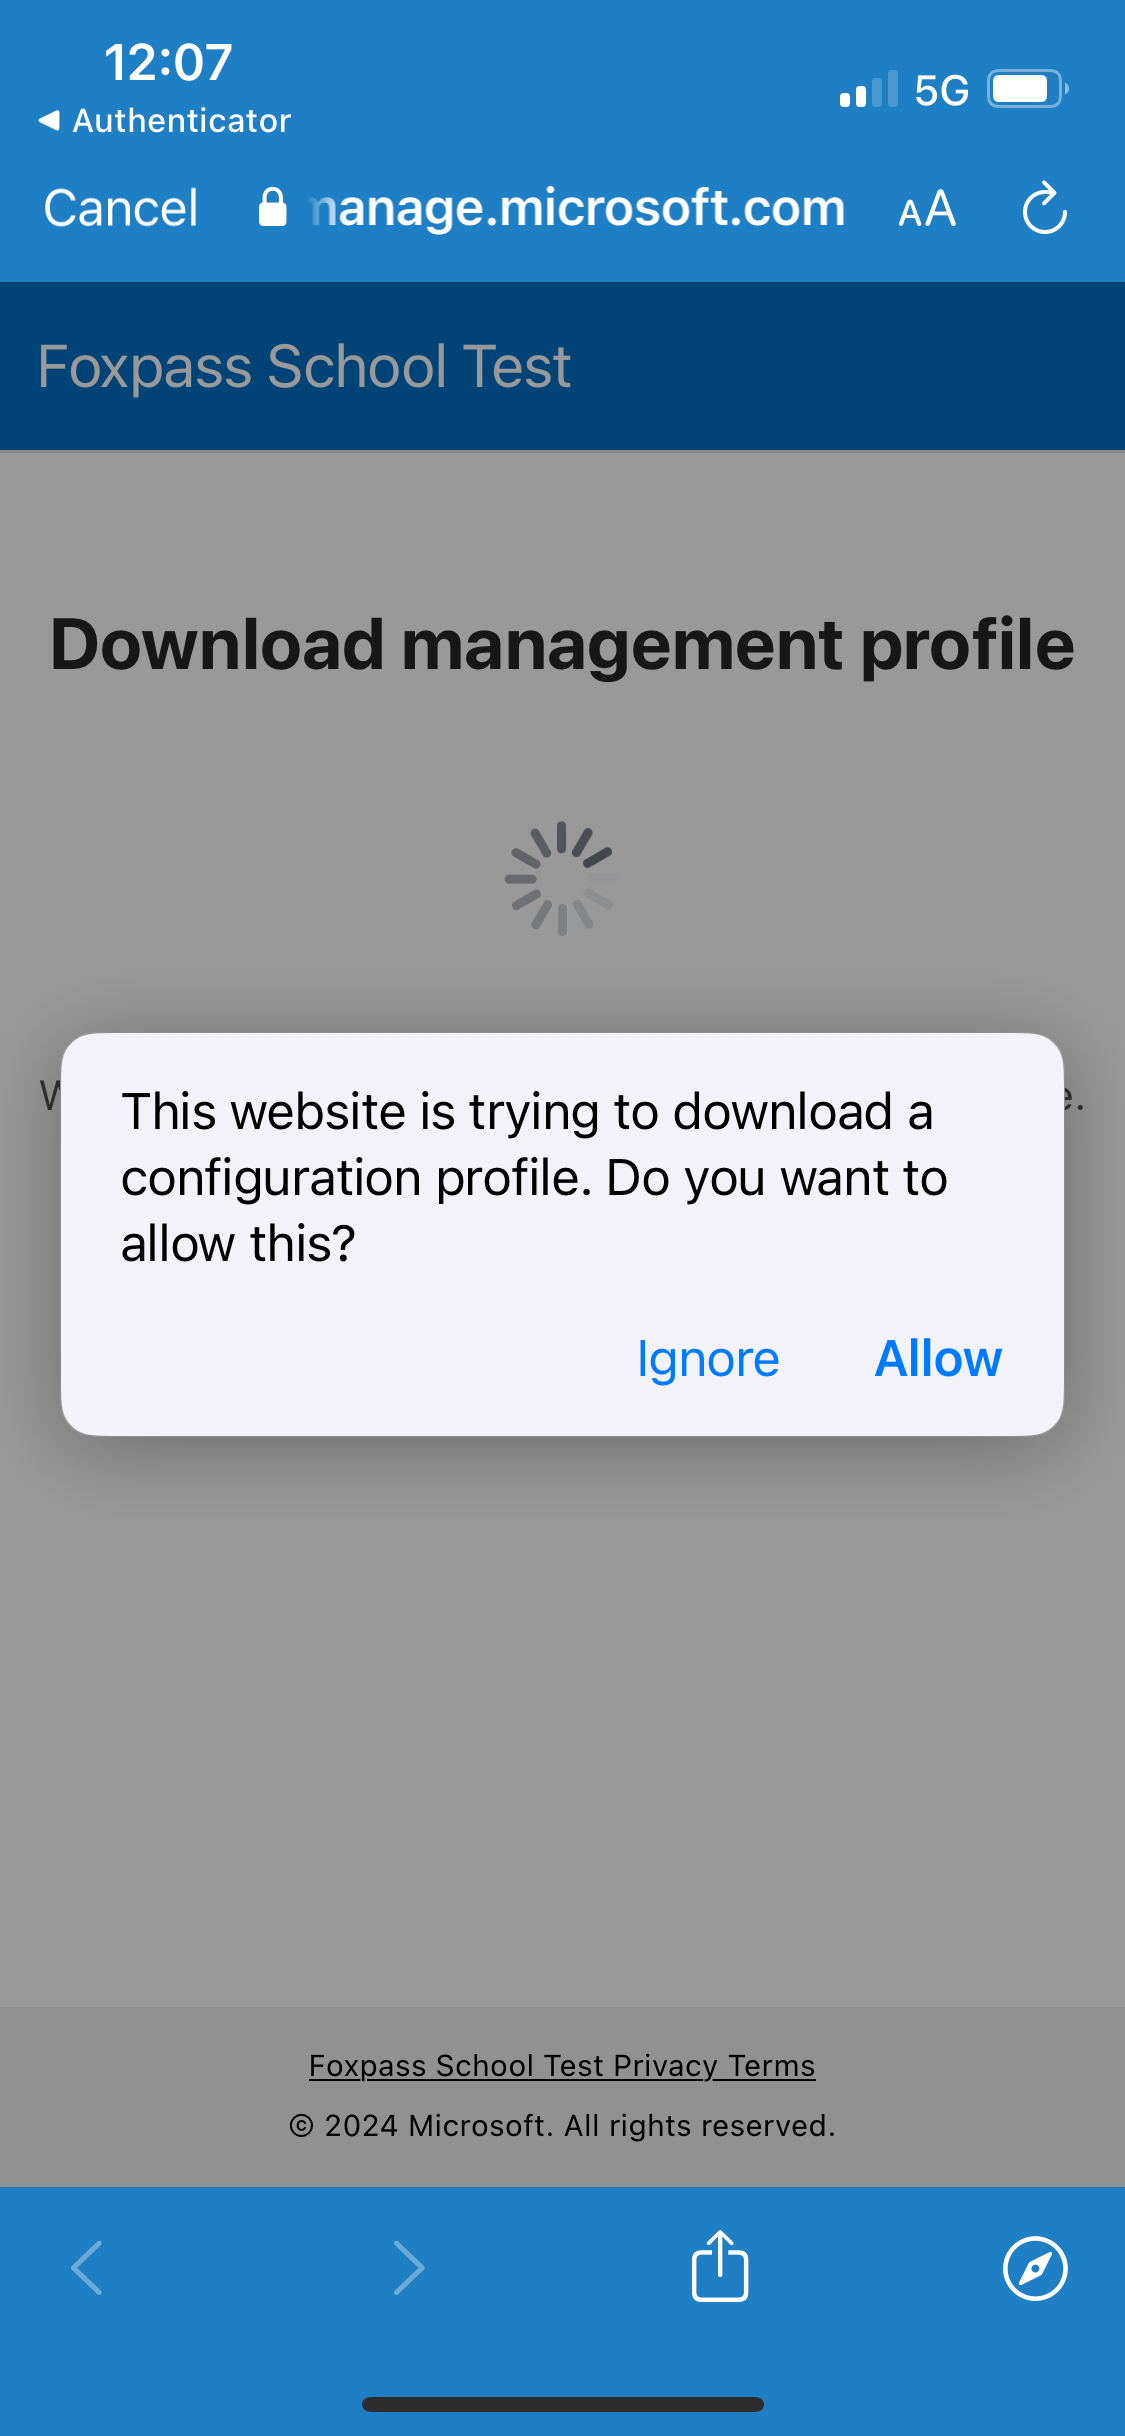
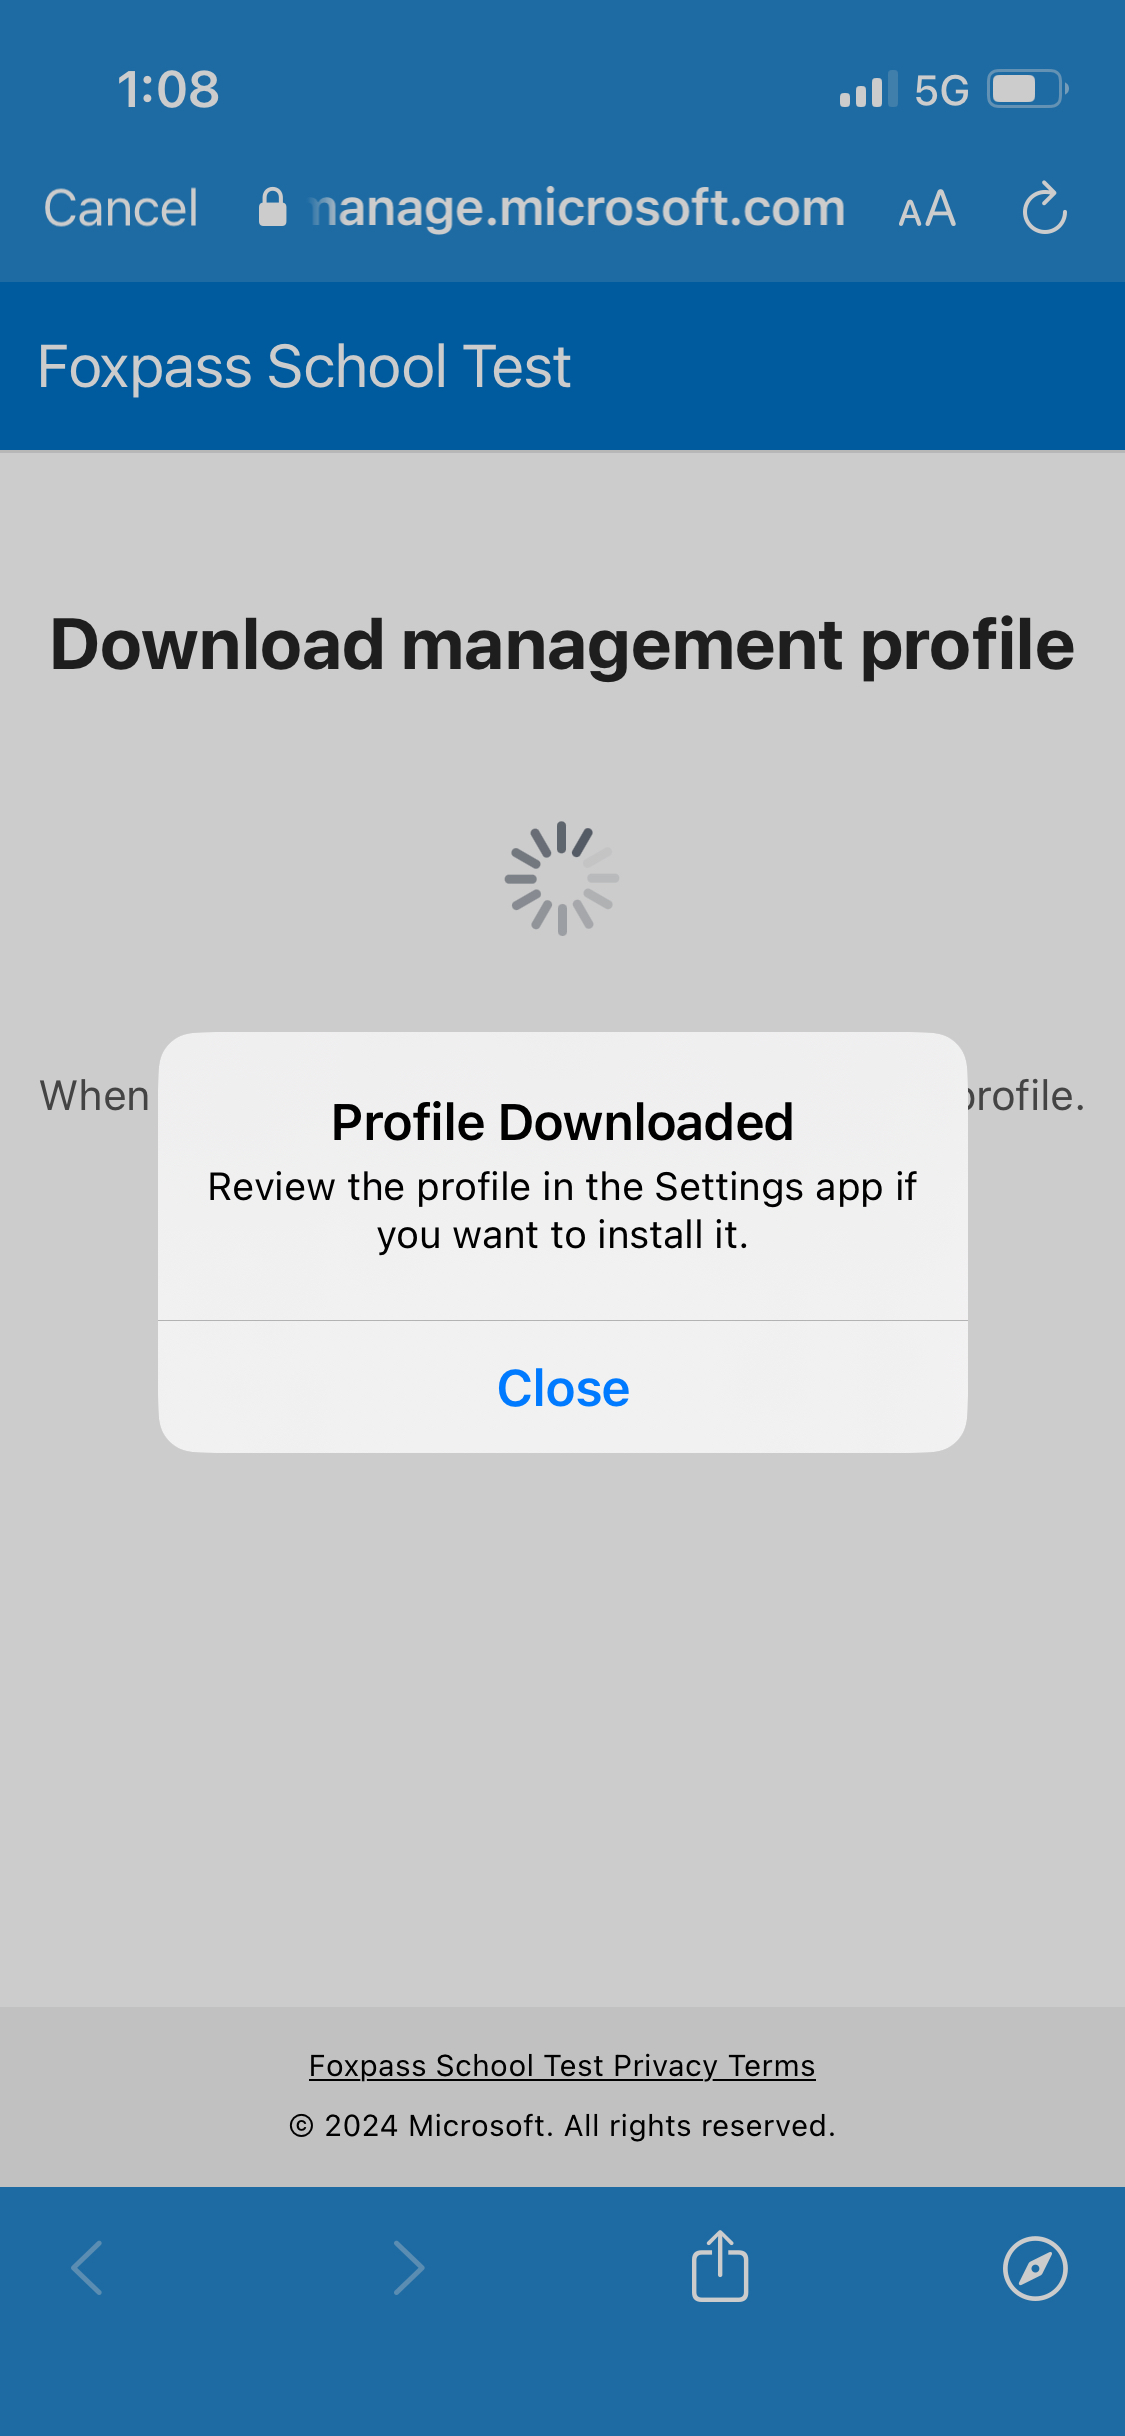
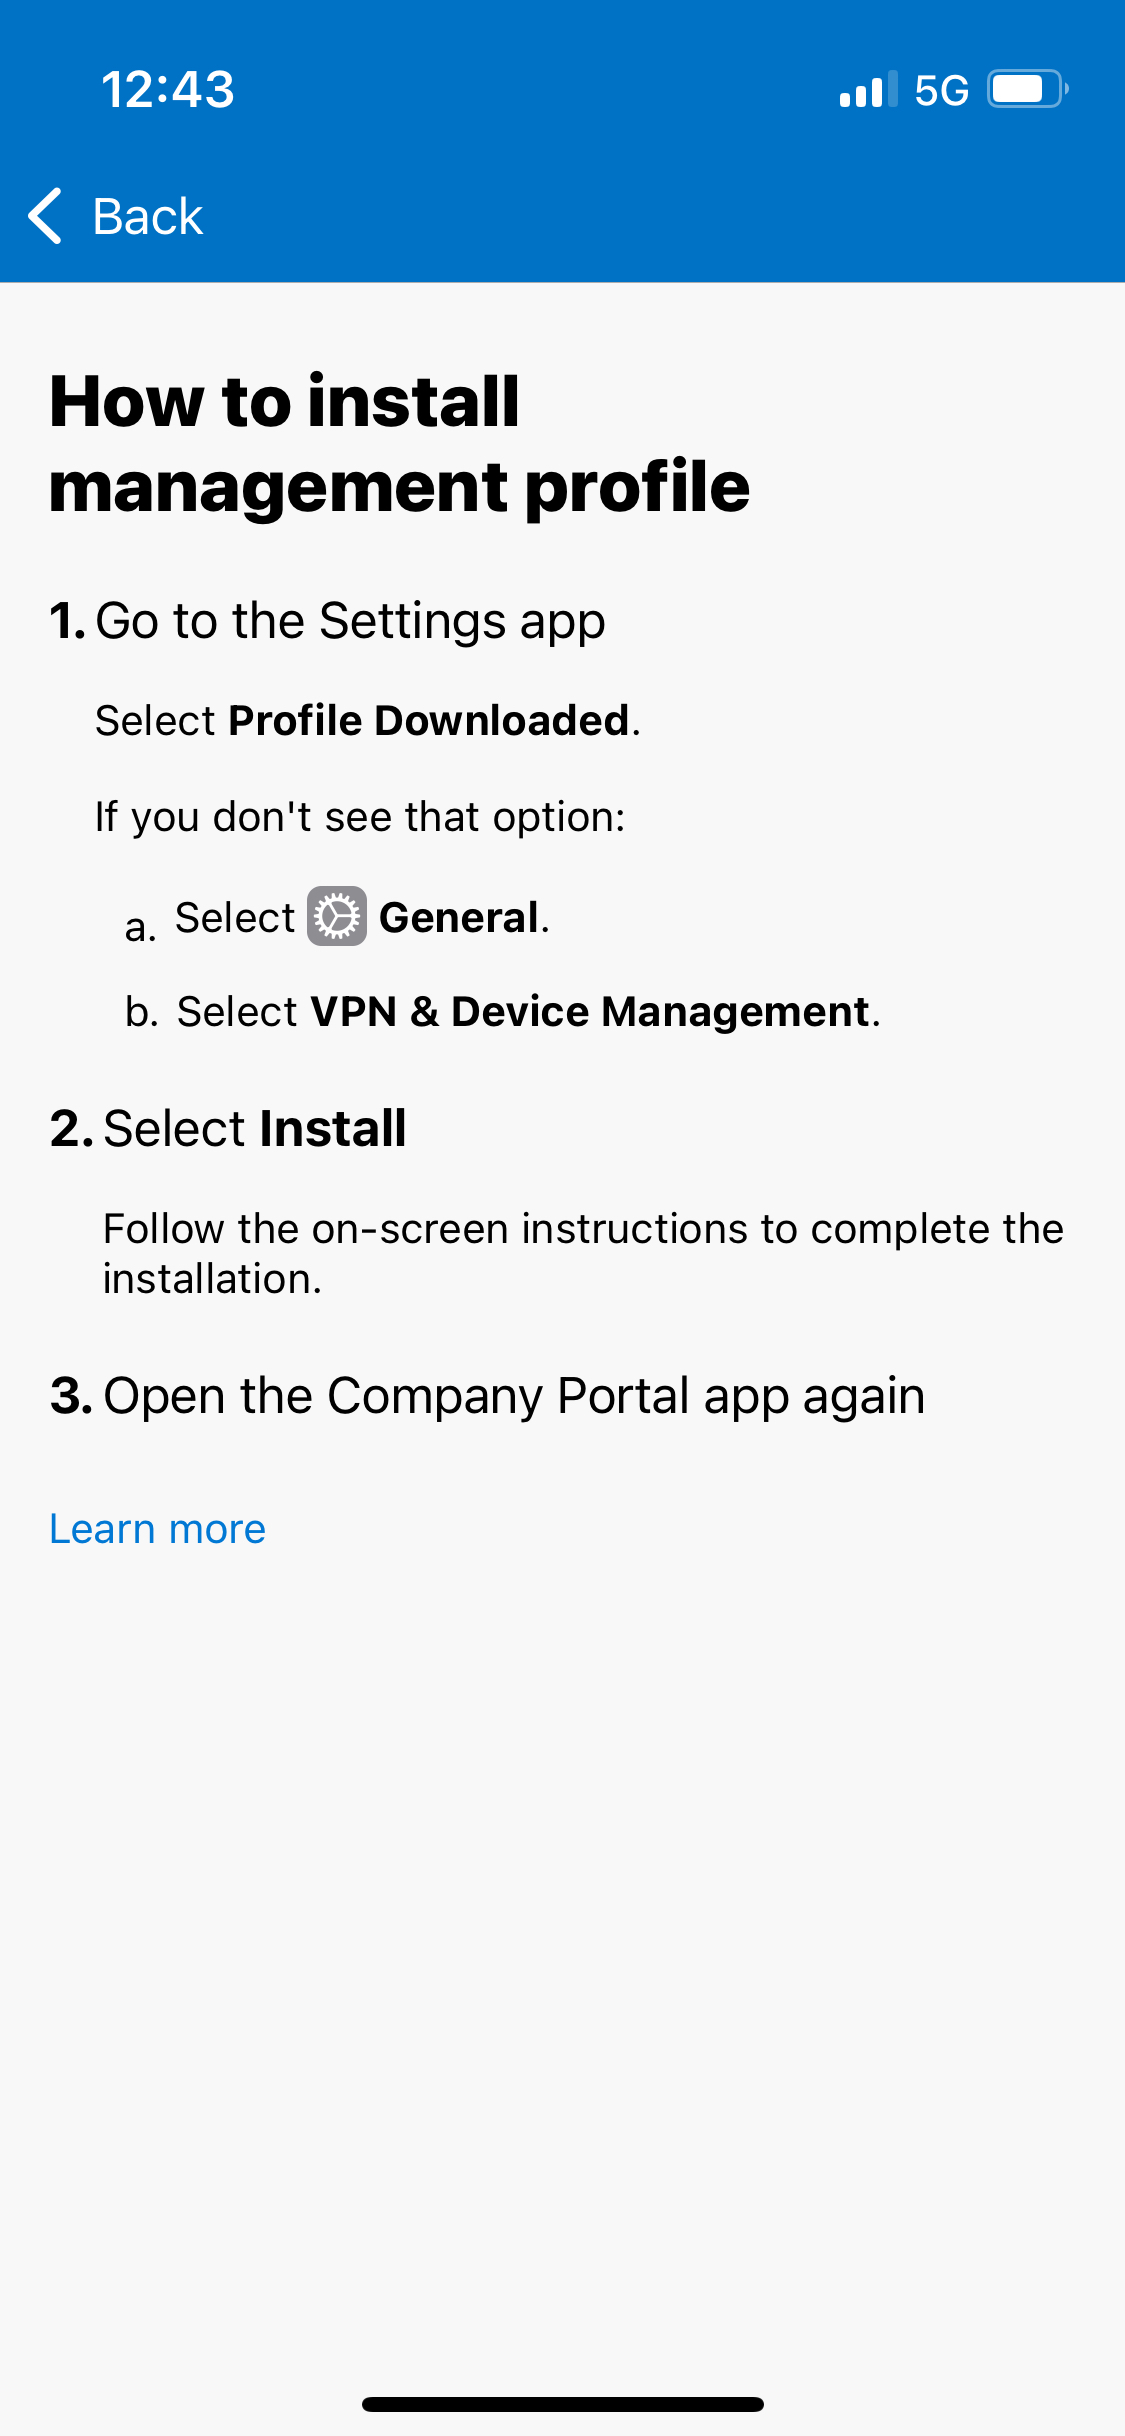
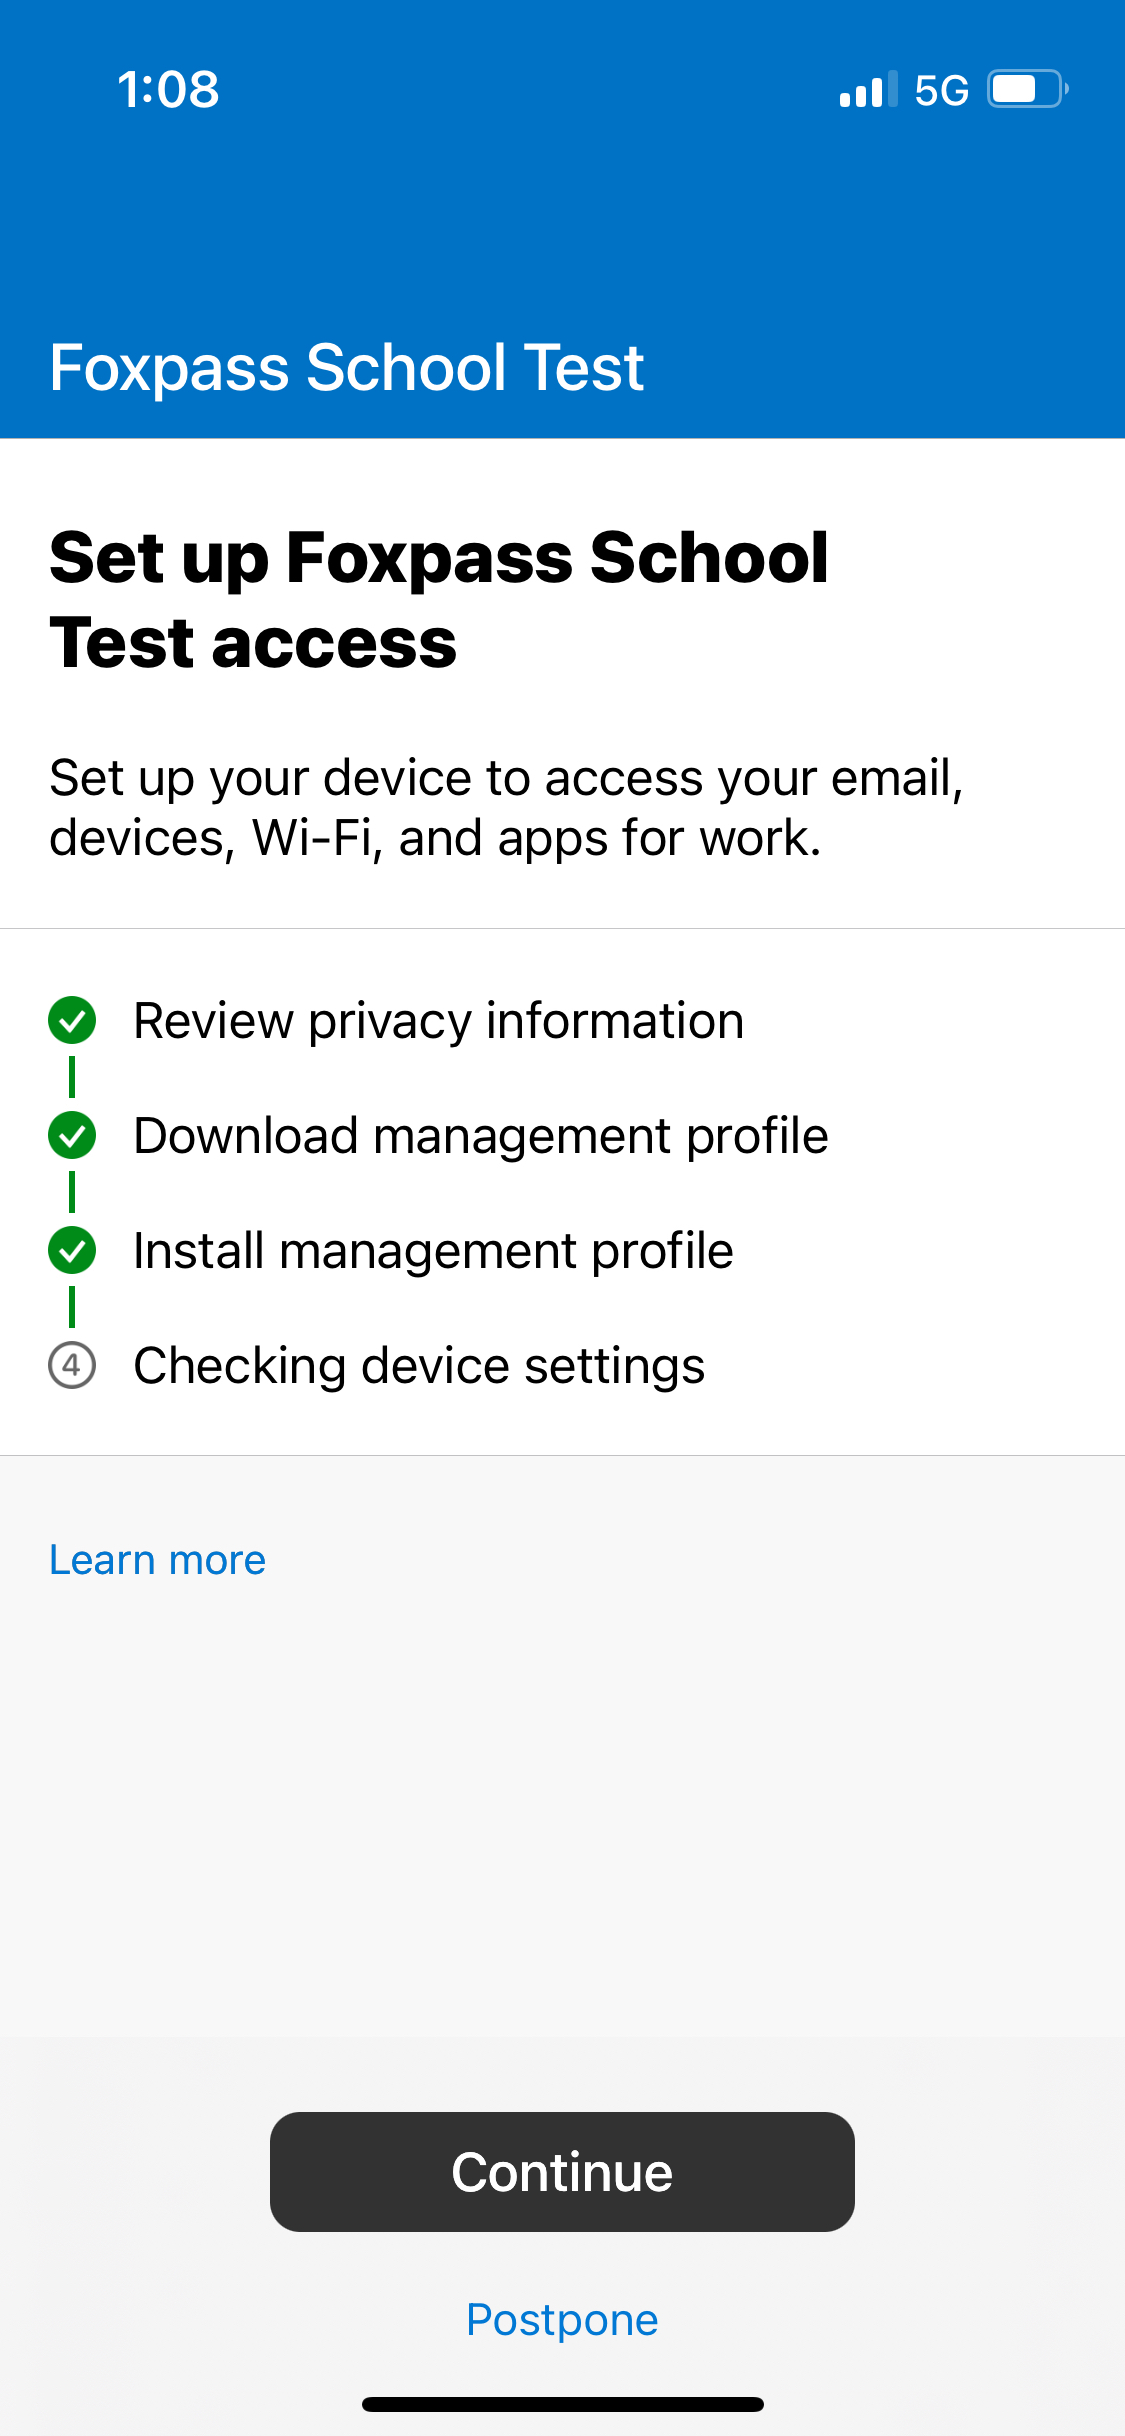
- Click 'Begin'.
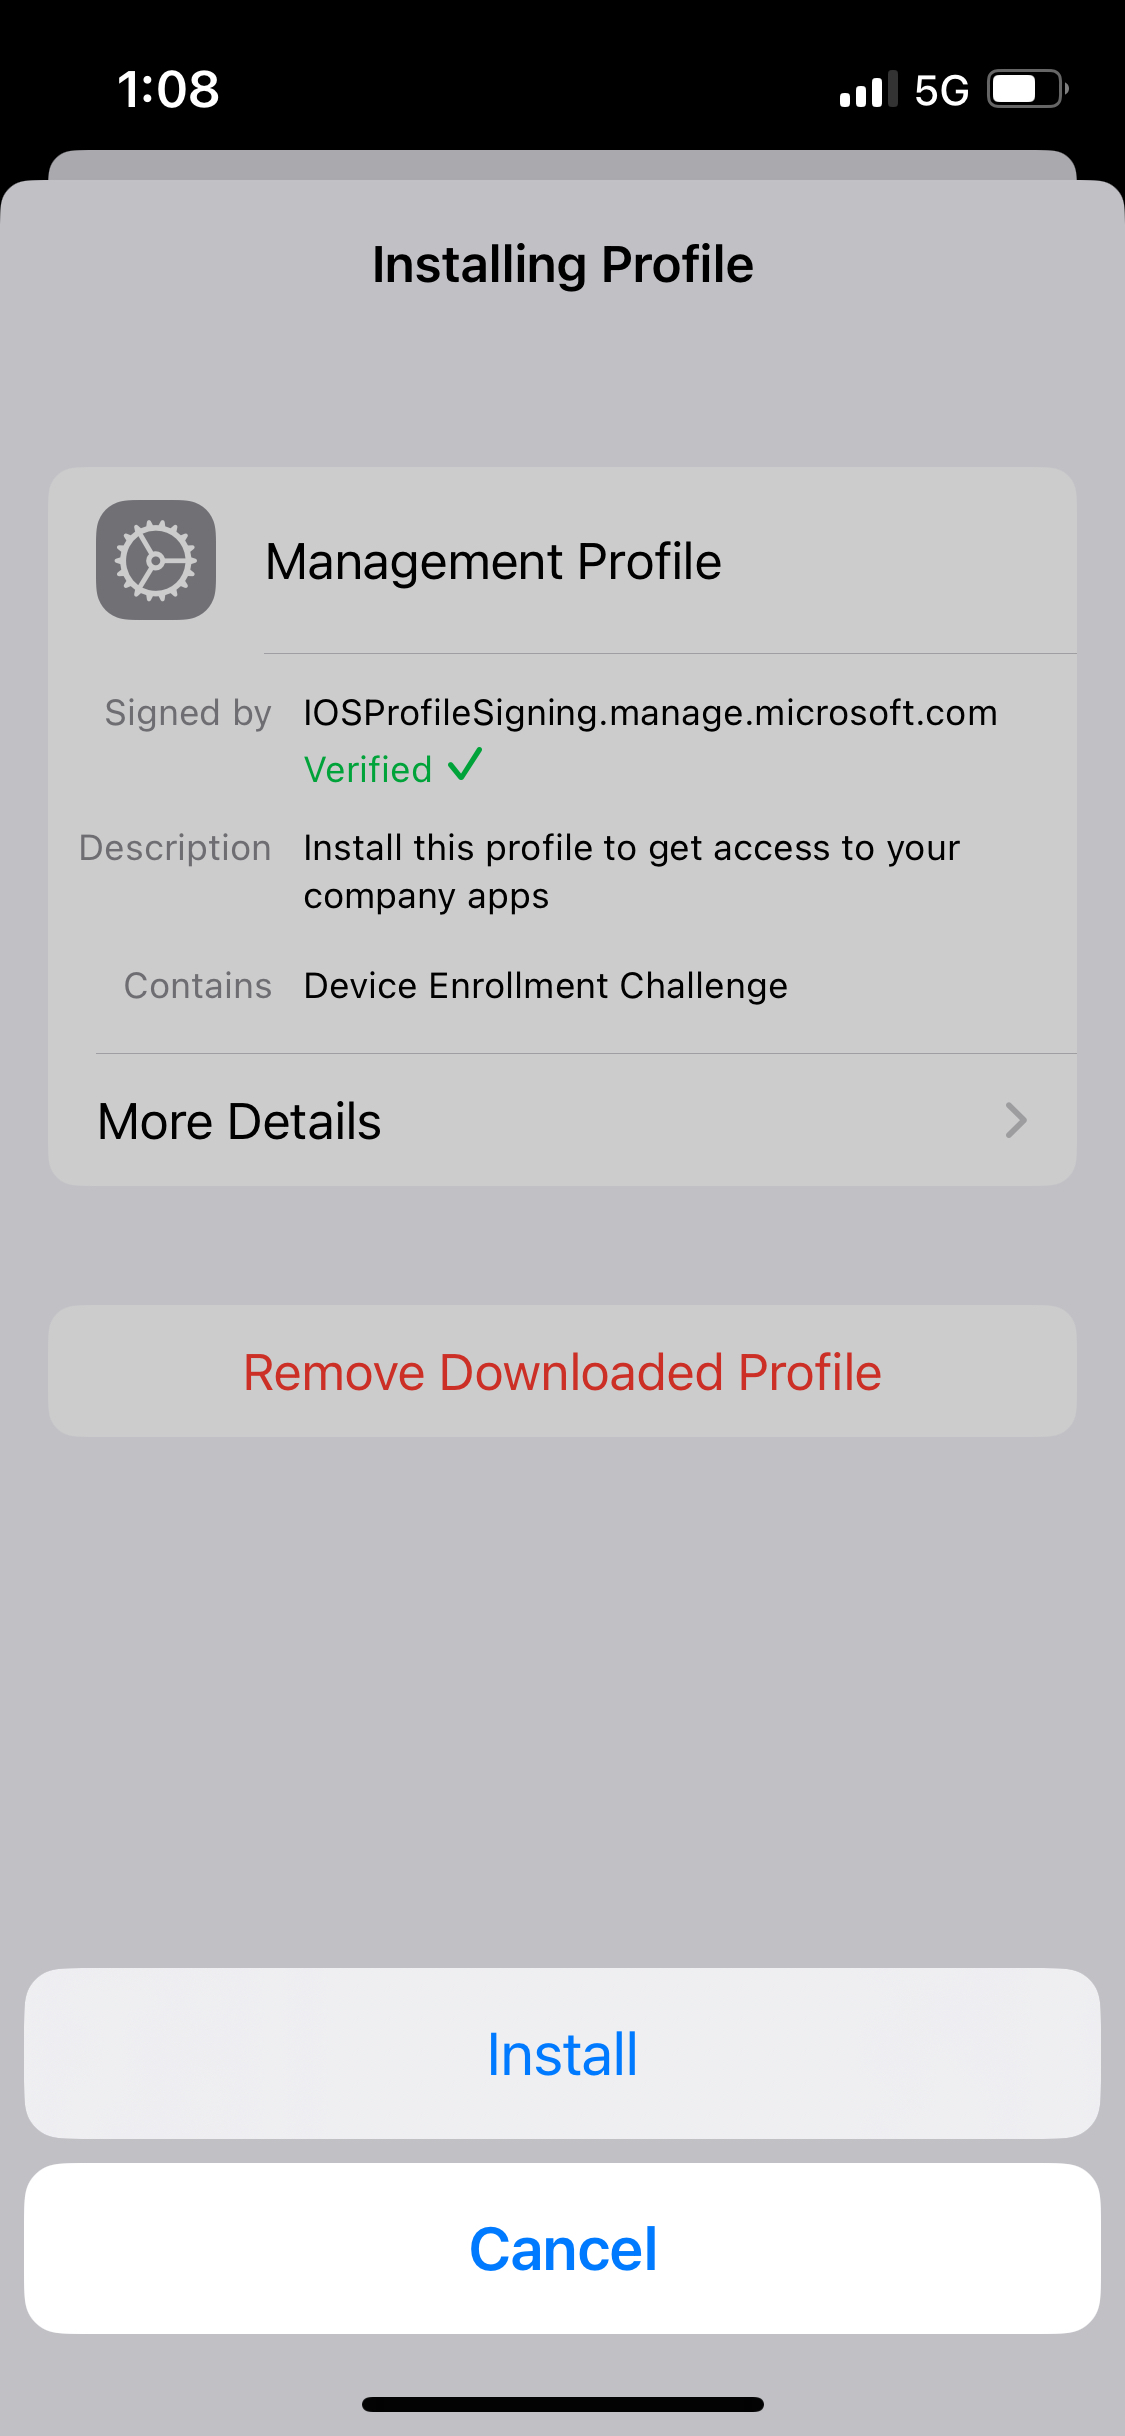
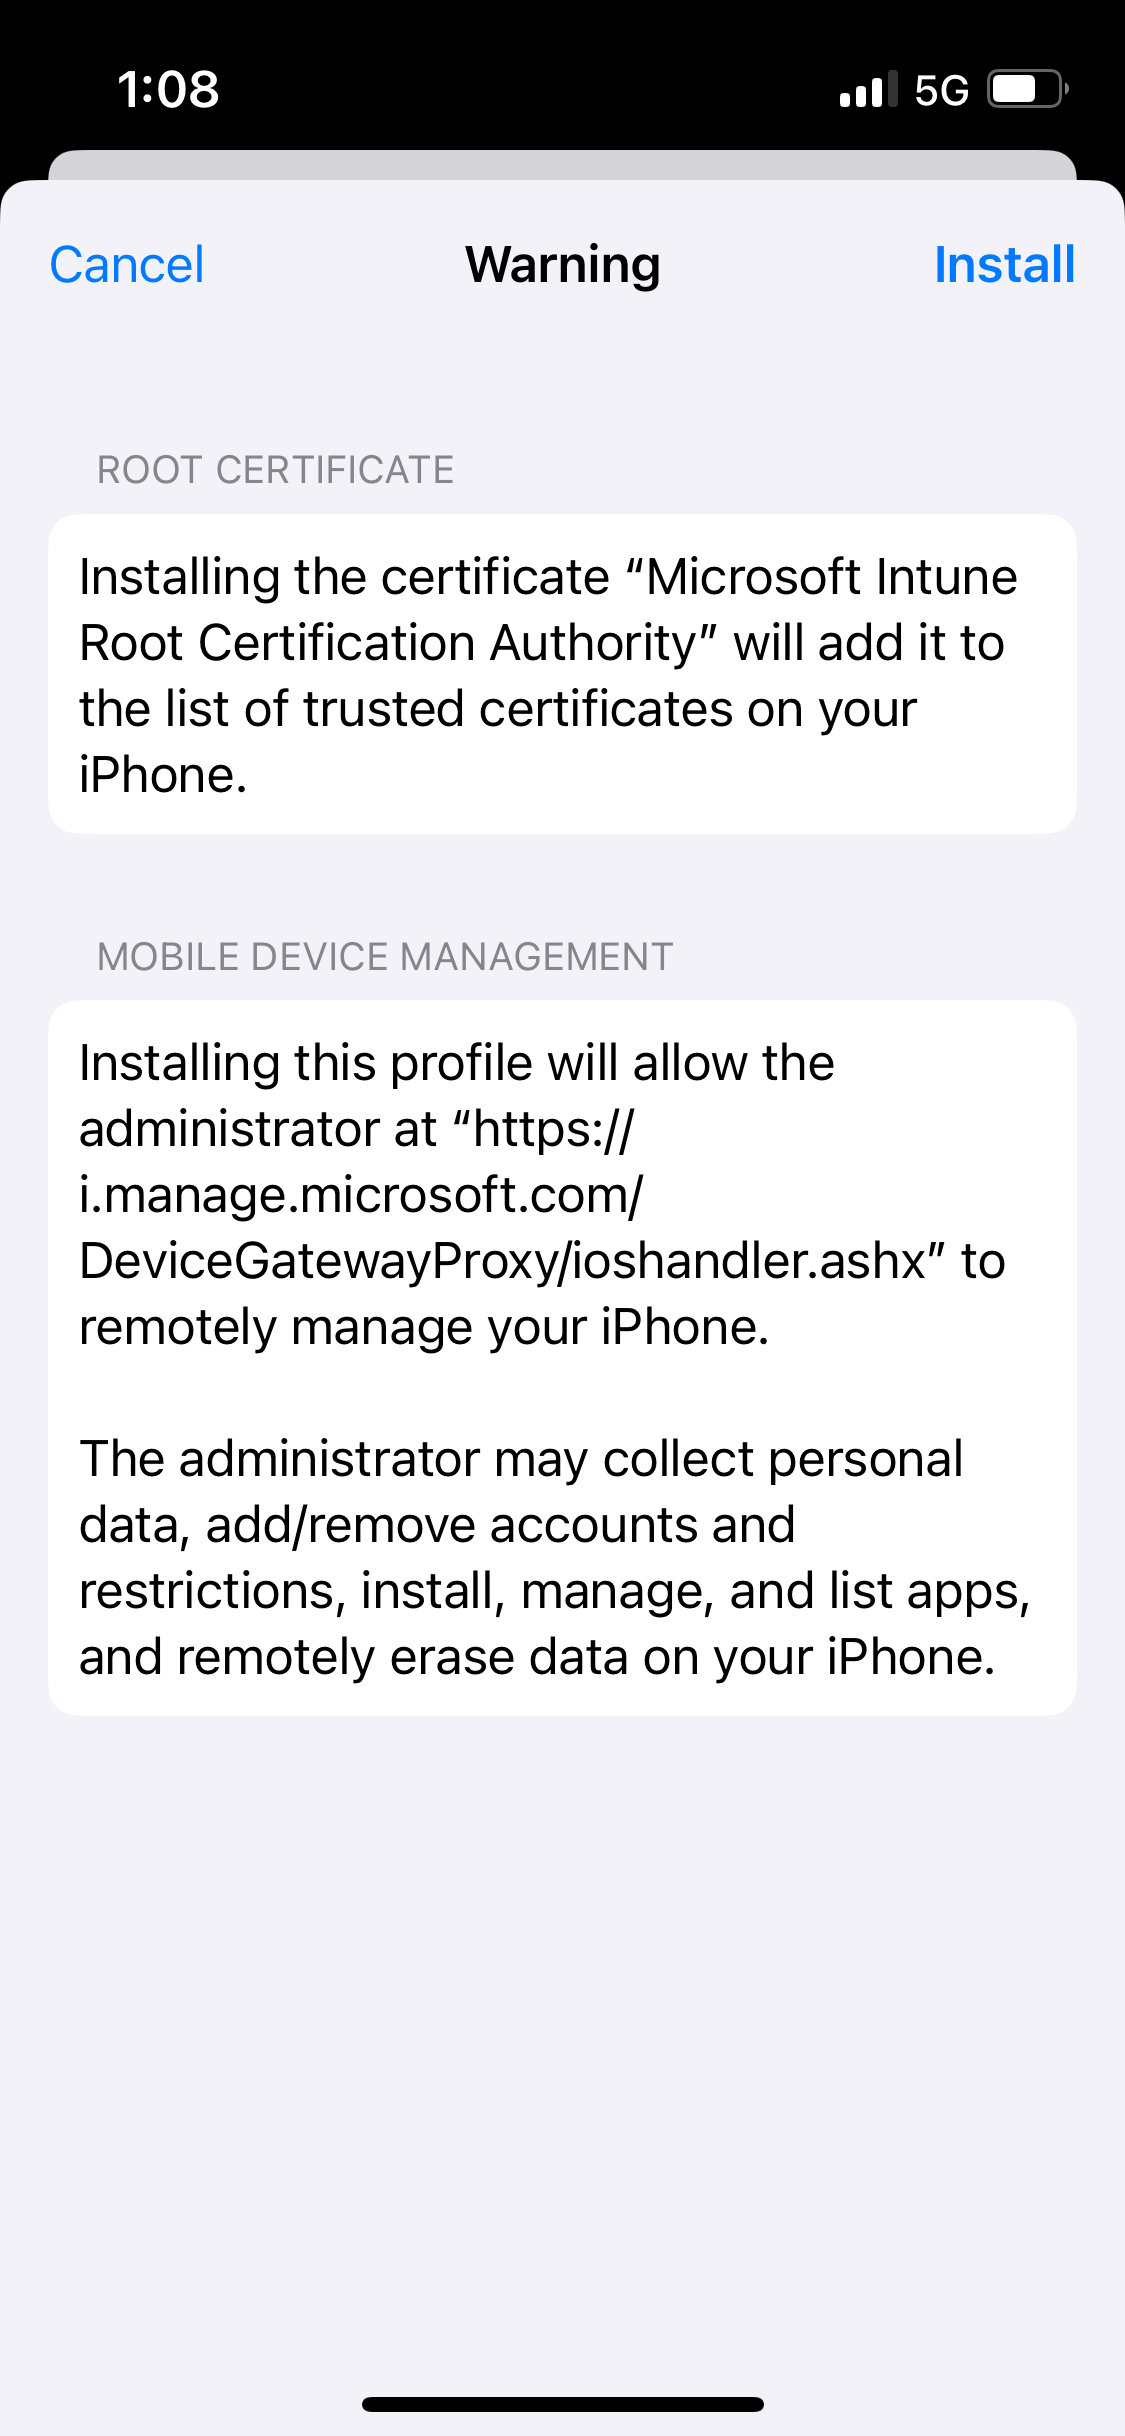
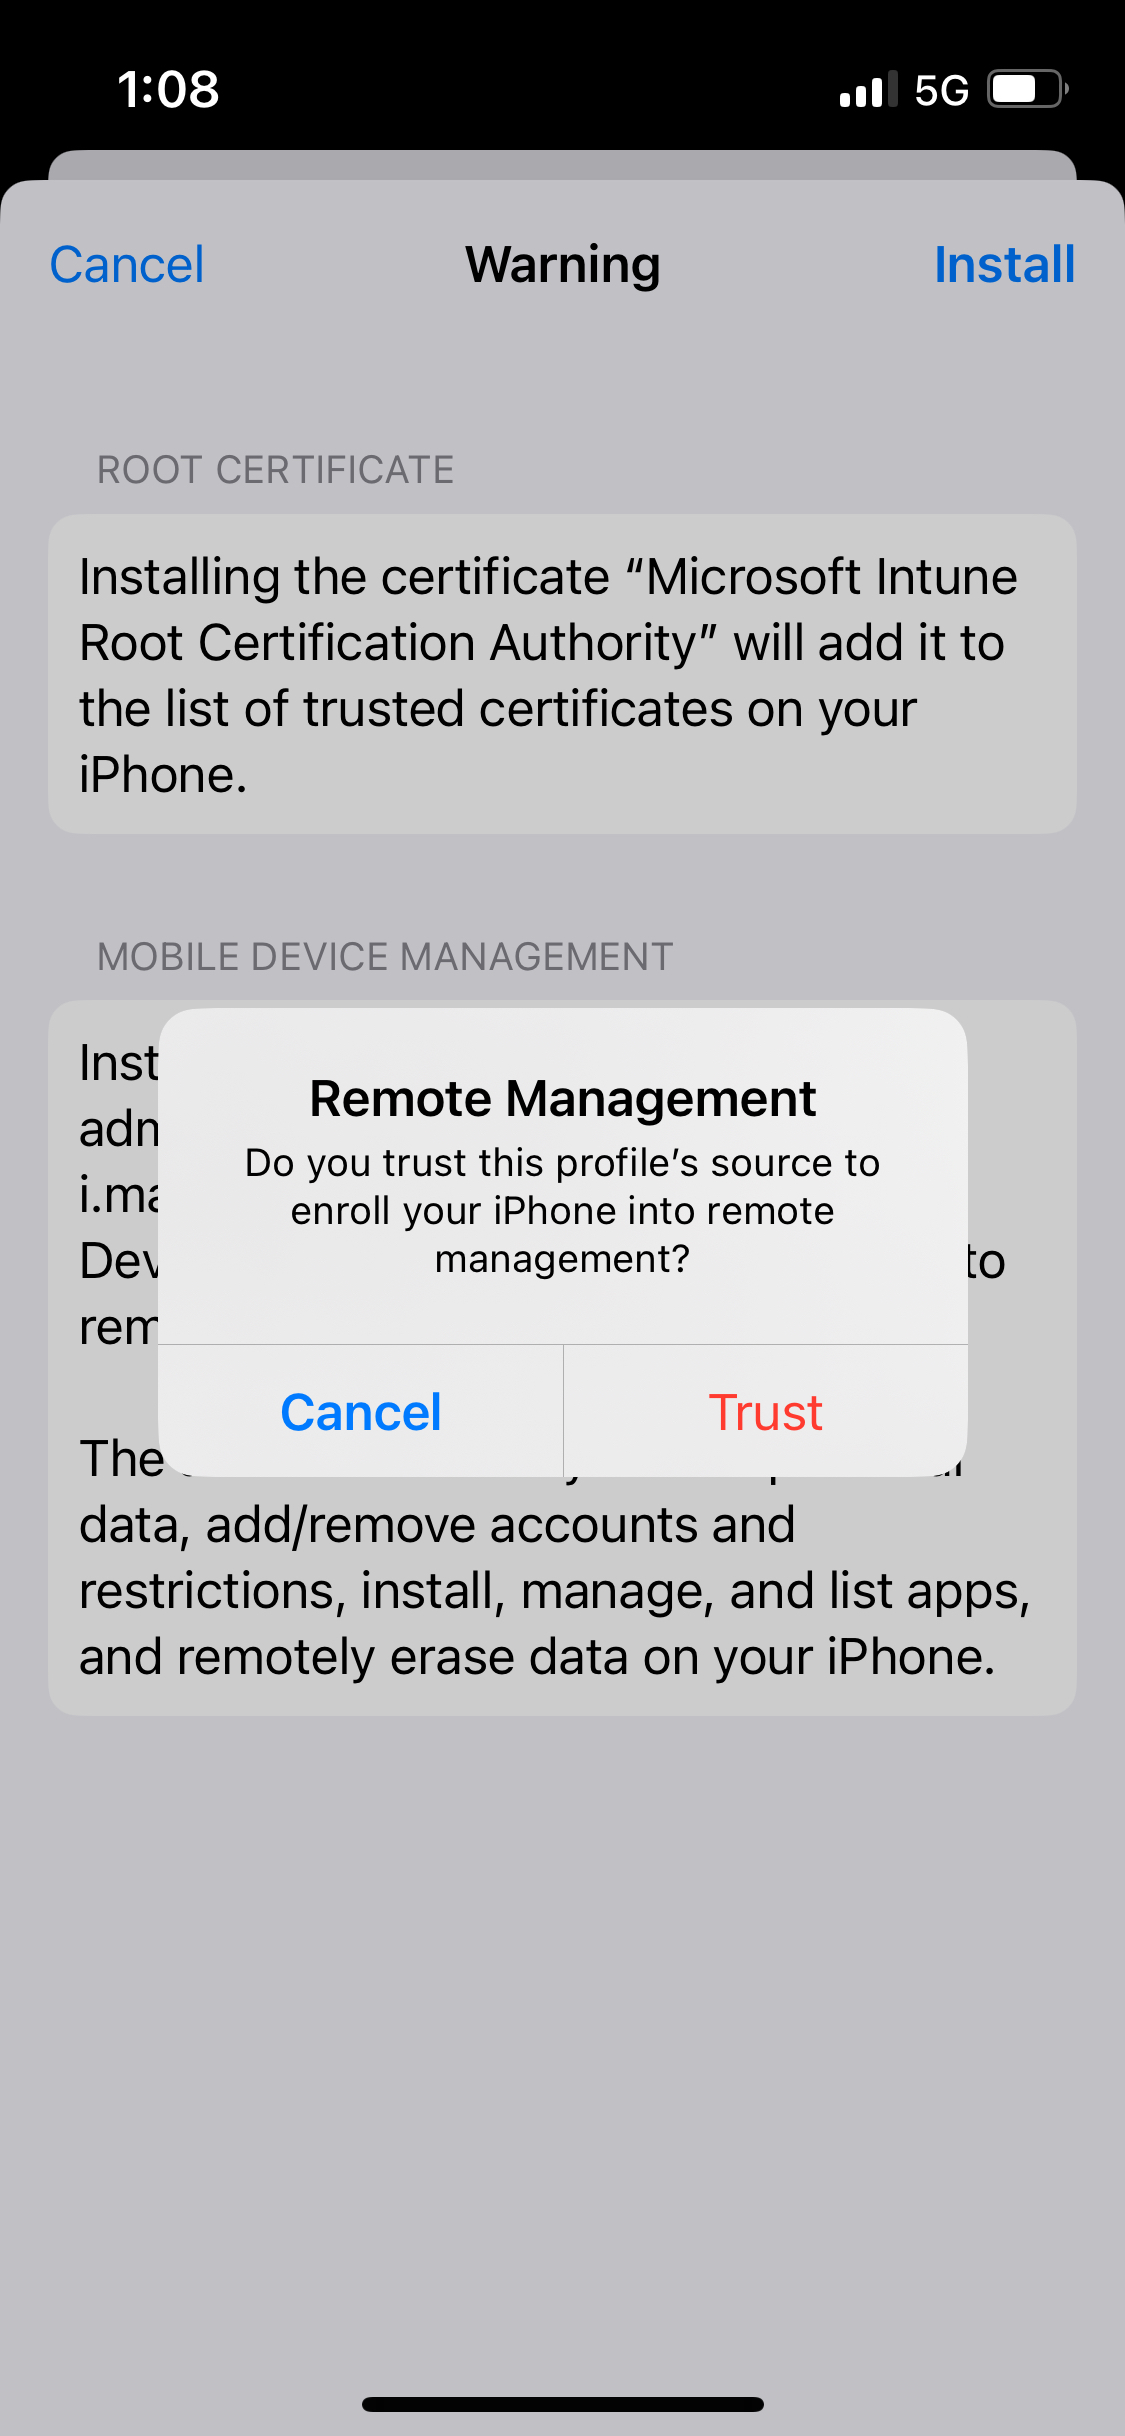
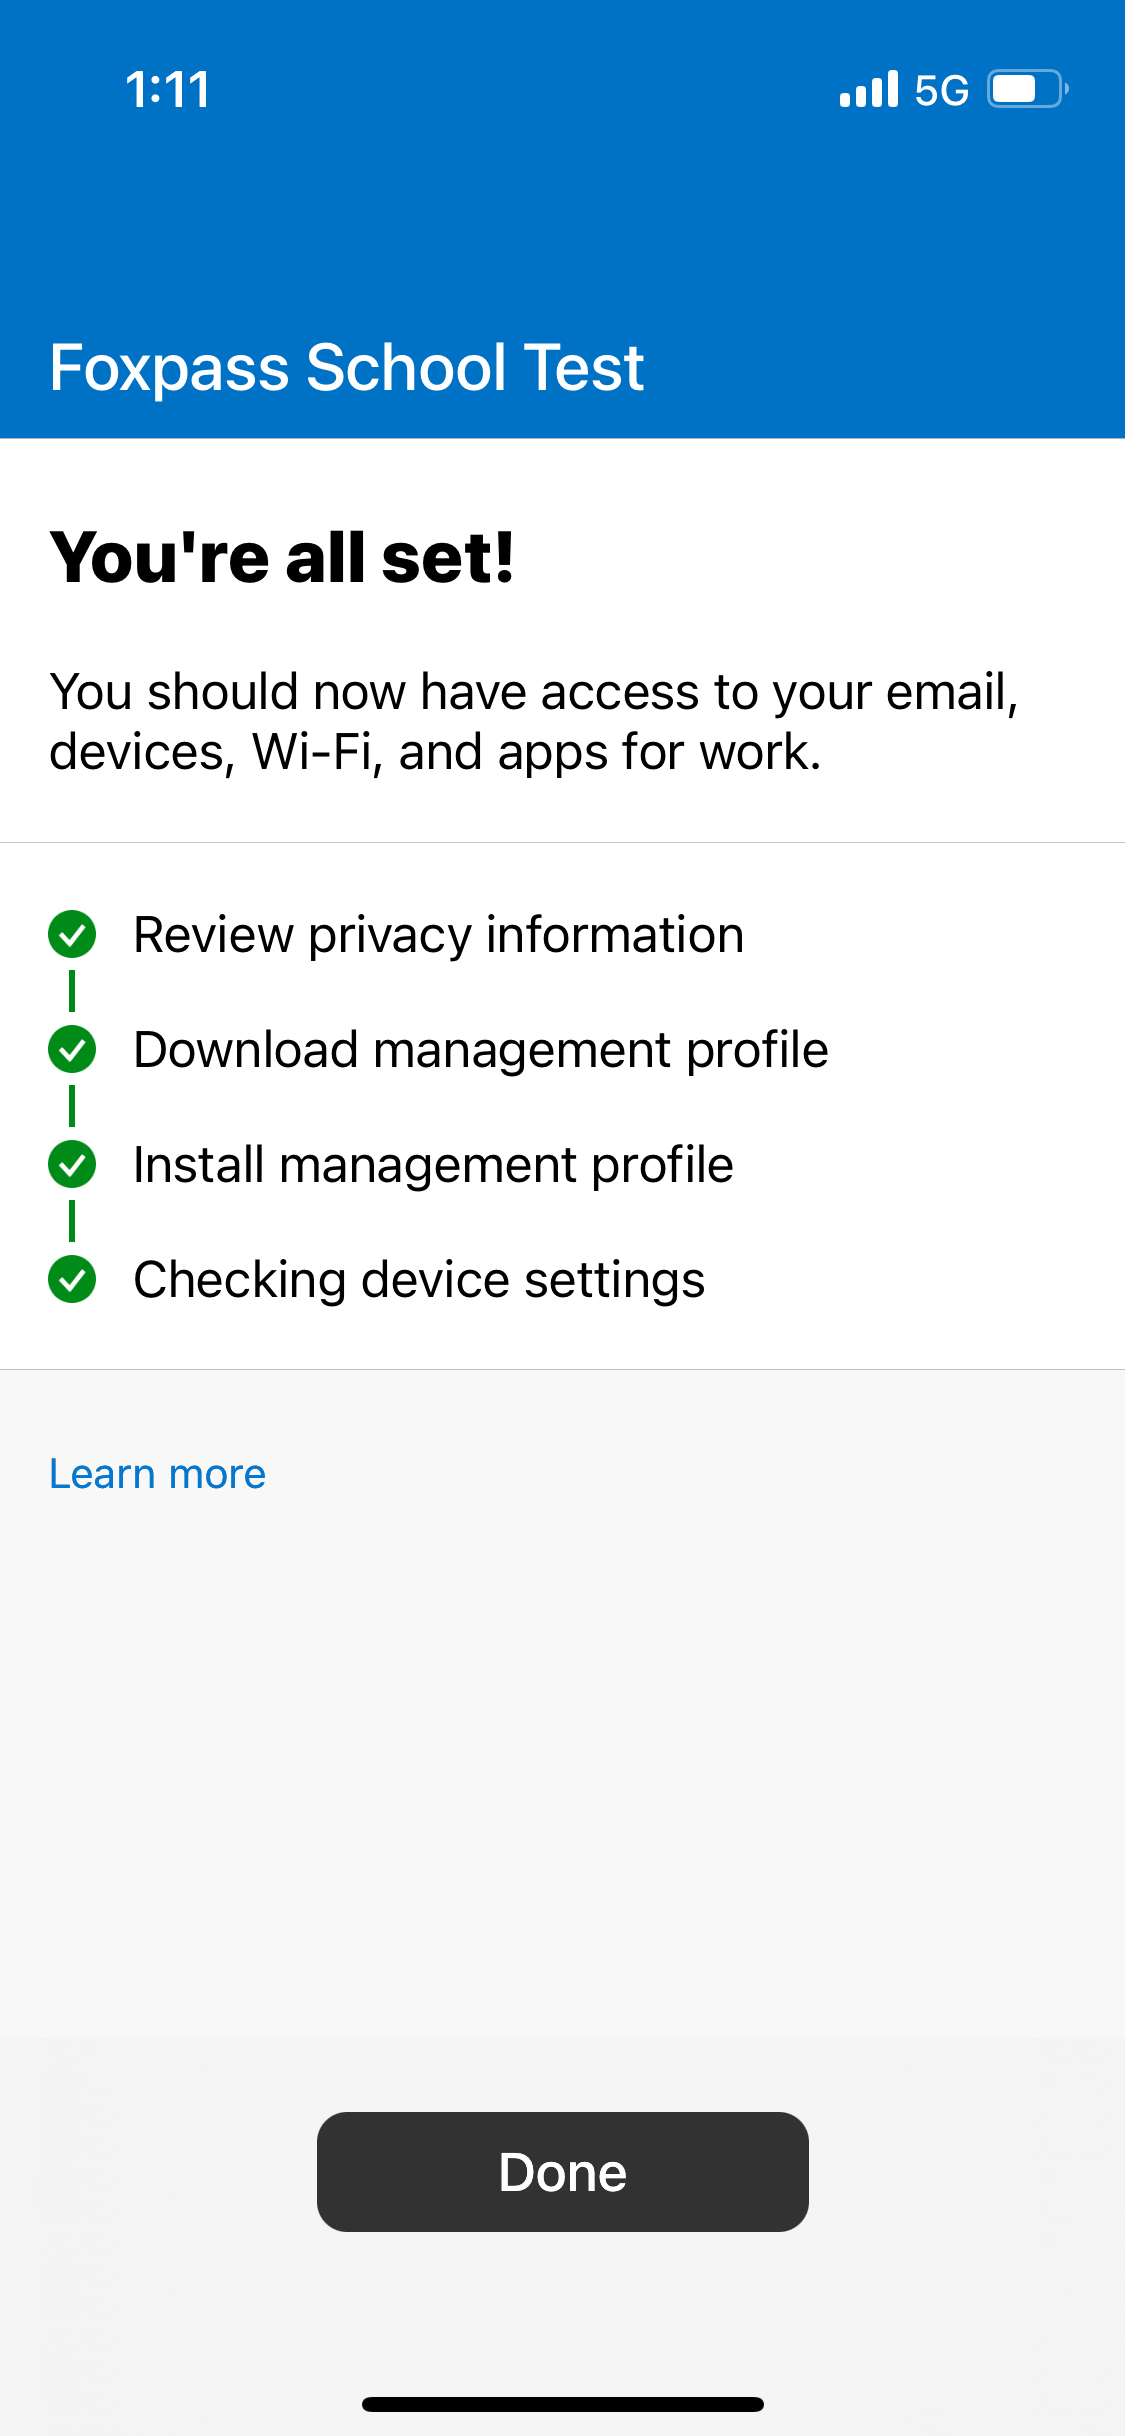
- Follow the on screen instructions to complete the installation.
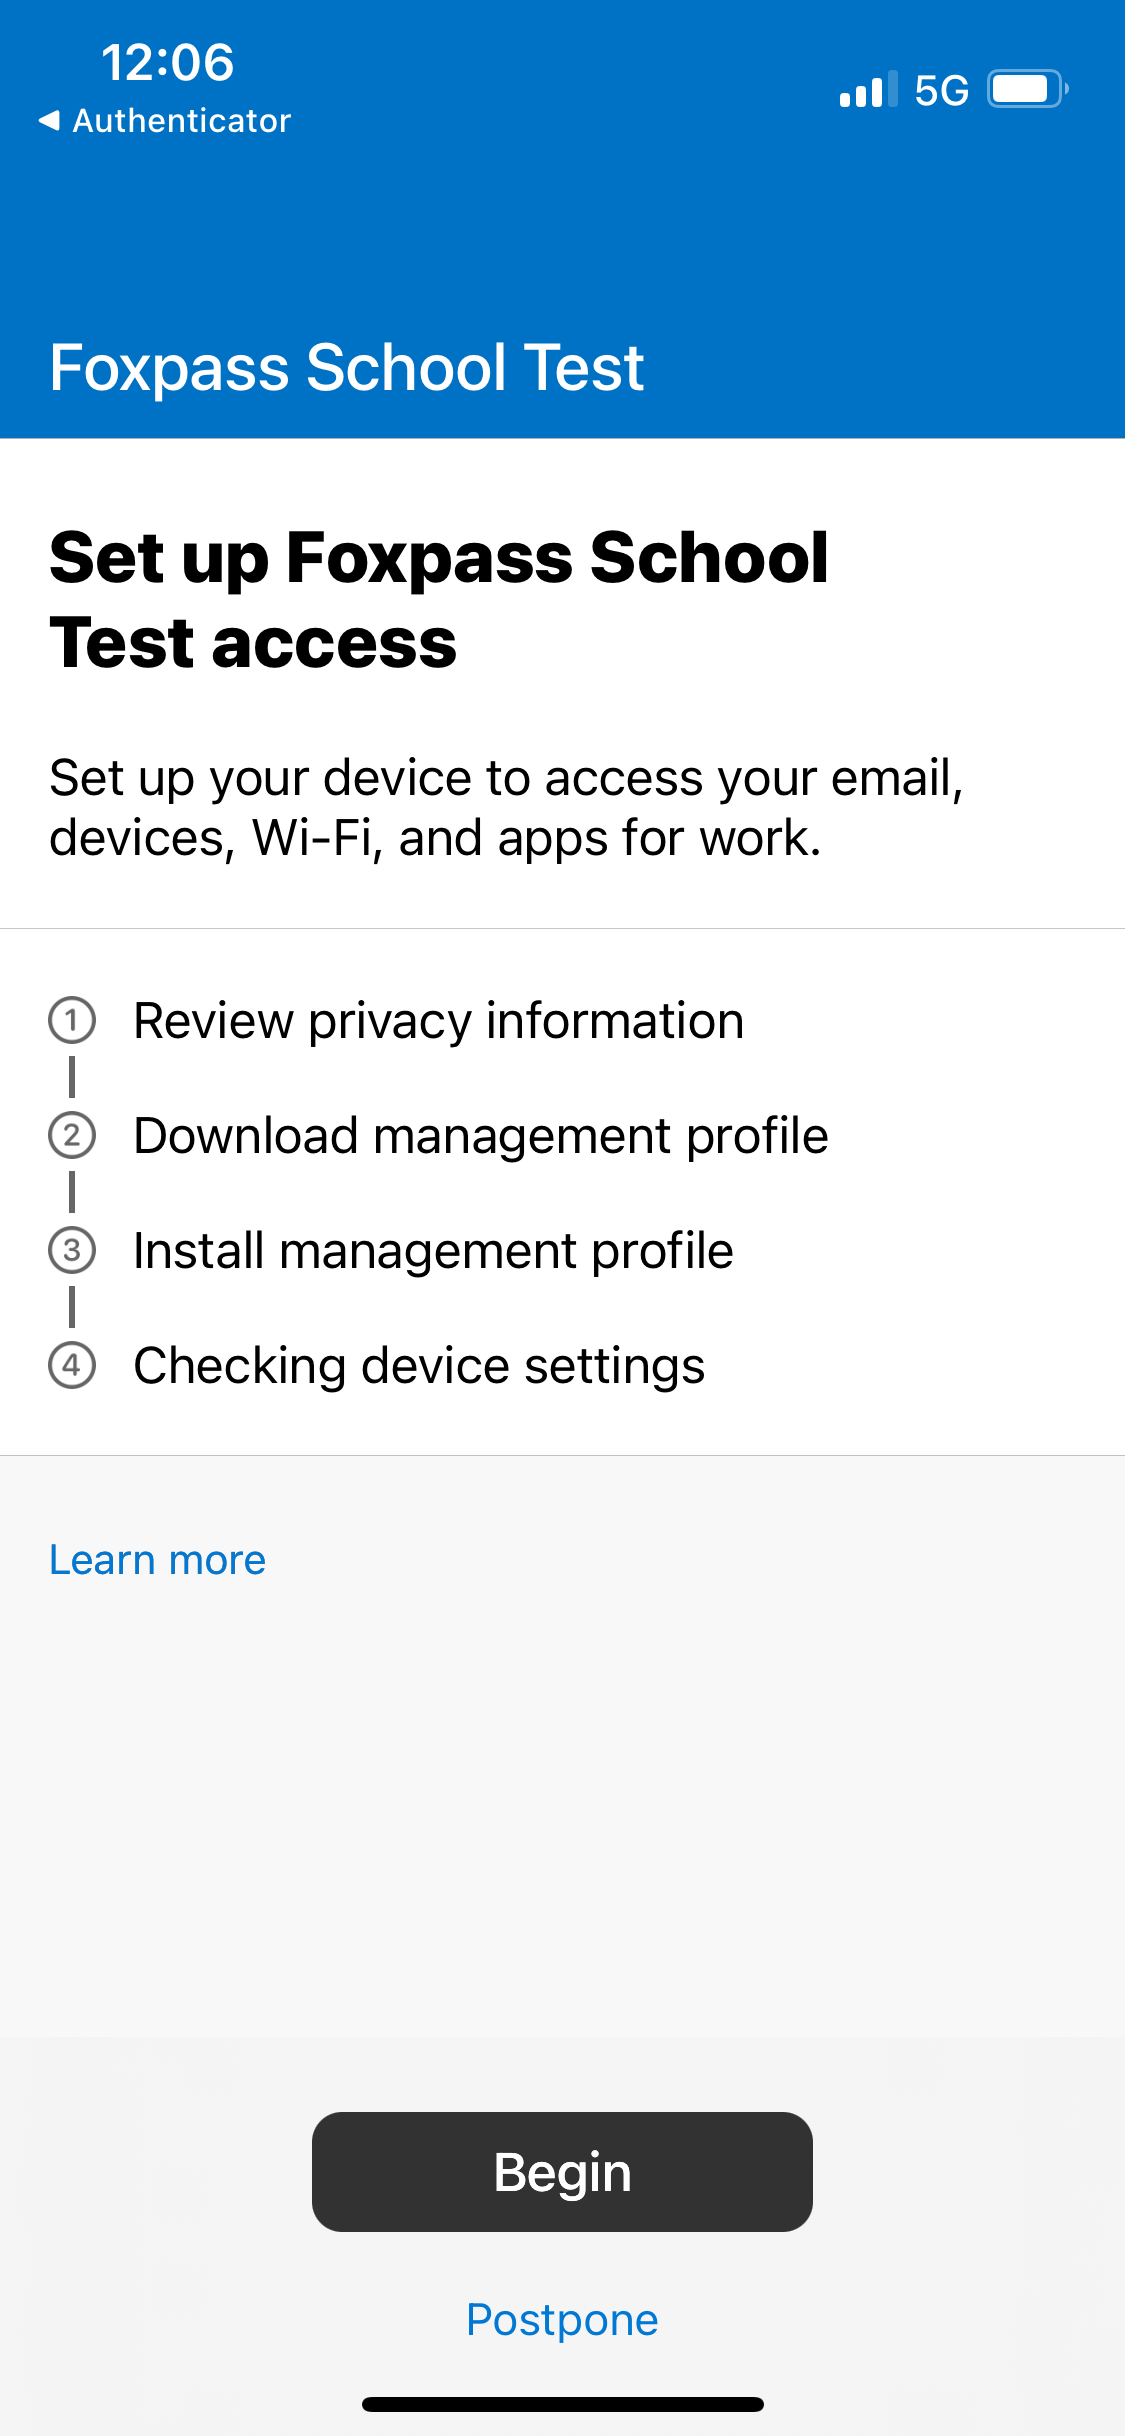
Begin the enrollment

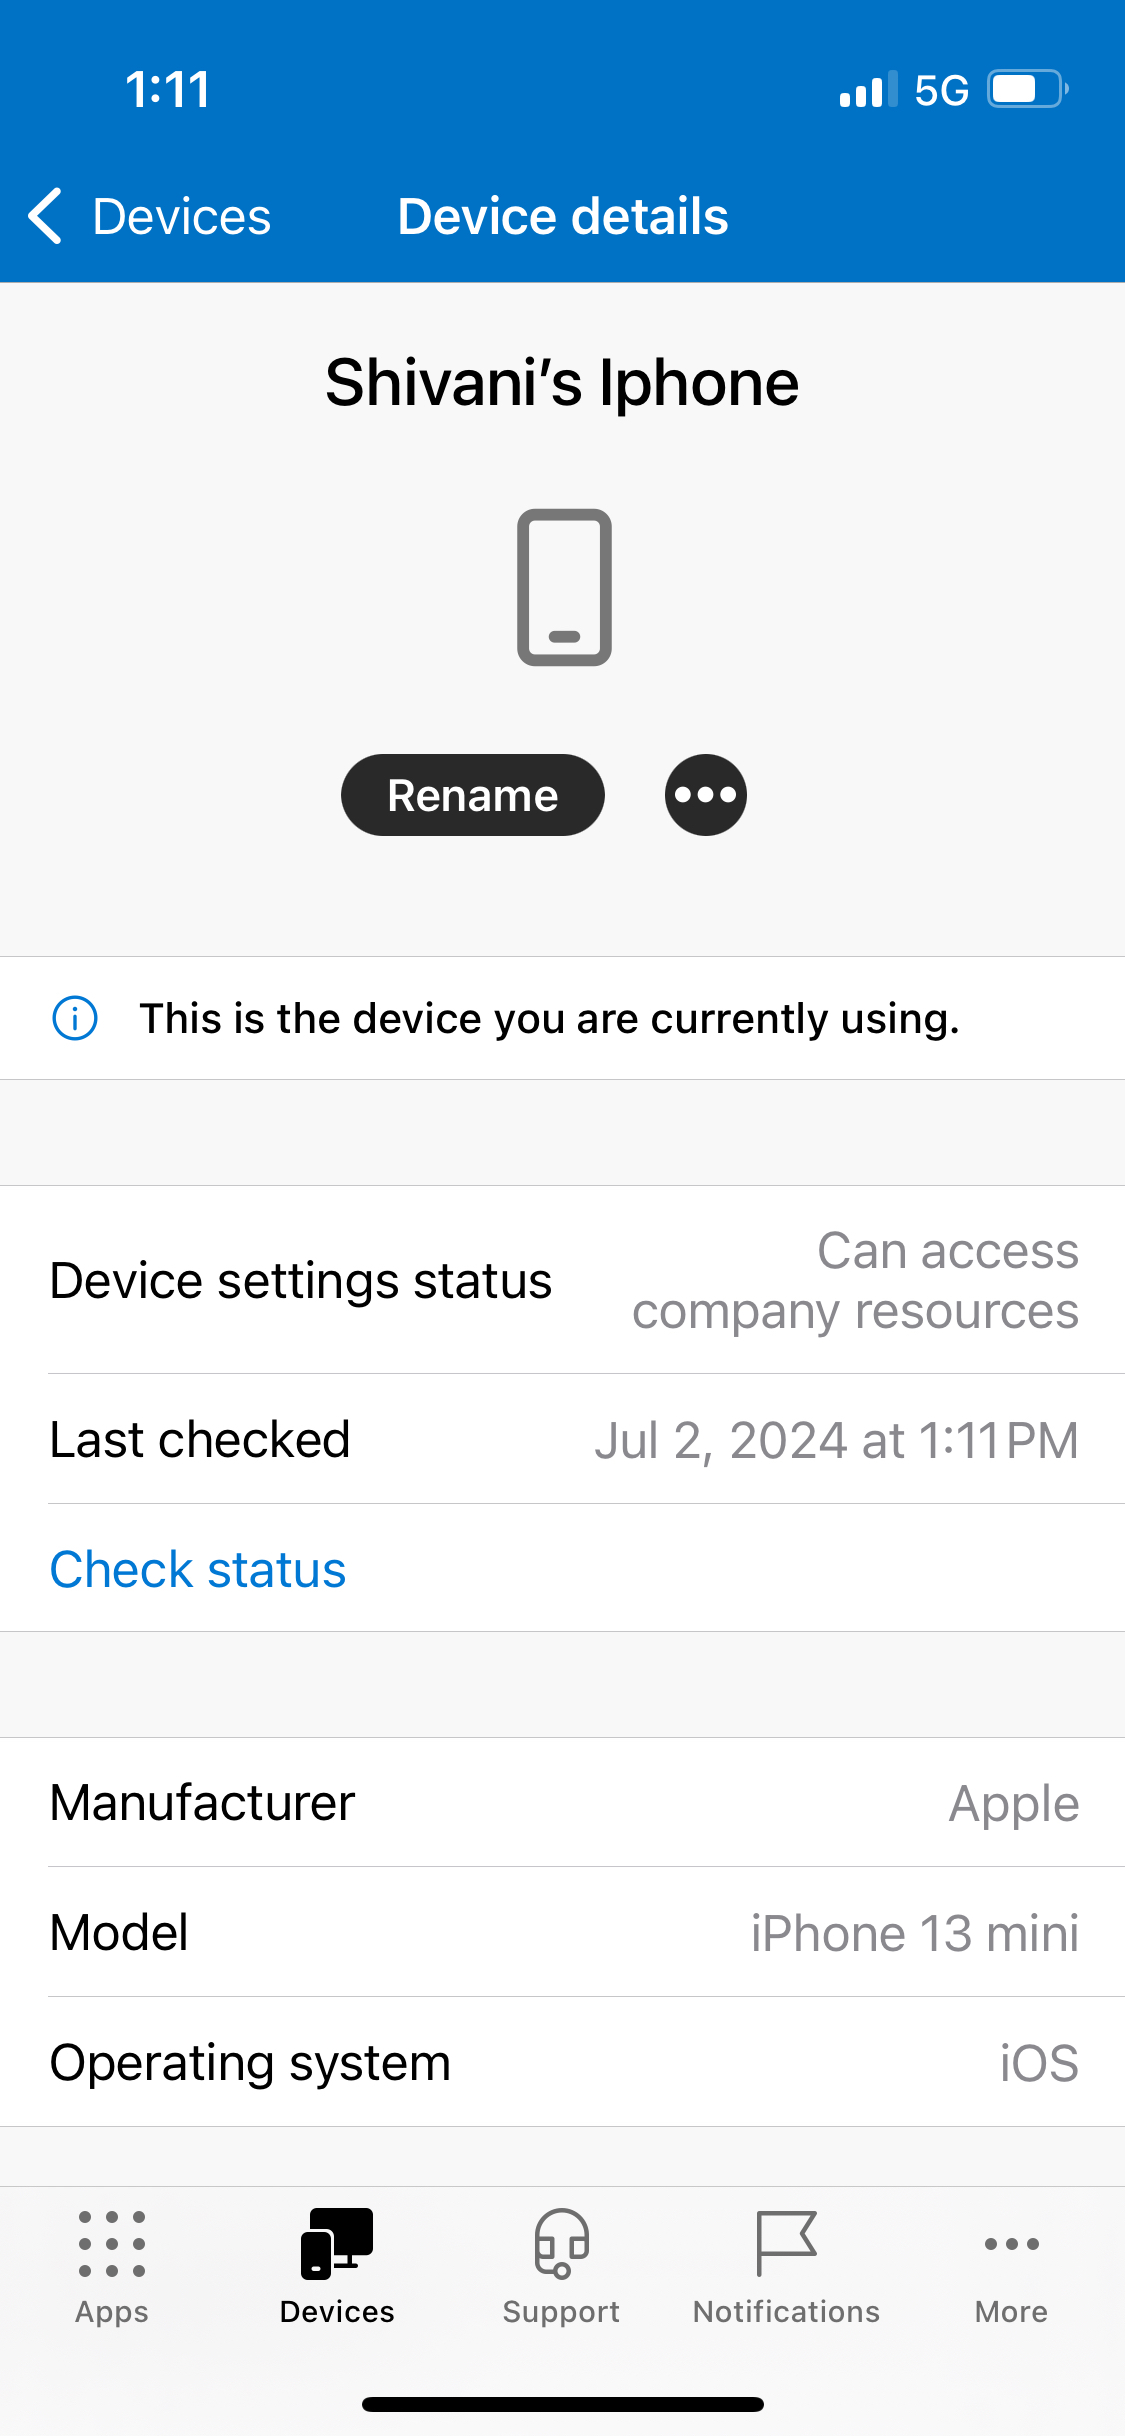
If all goes well, you will now be able to see your device enrolled in Intune and a client certificate on the Foxpass EAP-TLS page.
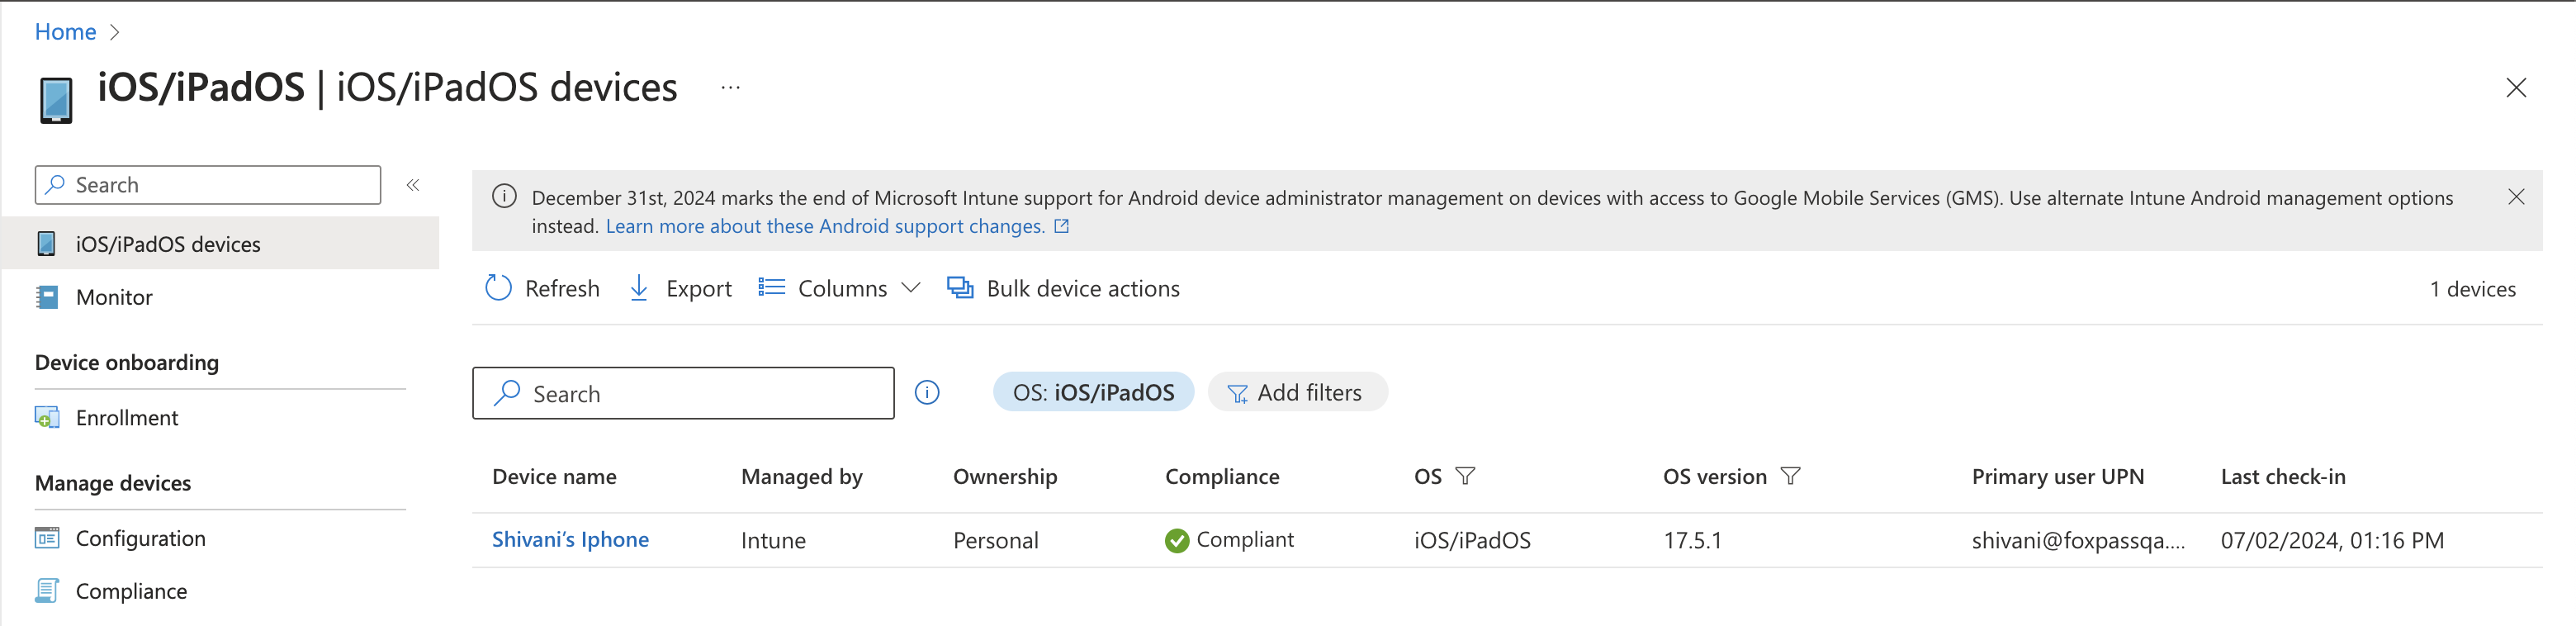
iOS Device enrolled in Intune

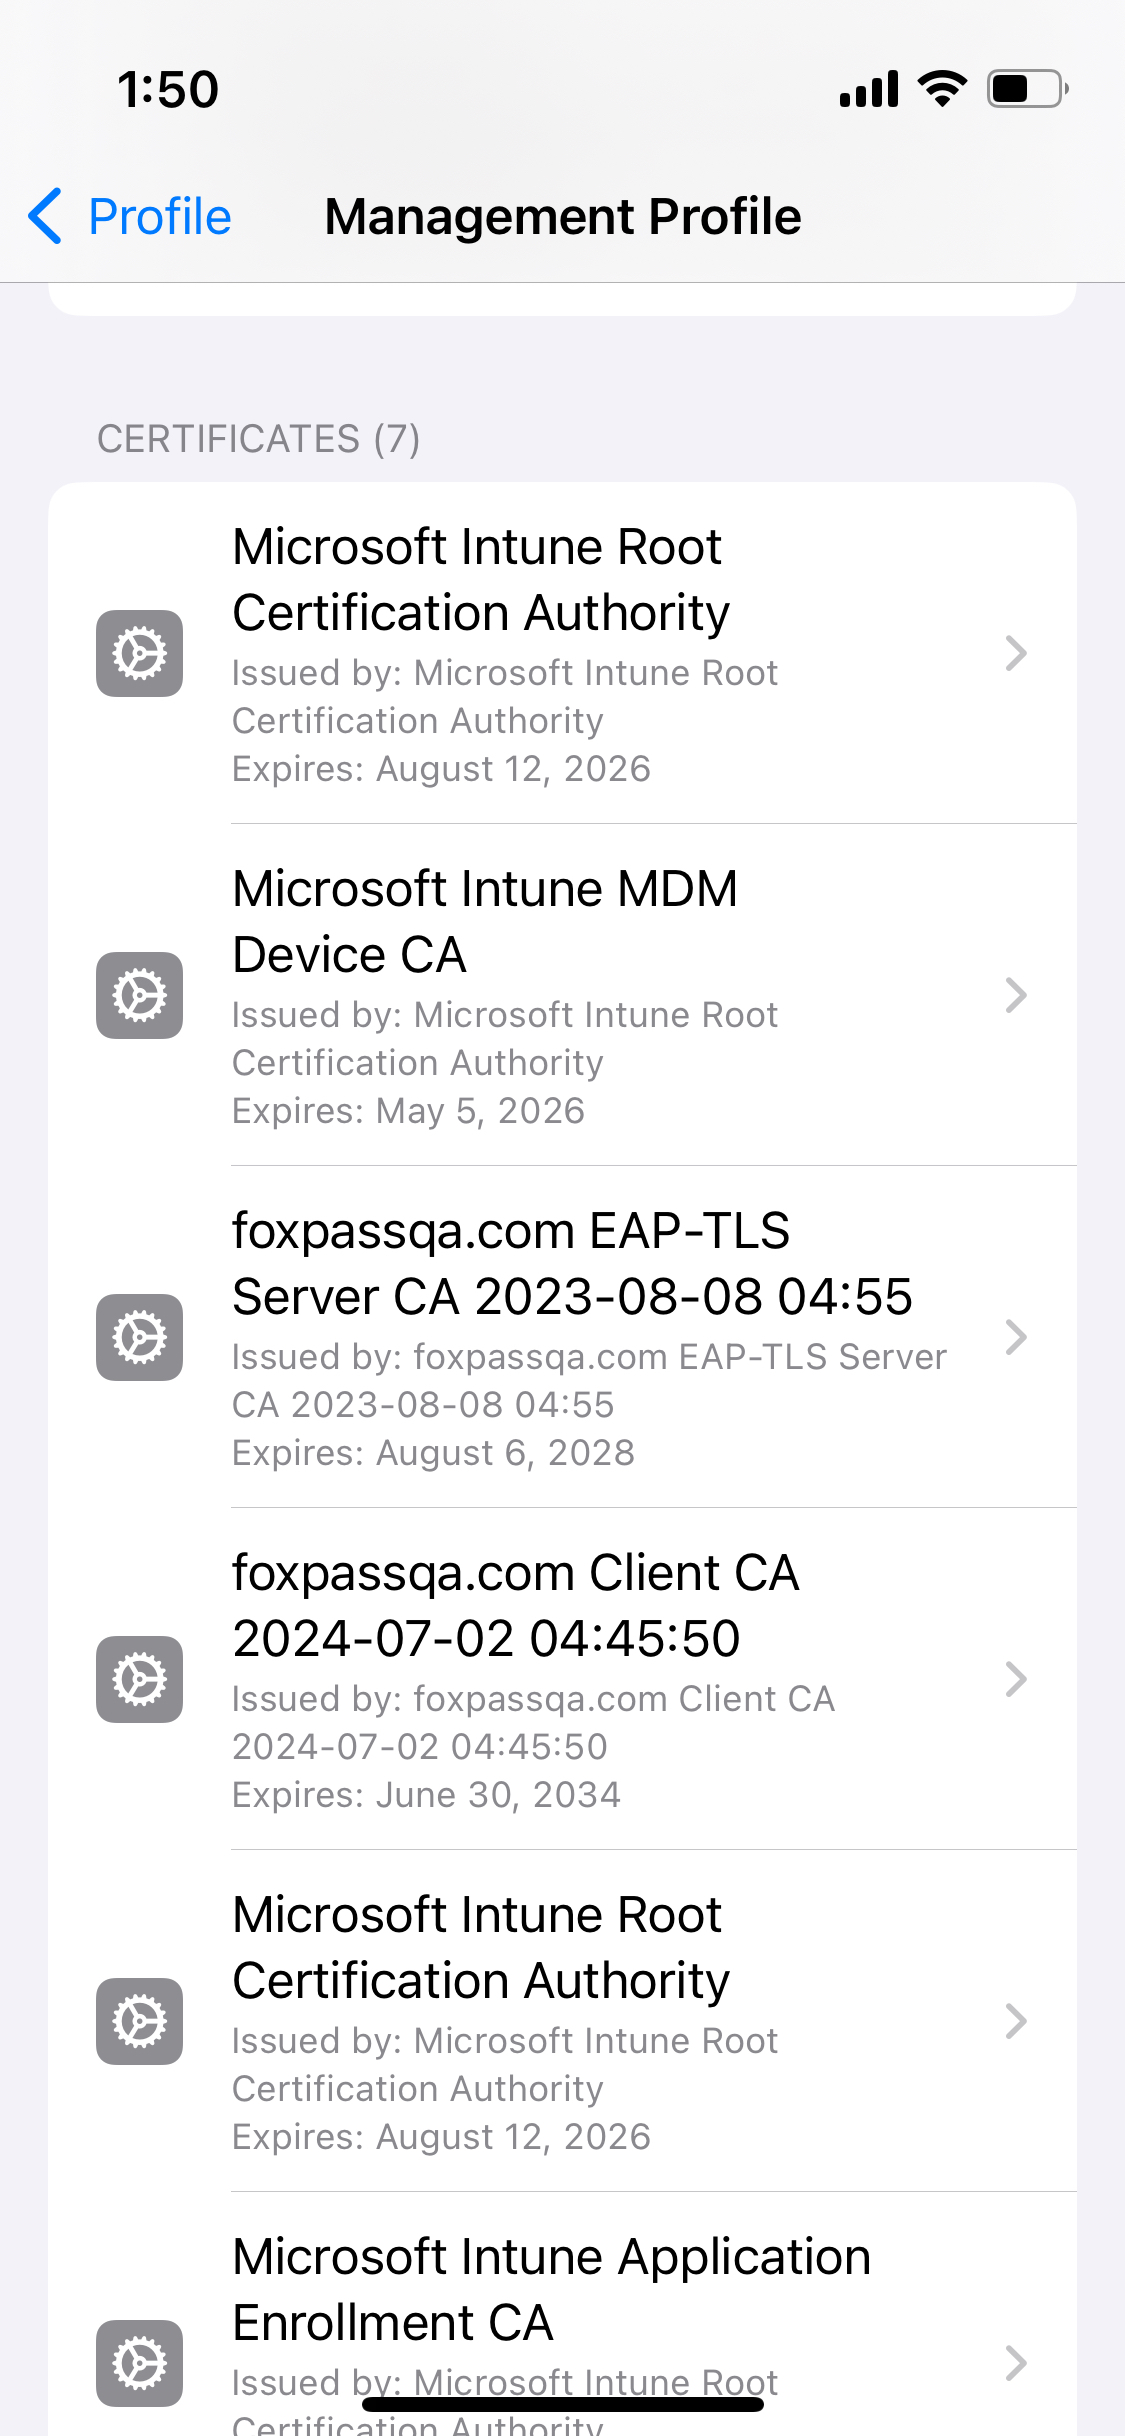
Client certificate issued by Foxpass
You can see Foxpass Client CA and Server CA by going to VPN and Device management > Management Profile > More Details.
Your iOS device will be connected to your SSID configured. and you can also see successful/unsuccessful logs on the RADIUS logs page.
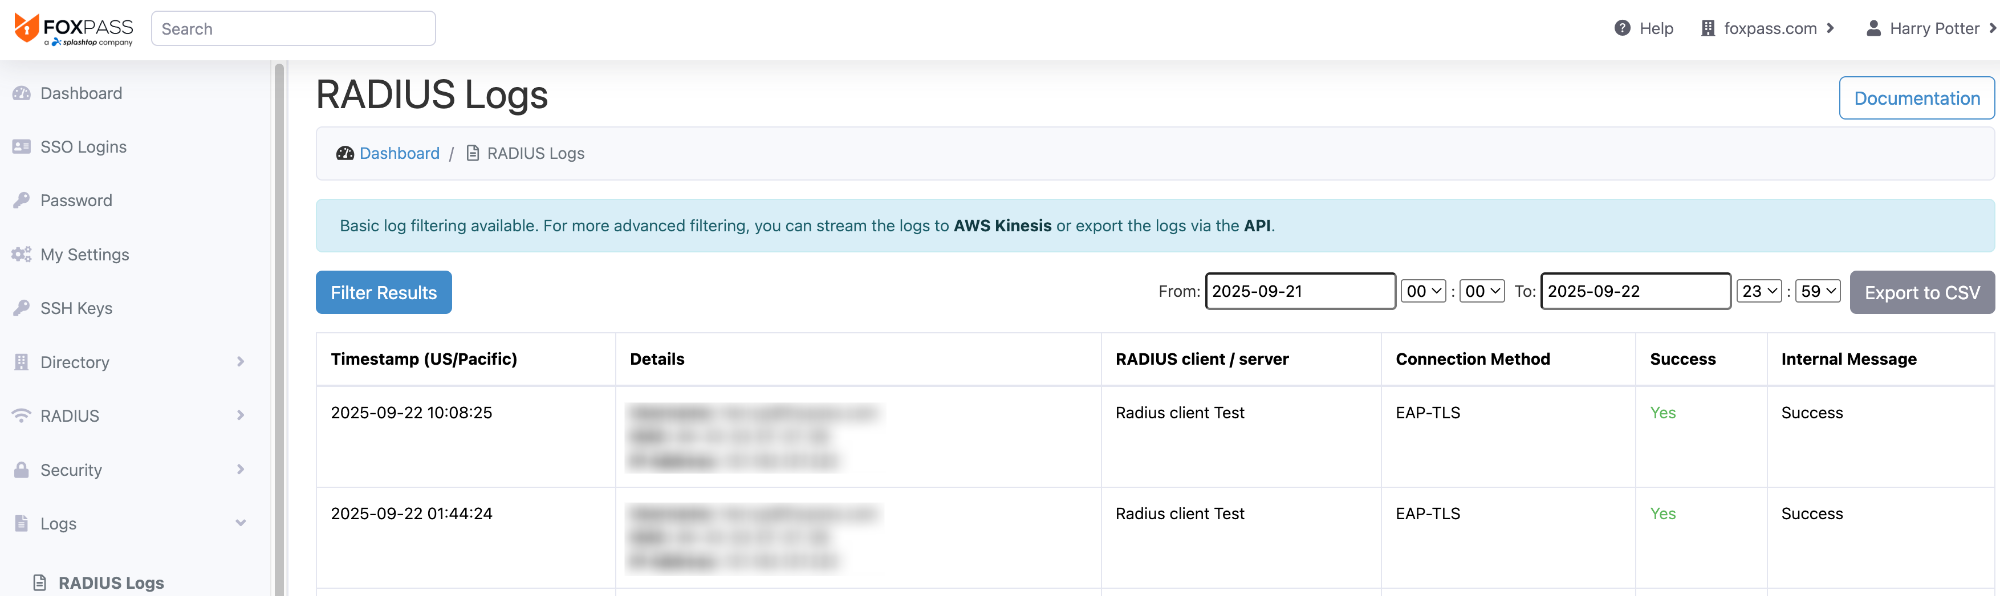
RADIUS logs
Still having problems?
Updated 8 months ago