
Setup instructions for Windows
This document provides comprehensive instructions for setting up your Windows device to work with the Foxpass BYOD system. It includes detailed steps on how to configure your device, create necessary profiles, and ensure secure and seamless integration with Foxpass services.
- Please refer to the BYOD Installers document to create the profile, generate the installer and visit the download page.
- After clicking the visit download page button, NetID portal will open up in a new window.
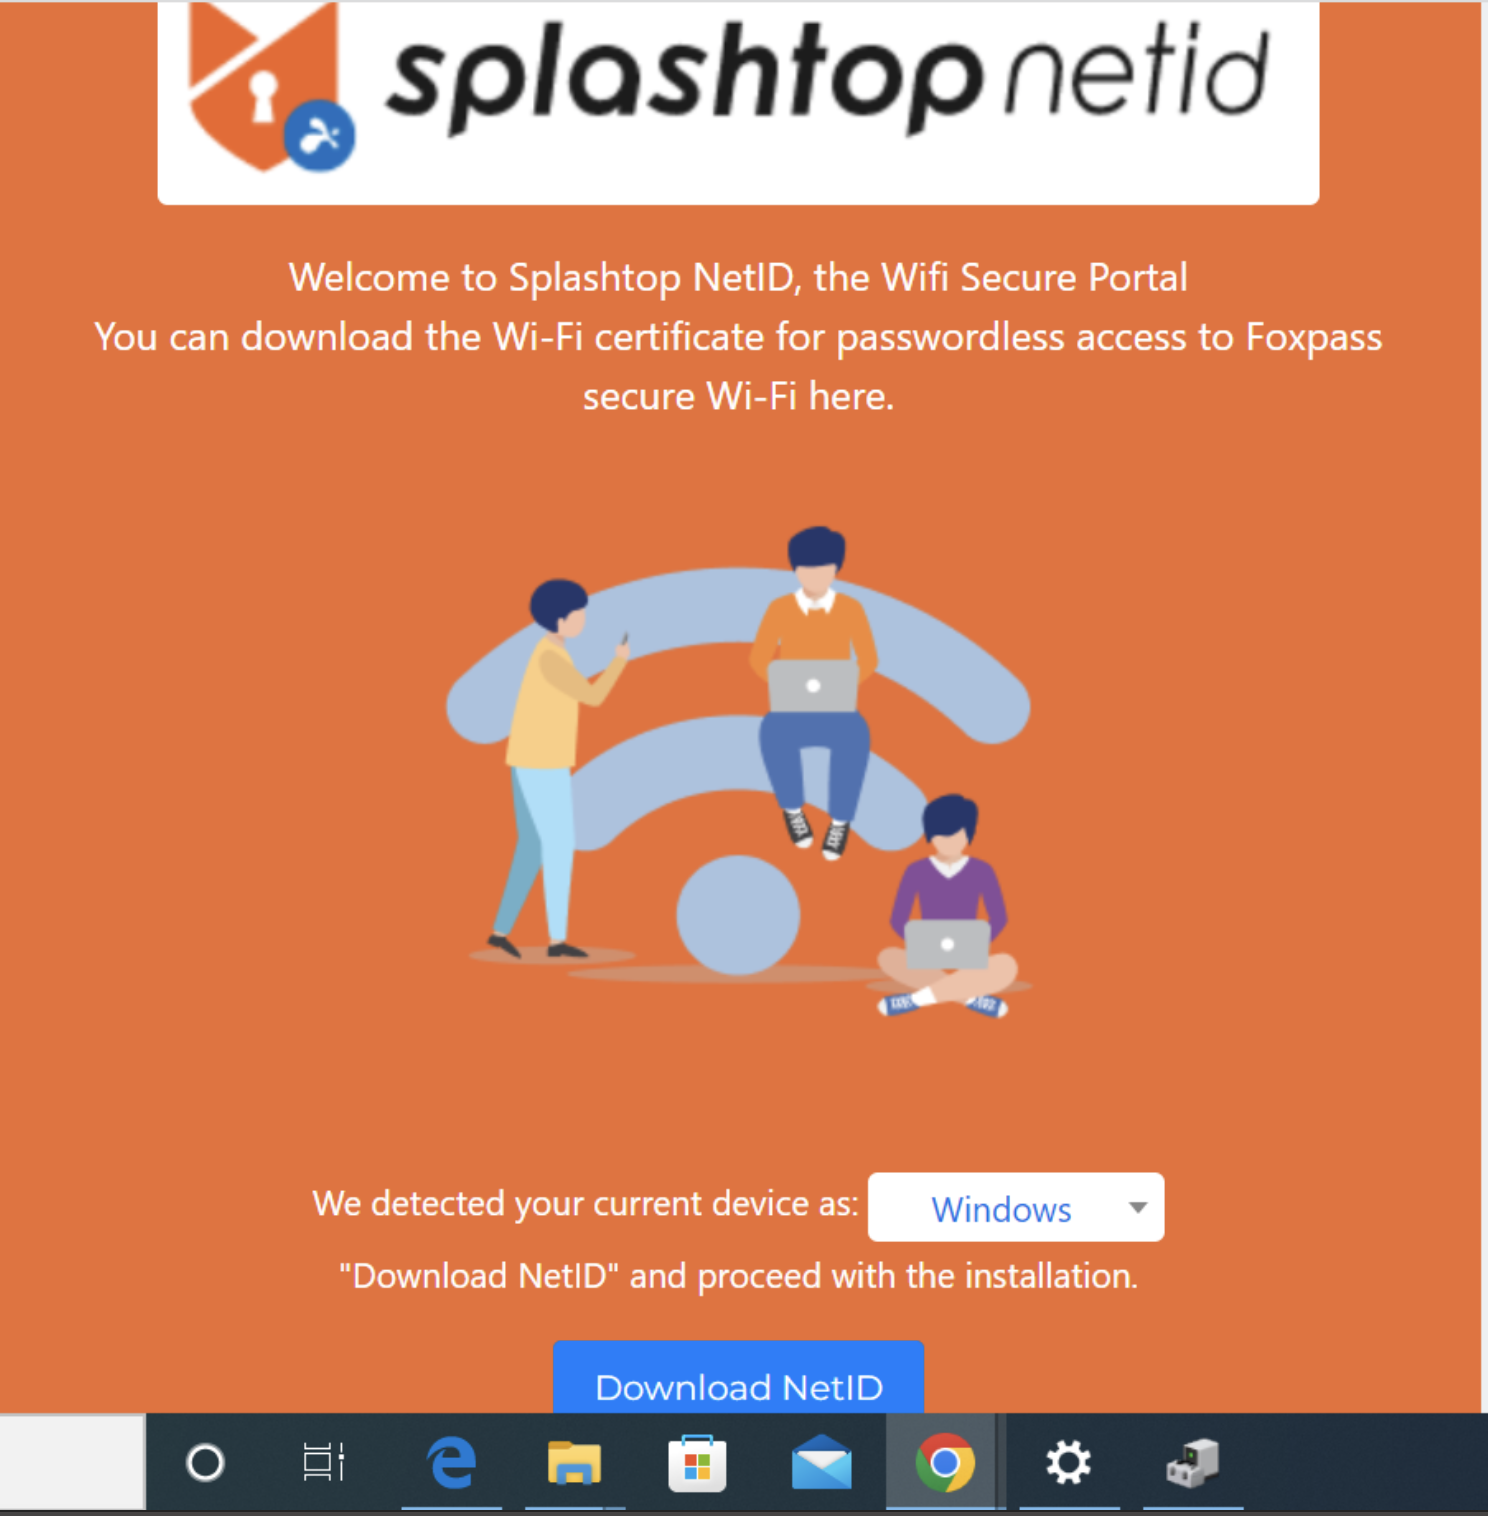
NetID Portal
- Click on Download NetID button.
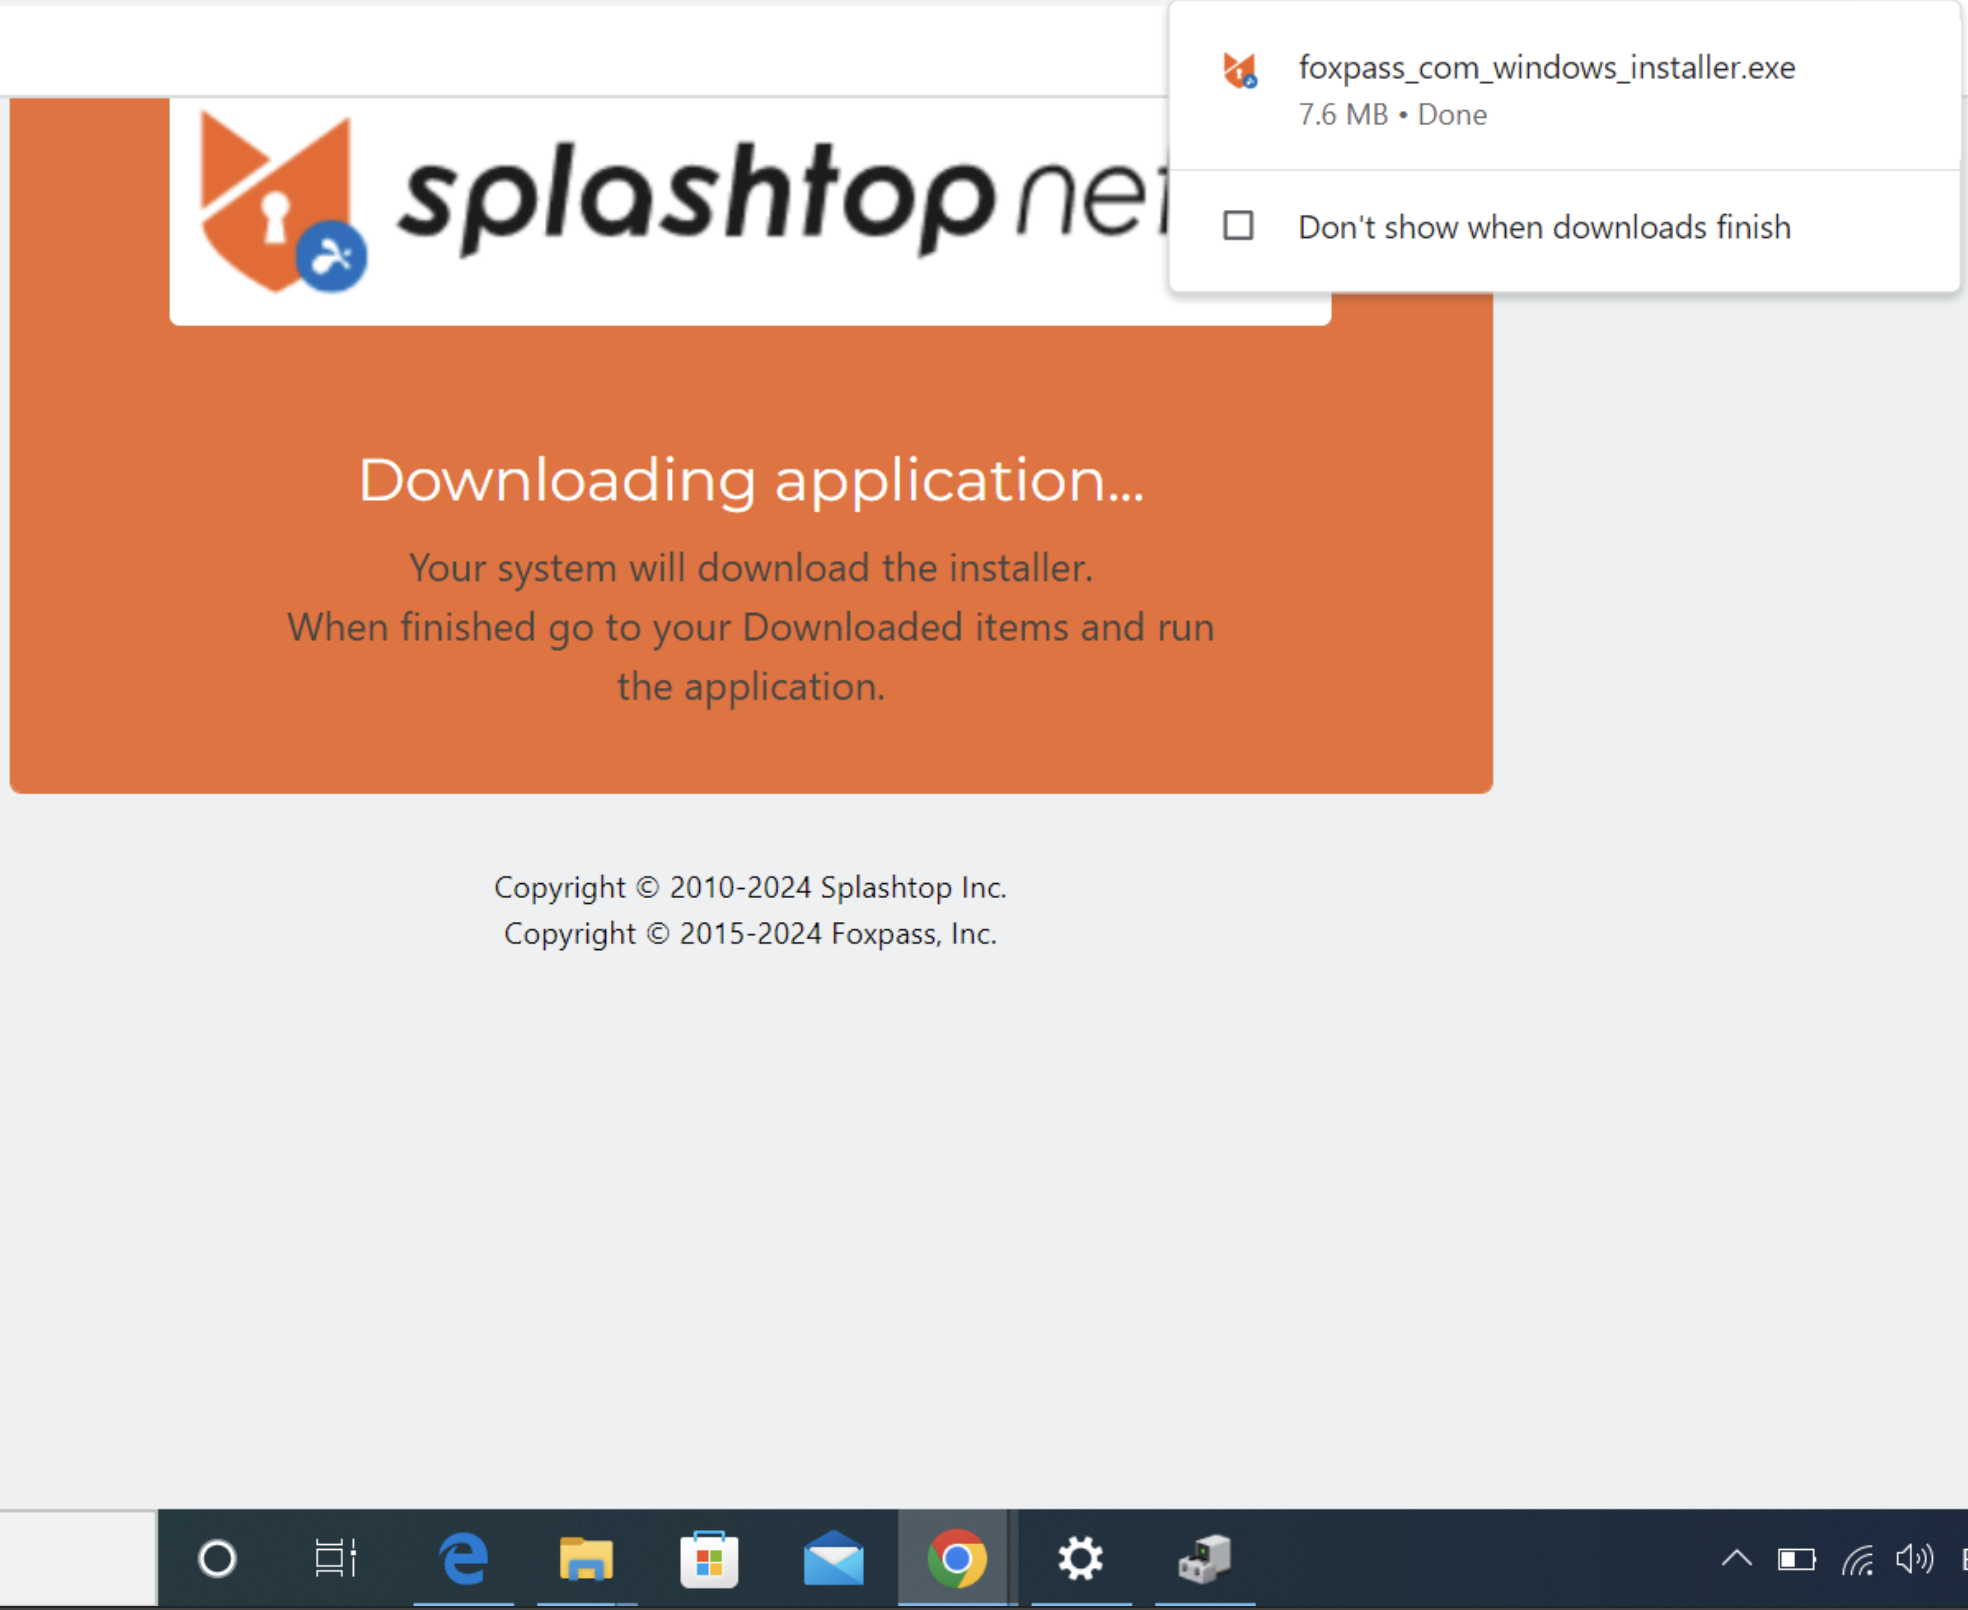
Downloading the installer
- Double click on the installer in Downloads.
- Click on Sign in in the Setup Wizard of NetID.
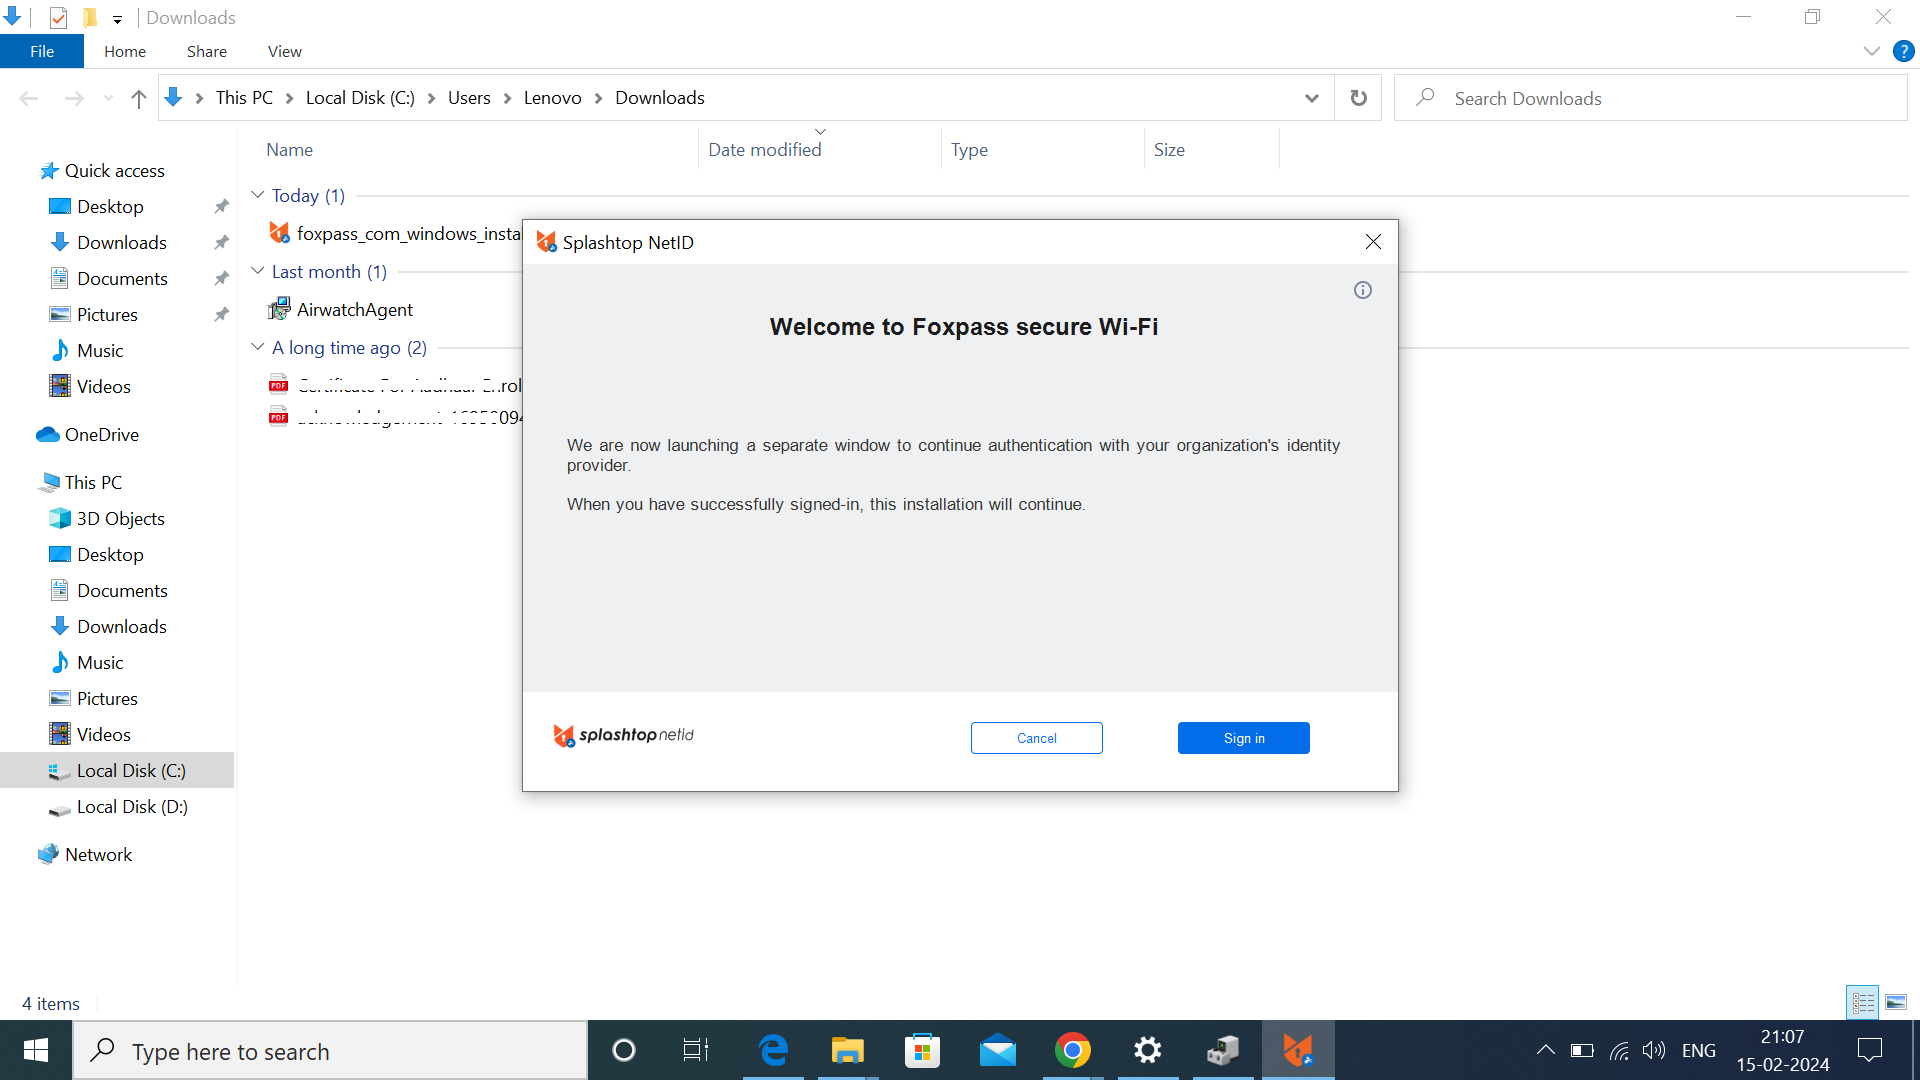
Click on Sign in
- For identity provider selected as Google Workspace during NetID setup, a new window will show 'Continue with Google' and for Microsoft Azure AD, window will show 'Continue with Microsoft' option.
- Click on 'Continue in with (your identity provider)'

Continue with your Identity Provider
- Complete the authentication and you can close the window.
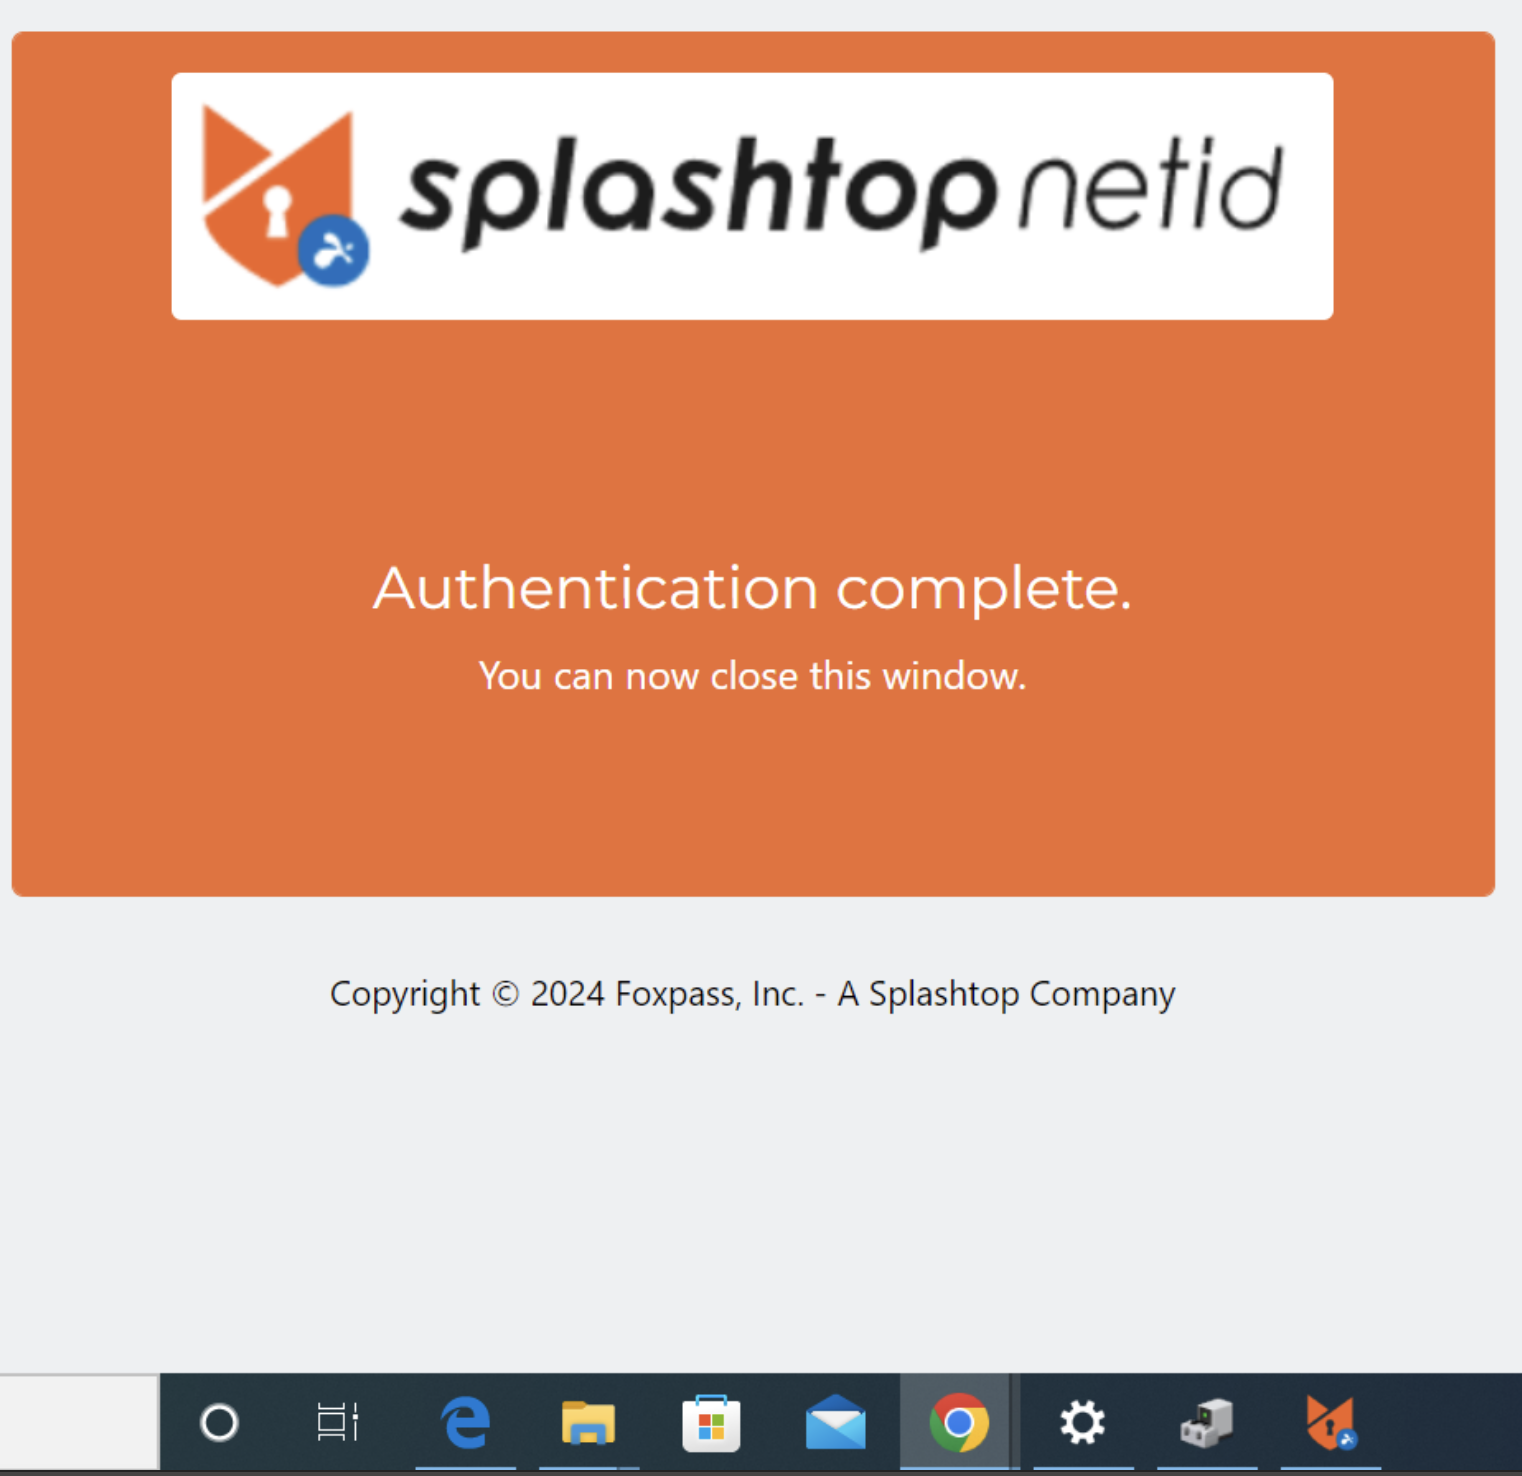
Authentication complete
- You will see a security warning. Click on 'Yes' to install the certificate.
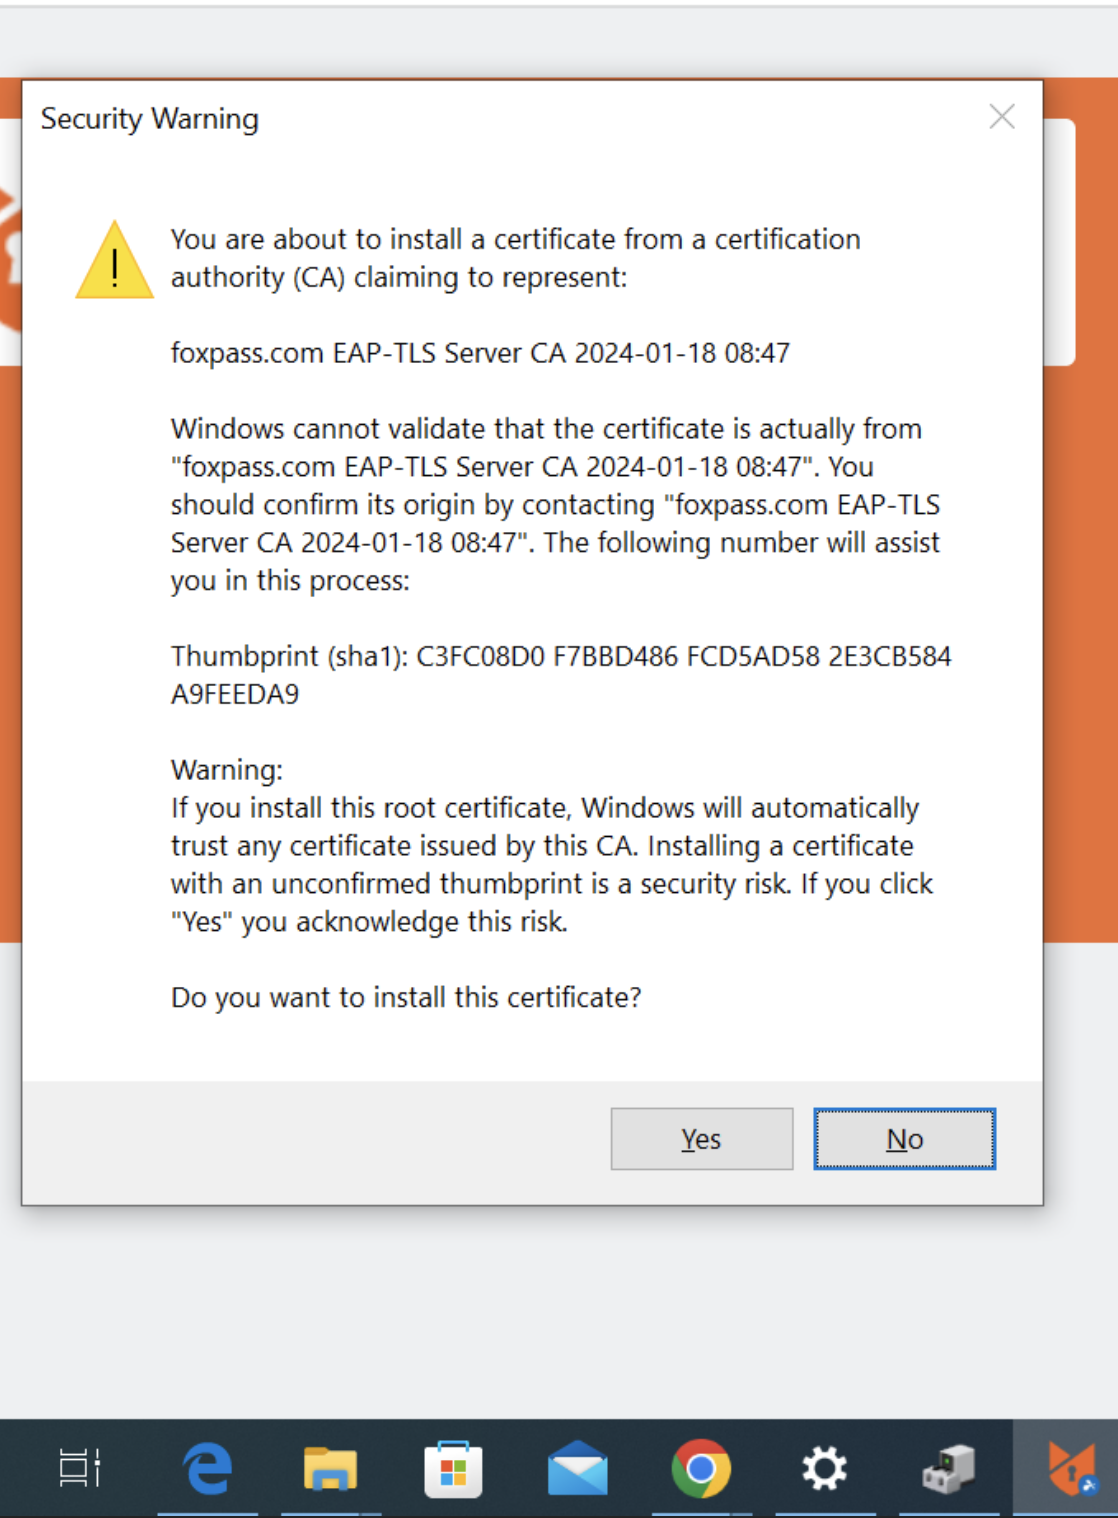
Click on 'Yes'
- Setup wizard will show the installation status.
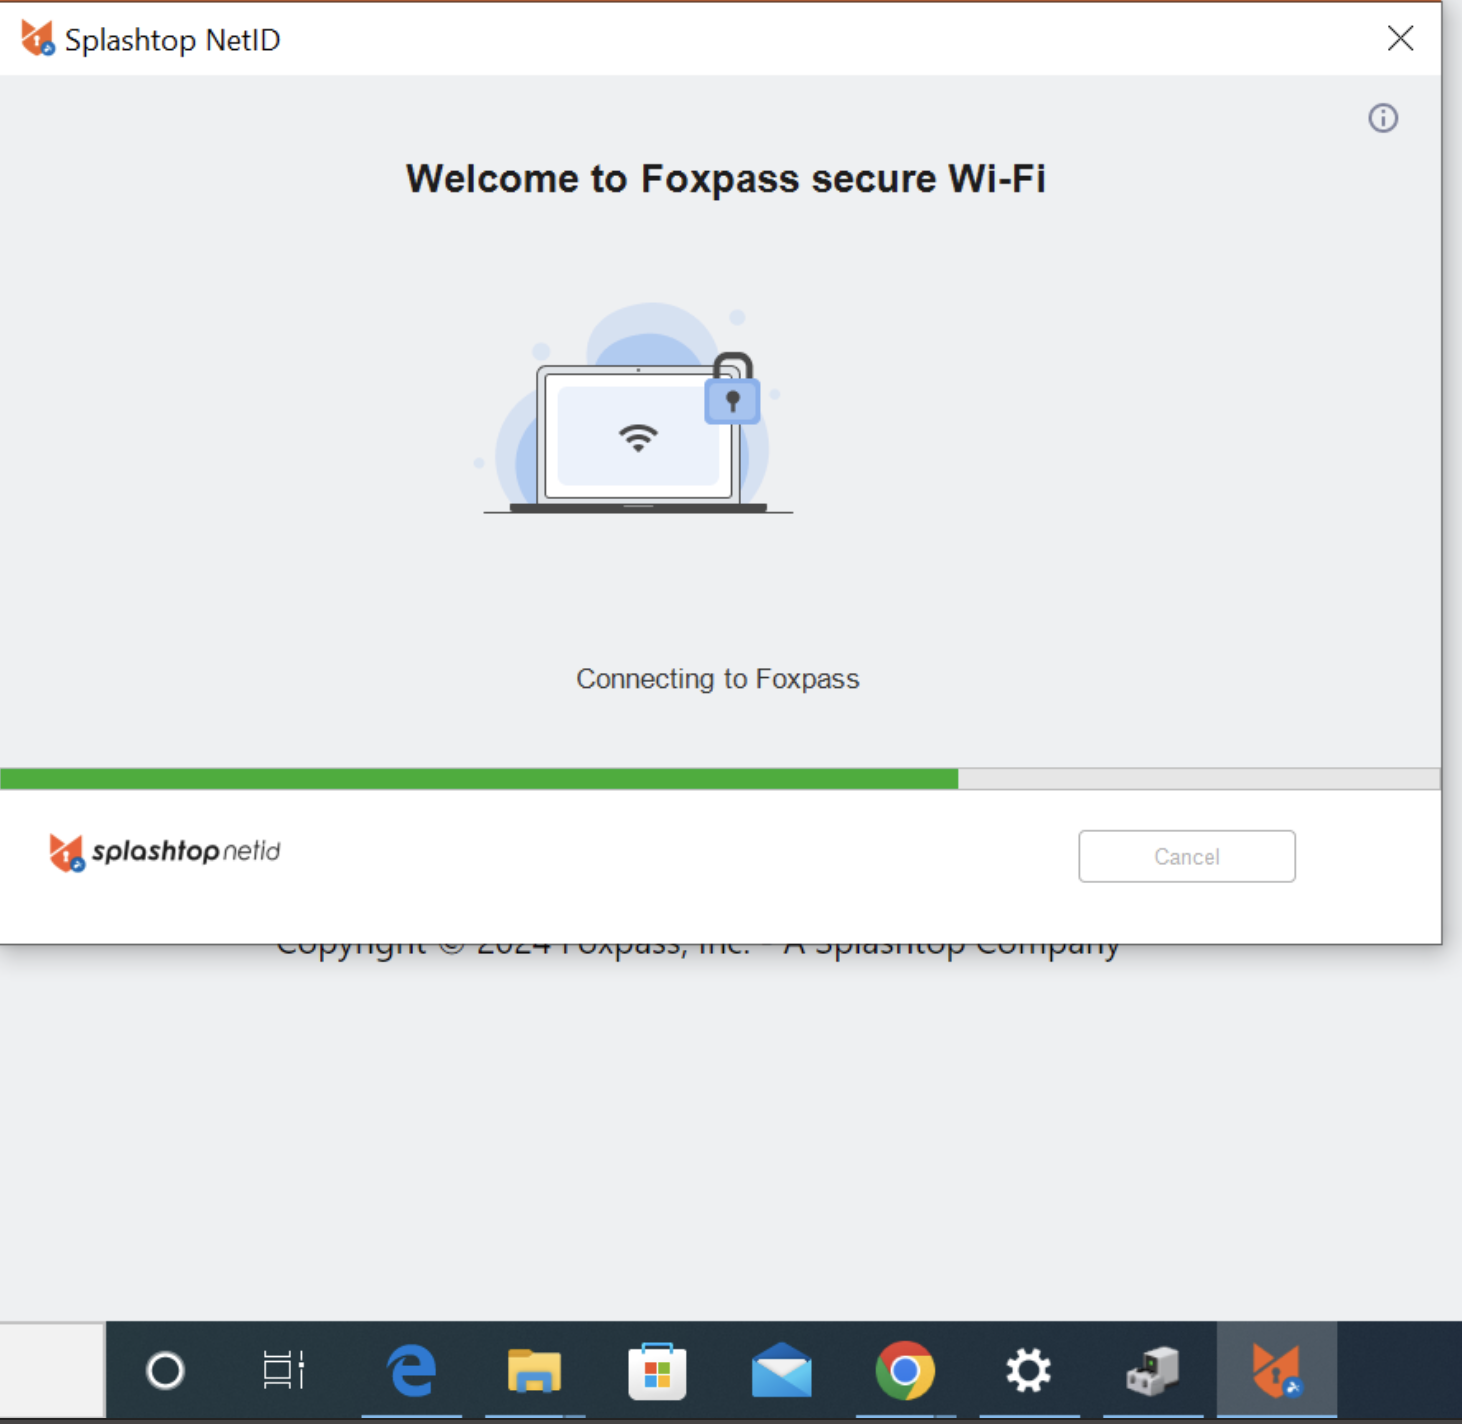
Setup Wizard showing installation status
- In a moment, you will see 'Completed' status in the setup wizard.
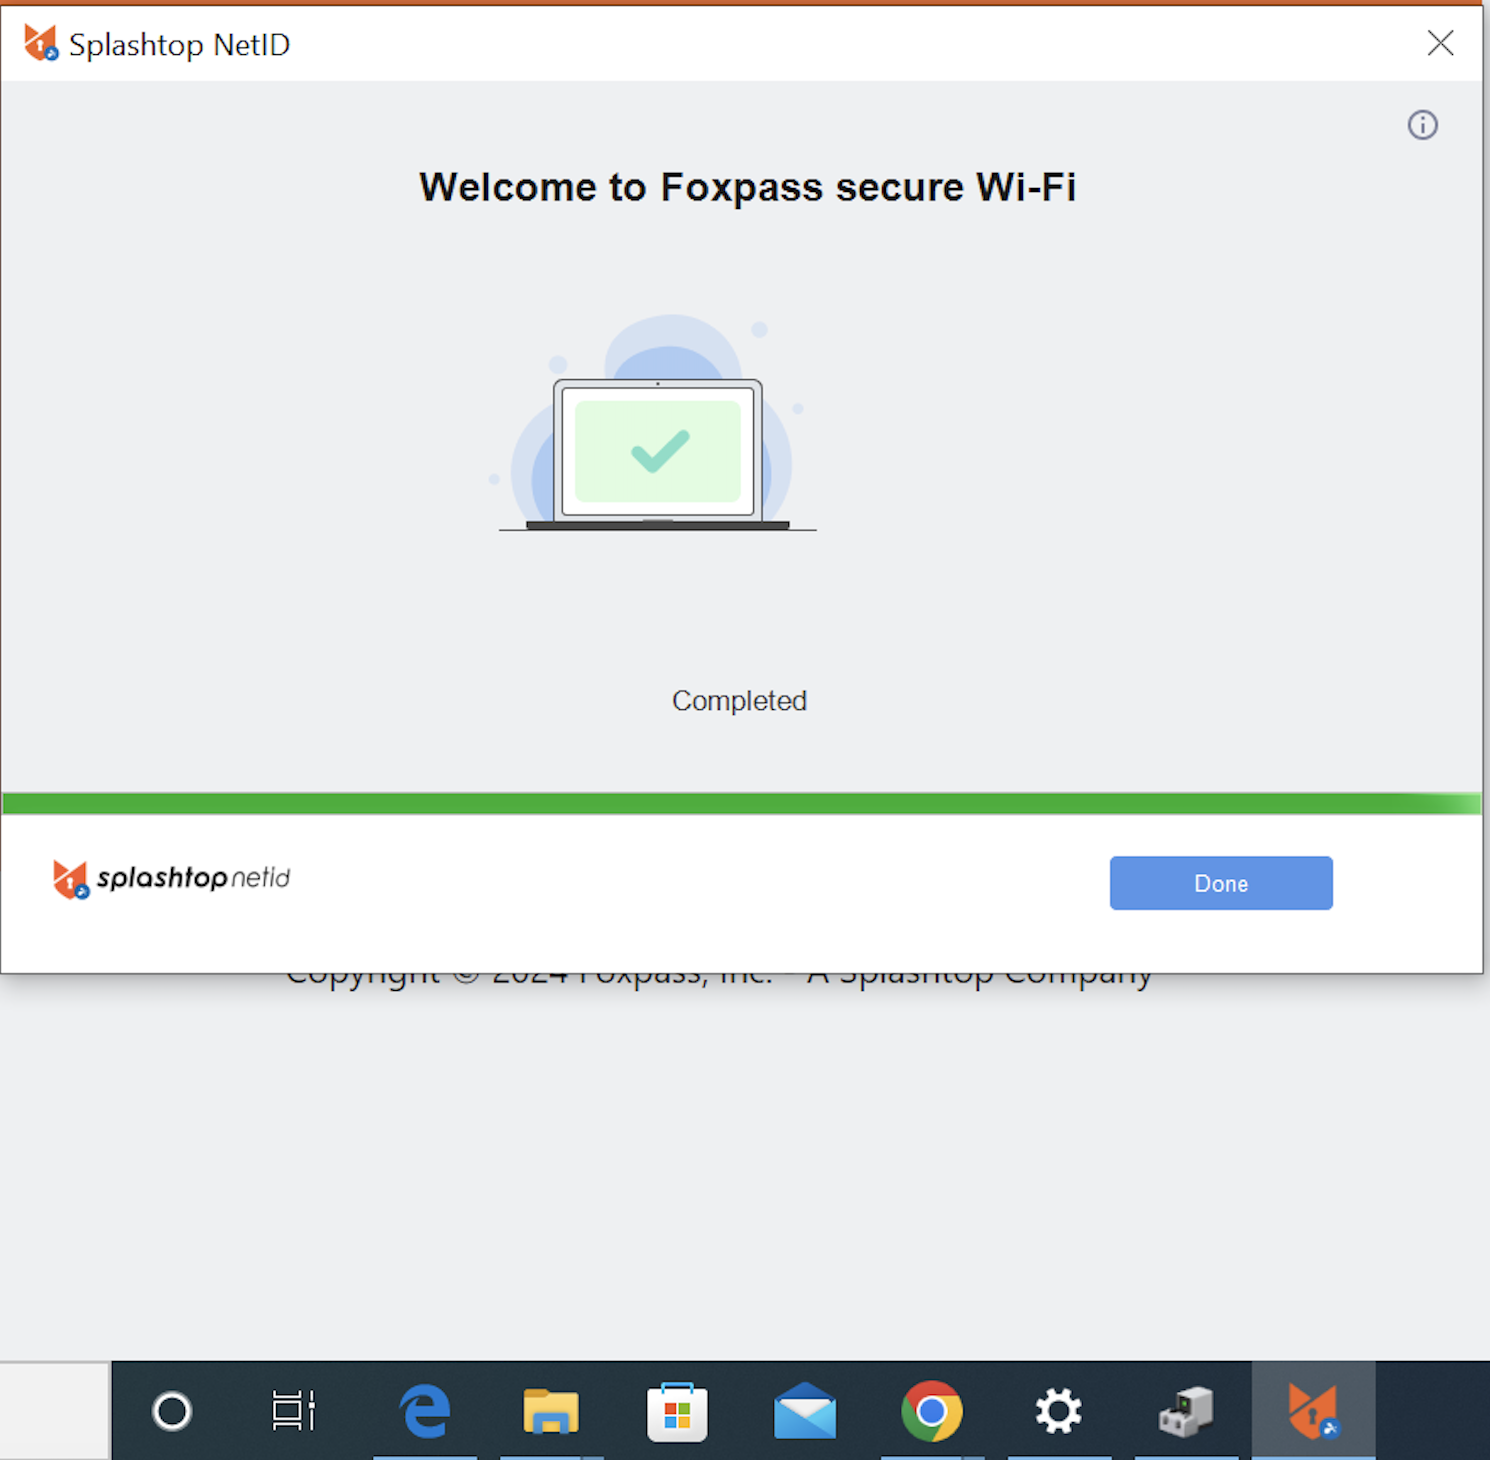
Installation complete
- You can view Foxpass Server CA under Certificates > Trusted Root Certification Authorities and Client Certificate under Certificates > Personal.
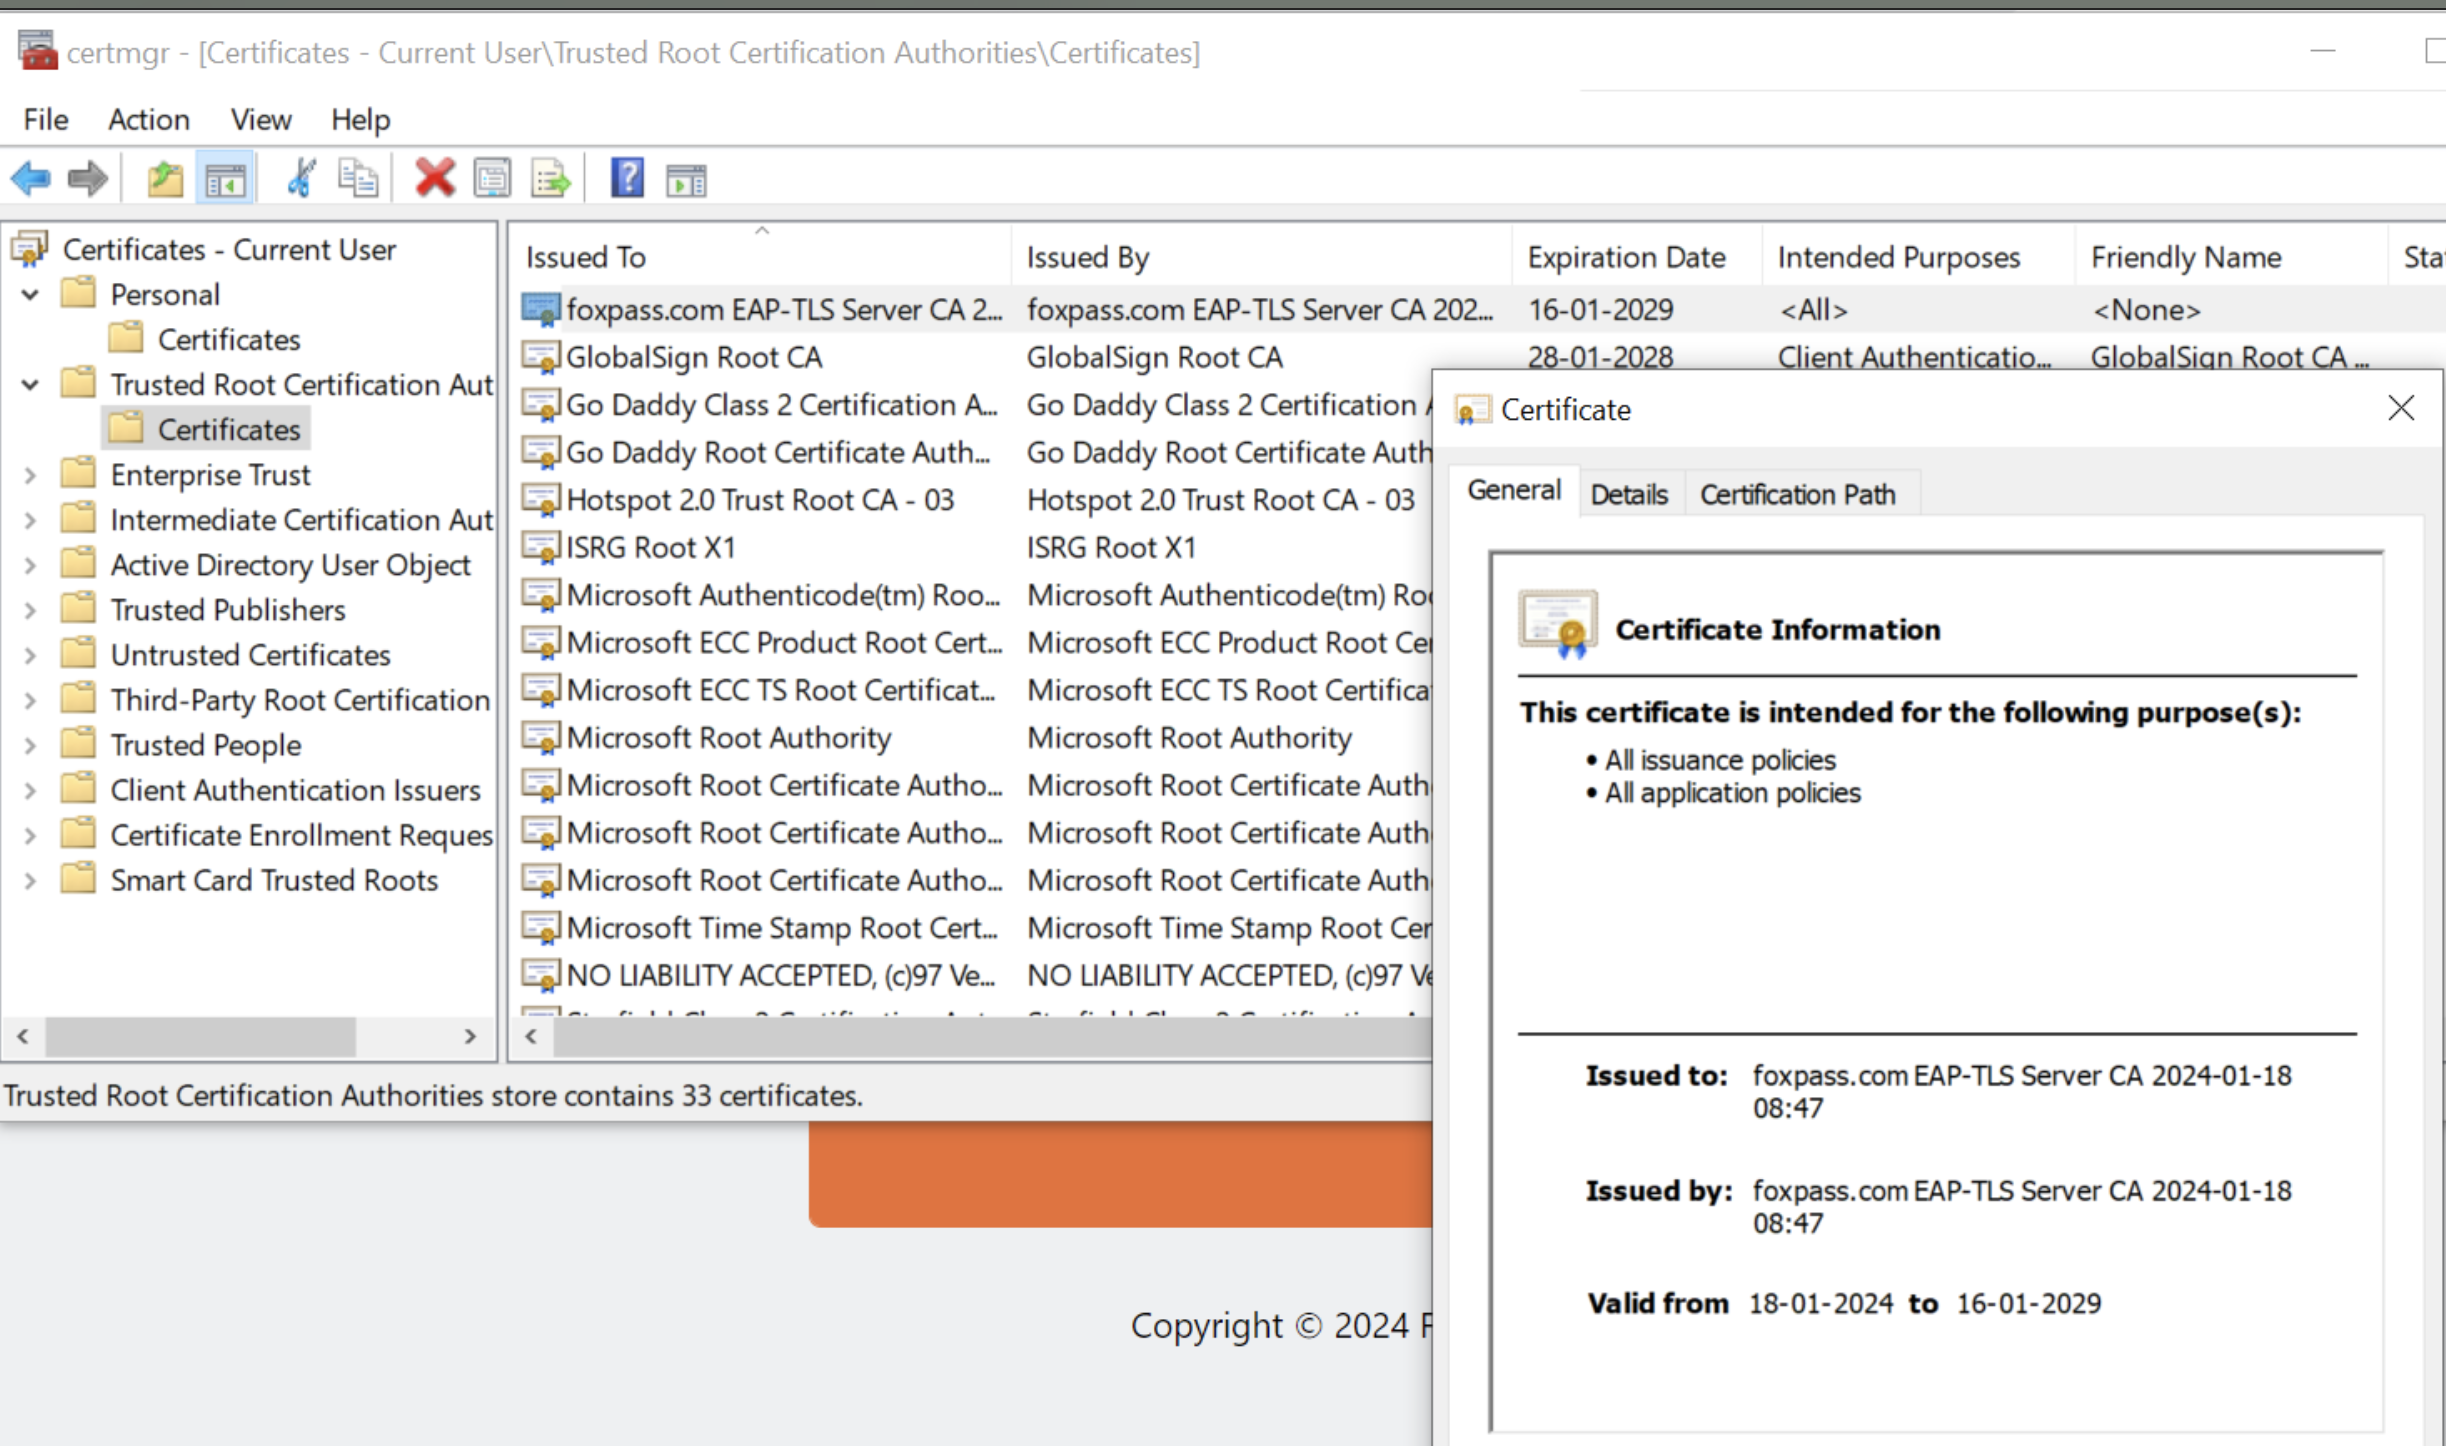
Foxpass Server CA
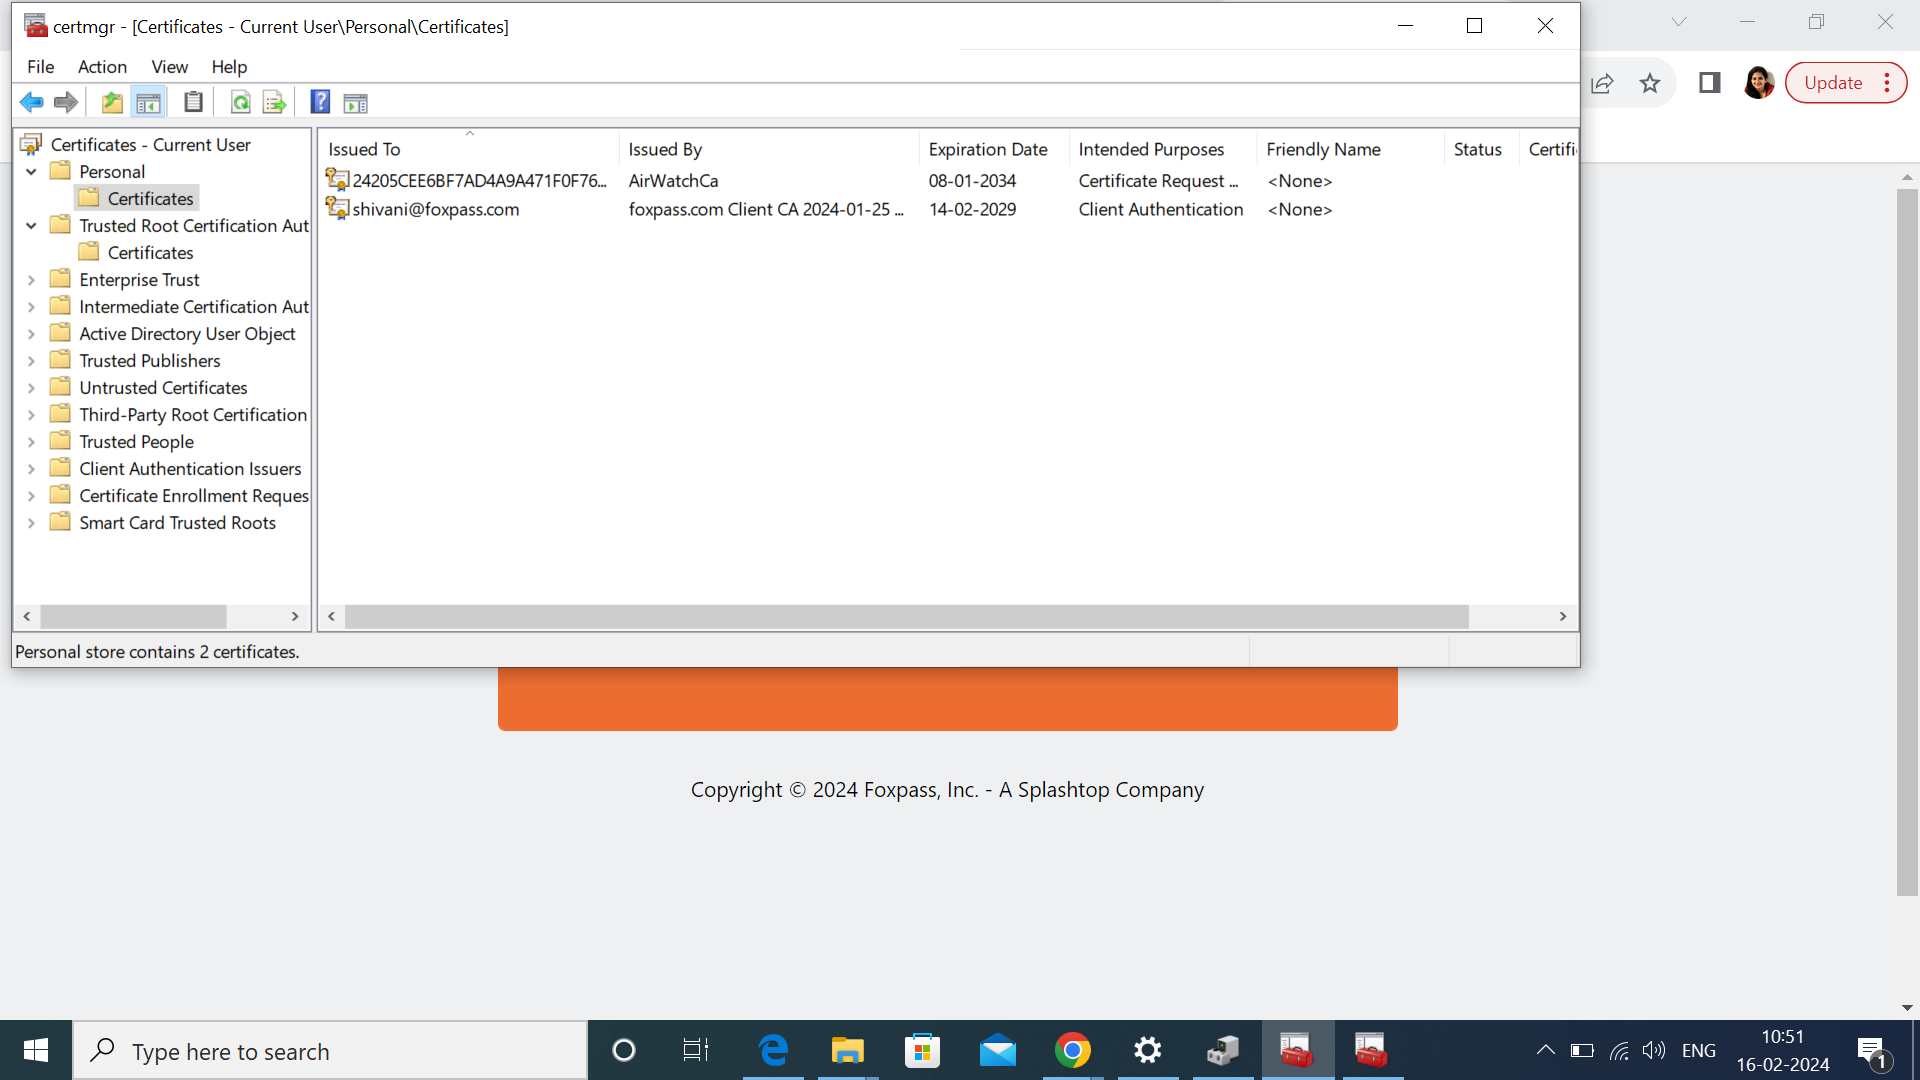
Client Certificate
- You can also see the Client certificate issued on the Foxpass EAP-TLS page.

Foxpass Client Certificate
- If everything is configured correct, you will be able to connect to your SSID.
Some Tips
- Ensure that you have a radius client configured on the RADIUS settings page.
- Ensure that EAP-TLS enabled RADIUS Server is configured correctly in your Access Point.
- Ensure that your SSID is configured correctly on the Wi-Fi networks page.
Troubleshooting
- Logs are available at
C:\Users\%USERNAME%\AppData\Local\Temp\FPInstaller.log
Updated 9 months ago