
Chromebook SCEP Configuration
Chromebook Enterprise License
- Buy the Chromebook Enterprise license as required via your Google Workspace here
- Configure the license for the user you want to give access to the Chromebook
Configure EAP-TLS on Foxpass
Please follow the EAP-TLS initial setup guide to create client CA, server CA and SCEP endpoint if not configured already.
Add SCEP Profile
- Add Client CA in your Google Workspace here Networks > Certificates. Click Add Certificate. Name it "Foxpass Client CA". Click Upload. Upload the client CA downloaded earlier. Click Add.
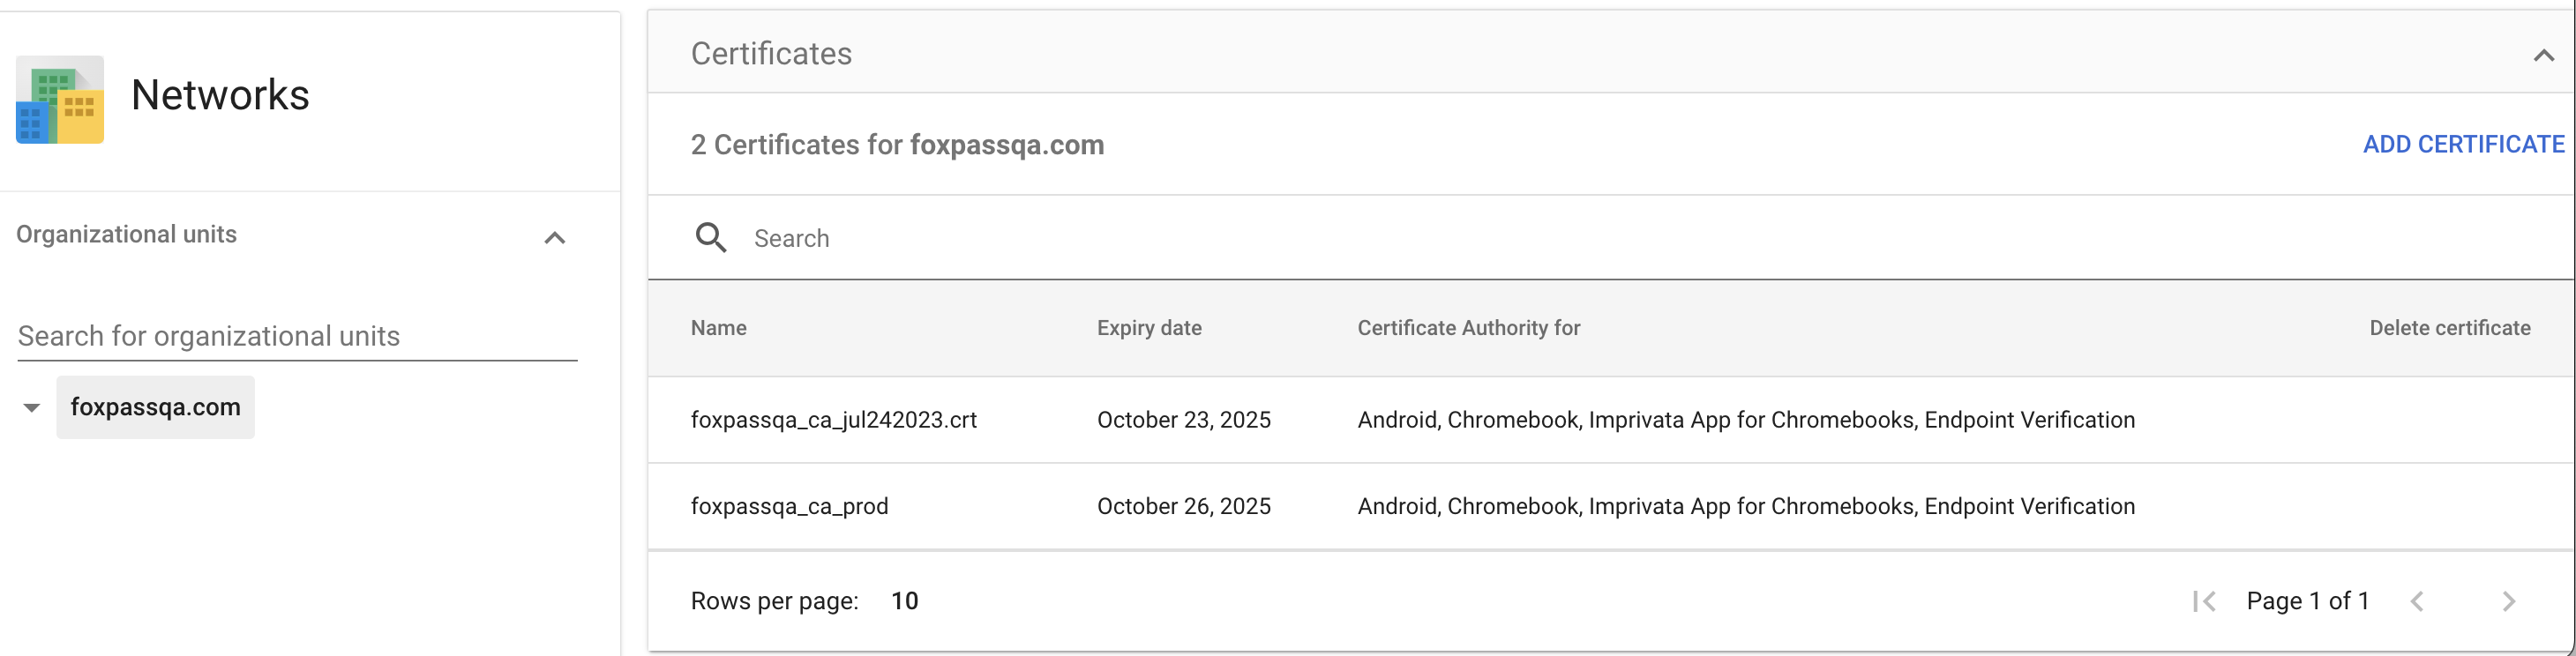
Add certificate
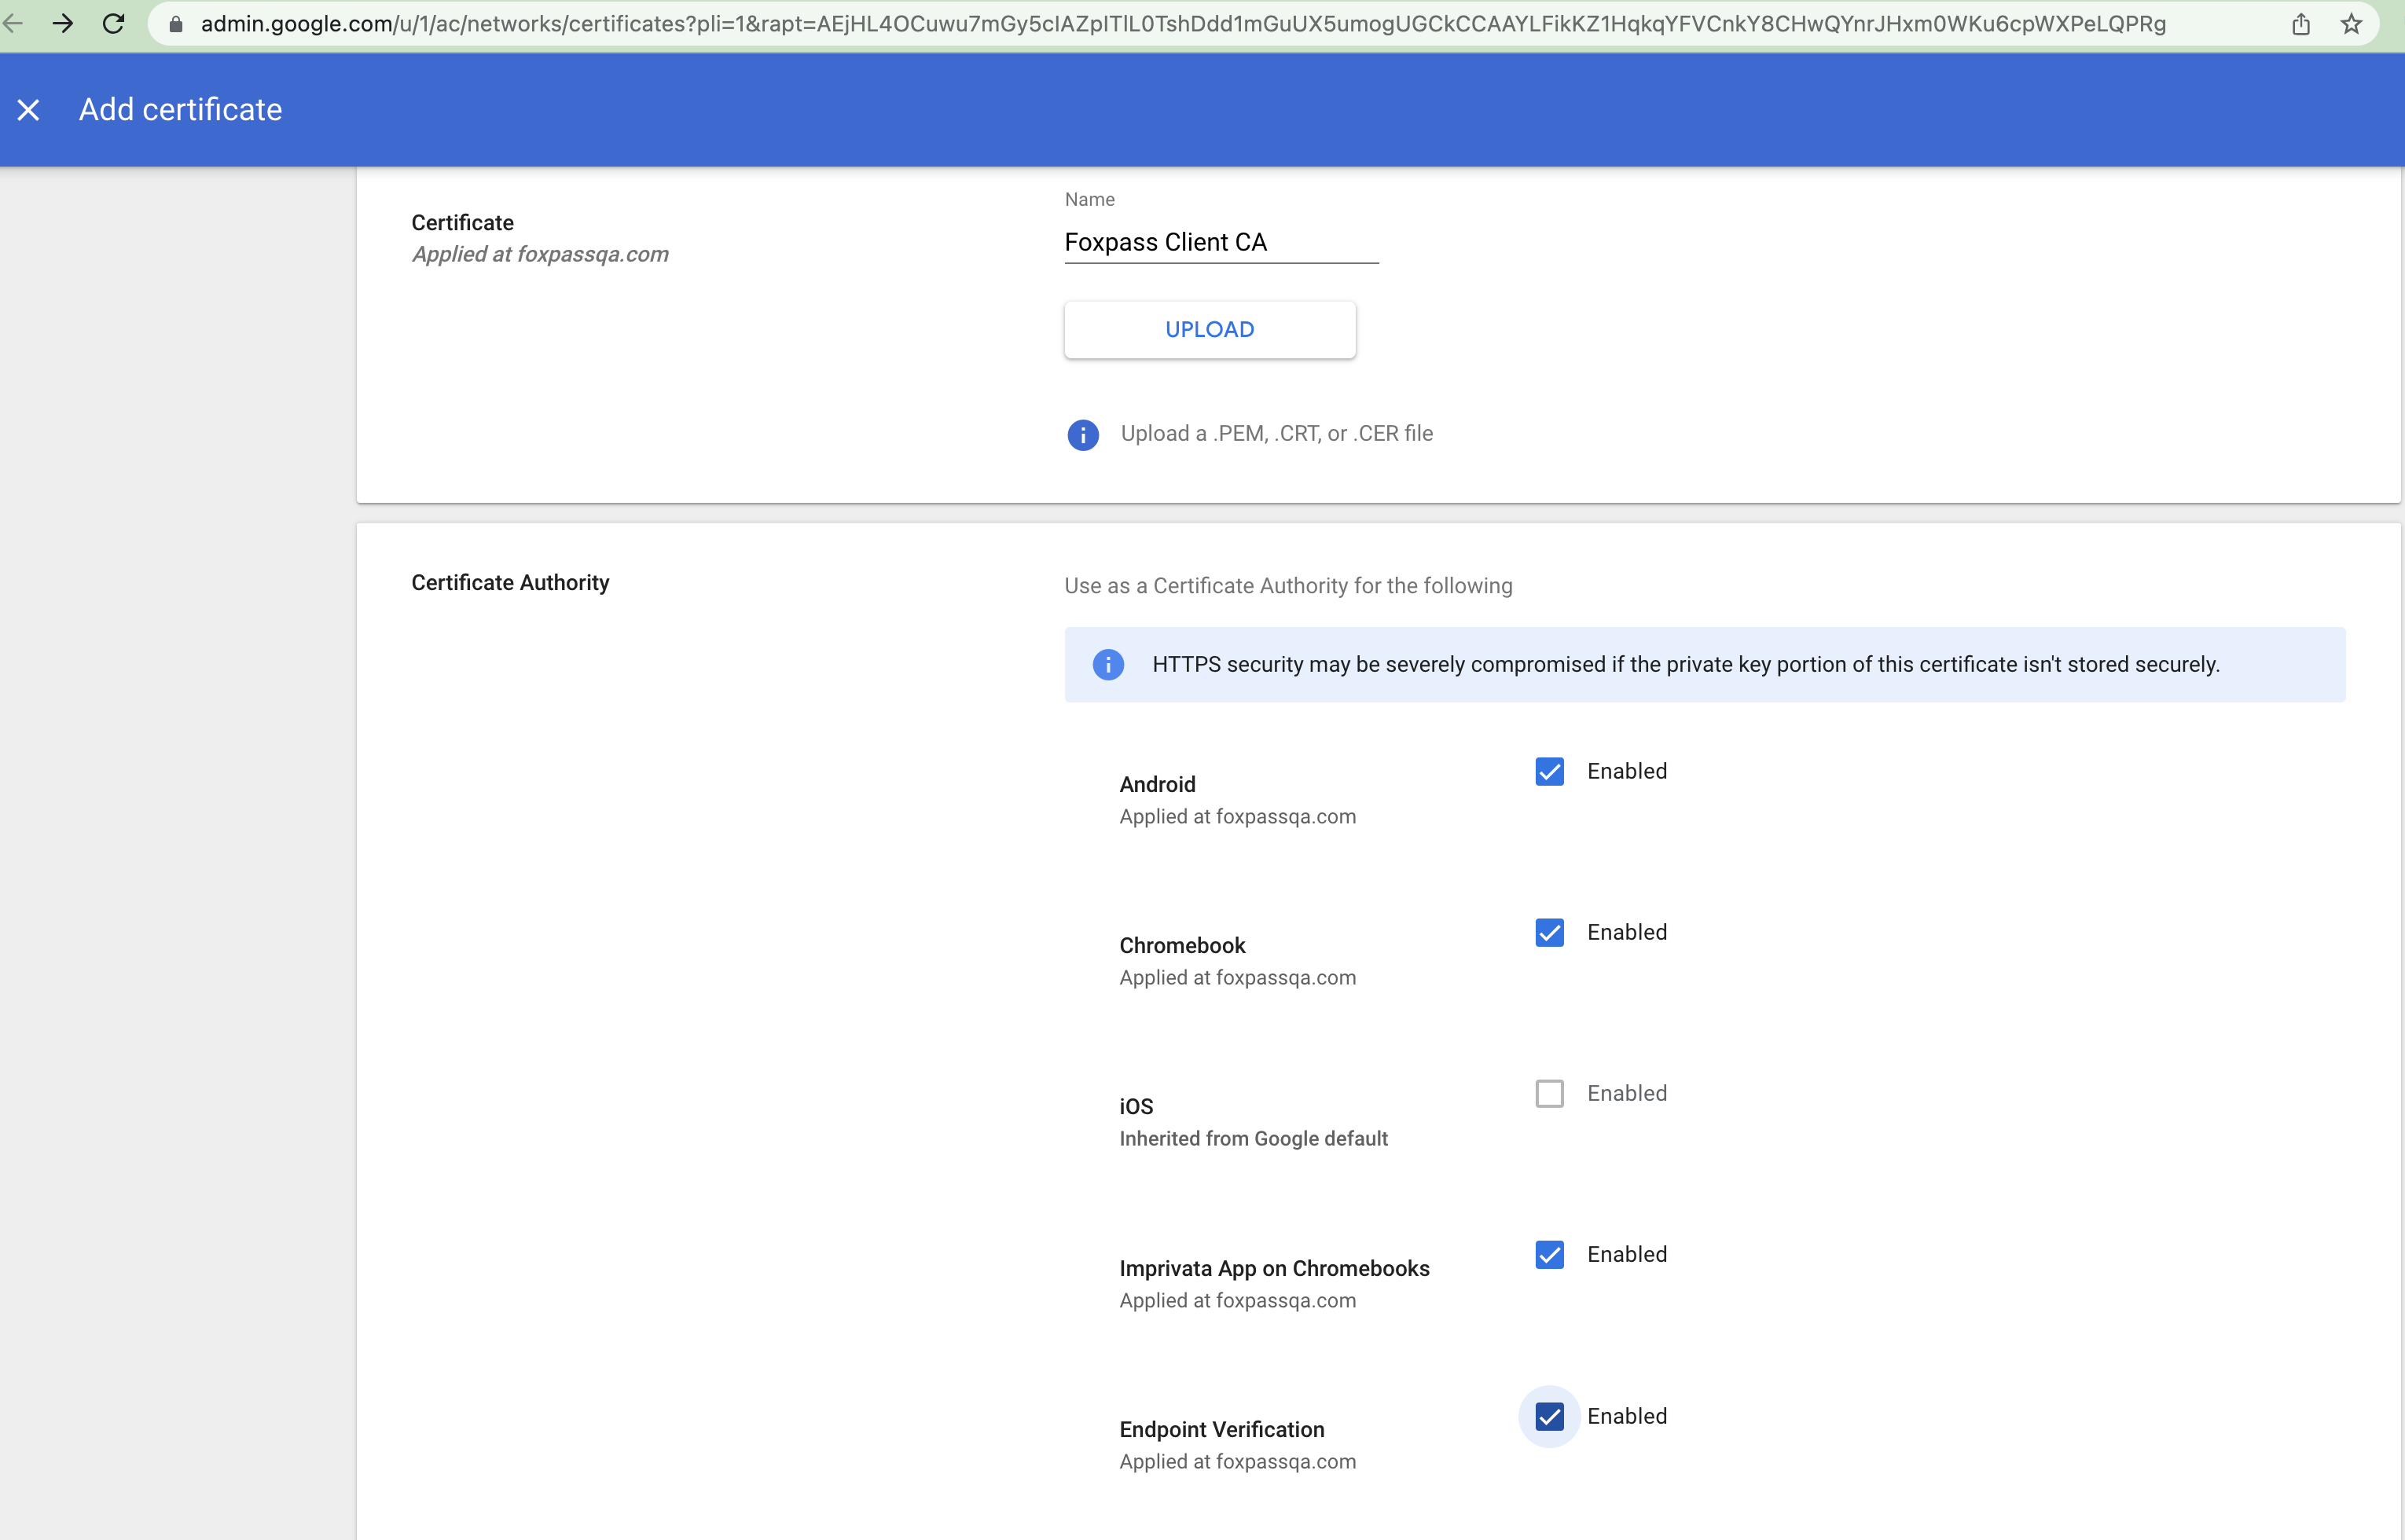
Add details for Foxpass Client CA
- Add Server CA in your Google Workspace here Networks > Certificates. Click Add Certificate. Name it "Foxpass Server CA". Click Upload. Upload the server CA downloaded earlier. Click Add.
- Configure your SCEP profile here Networks > SCEP
- Device Platforms - Chromebook User
- SCEP profile name - Foxpass SCEP
- Subject Name Format
- Select Fully Distinguished Name option with Common Name set to ${USER_EMAIL} and other fields set as per your company information. (Note: If using Device certificates, enter ${DEVICE_DIRECTORY_ID})
- Subject Alternative Name
- RFC822 - ${USER_EMAIL} (This is optional if using Device certificates)
- Key Usage
- Key encipherment - Yes
- Signing - Yes
- Key size - 4096
- Security - Strict
- SCEP server attributes
- SCEP Server URL - Copy your Unique endpoint URL from the SCEP page in Foxpass Console
- Extended key usage - Client Authentication to Yes
- Challenge type - Static - Paste here your Challenge password from the SCEP page in Foxpass Console
- Certificate Authority - Select the "Foxpass Client CA" that you configured earlier
- Network type this profile applies to - Wi-Fi
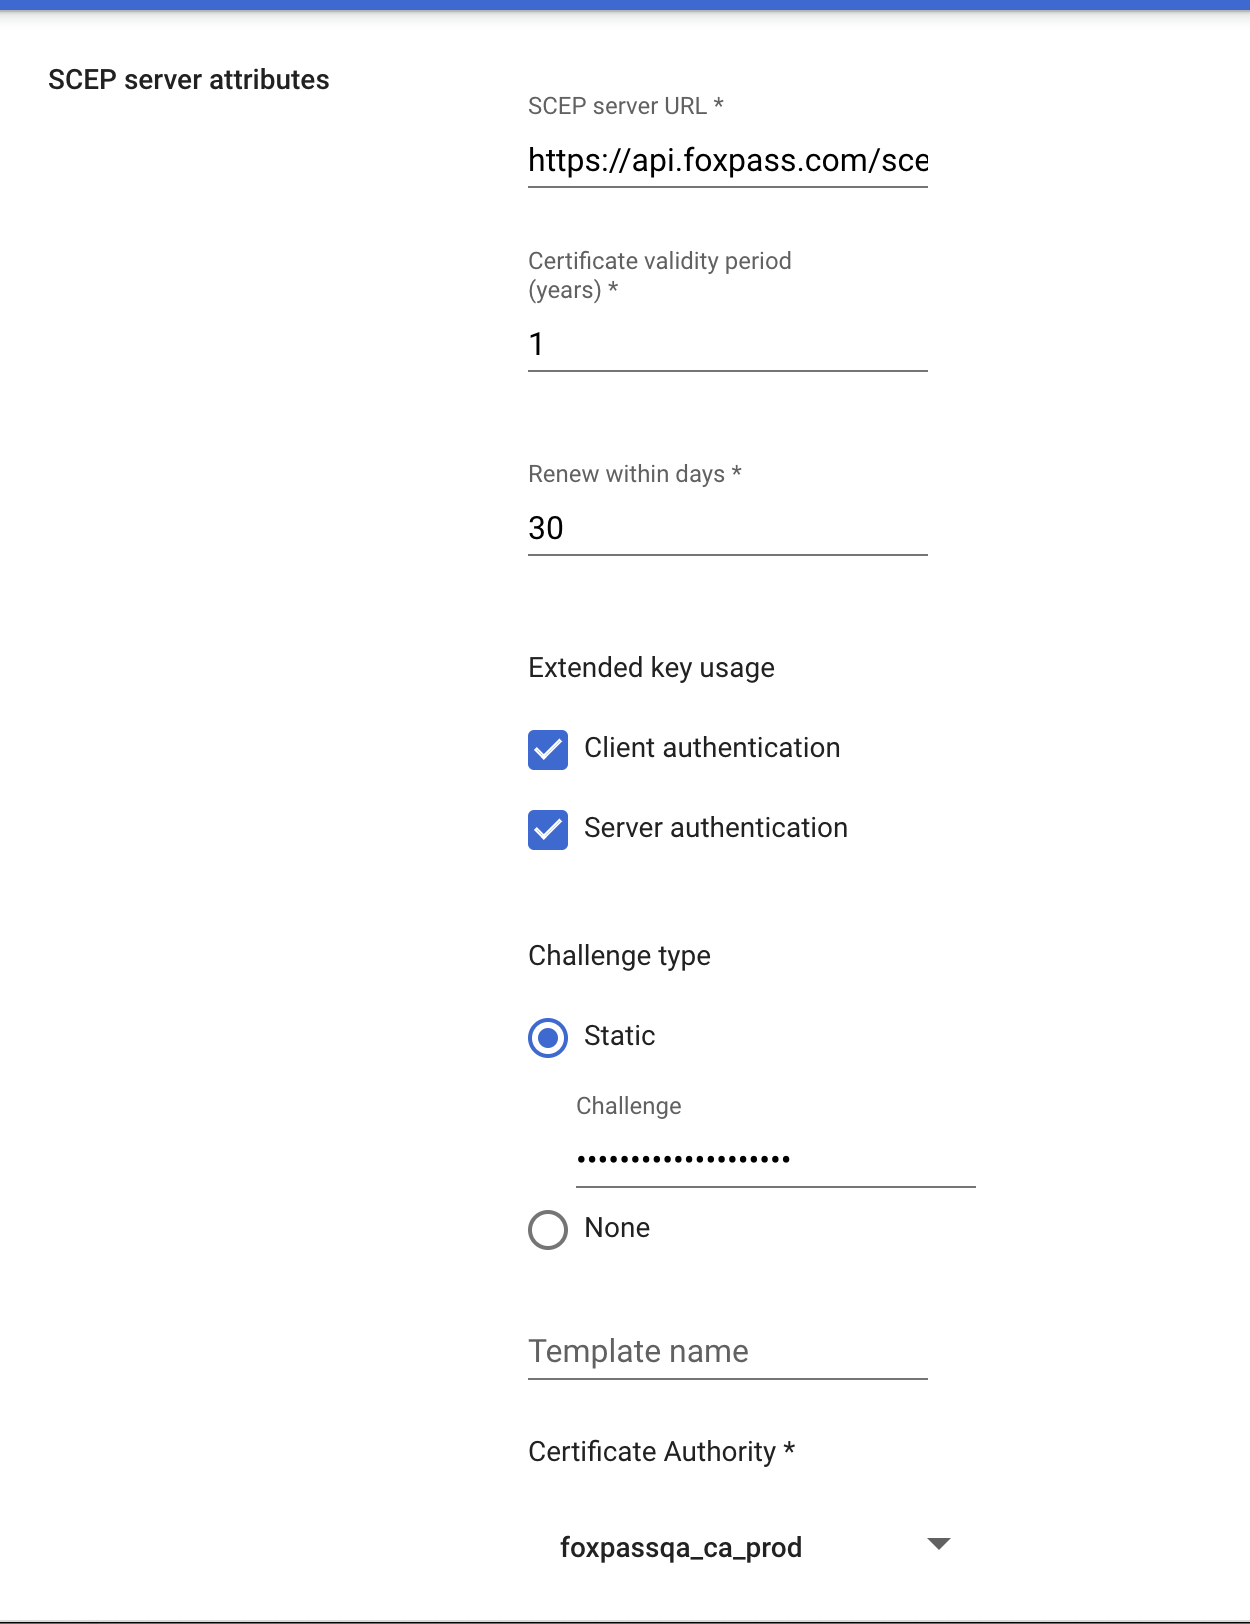
Sample SCEP profile
Add Wi-Fi Profile
- Add a WiFi Profile by going to Networks > Wi-Fi.
- Add Wi-Fi.
- Select Chromebooks(by user).
- Name - "Your SSID" (It's mentioned on the Wi-Fi networks page of Foxpass)
- SSID - "Your SSID"
- Check Automatically connect.
- Security Type - WPA/WPA2 Enterprise(802.1X)
- Extensible Authentication protocol - EAP-TLS
- Username - anonymous
- Server Certificate Authority - Select the active Server CA from the dropdown.
- SCEP Profile - Select the SCEP profile from the dropdown.
- Name Servers - Select Automatic name Servers. Click Save.
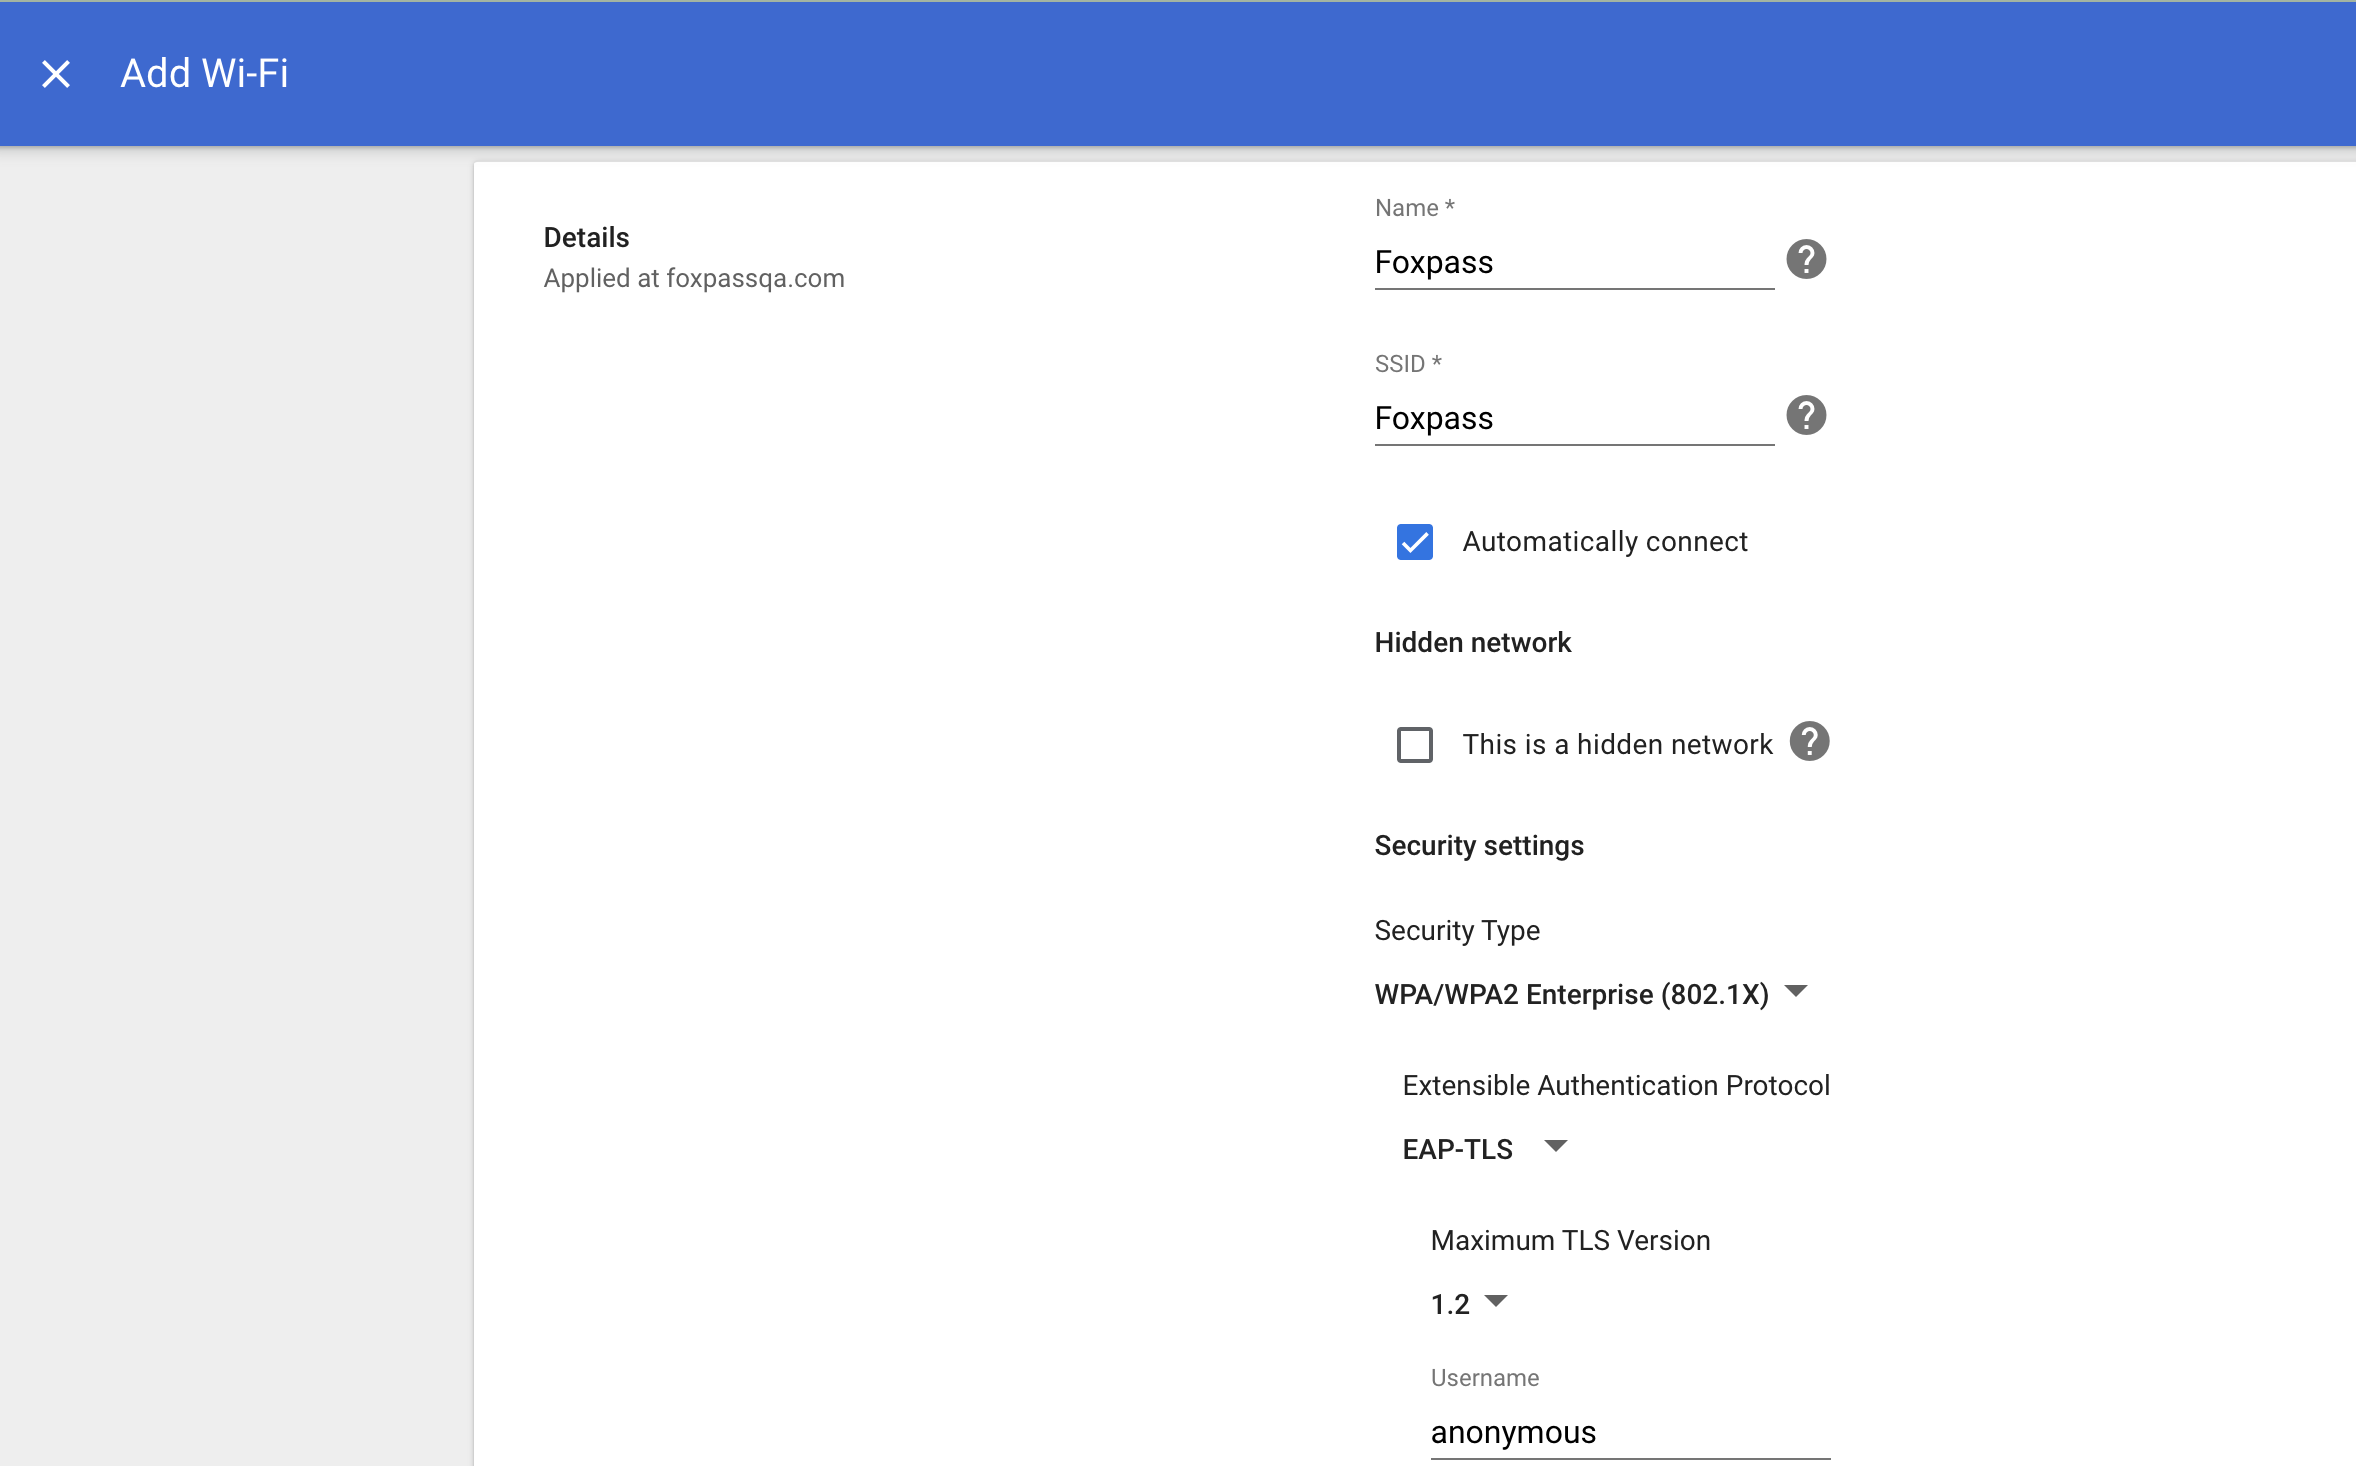
Sample Wi-Fi Profile
Setup Google Cloud Certificate Connector
- Click on the Download connector button for in the Secure SCEP section of the Google Workspace here
- Download only the 2 files from the 3 steps i.e. Connector configuration file (config.json), Service account key file (key.json)
- Now jump to the following link: https://console.foxpass.com/settings/scep/
- Upload the config.json and key.json upon clicking
Add Certificate Connector - That's it! you should now have your connector running.
Chromebook login
- Open your Chromebook. ChromeOS devices bundled with Chrome Enterprise Upgrade or Chrome Education Upgrade automatically prompt users to enroll after they accept the end-user license agreement. After enrollment, users can sign in and start using the device. If they’re not prompted to enroll, users should press Ctrl+Alt+E or select Enterprise enrollment before anyone signs in. Otherwise, wipe the Chromebook as described here.
- Login using the user who you assigned a license earlier.
- Goto chrome://certificate-manager in Google Chrome.
- Next to the request that contains the name of the SCEP profile that you just set up, click More . You can visually see the progress of getting the certificate, if it hasn’t already completed.
- The new issued Certificate will also show up under Client certificates section of the EAP-TLS page in Foxpass Console.
- If the settings and configuration of the profiles are correct, you will be automatically connected to your Wi-Fi.
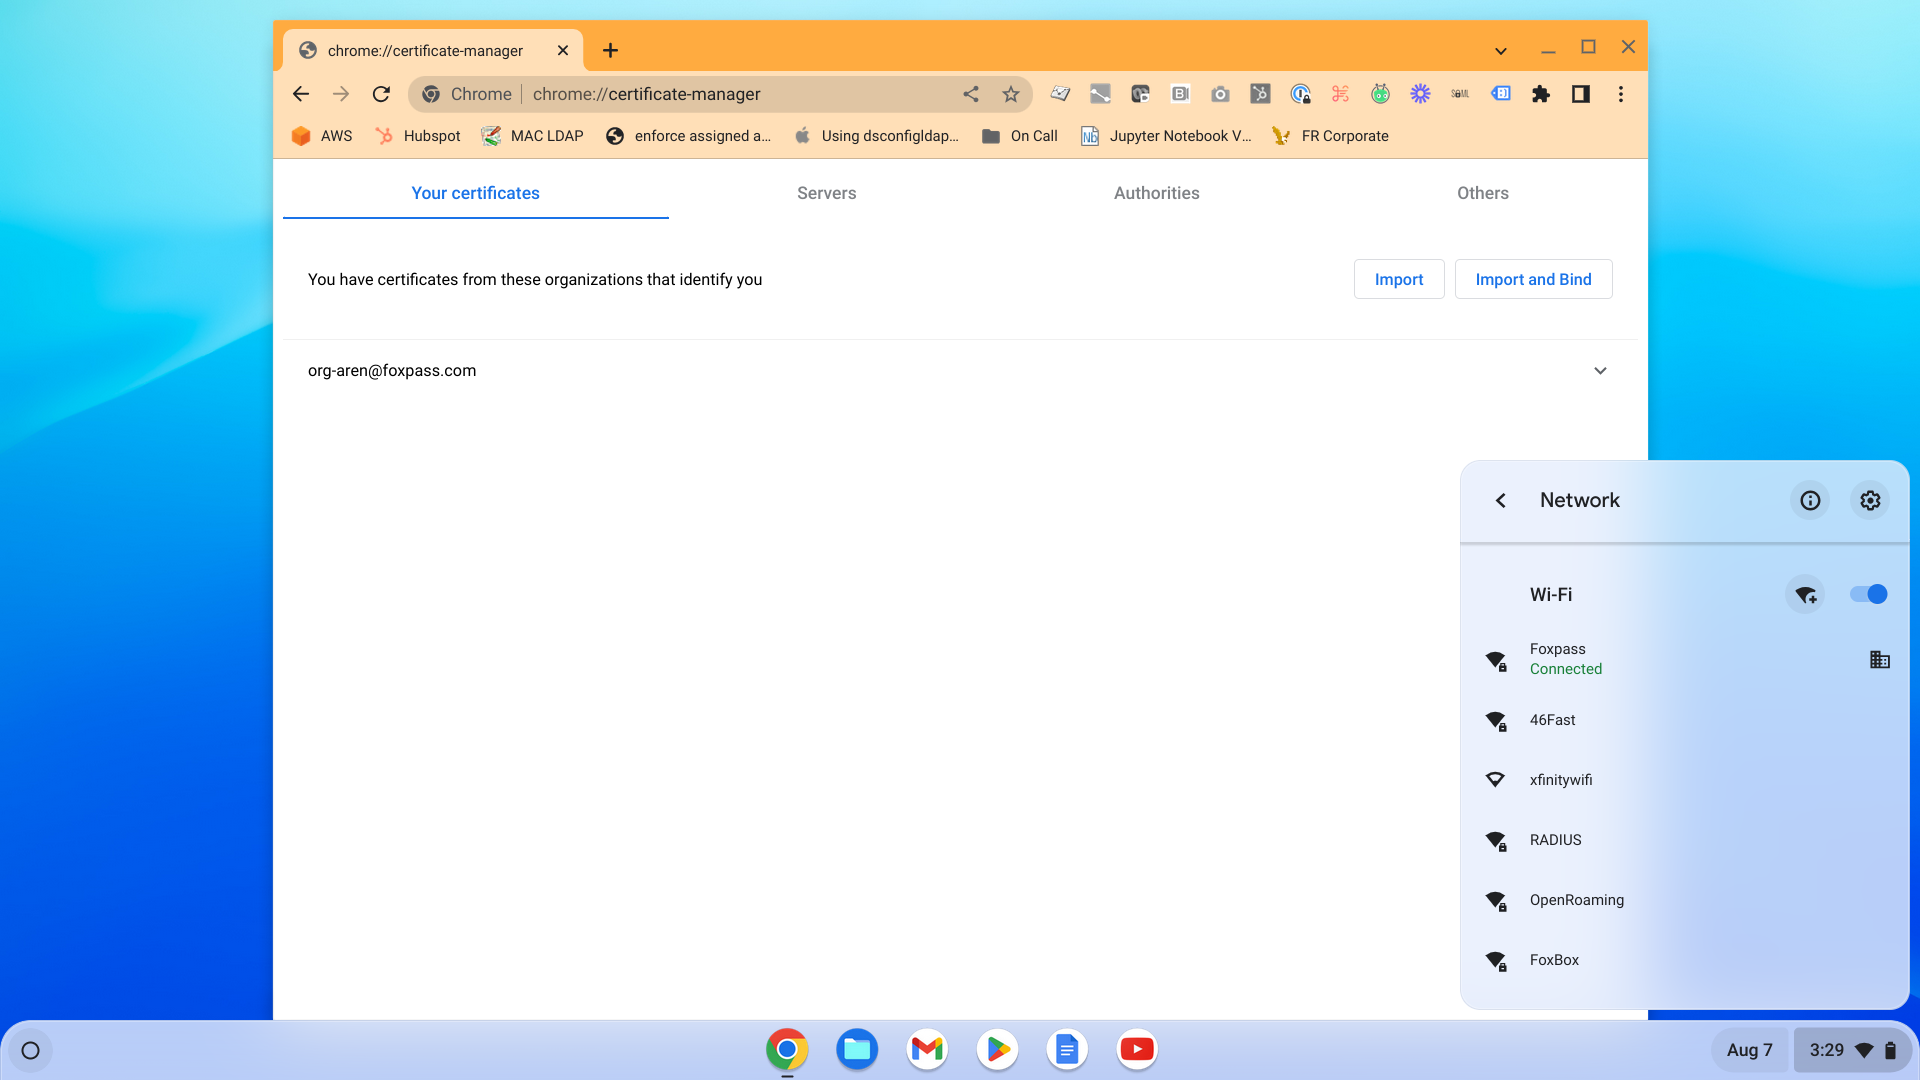
Chromebook connected to Wi-Fi
Updated about 2 months ago