
Setup instructions for macOS
- Please refer to the BYOD Installers document to create the profile, generate the installer and visit the download page.
- After clicking the visit download page button, NetID portal will open up in a new window.
- Click the Download NetID button.
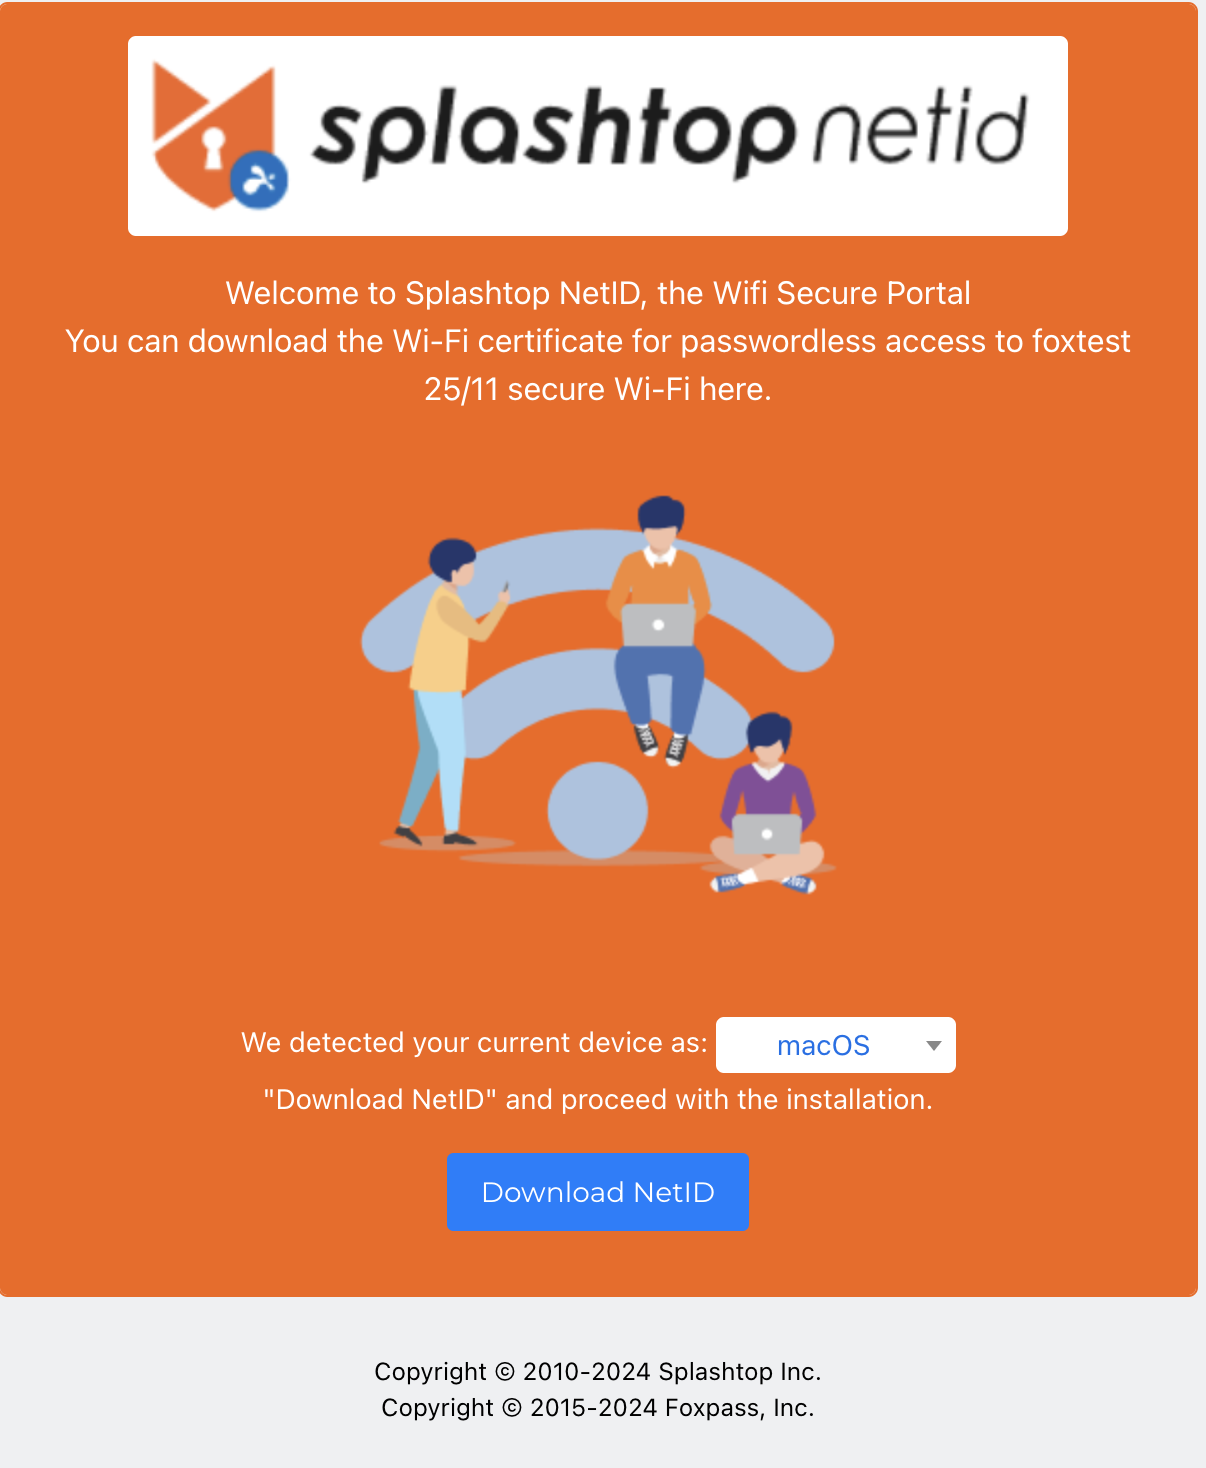
Download NetID

Downloading the installer
- Double click on the installer in Downloads.
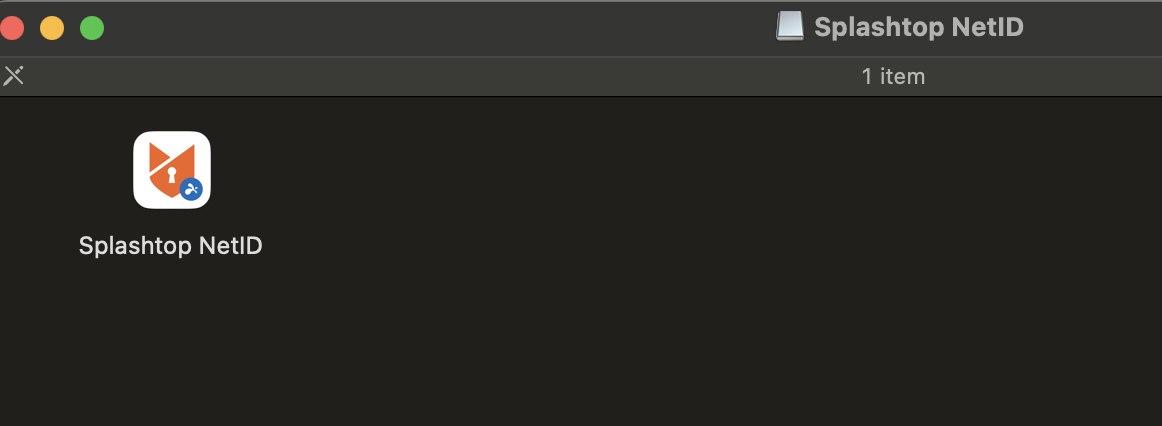
Splashtop NetID
- Click on the 'Splashtop NetID'.
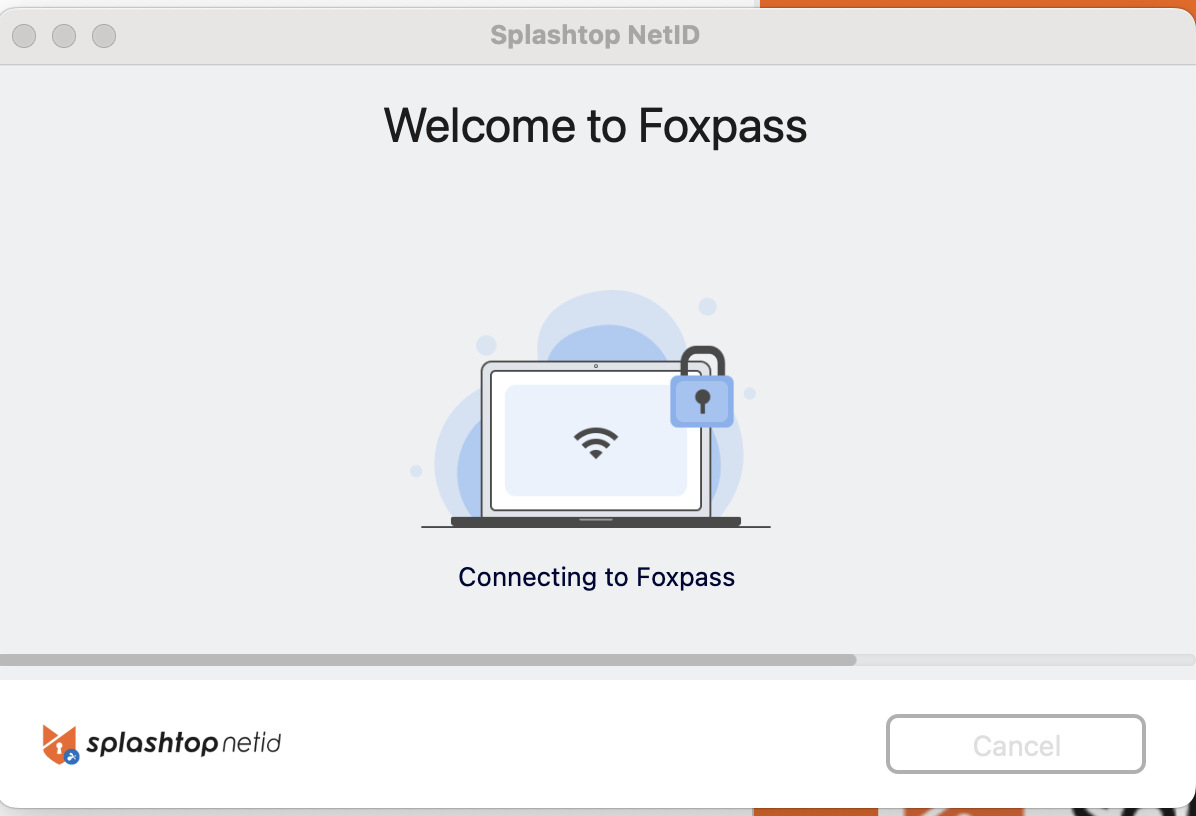
- The setup wizard will open. Click on Login.
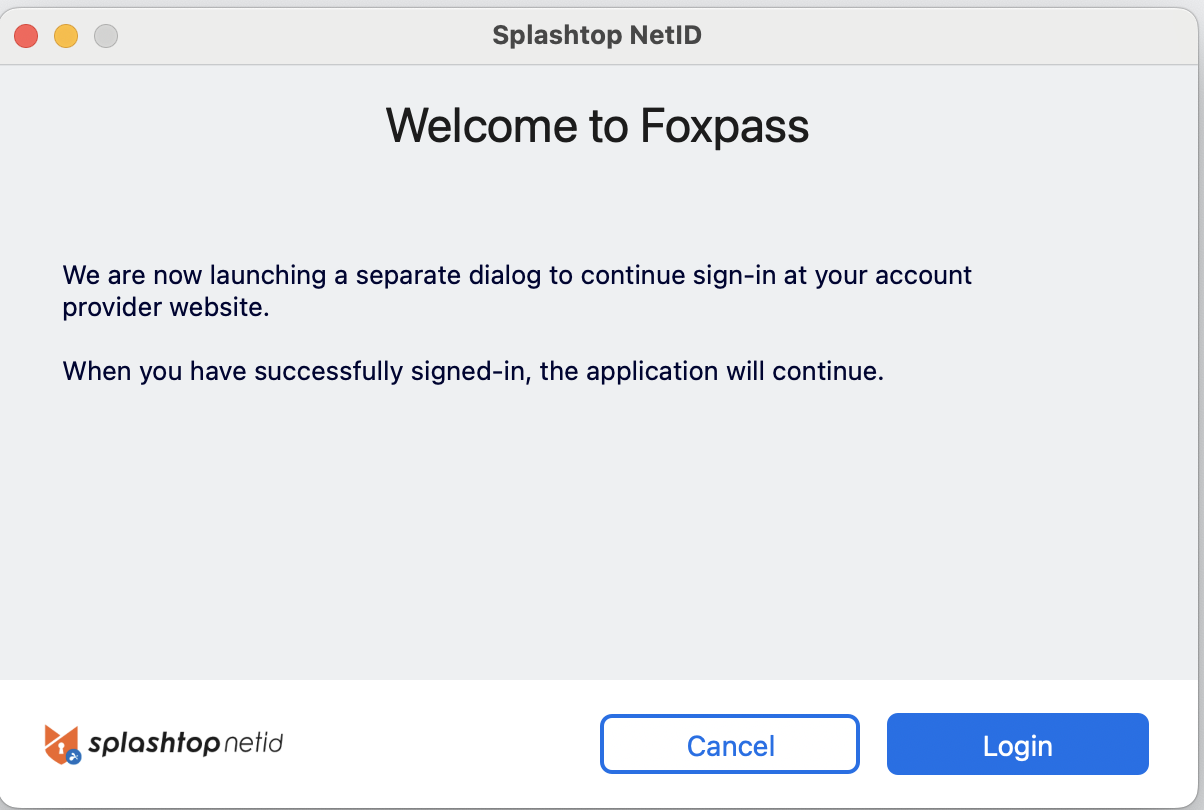
Click Login
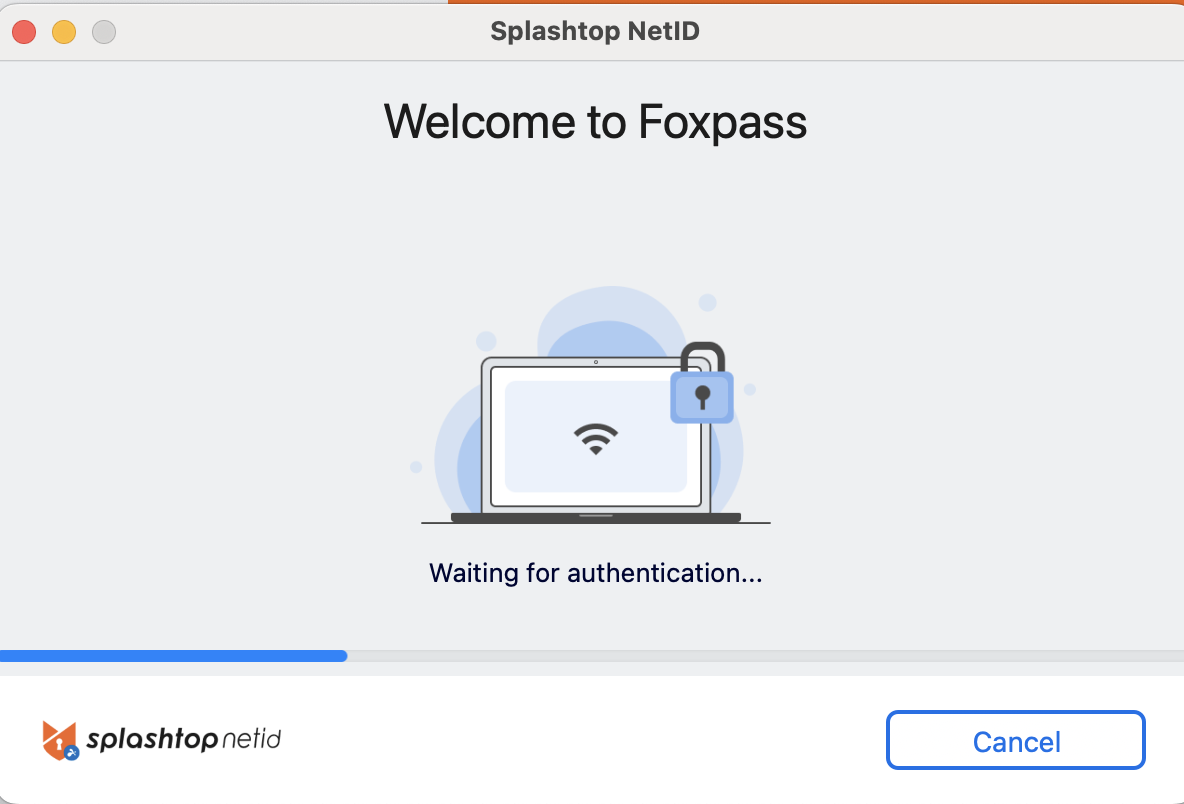
Waiting for authentication
- For identity provider selected as Google Workspace during NetID setup, a new window will show 'Continue with Google' and for Microsoft Azure AD, window will show 'Continue with Microsoft' option.
- Click on 'Continue in with (your identity provider)'

Continue with your Identity Provider
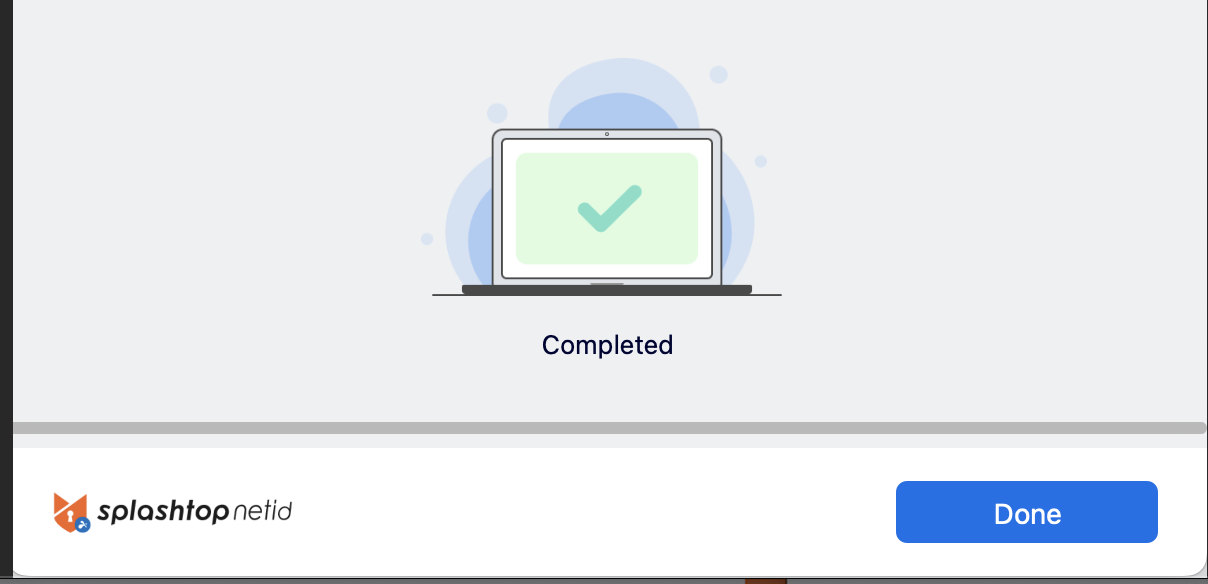
- Complete the authentication and then you can close the window.
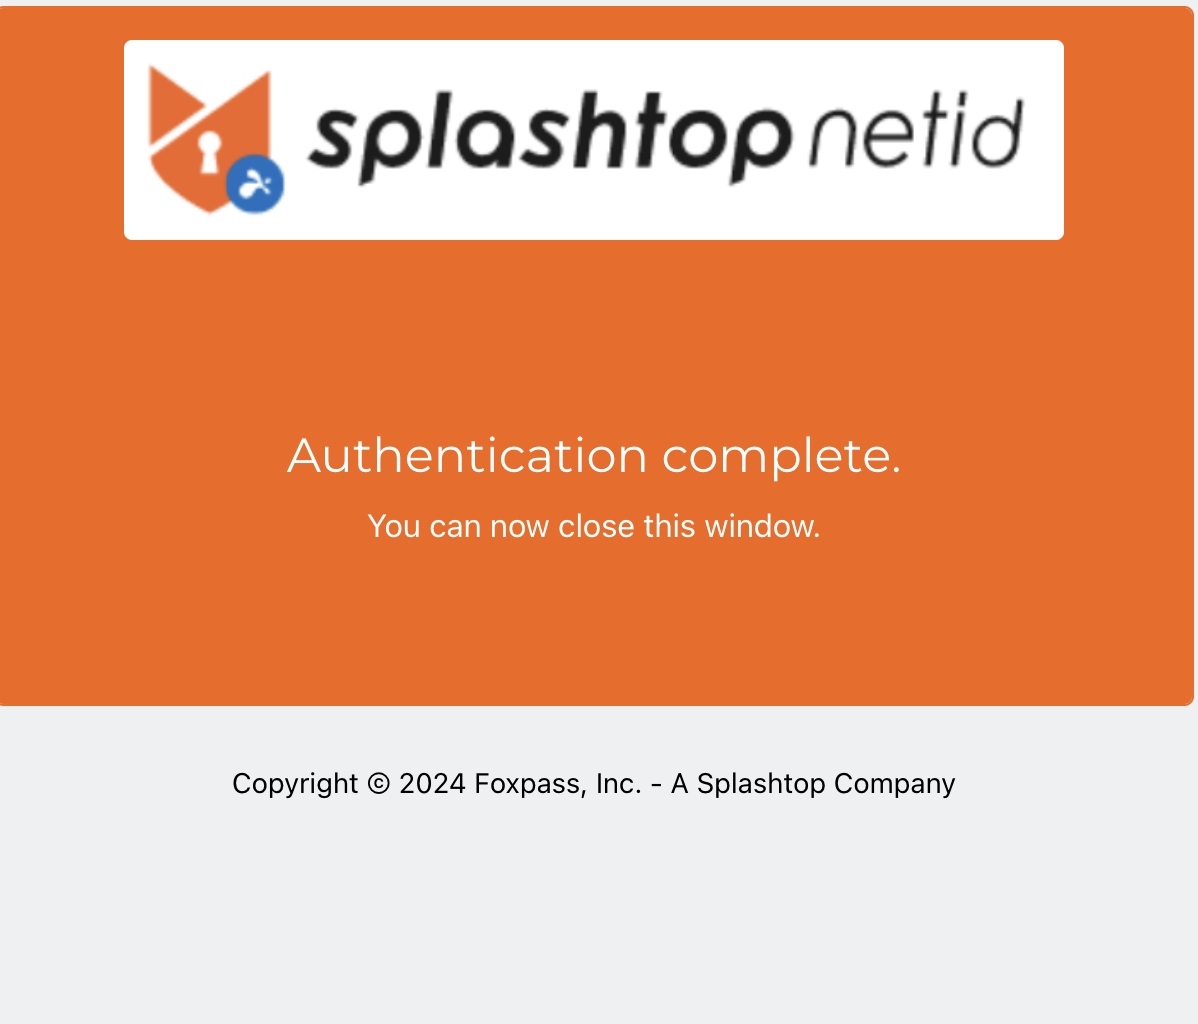
Authentication complete
- In the setup wizard, click Install Profile.
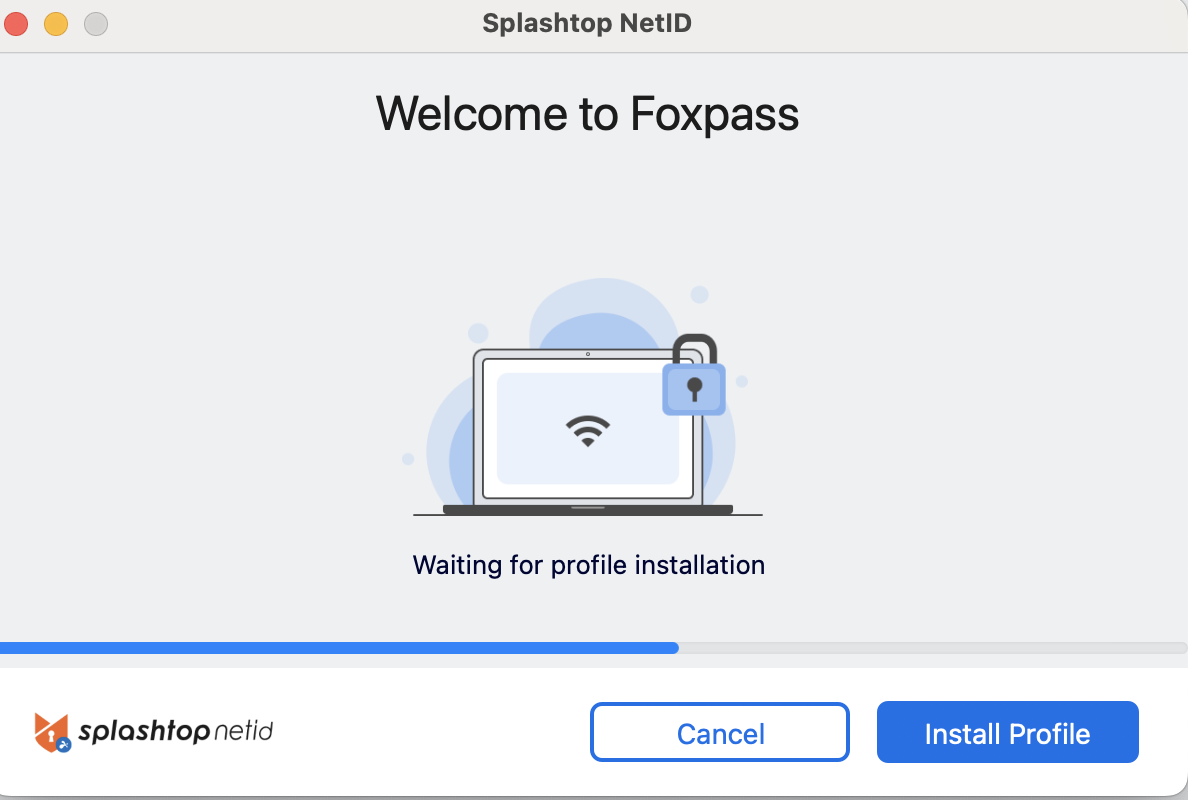
Install Profile
- Profiles will open up in System Settings of macOS. Double click on the downloaded profile.
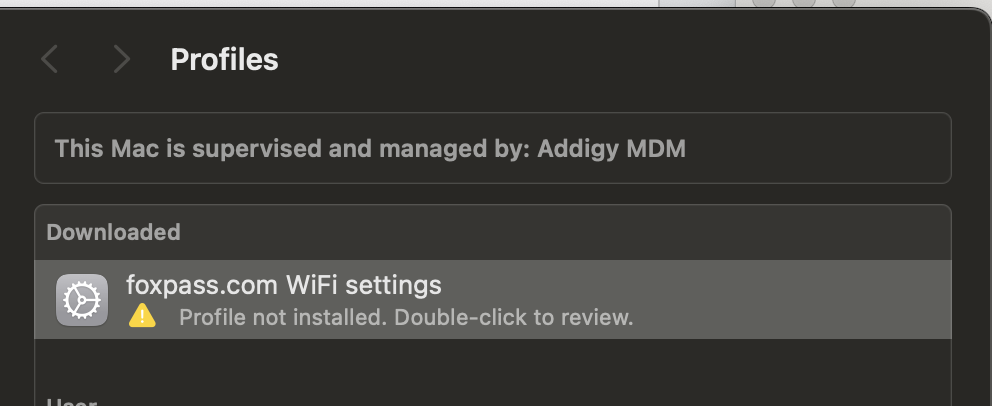
Downloaded profile on macOS
- Click on Install.
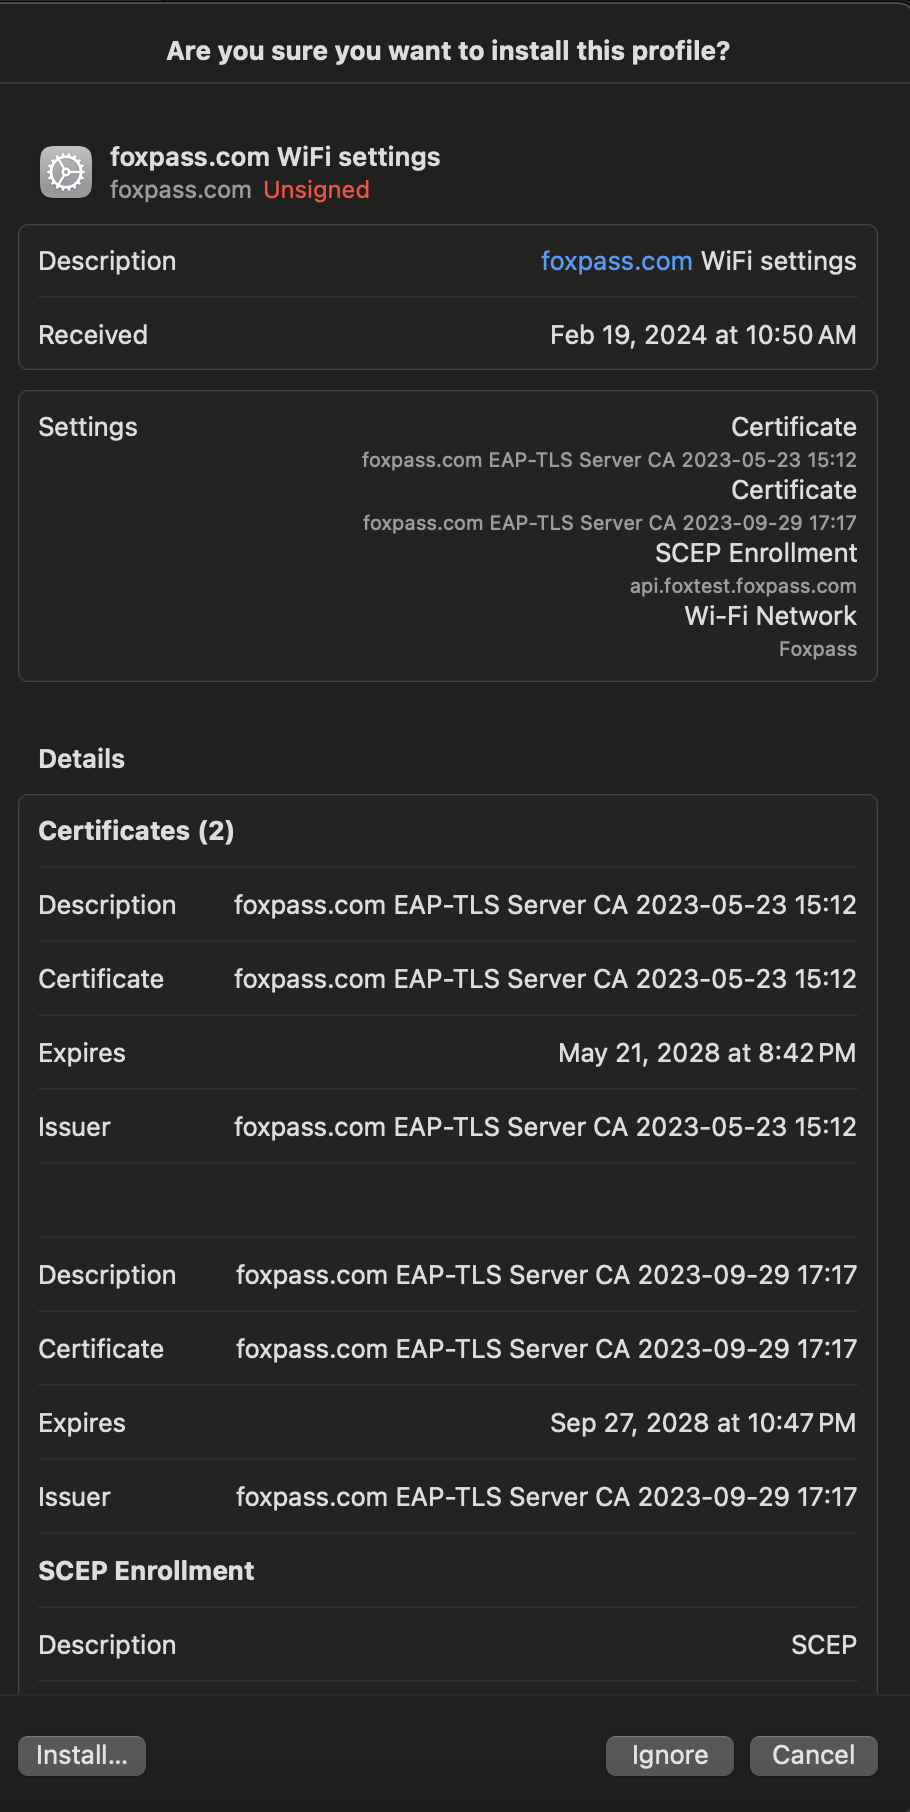
Install the profile
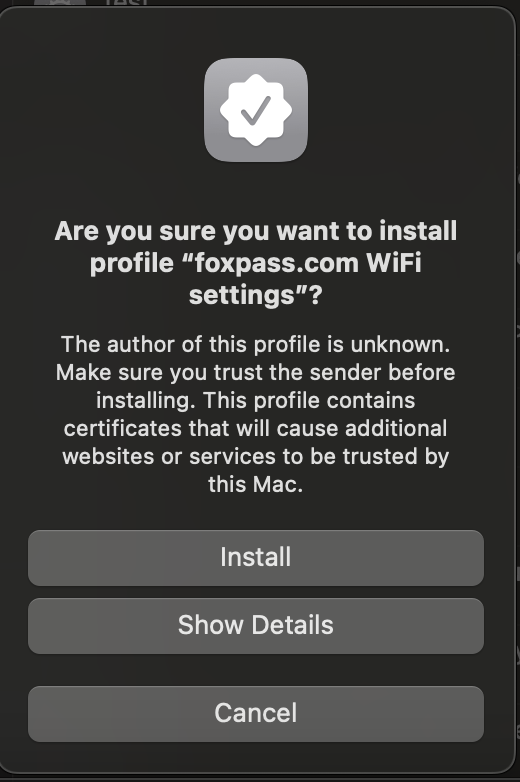
Click Install
Connecting to your SSID
Setup Complete
- You can view Foxpass Server CA and Client certificate in Keychain Access > Certificates on your macOS.
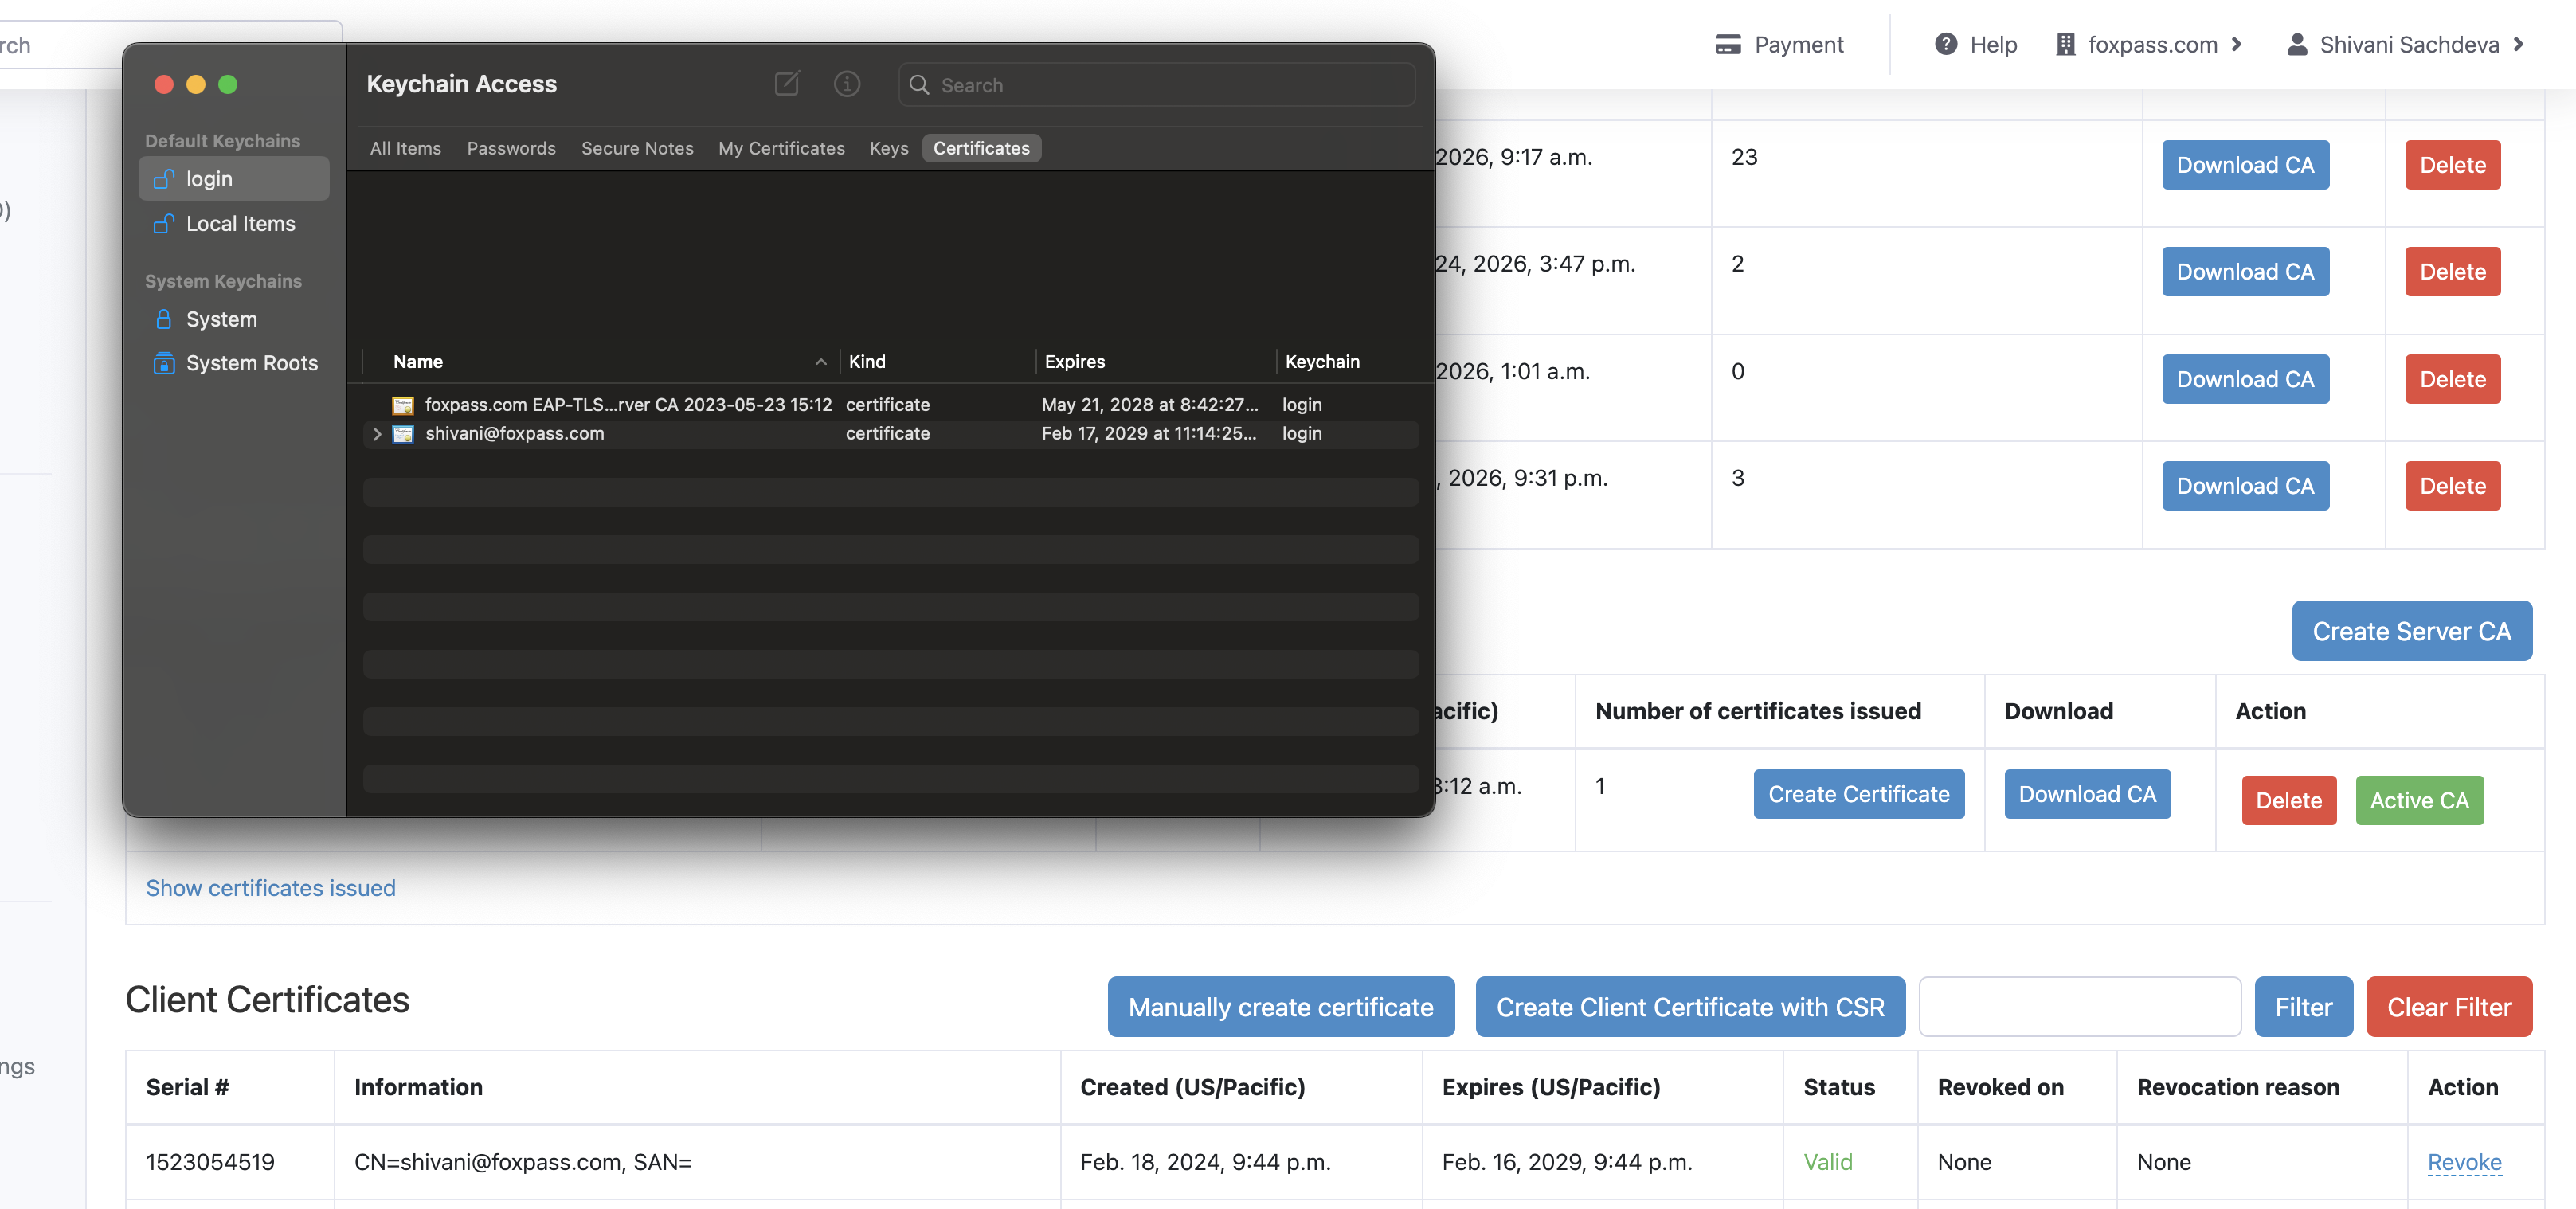
Foxpass Server CA and Client certificate
- You can also see the Client certificate issued on the Foxpass EAP-TLS page.

Client certificate
- If everything is configured correct, you will be able to connect to your SSID.
Some Tips
- Ensure that you have a radius client configured on the RADIUS settings page.
- Ensure that EAP-TLS enabled RADIUS Server is configured correctly in your Access Point.
- Ensure that your SSID is configured correctly on the Wi-Fi networks page.
Updated 8 months ago