
Meraki setup for UDP-based RADIUS
Setting up Meraki RADIUS with Foxpass
Most Foxpass customers use wireless access products by Cisco's Meraki. You are in good hands.
The Meraki setup is very straight-forward.
1. Set your Foxpass password
In Foxpass, go to the "Password" settings page and enter a password.
2. Create a "RADIUS Client" entry on Foxpass
Visit this page: RADIUS settings. Create a RADIUS client for this site's public IP address.
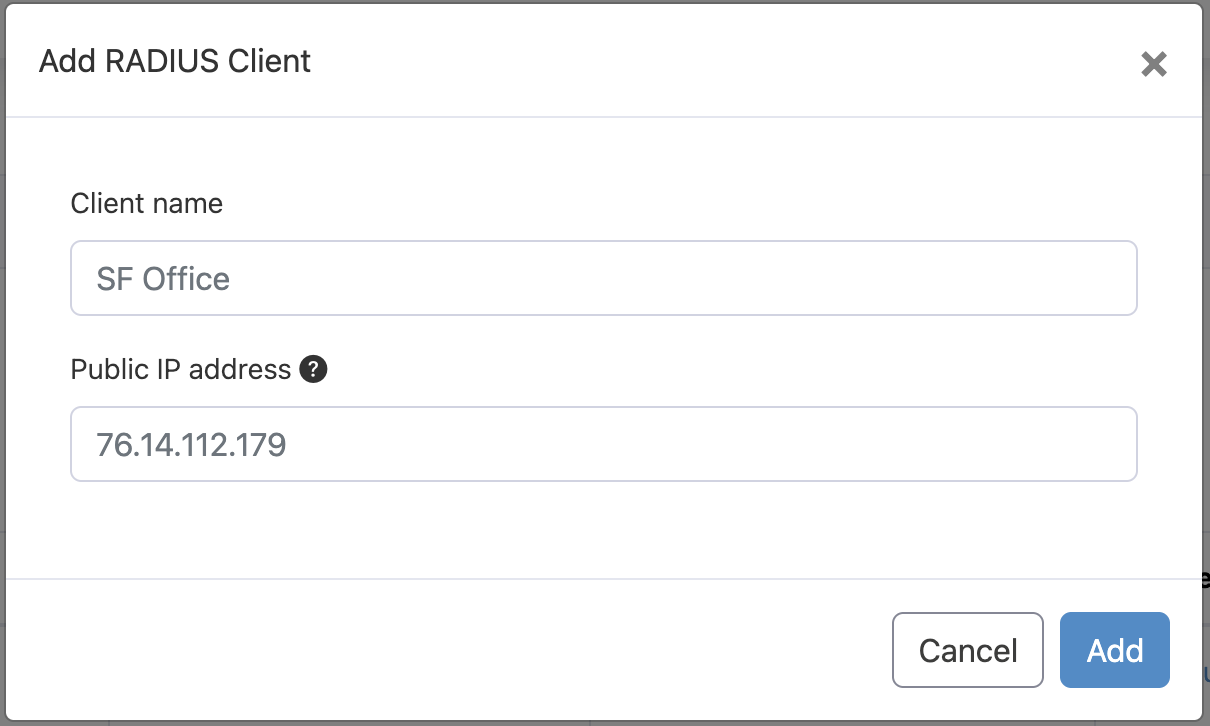
Note the secret that was generated.

Note the secret
Then click on the "View" button in the "Server IP Addresses" section. Copy both IP addresses under the globally distributed RADIUS servers, and note the port number.
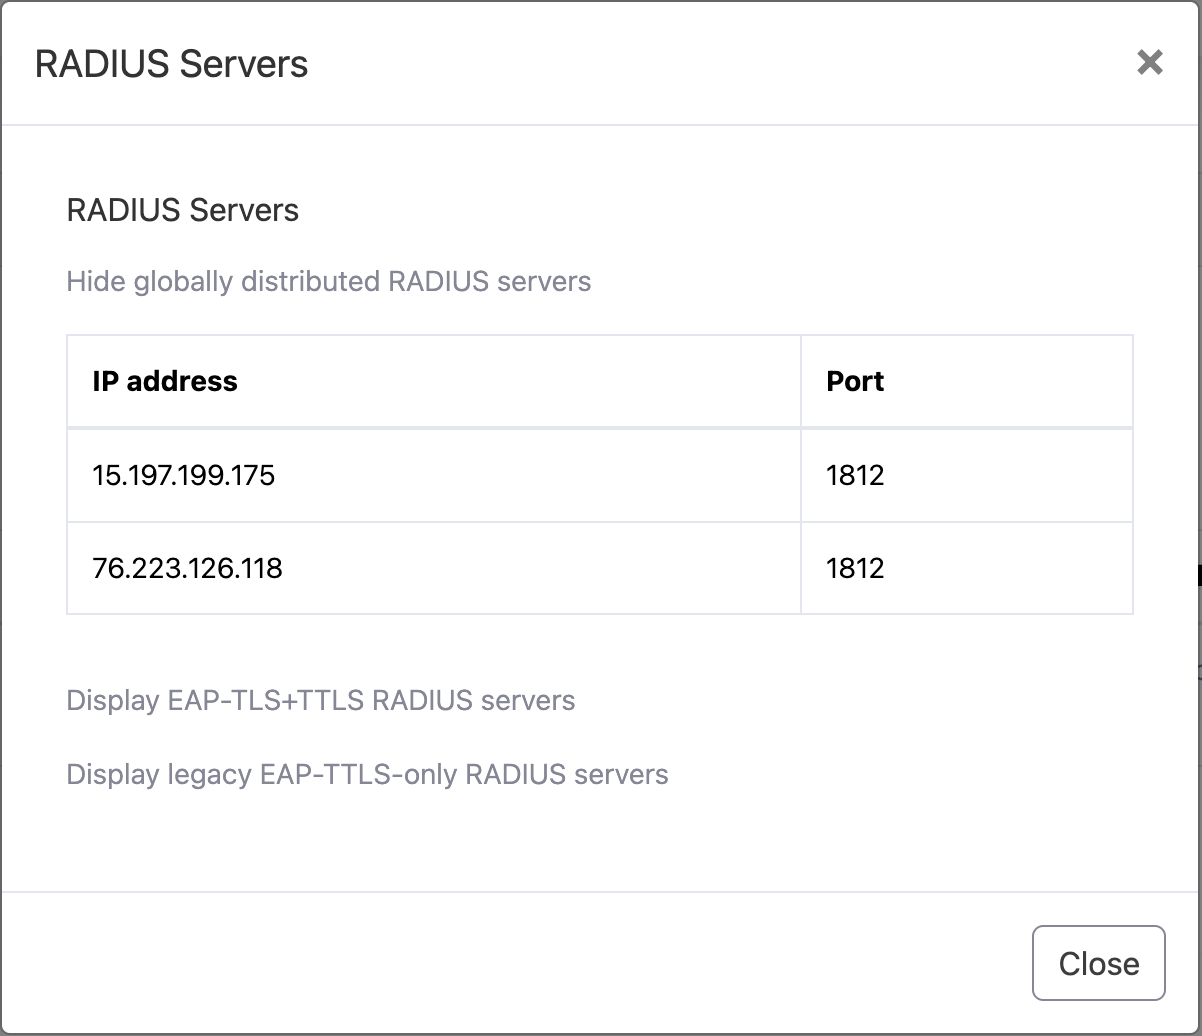
Copy both IP addresses
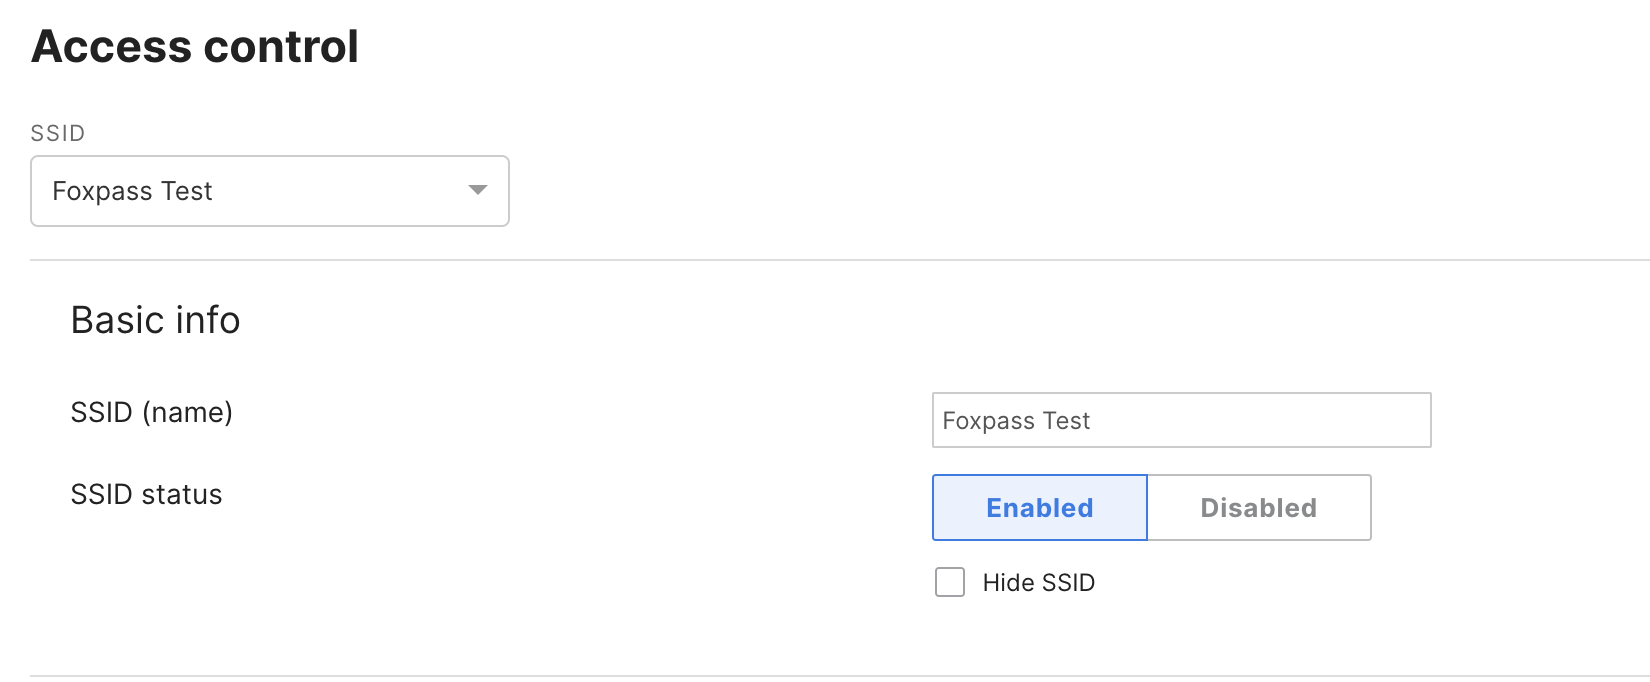
3. Configure SSID
- In your Meraki dashboard, create a new SSID called (e.g.) "Foxpass Test".
Configure SSID in Meraki
- Select Enterprise with my RADIUS server.
- Select WPA2 only or WPA3 only for WPA Encryption as per your use case.
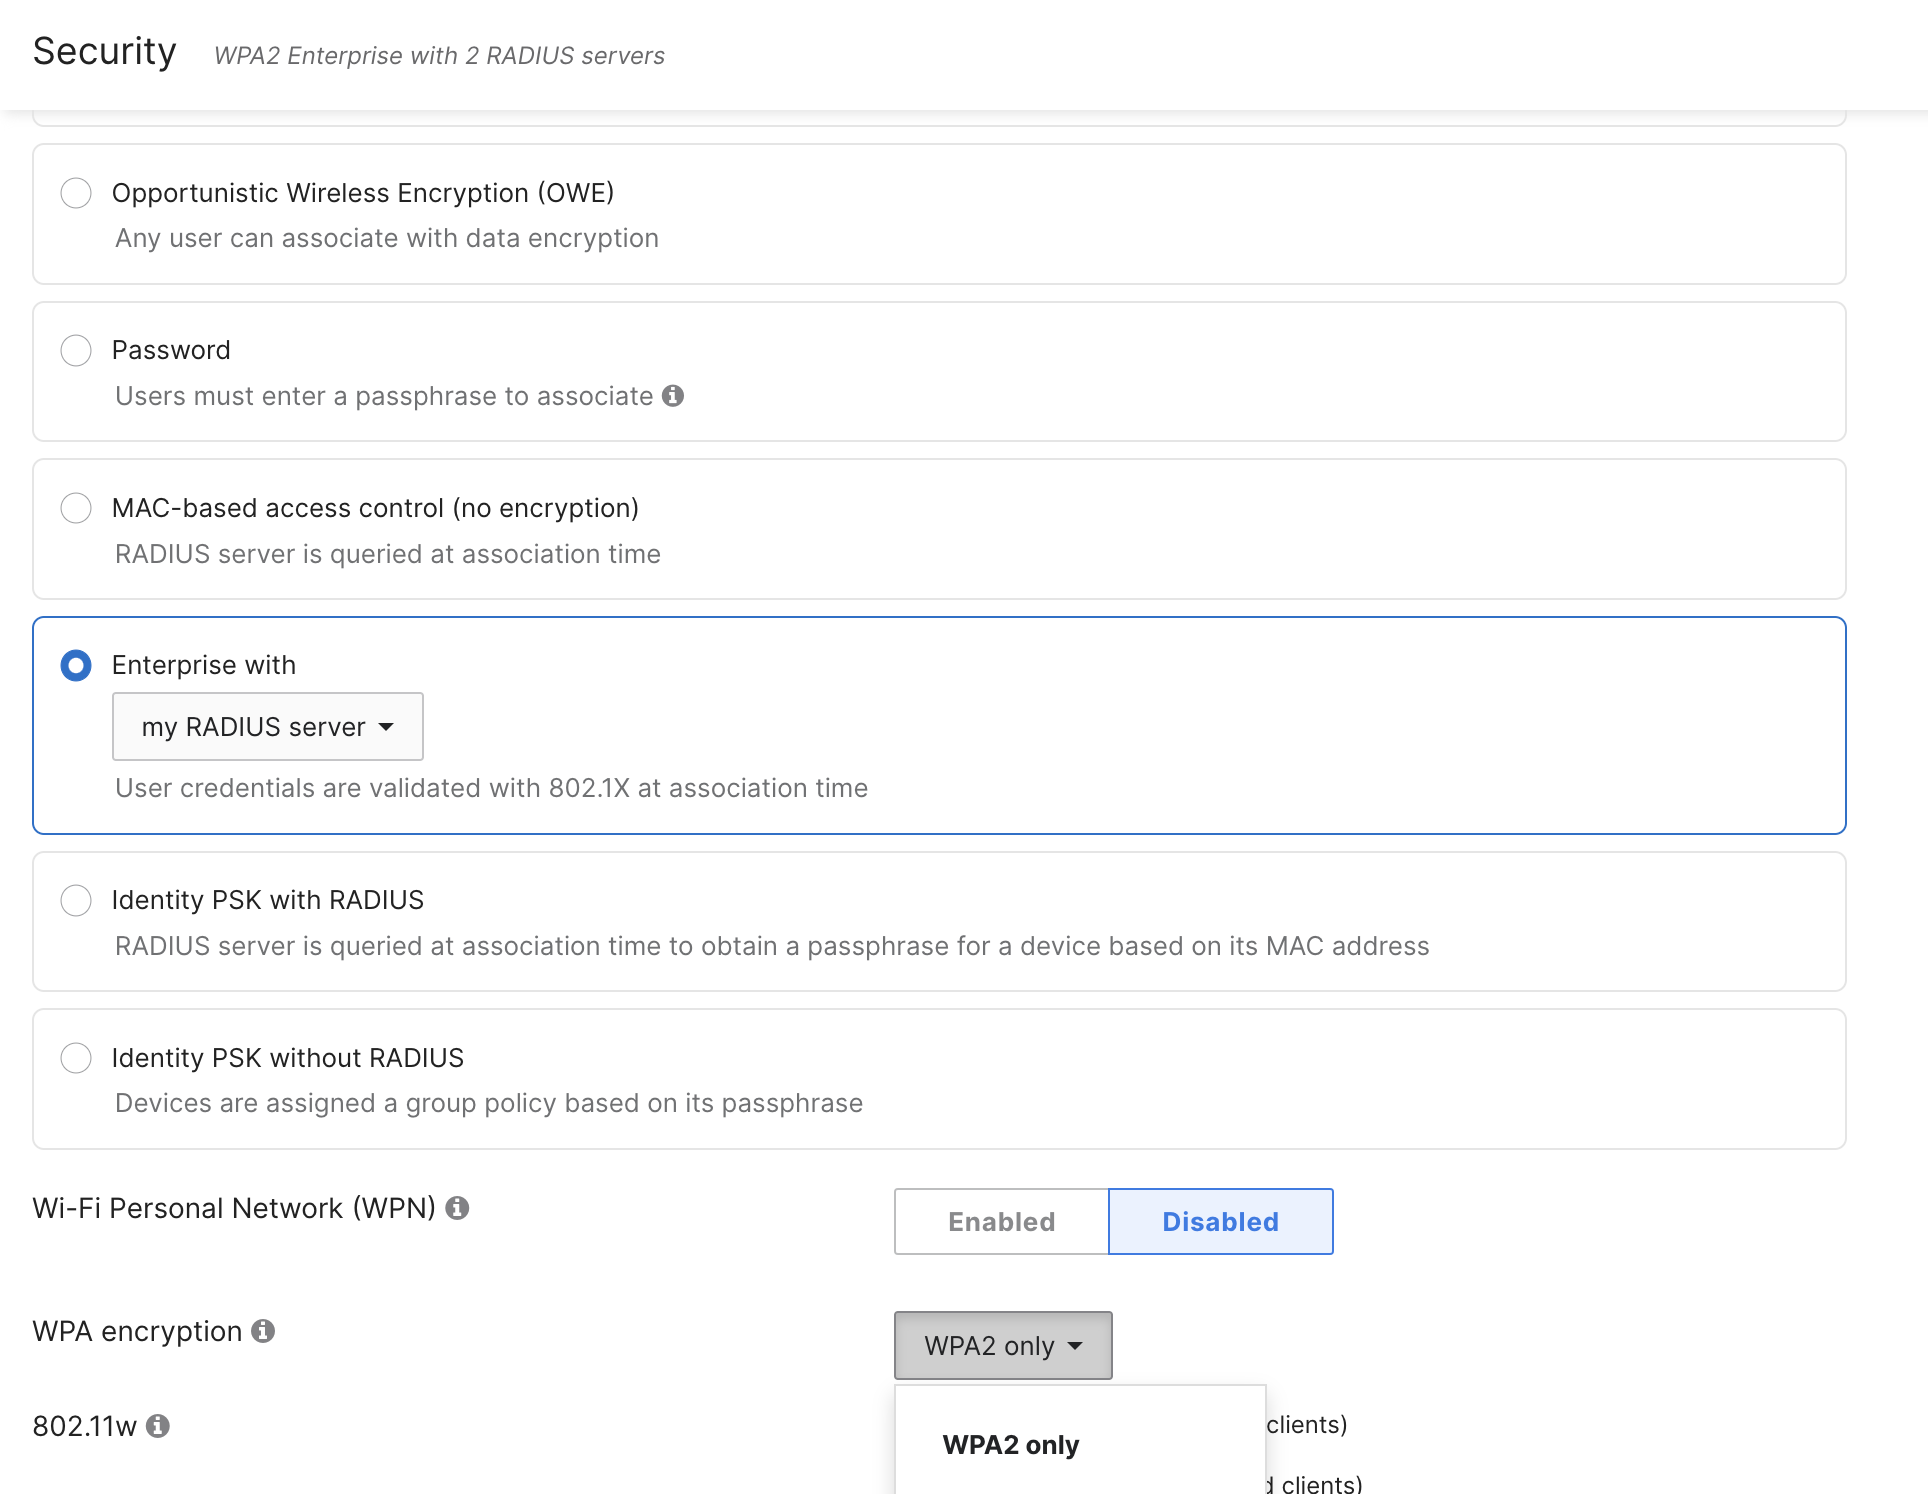
Set encryption
- Add 2 radius servers(noted from step 2). Port is 1812. Secret is copied from the radius settings page. Be sure to set up both of our RADIUS IP address, as one or the other may be down for maintenance. Don't forget to put in your RADIUS secret; it will be the same for both entries. Click Save.
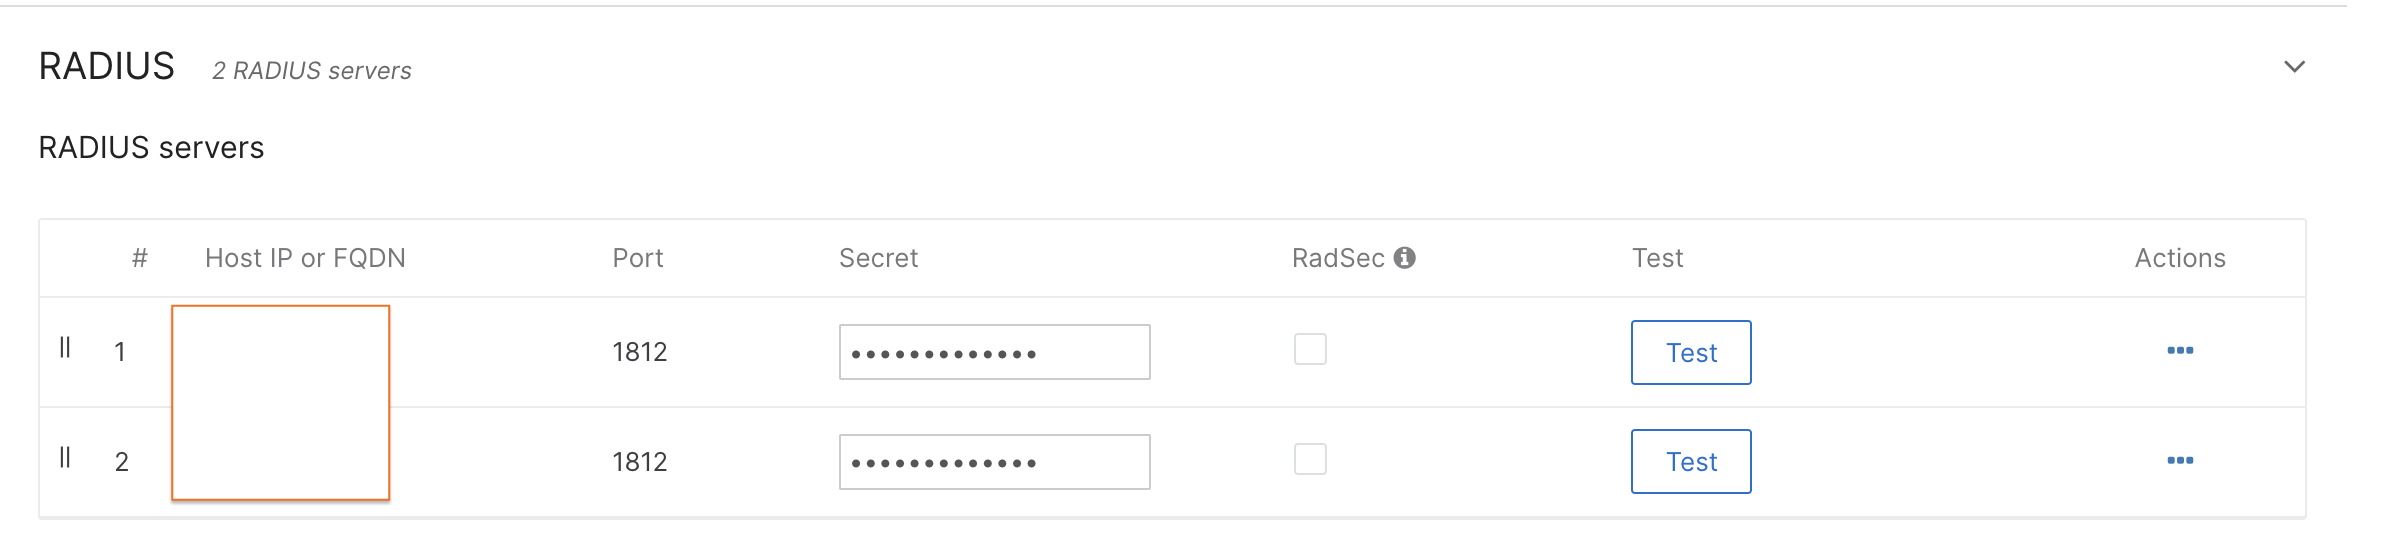
Add RADIUS servers
4. Update the Timeout
If you use EAP-TTLS-PAP with delegated authentication, you need to update the RADIUS timeout. The default of 1 second not enough time to check the password against a remote source like Azure, Google, Okta, etc. Set it to at least 3 seconds. in the "Advanced RADIUS settings" section.

5. Don't push the test button!
This is very counter-intuitive. But even when the RADIUS servers are set up properly, the "Test" button on the Meraki Dashboard will not work.
If you want to know why, see down below.
6. Try it out
For EAP-TTLS connection on your device, select and follow appropriate documentation link under wi-fi connections and then try to connect.
To connect to your new network, enter your username and password.
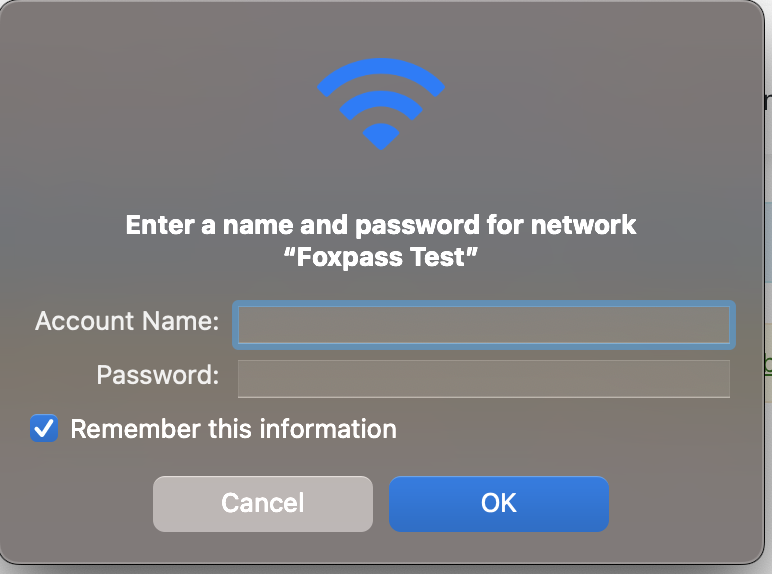
Enter username and password
For EAP-TLS connection on your device, select and follow appropriate documentation link under EAP-TLS and then try to connect.
Why the test button doesn't work.
Here's why: Foxpass uses the most secure version of RADIUS that is available. That is called EAP-TTLS-PAP, which encapsulates login information inside of an SSL connection.
The "Test" button does not support EAP-TTLS-PAP, and instead assumes a less secure protocol. This doesn't matter, though, because ultimately the authentication conversation happens between a user's phone / laptop and the RADIUS server directly (the Access Point merely connects the two).
Android, Linux, Windows 8, and Windows 10 all support TTLS-PAP natively.
macOS and iOS will support TTLS-PAP with the addition of a config file, which Foxpass will generate for you.
Windows 7 is not supported, but will probably work if the computer has the Intel wireless chipset and Intel drivers installed.
Troubleshooting Steps
- Make sure Client Balancing is disabled on your Meraki dashboard.
- Verify RADIUS Client Entry: Ensure the RADIUS client is correctly created on the RADIUS settings page in Foxpass with the proper public IP address.
- Check RADIUS Server Configuration: Confirm the RADIUS server IP addresses and secrets are accurately configured in the Cisco Meraki dashboard. For EAP-TTLS, RADIUS Servers and for EAP-TLS, EAP-TLS enabled RADIUS Servers are correctly noted from the RADIUS Settings page.
- Check RADIUS logs page for any errors.
Updated 8 months ago