
Meraki RadSec Setup
Setting up Meraki equipment to work with Foxpass RadSec
You must use Meraki Firmware 31.1.1 or later. 30.6 has a known bug whereby RadSec will not attempt a connection
Foxpass RadSec allows a RADIUS connection via TLS for an additional layer of security. This setup guide will help you configure Meraki equipment with Foxpass RadSec.
Configure Meraki
- Download RadSec Server CA from the Foxpass RadSec page.
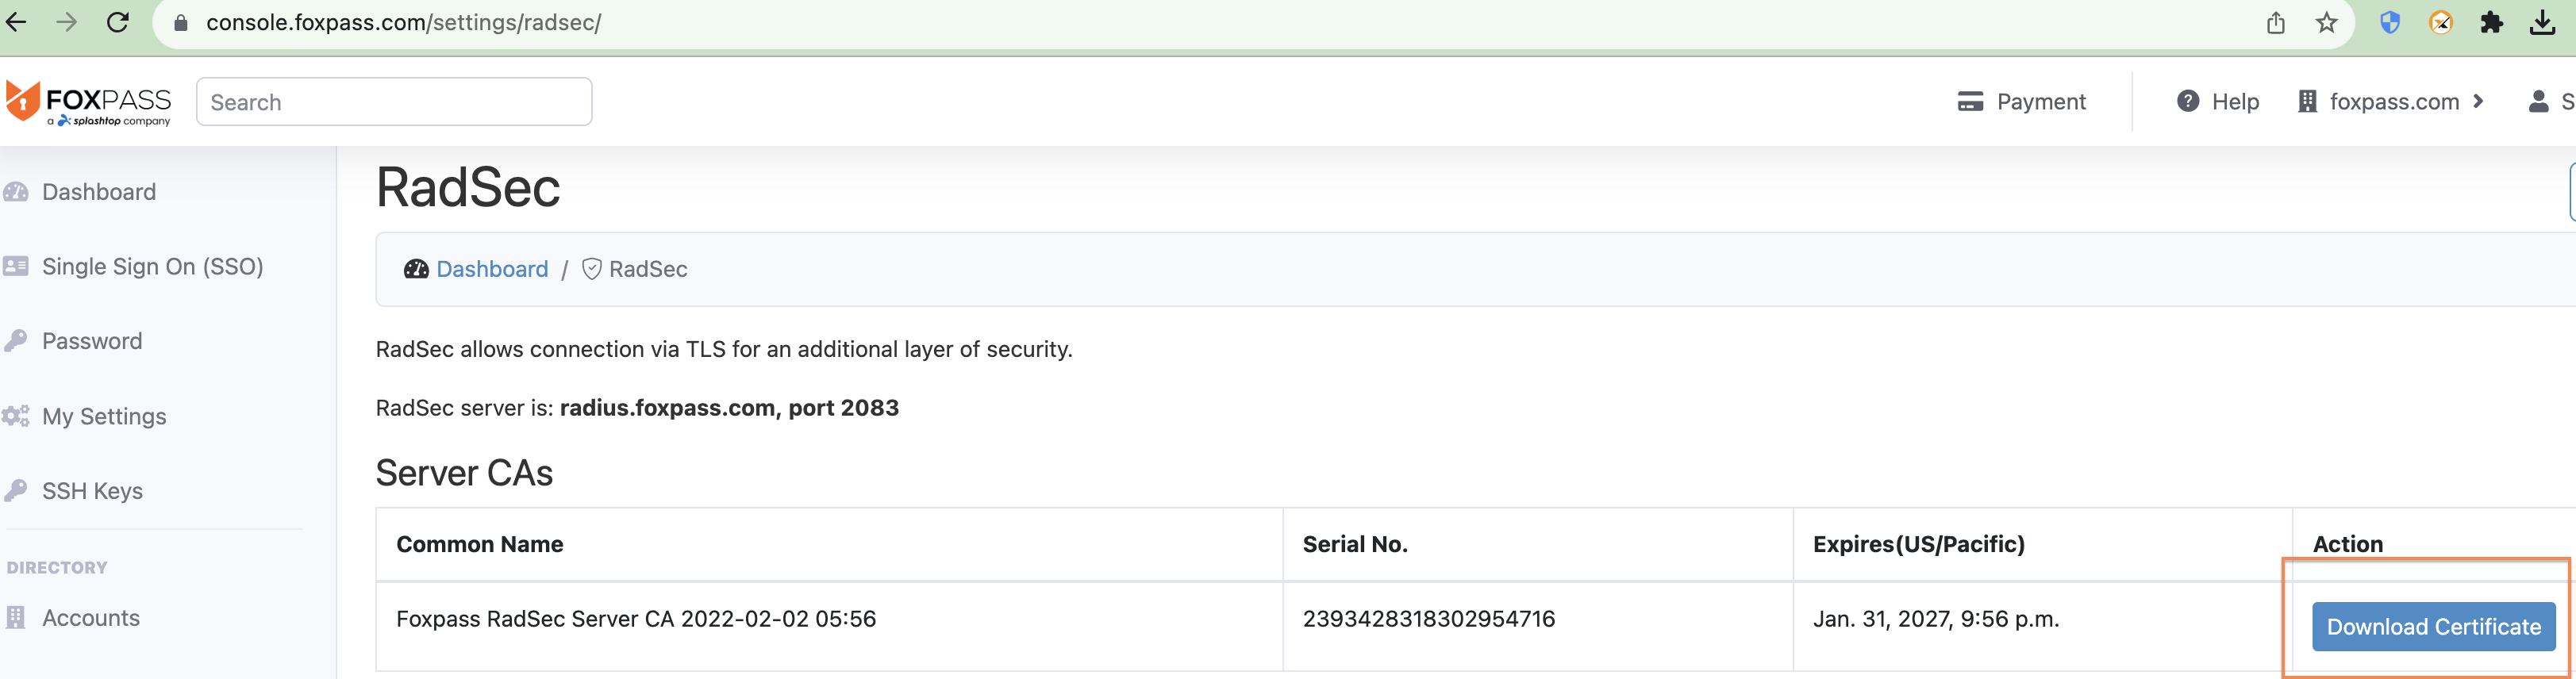
Download RadSec Server CA
- In the Meraki dashboard, go to Organization --> Certificates
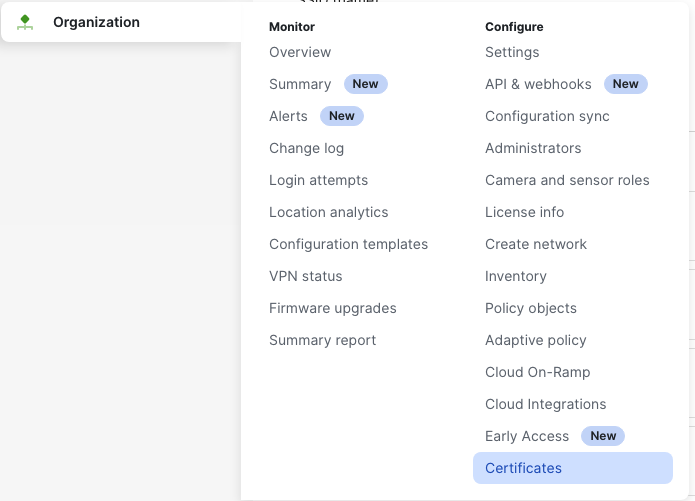
Click Certificates
- In the top right section, click "Upload CA certificate" and upload the RadSec Server CA from Step 1.
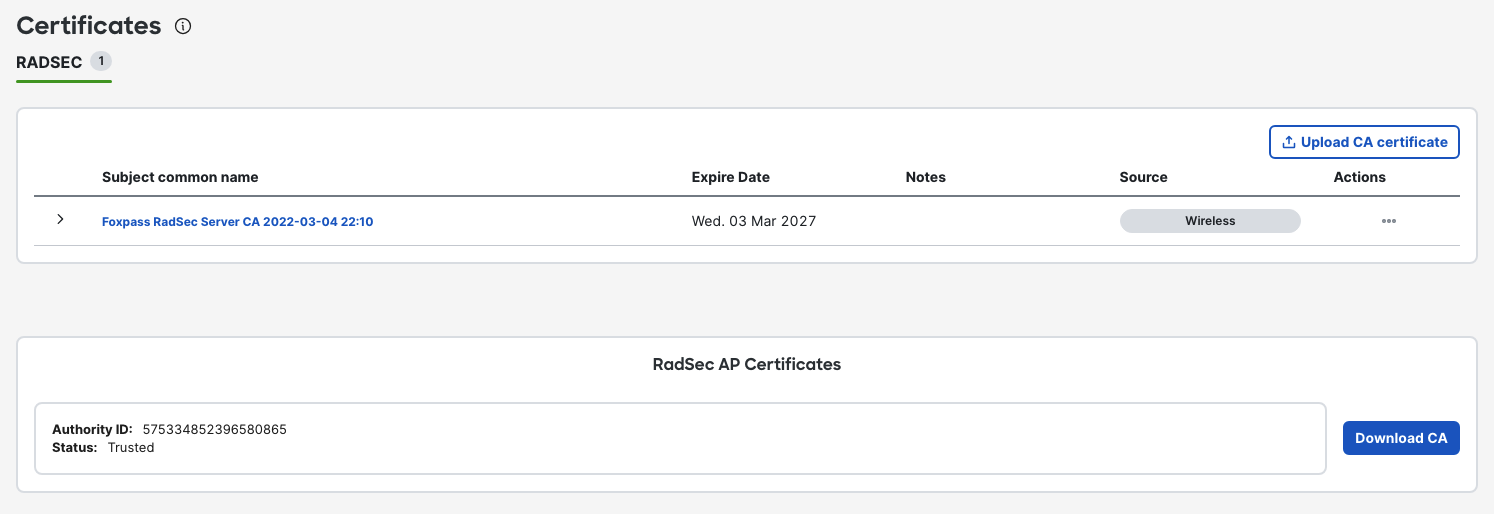
Upload RadSec Server CA
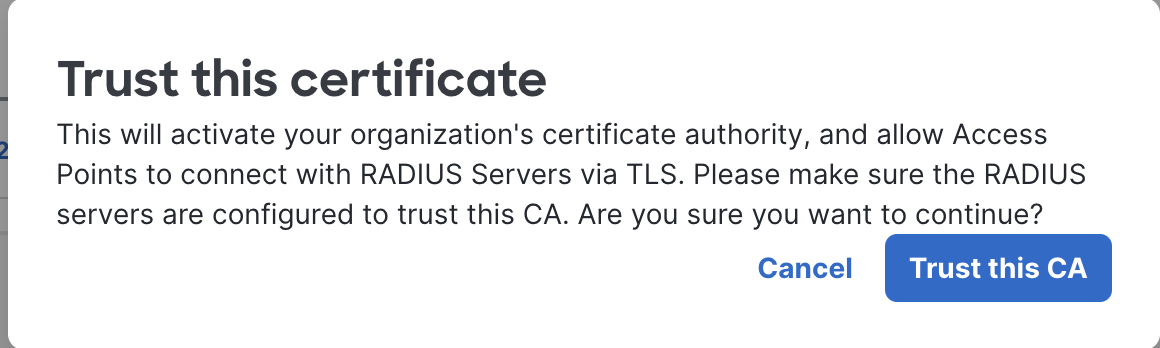
- In the bottom right section, click the “Download CA” button. (If the "Download CA" button isn't there, chose "Generate CA" (this might take a while) and then choose "Trust".)
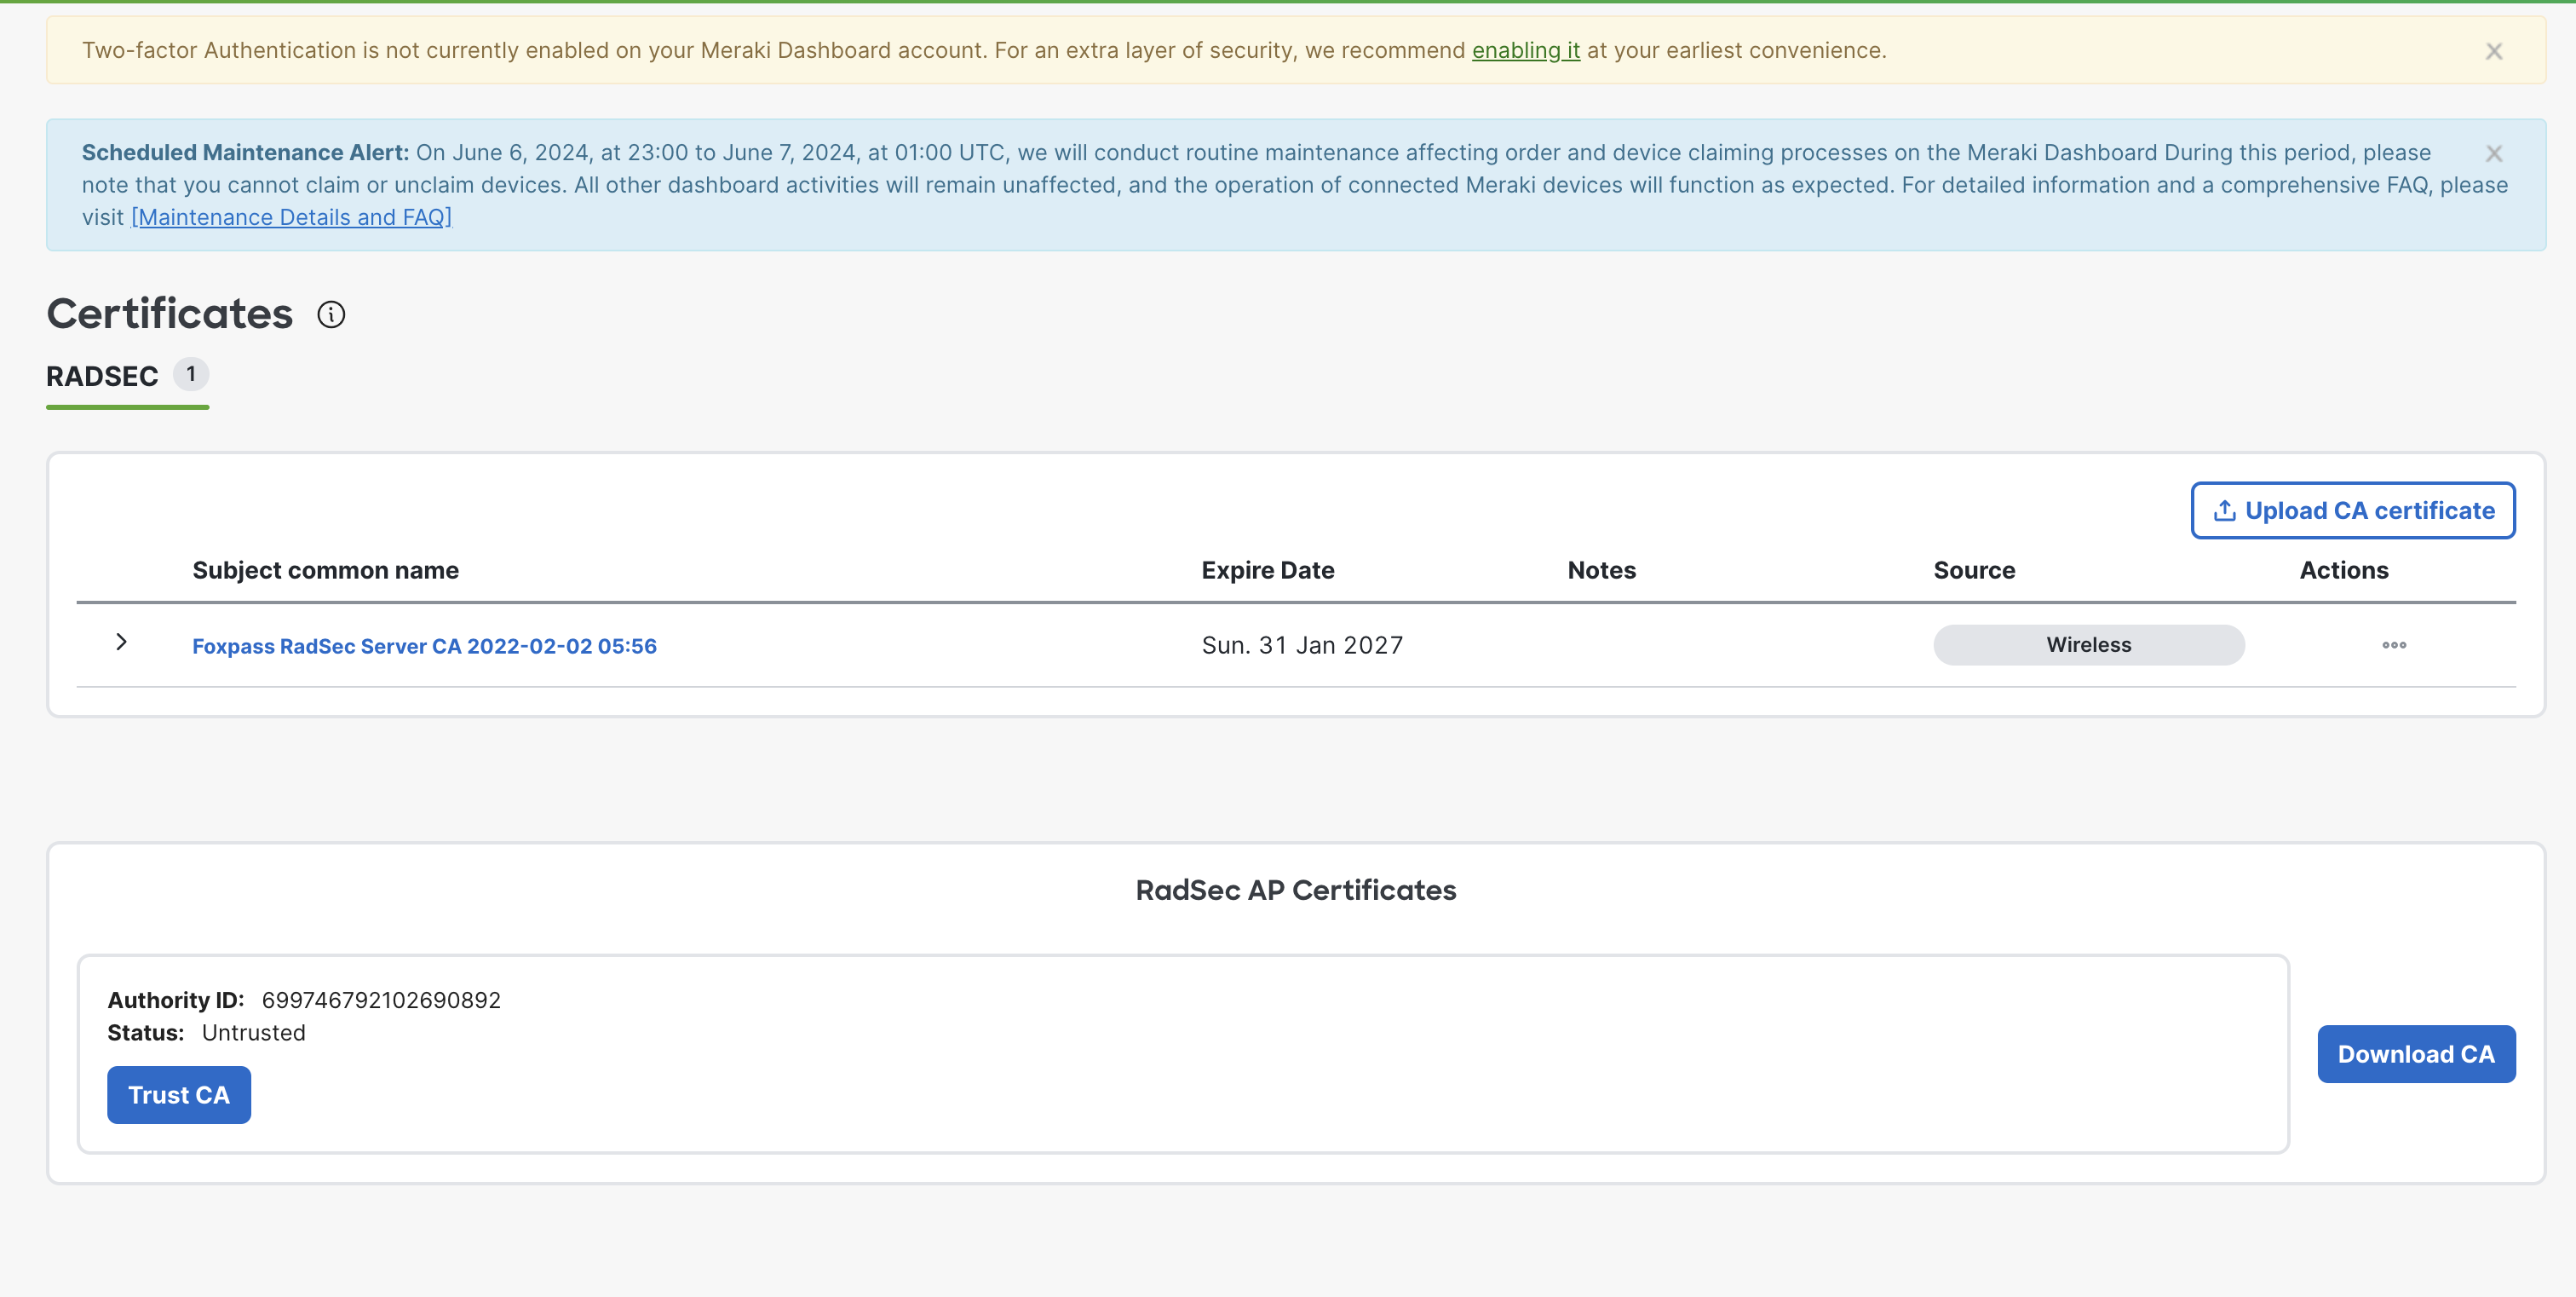
Trust CA
- Go to Foxpass RadSec page now. Click "Upload Customer Client CA" button.

- Upload the Meraki CA downloaded in Step 4.
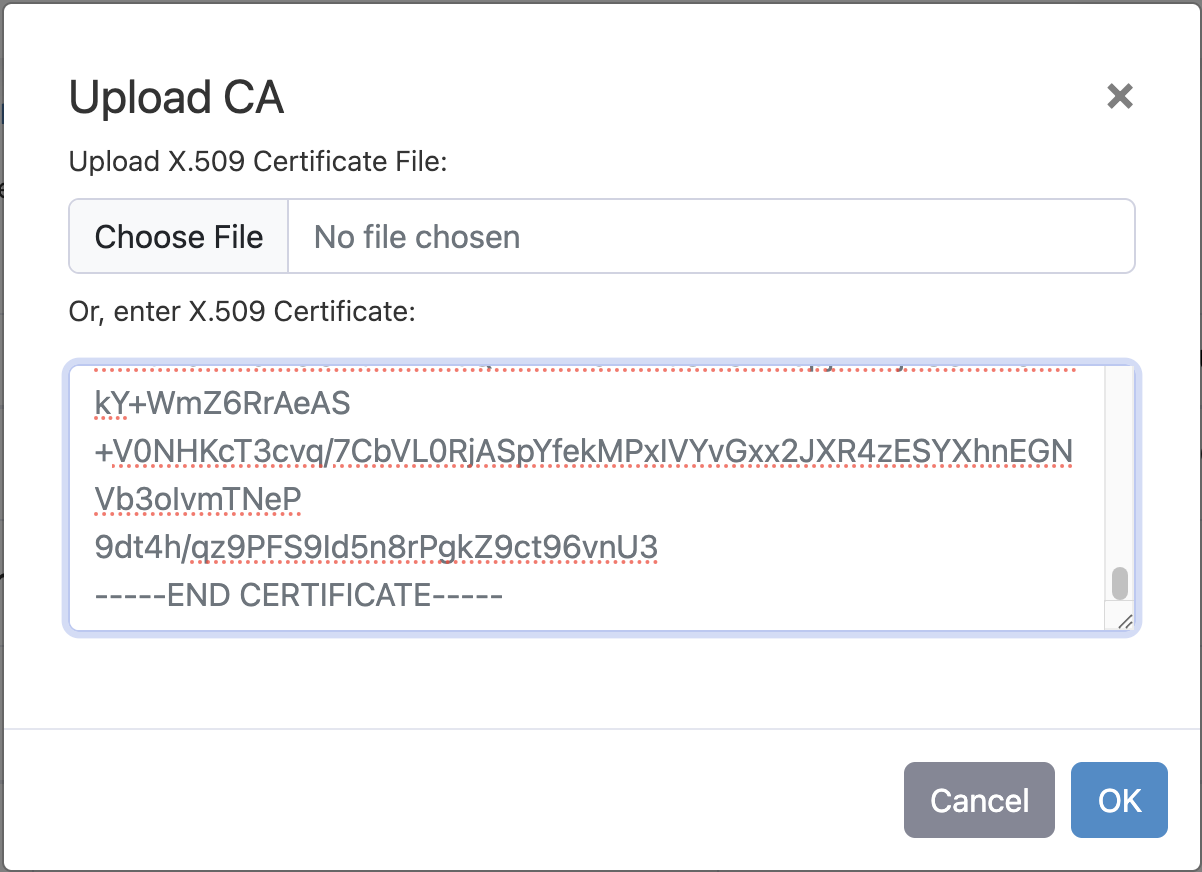
Upload Meraki CA

Sample uploaded Client CA
Configure SSID for RadSec
Go to Wireless > Configure > Access control. For your SSID:
- SSID (name) - Your SSID name
- SSID status - Enabled
- Enterprise with - my RADIUS server
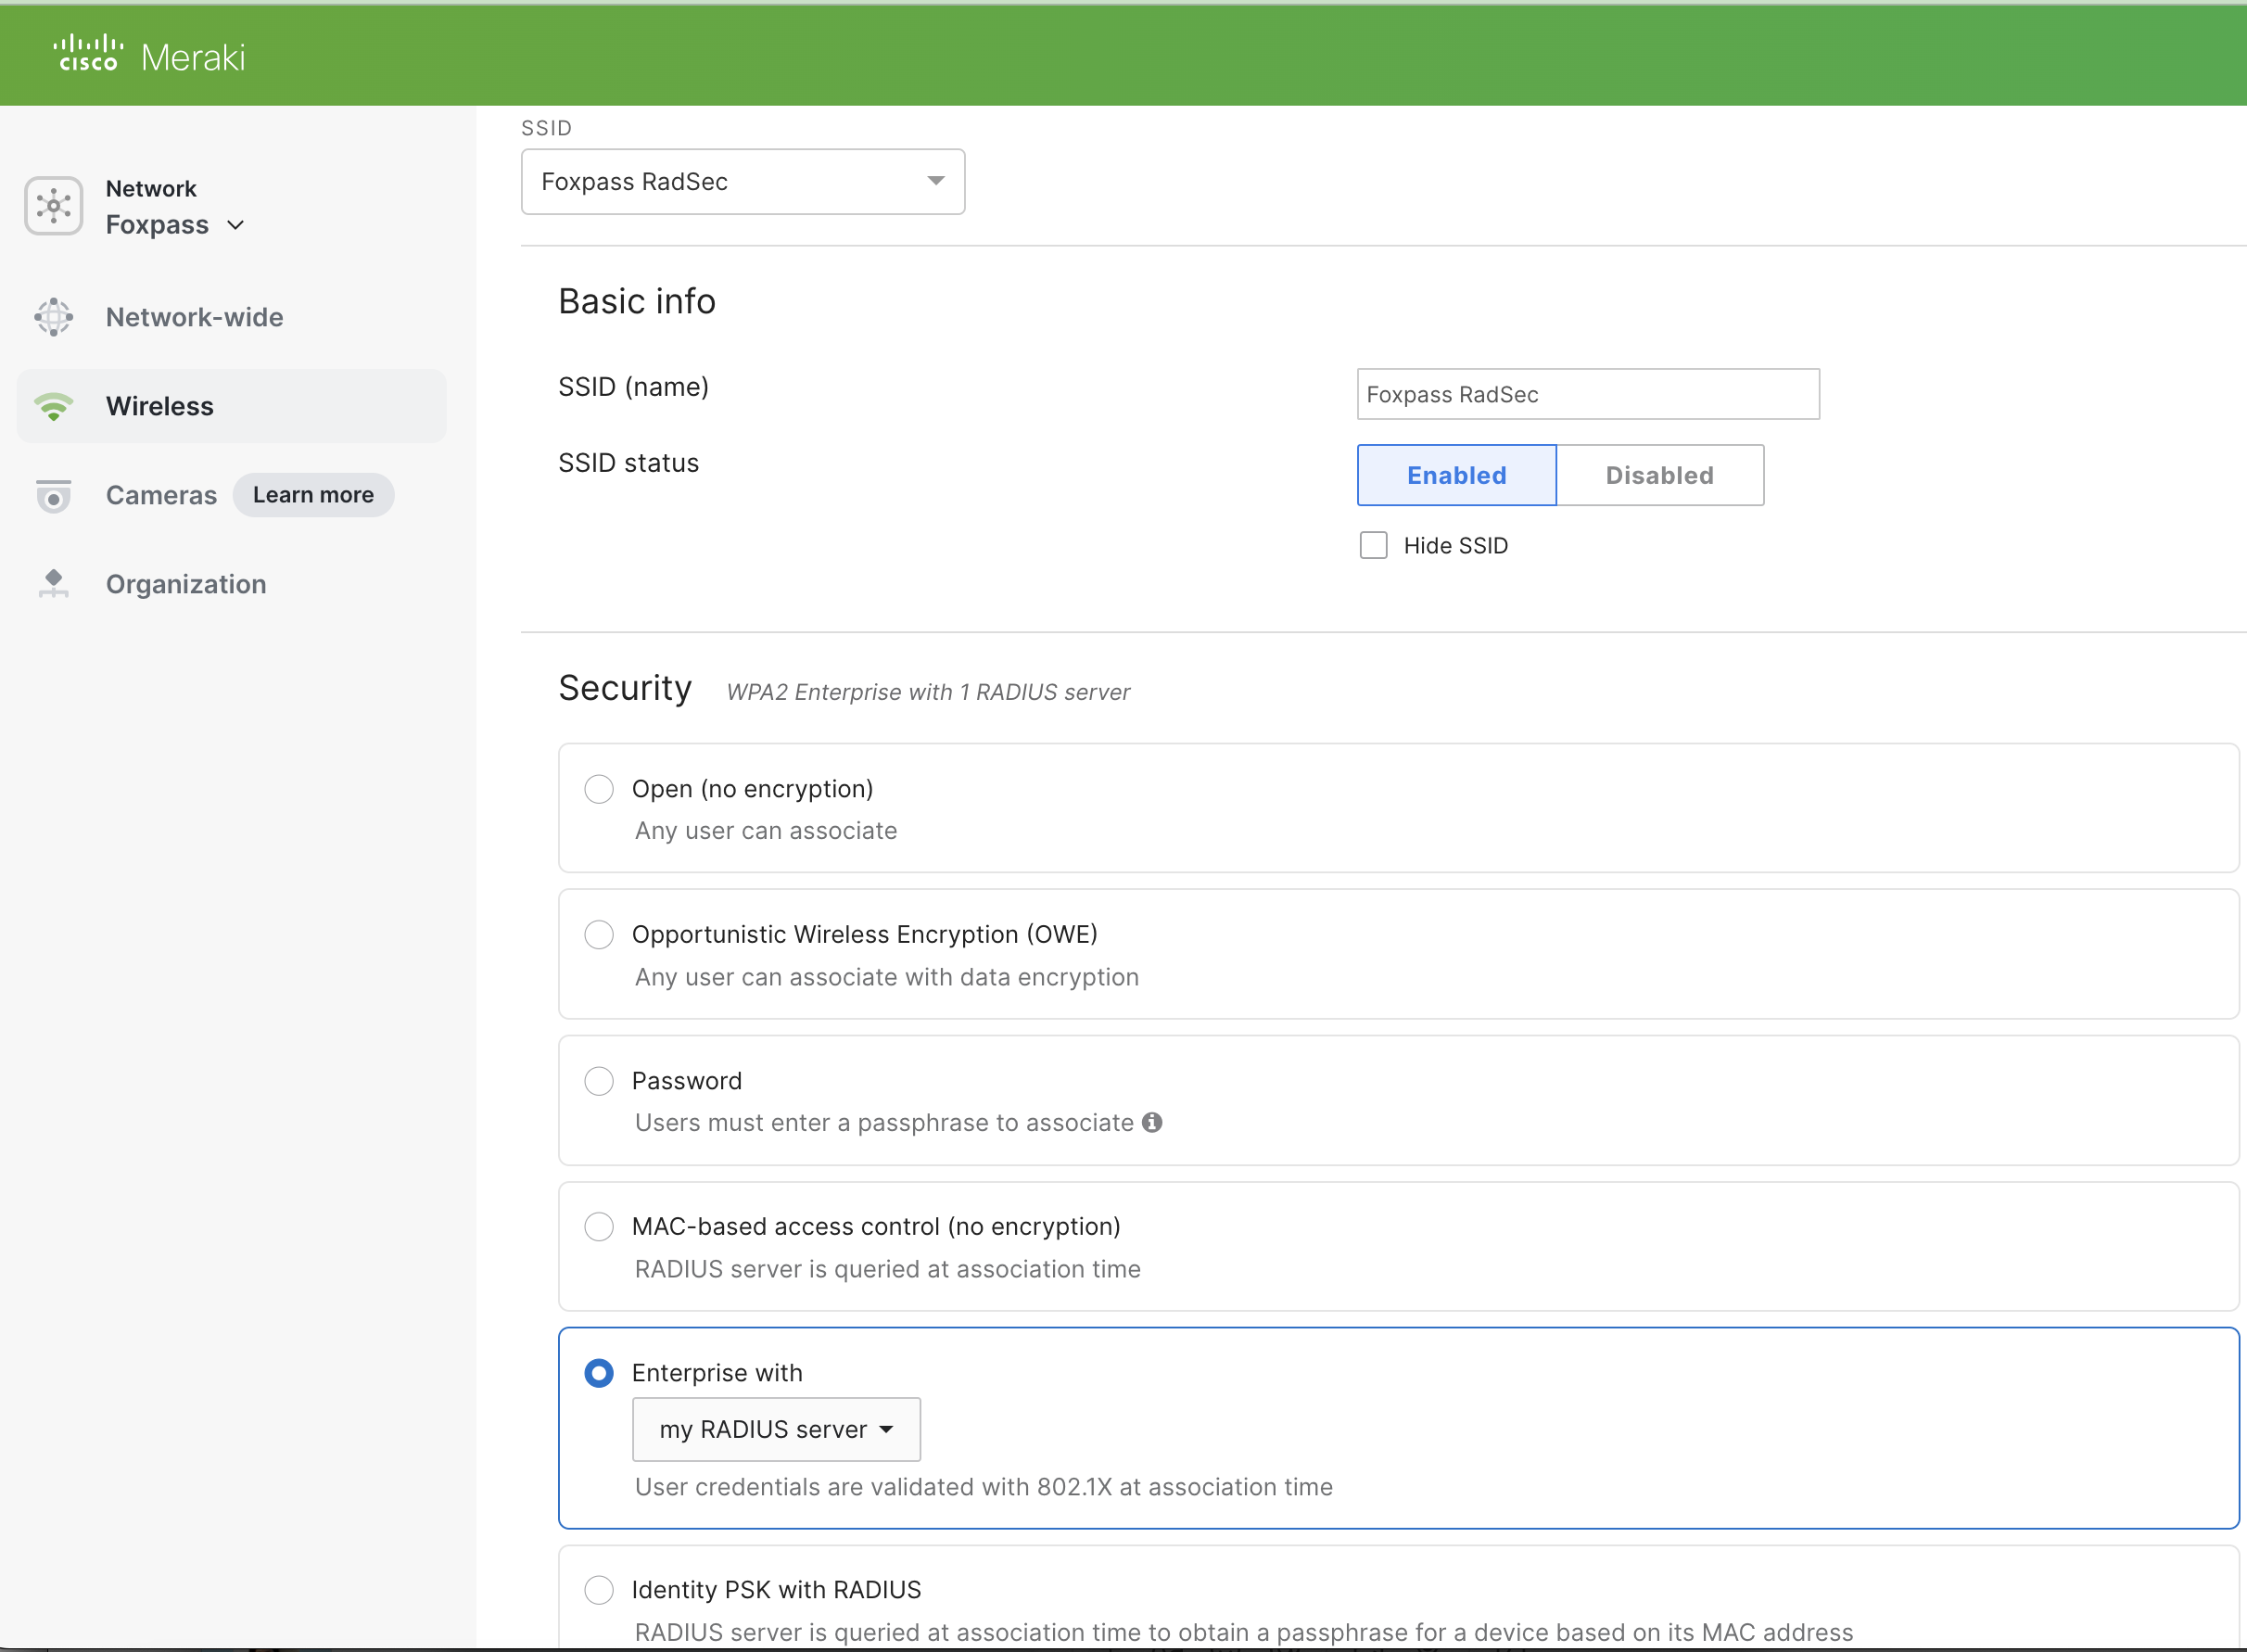
Configure SSID
-
Wi-Fi Personal Network (WPN) - Disabled
-
WPA encryption - WPA2 only
-
802.11w - Disabled
-
Mandatory DHCP - Disabled
-
For RADIUS servers:
- Host IP - radius.foxpass.com
- Port - 2083
- Secret - 'radsec' (it’s always ‘radsec’)
- Check box under RadSec.
- Do not press the 'Test' button. It doesn't support RadSec.
- Click Done.
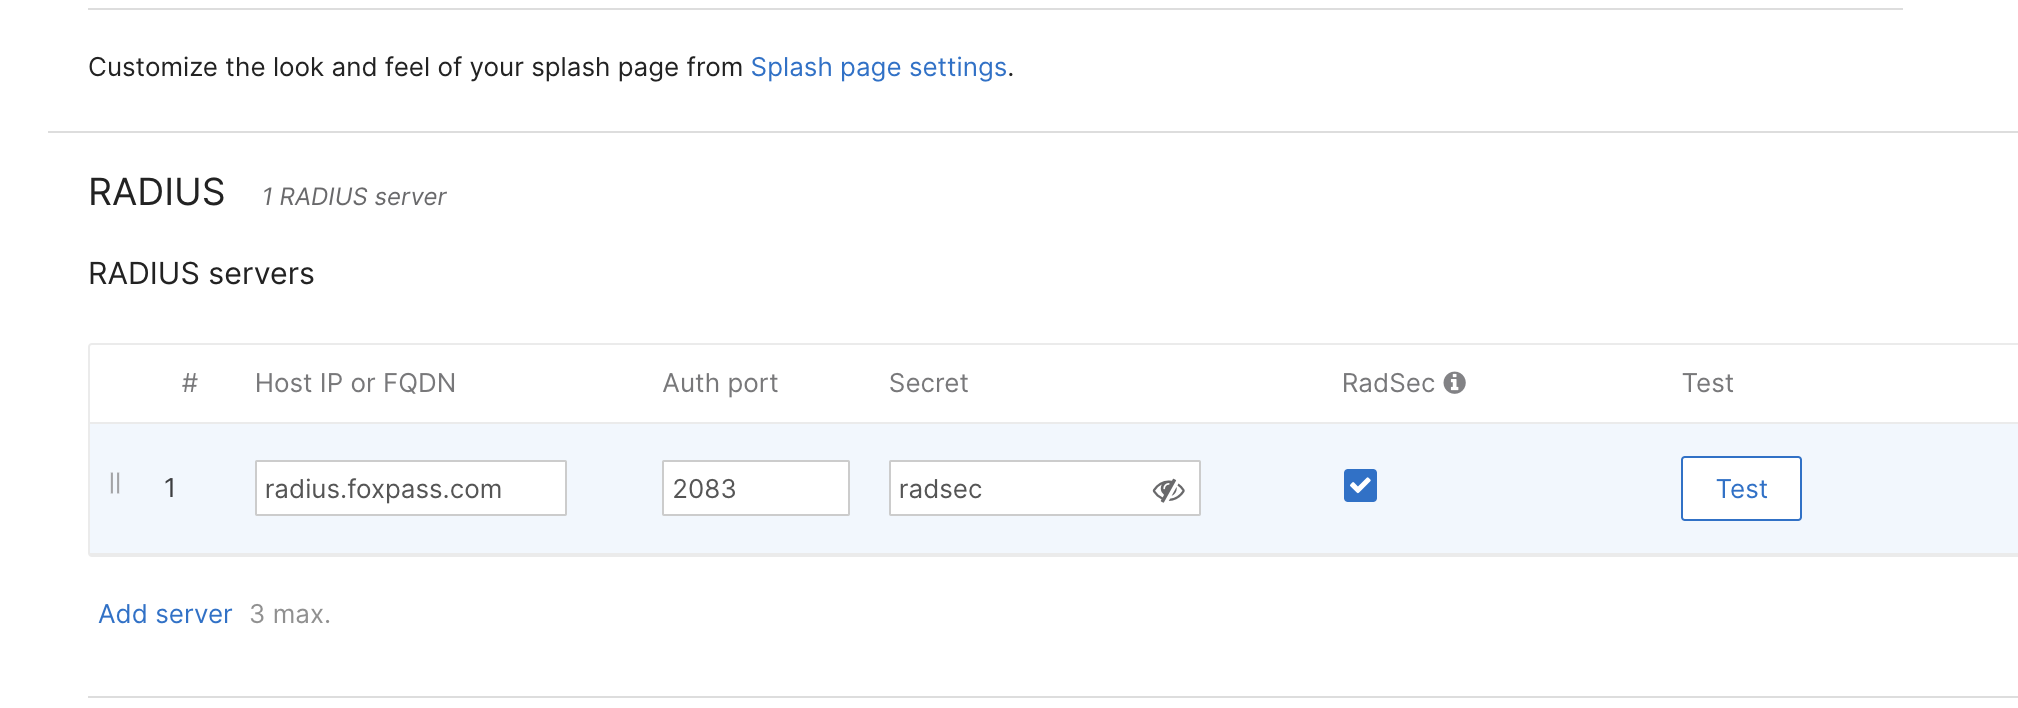
Add server
- Now connect to your SSID.
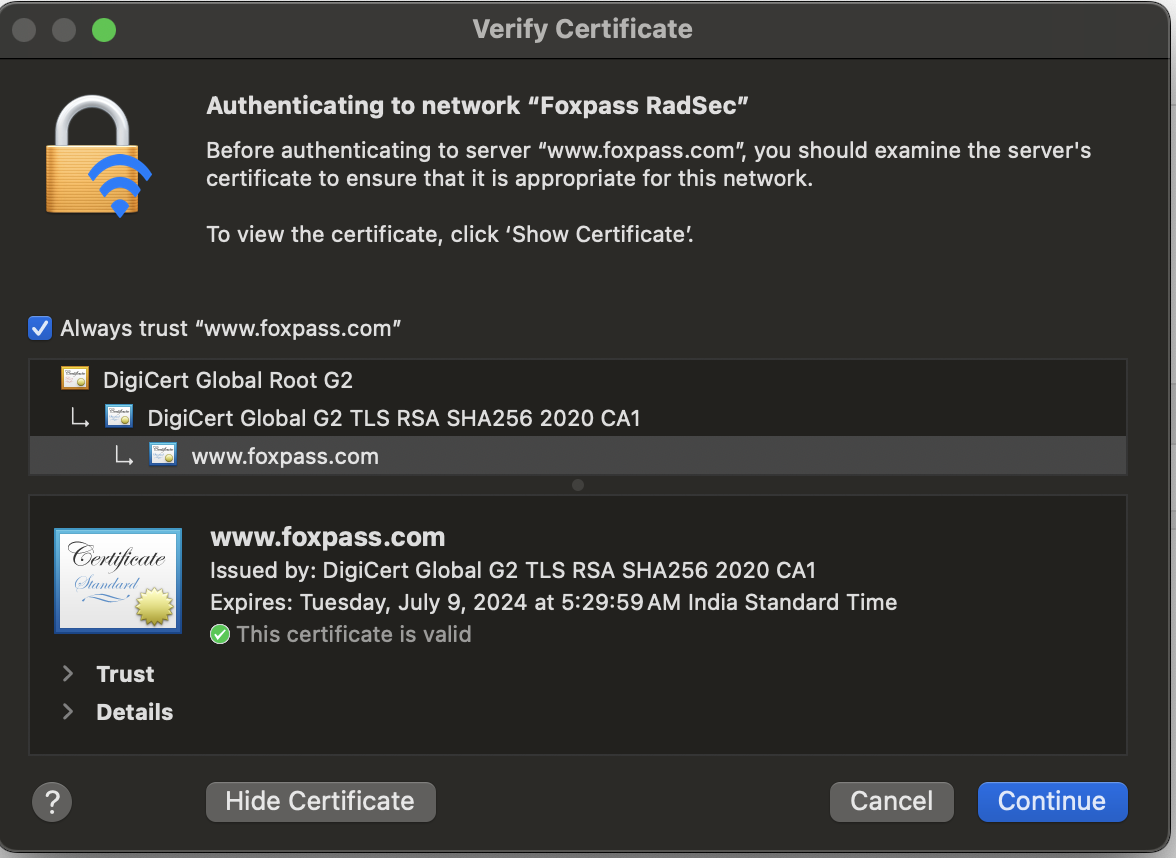
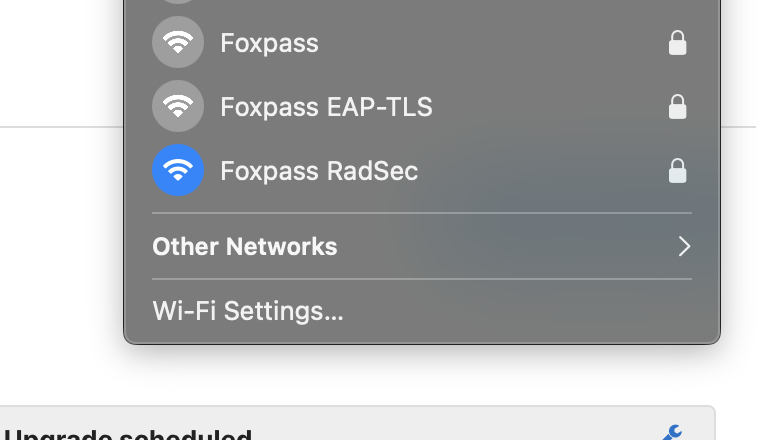
Connected to SSID
- You can see successful/unsuccessful logs on the radius logs page.
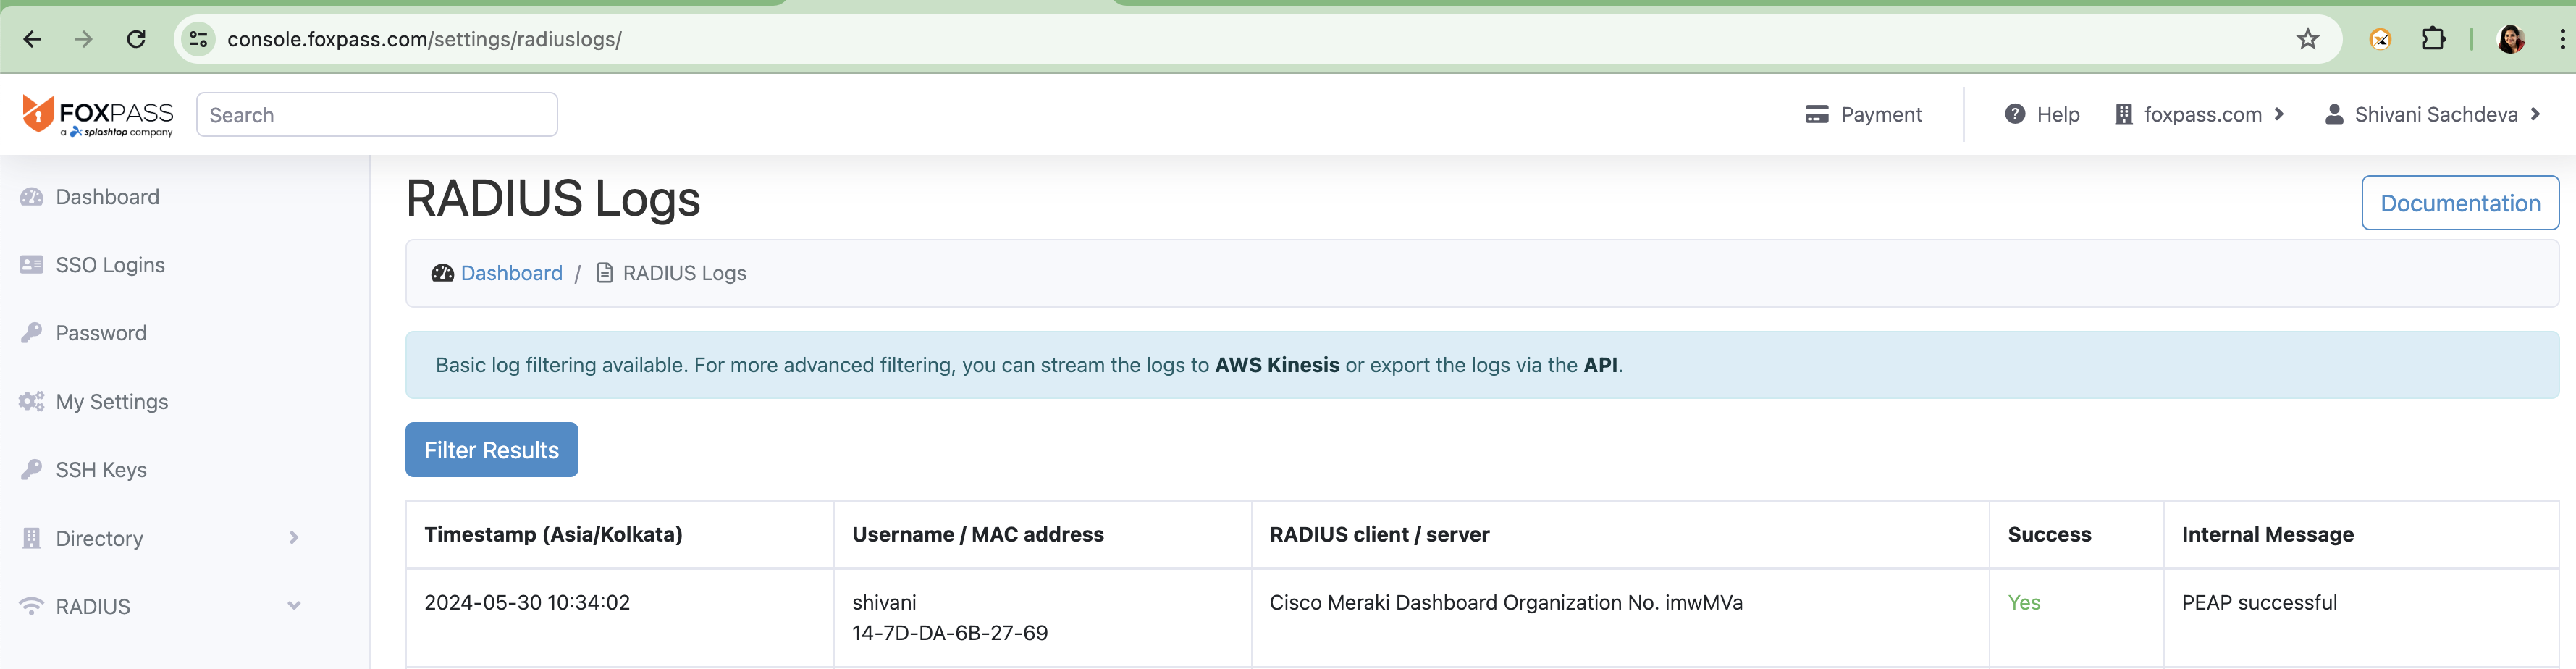
RADIUS logs
Troubleshooting
- Make sure your MR firmware is 31.1 or higher
- Make sure Client Balancing is disabled on your Meraki dashboard.
Updated 4 months ago