
Setup instructions for Android
- Please refer to the BYOD Installers document to create the profile, generate the installer and visit the download page.
- After clicking the visit download page button, NetID portal will open up in a new window.
- Click the Download button on an android device.
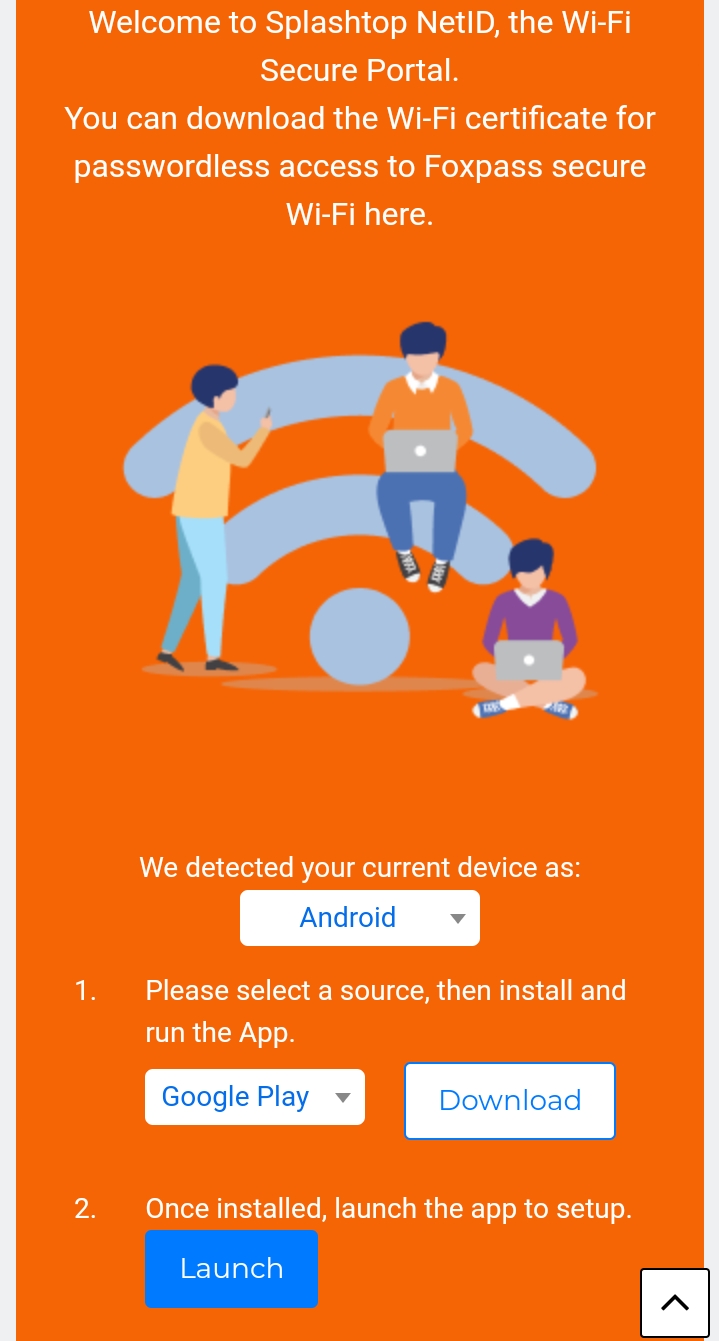
Click Download
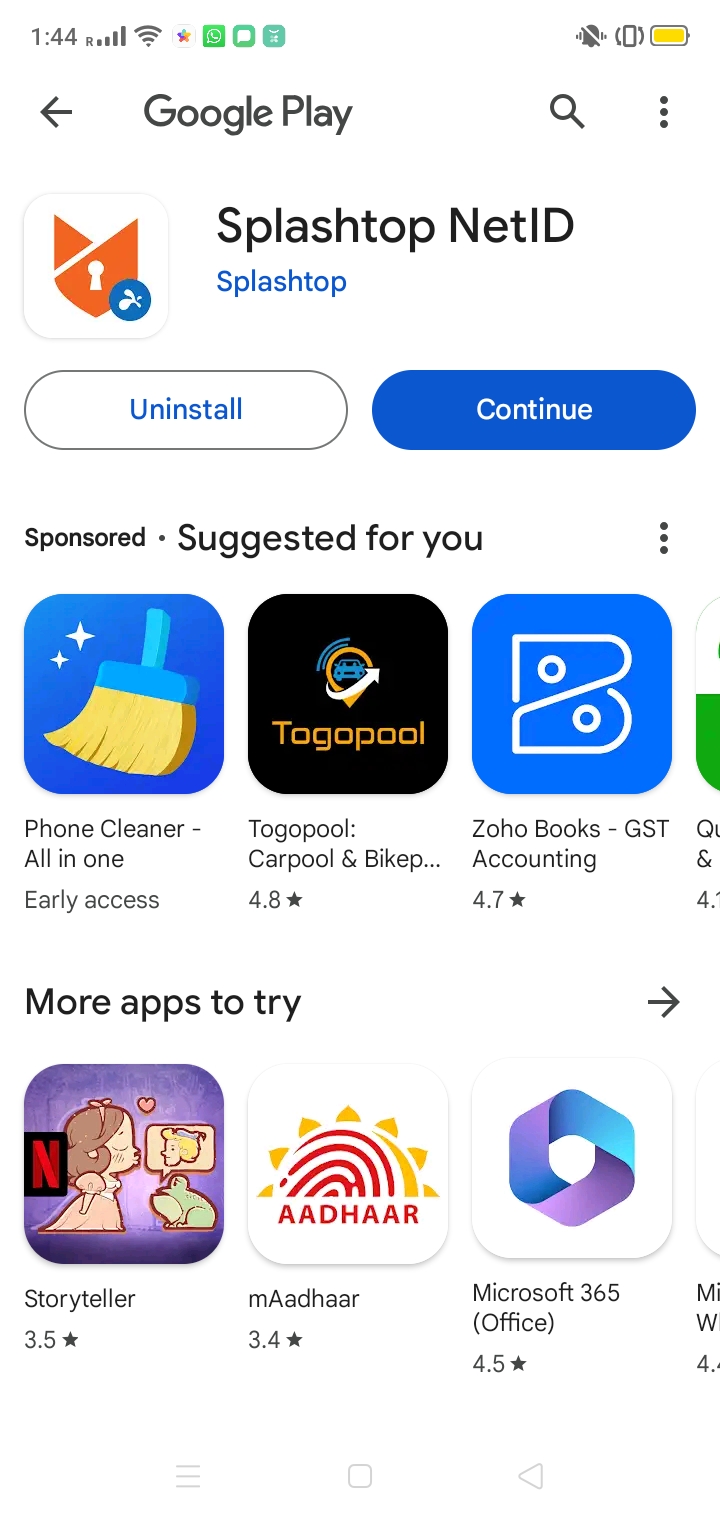
- Splashtop Net ID app will open up in Google Playstore. Click Install.
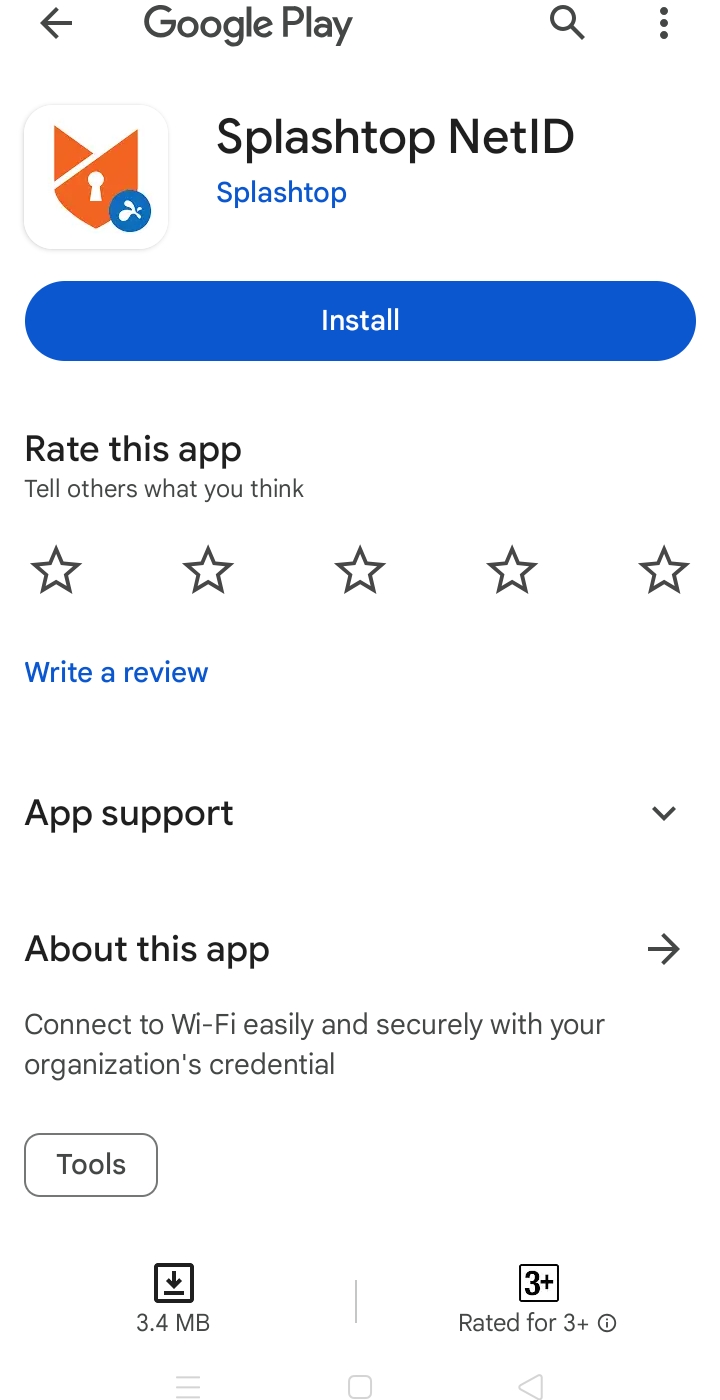
Install NetID app
- Click "Continue".
Click Continue
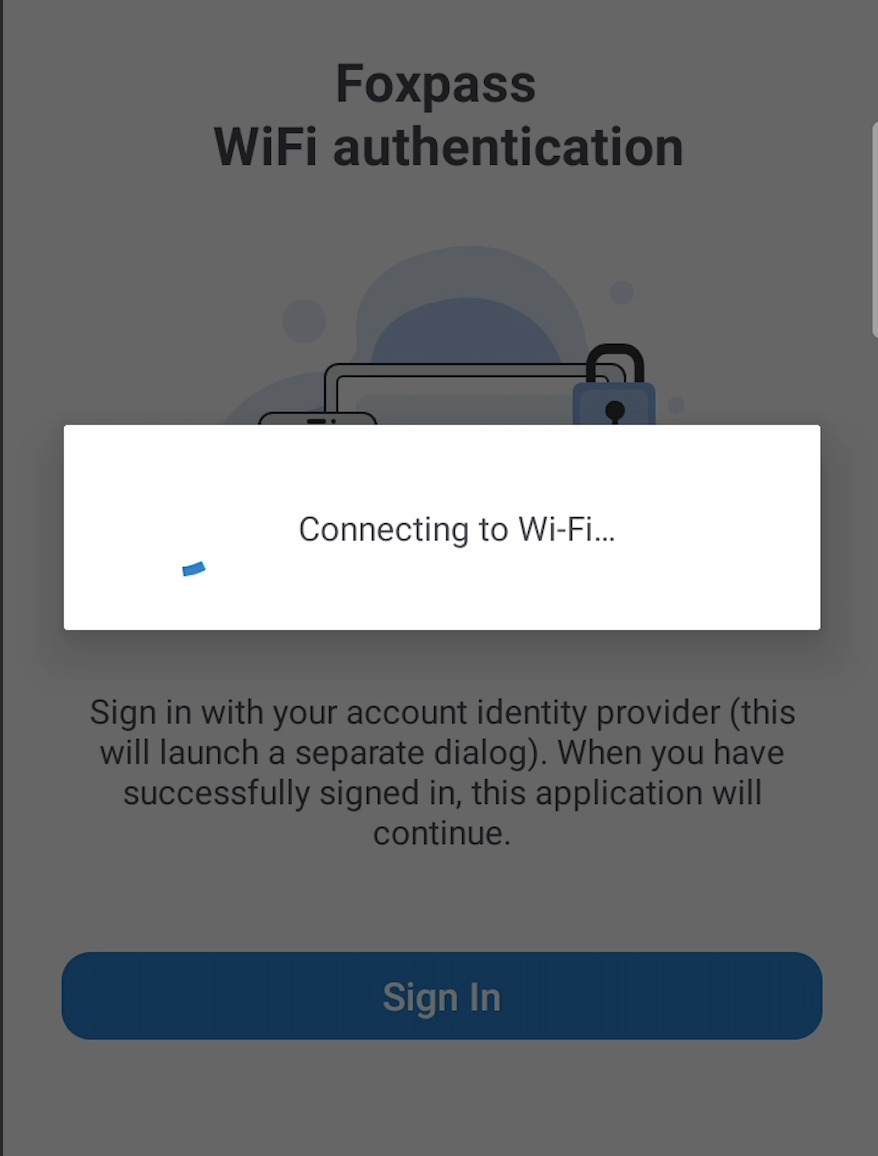
- Click "Sign in".
Click Sign in
- For identity provider selected as Google Workspace during NetID setup, a new window will show 'Continue with Google' and for Microsoft Azure AD, window will show 'Continue with Microsoft' option.
Click on 'Continue in with (your identity provider)'

Continue with your IDP
- Complete the authentication and you can close the window.

Authentication Complete
- You will see an attempt to connect to Wi-Fi.
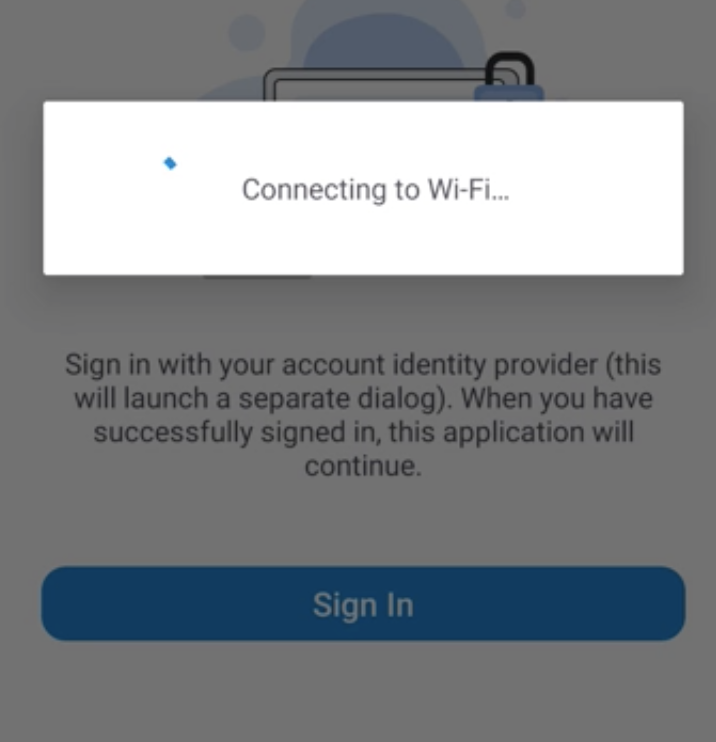
Connecting to WiFi
- You will see that your device is configured with your SSID.

Android configured with SSID
- If everything is configured correctly, then you will be able to connect to your SSID.
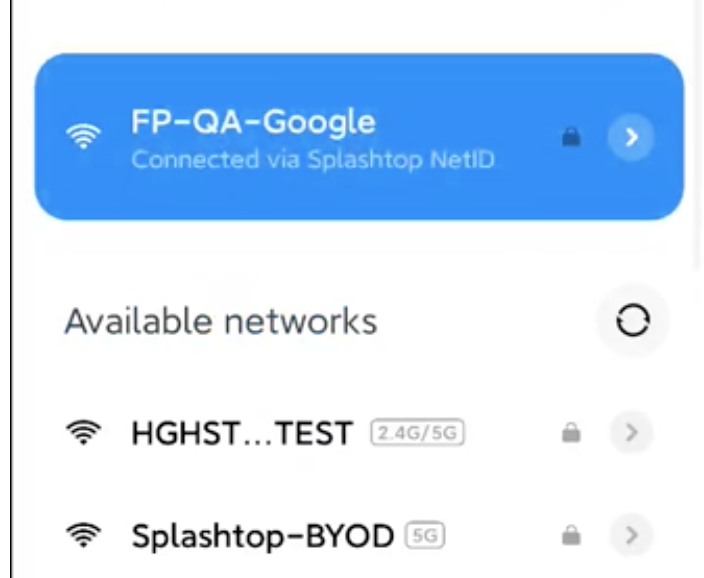
Sample SSID connected
Some Tips
- Ensure that you have a radius client configured on the RADIUS settings page.
- Ensure that EAP-TLS enabled RADIUS Server is configured correctly in your Access Point.
- Ensure that your SSID is configured correctly on the Wi-Fi networks page.
Updated 8 months ago